• About Me
  • Contact Me

Frugal Living

Indulging in life, financially responsible

insulation

How to Deal with Frozen Pipes and a Broken Whirlpool Dishwasher

January 4, 2018 by Andrew 1 Comment

2018 is here and so is a blast of subfreezing arctic air.

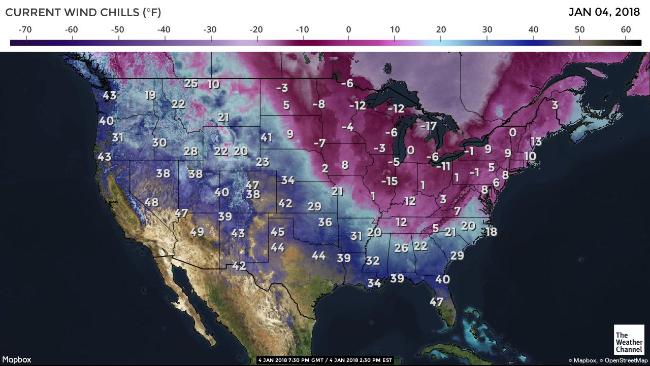
With so many new low record temperatures set in the past few days, it is no surprise that pipes are freezing.

Burst Dishwasher Water Inlet Valve

One such victim of the cold weather was my Whirlpool WDT790SAYW2 Gold Series dishwasher.  After a particularly frigid night my wife went to unload the dishwasher and discovered that it had not run over night as intended.  I figured that the waste line had frozen again despite my previous attempts (see here) at insulating the wall.  We opened the cabinets to let warm air circulate and removed the bottom access panel of the dishwasher.

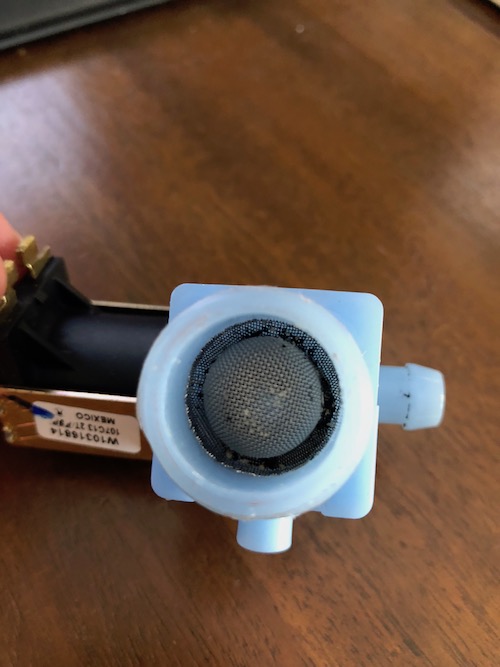
Later in the morning as I was washing some dishes in the sink I heard water start to run below the dishwasher.  I quickly turned the water supply line off, and it was a good thing that I was there.  The ice had melted and the culprit was quickly discovered when I pulled the dishwasher out from under the cabinetry.  The water inlet valve had burst.

Whirlpool W10327249

Removing the part is simple.

  1. Turn off the electrical breakers feeding the dishwasher
  2. Turn off the water supply line
  3. Unthread the water supply line
  4. Unscrew the single mounting screw holding the part in place.
  5. Disconnect the electrical harness connected to the solenoid.
  6. Use pliers to loosen the clamp on the black outlet hose and remove the hose.

Part # W10316814

There is an inlet filter screen that you should check if your dishwasher is not getting sufficient water.  The filter might be clogged.

Installation is the reverse and takes about 5 minutes.  The part is about $25 and requires needle nose pliers and a flat head screwdriver.

Part # W10316814 (Amazon)

Alternate part # W10327249 (Amazon)

This part seems to be compatible with certain Kitchenaid dishwashers as well because Whirlpool and Kitchenaid belong to the same umbrella of companies.

Frozen Pipes

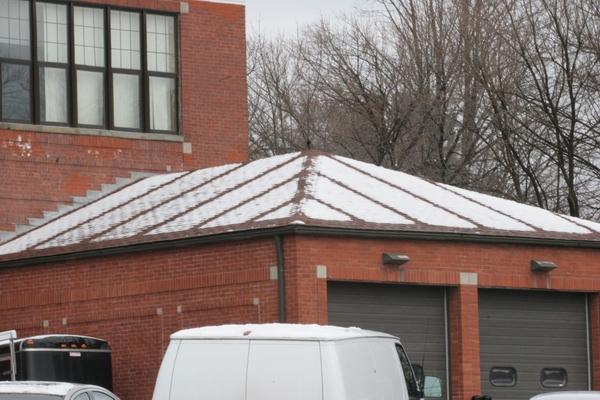
I also checked in on the vacant apartment that I manage and discovered that it had some frozen pipes.

The first thing to do is open up the cabinets to let air circulate.

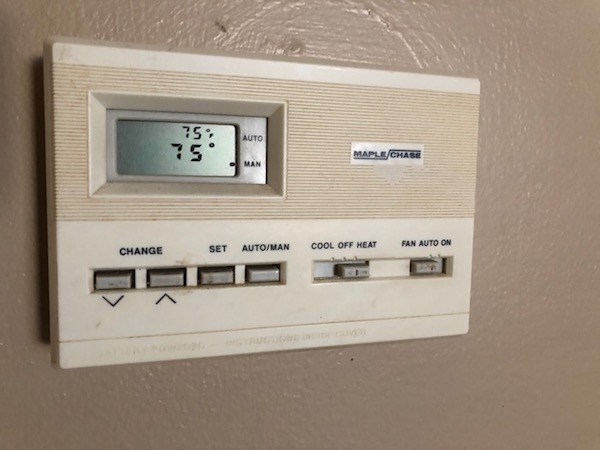
In this case, the cold water pipe was frozen, but the hot water pipe was still open.  I cranked the apartment thermostat up from 62 to 75.

Turning on the still working hot water pipe also helps warm up the blockage.  After about an hour, the ice had melted and the water was flowing again.  No permanent damage was done.

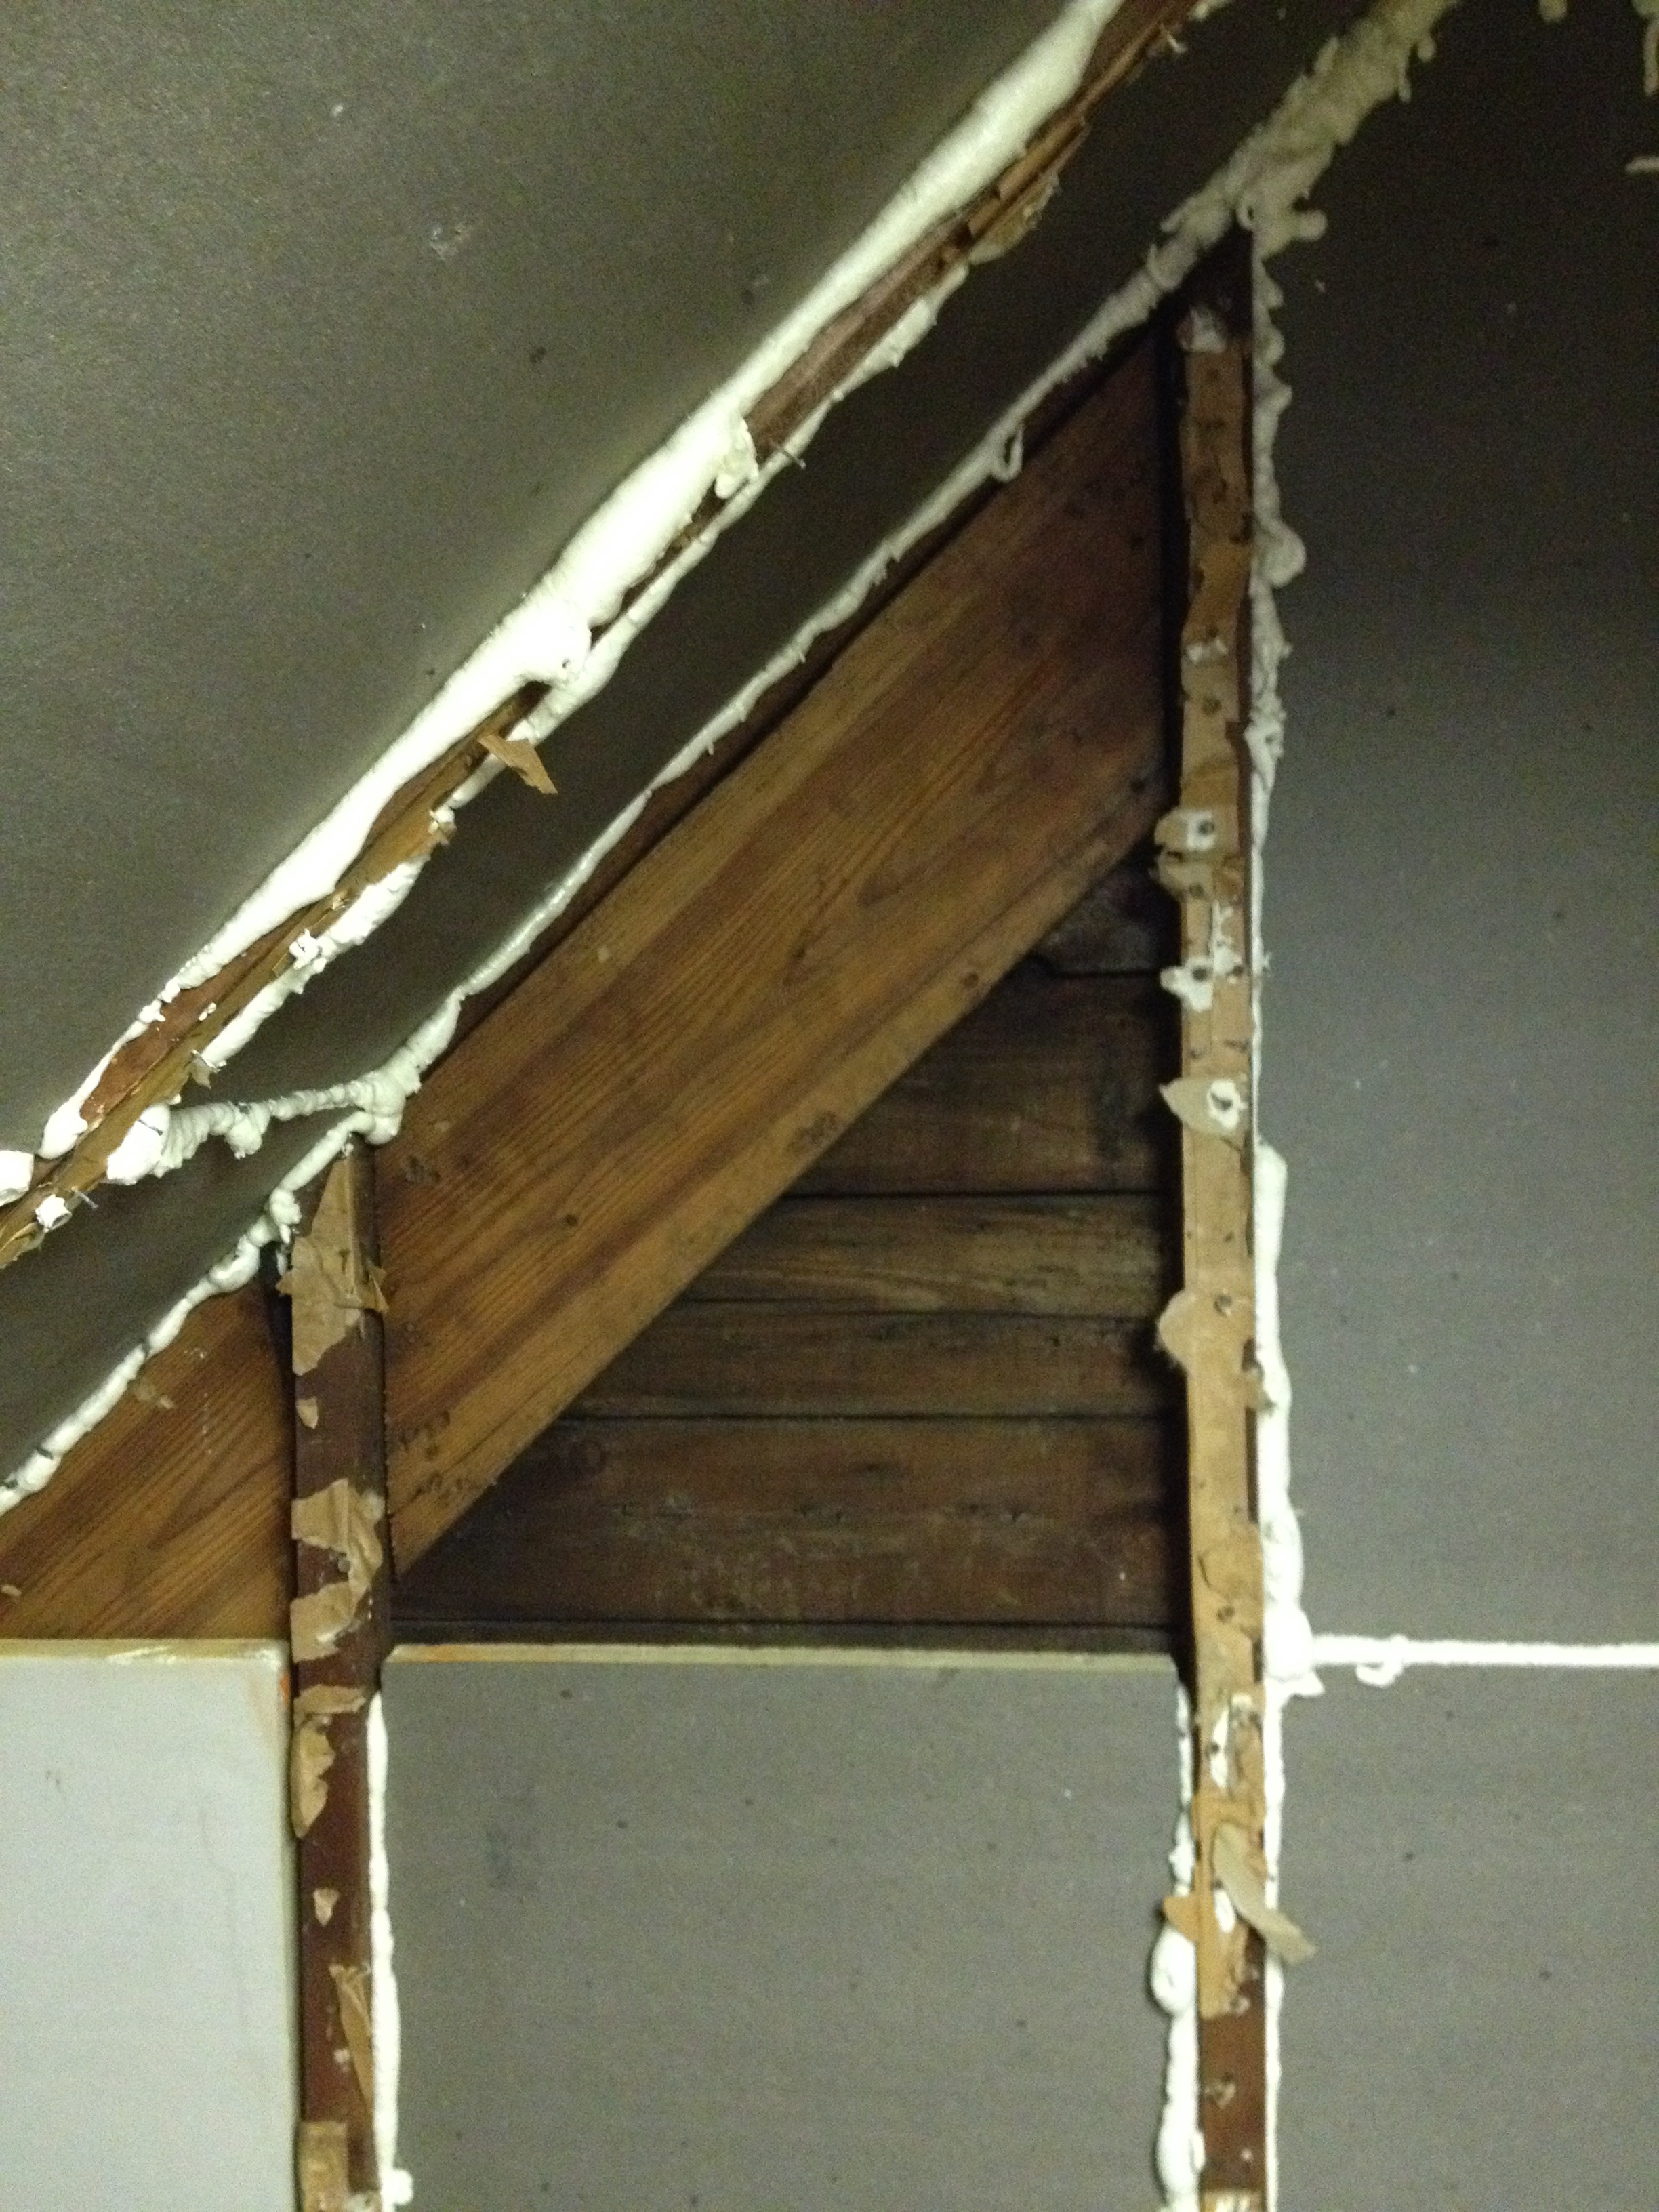
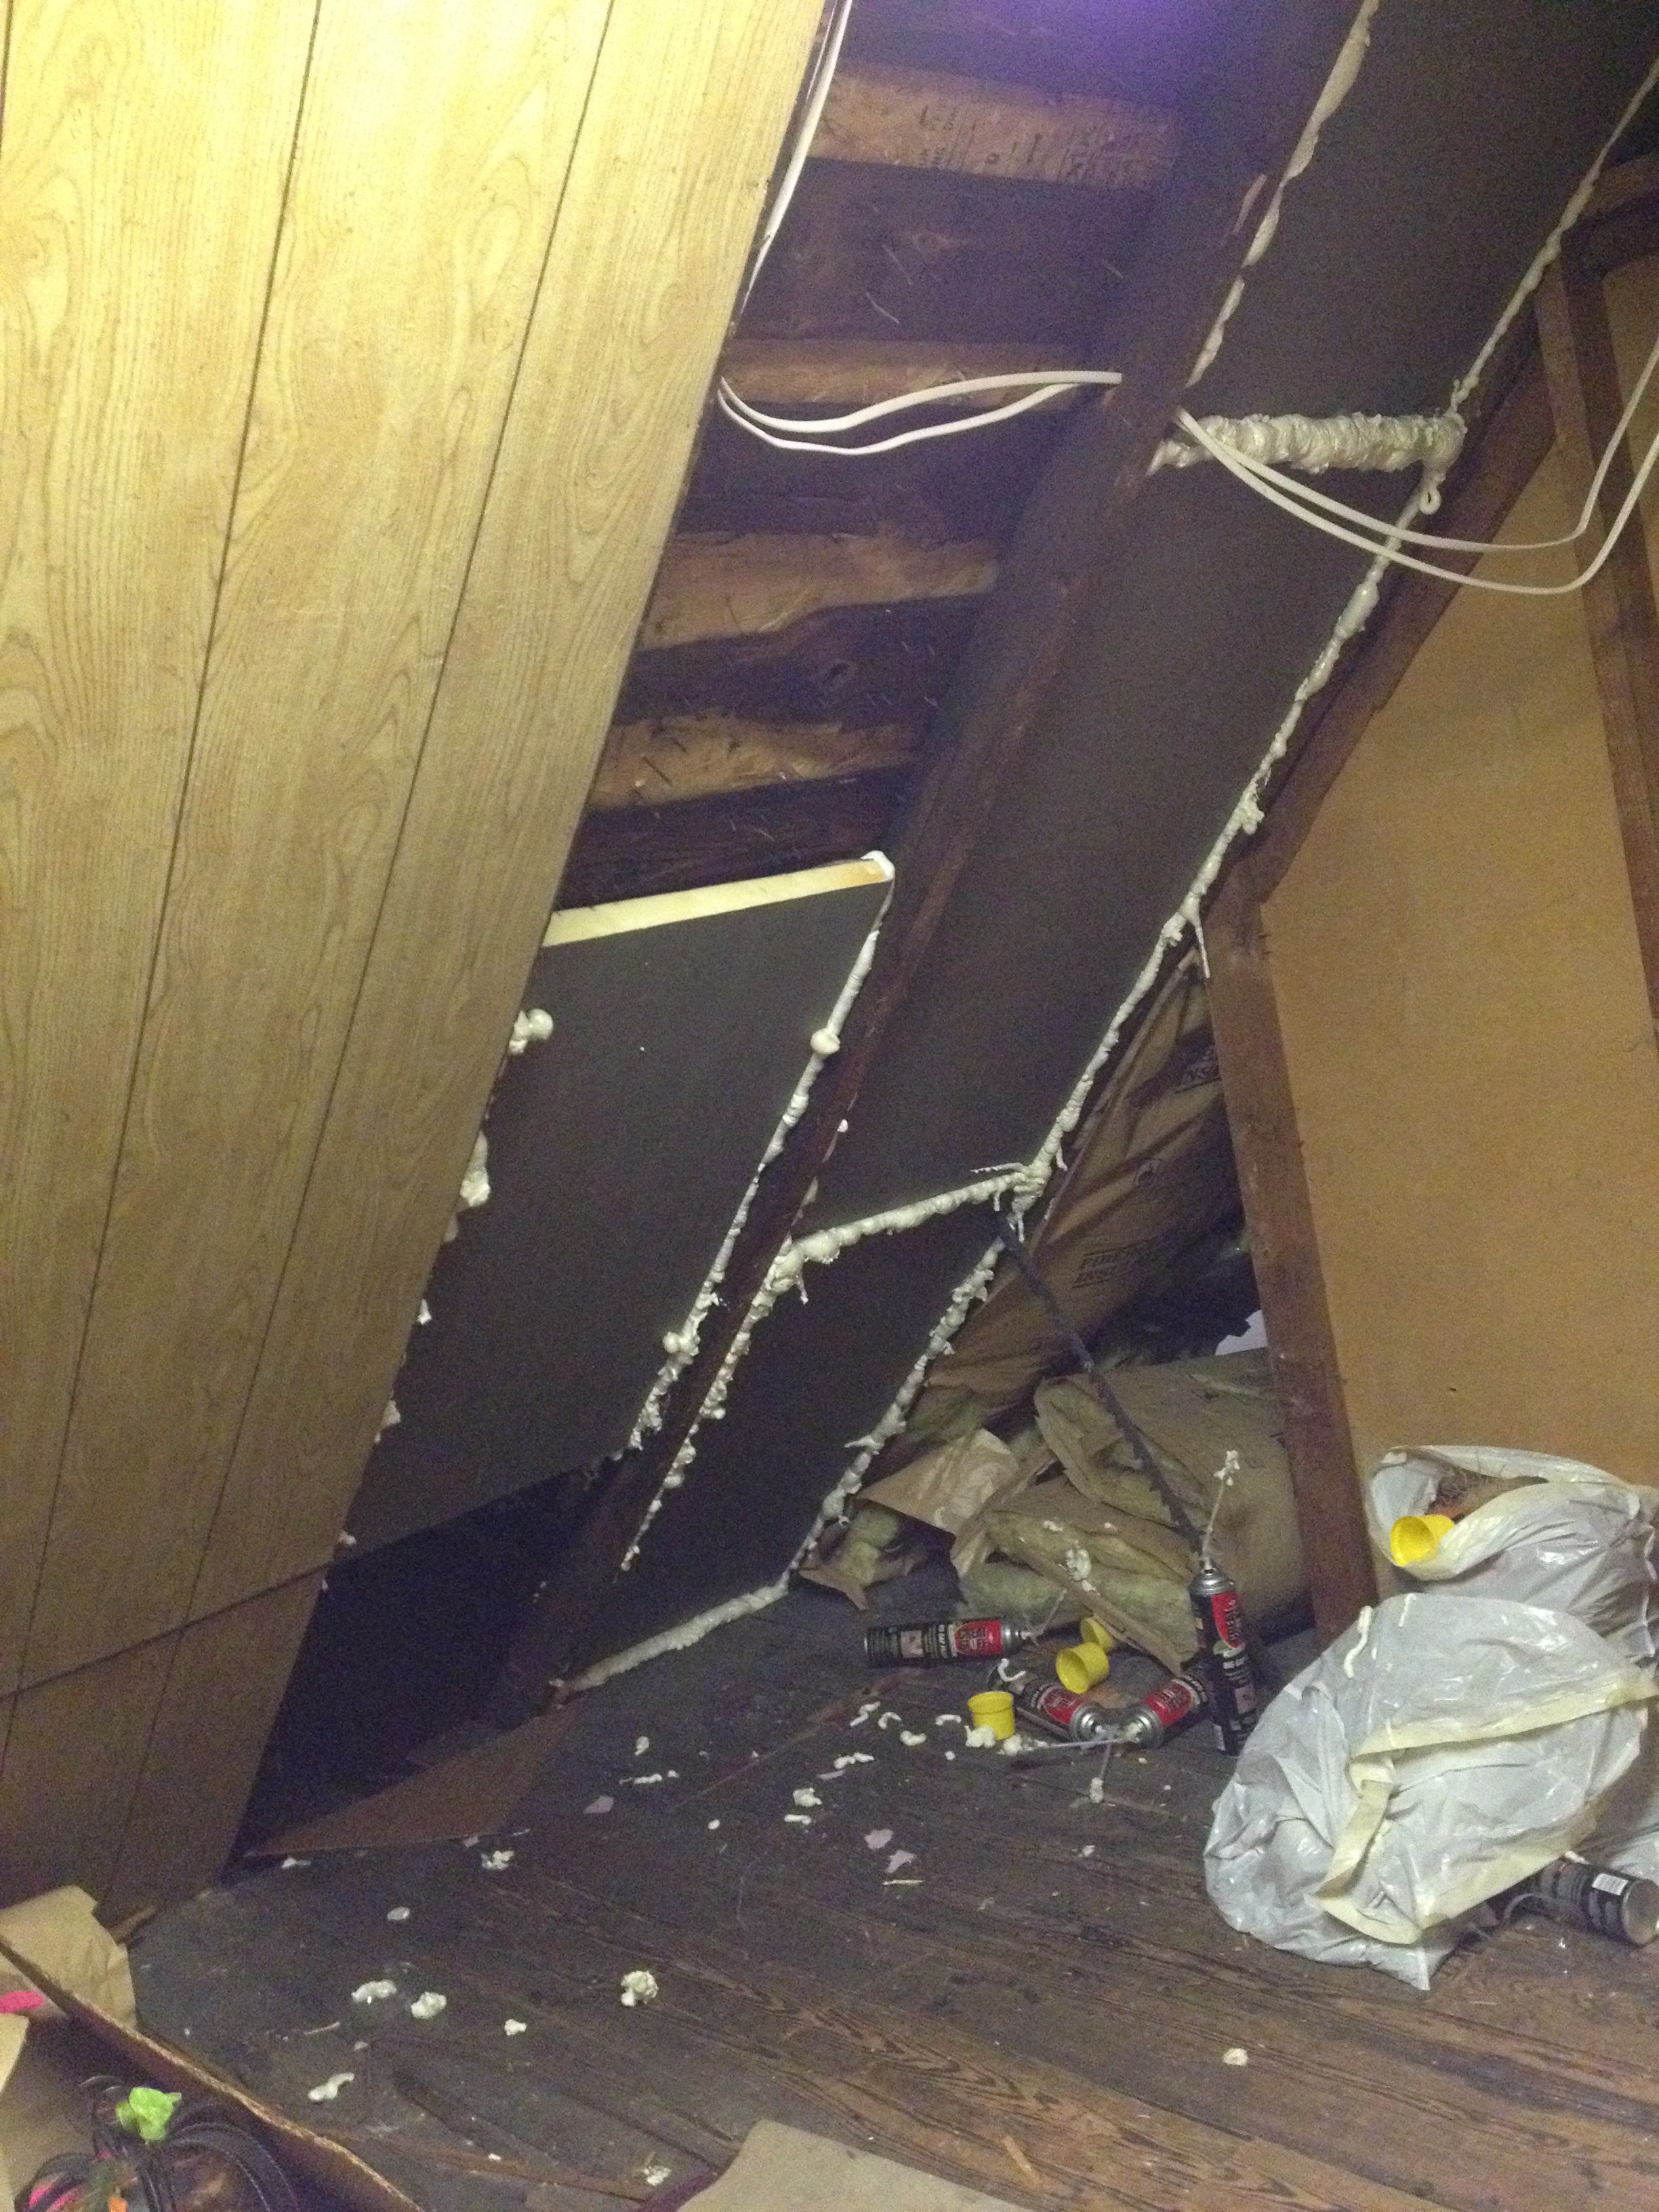
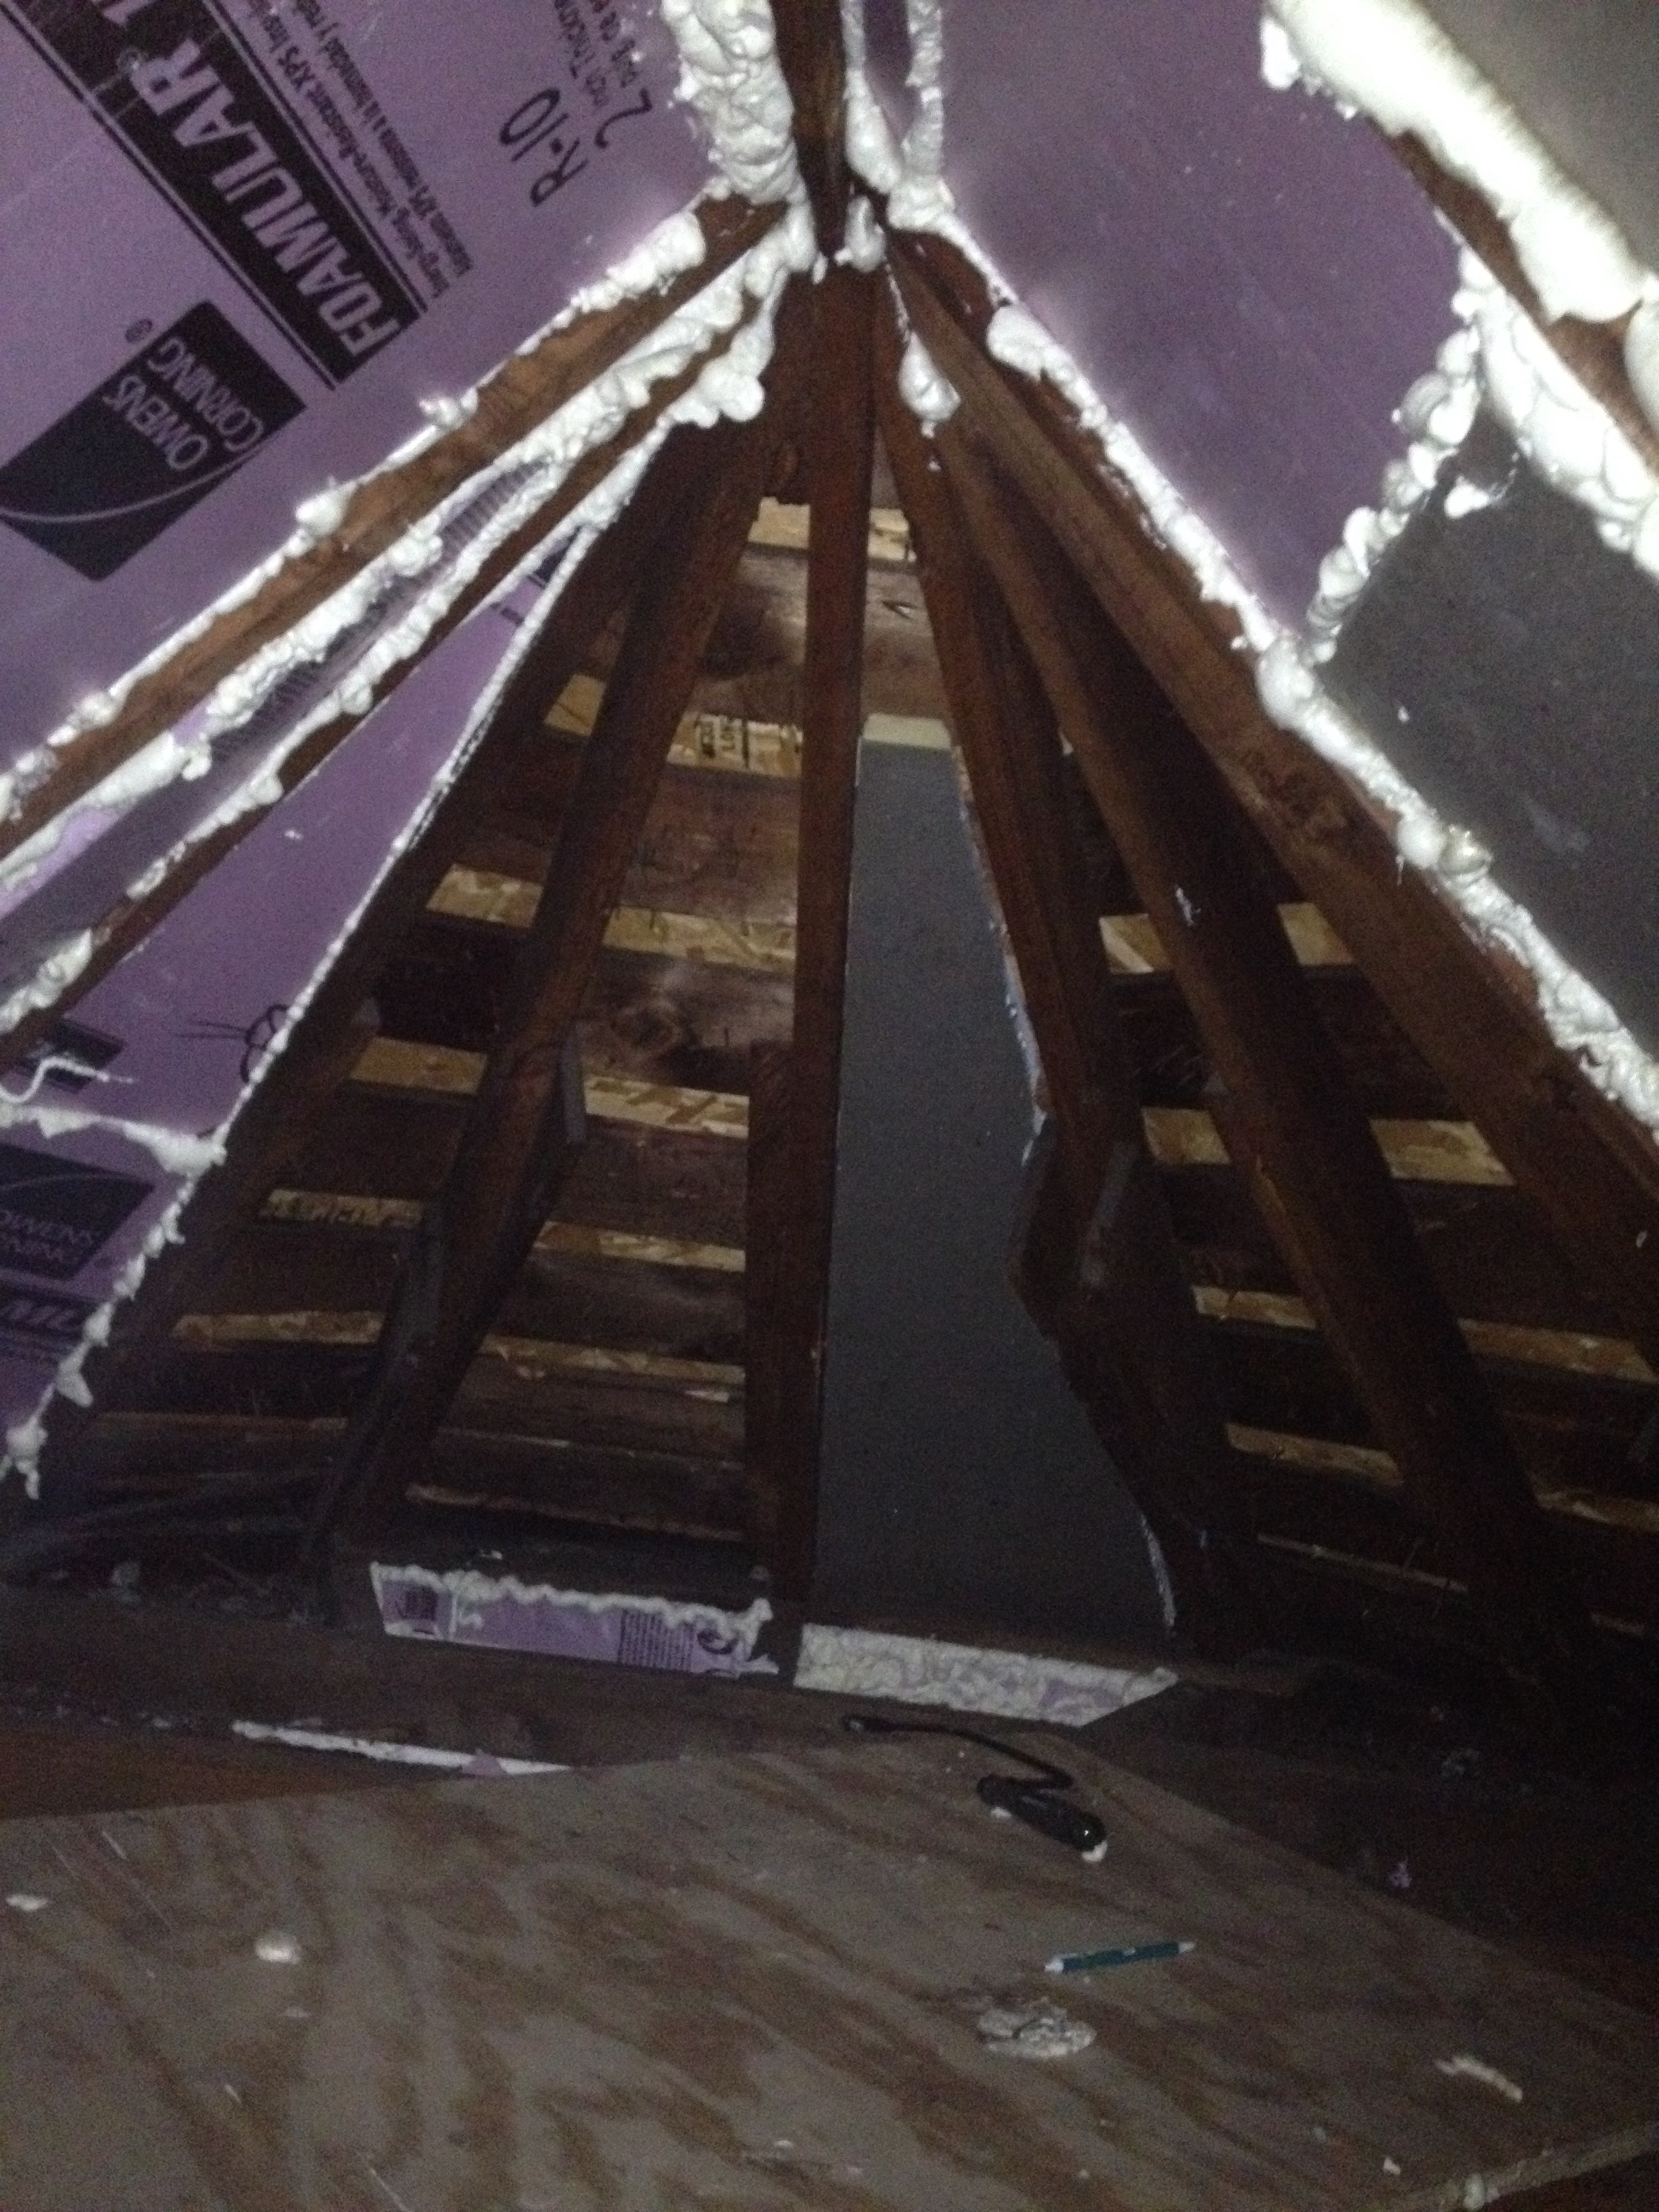
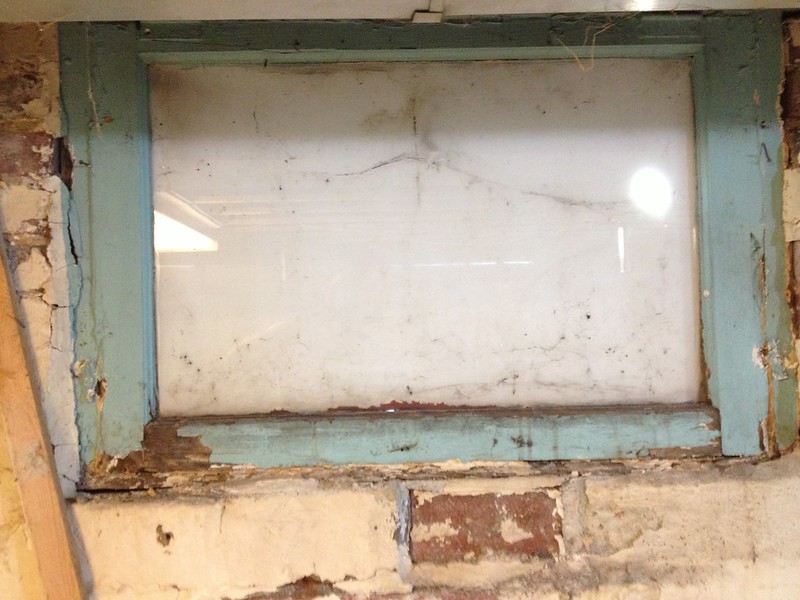
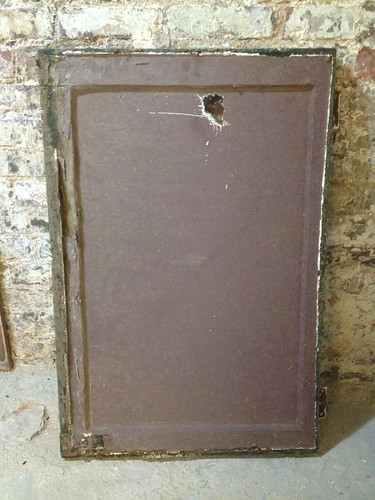
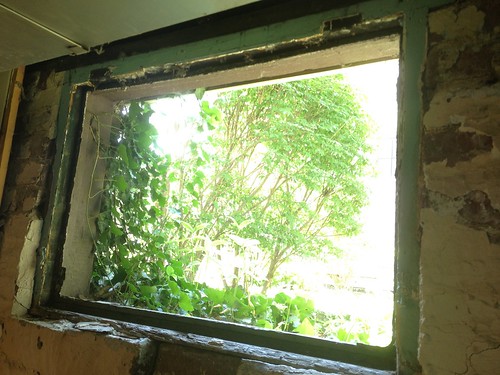
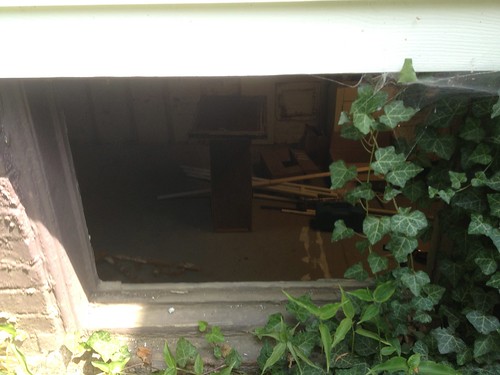
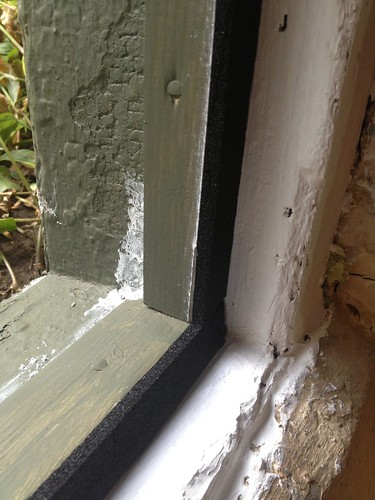
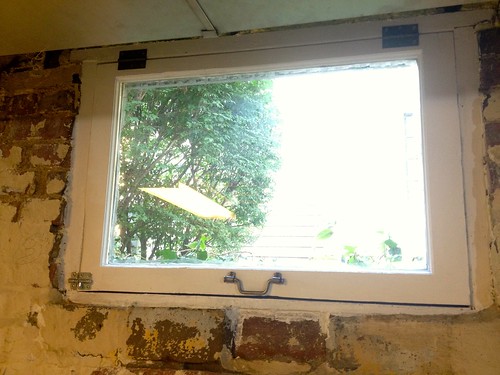
The other frozen pipe was located in the crawlspace.  I am a firm believer in fixing the underlying problem, so I crawled down there to take a look at what was going on.

While most of the crawlspace was warm, the perimeter had some issues.  Above you can see the frozen pipe on the left.  You can also see ice forming on the framing around an AC coolant line that exits to the outside.

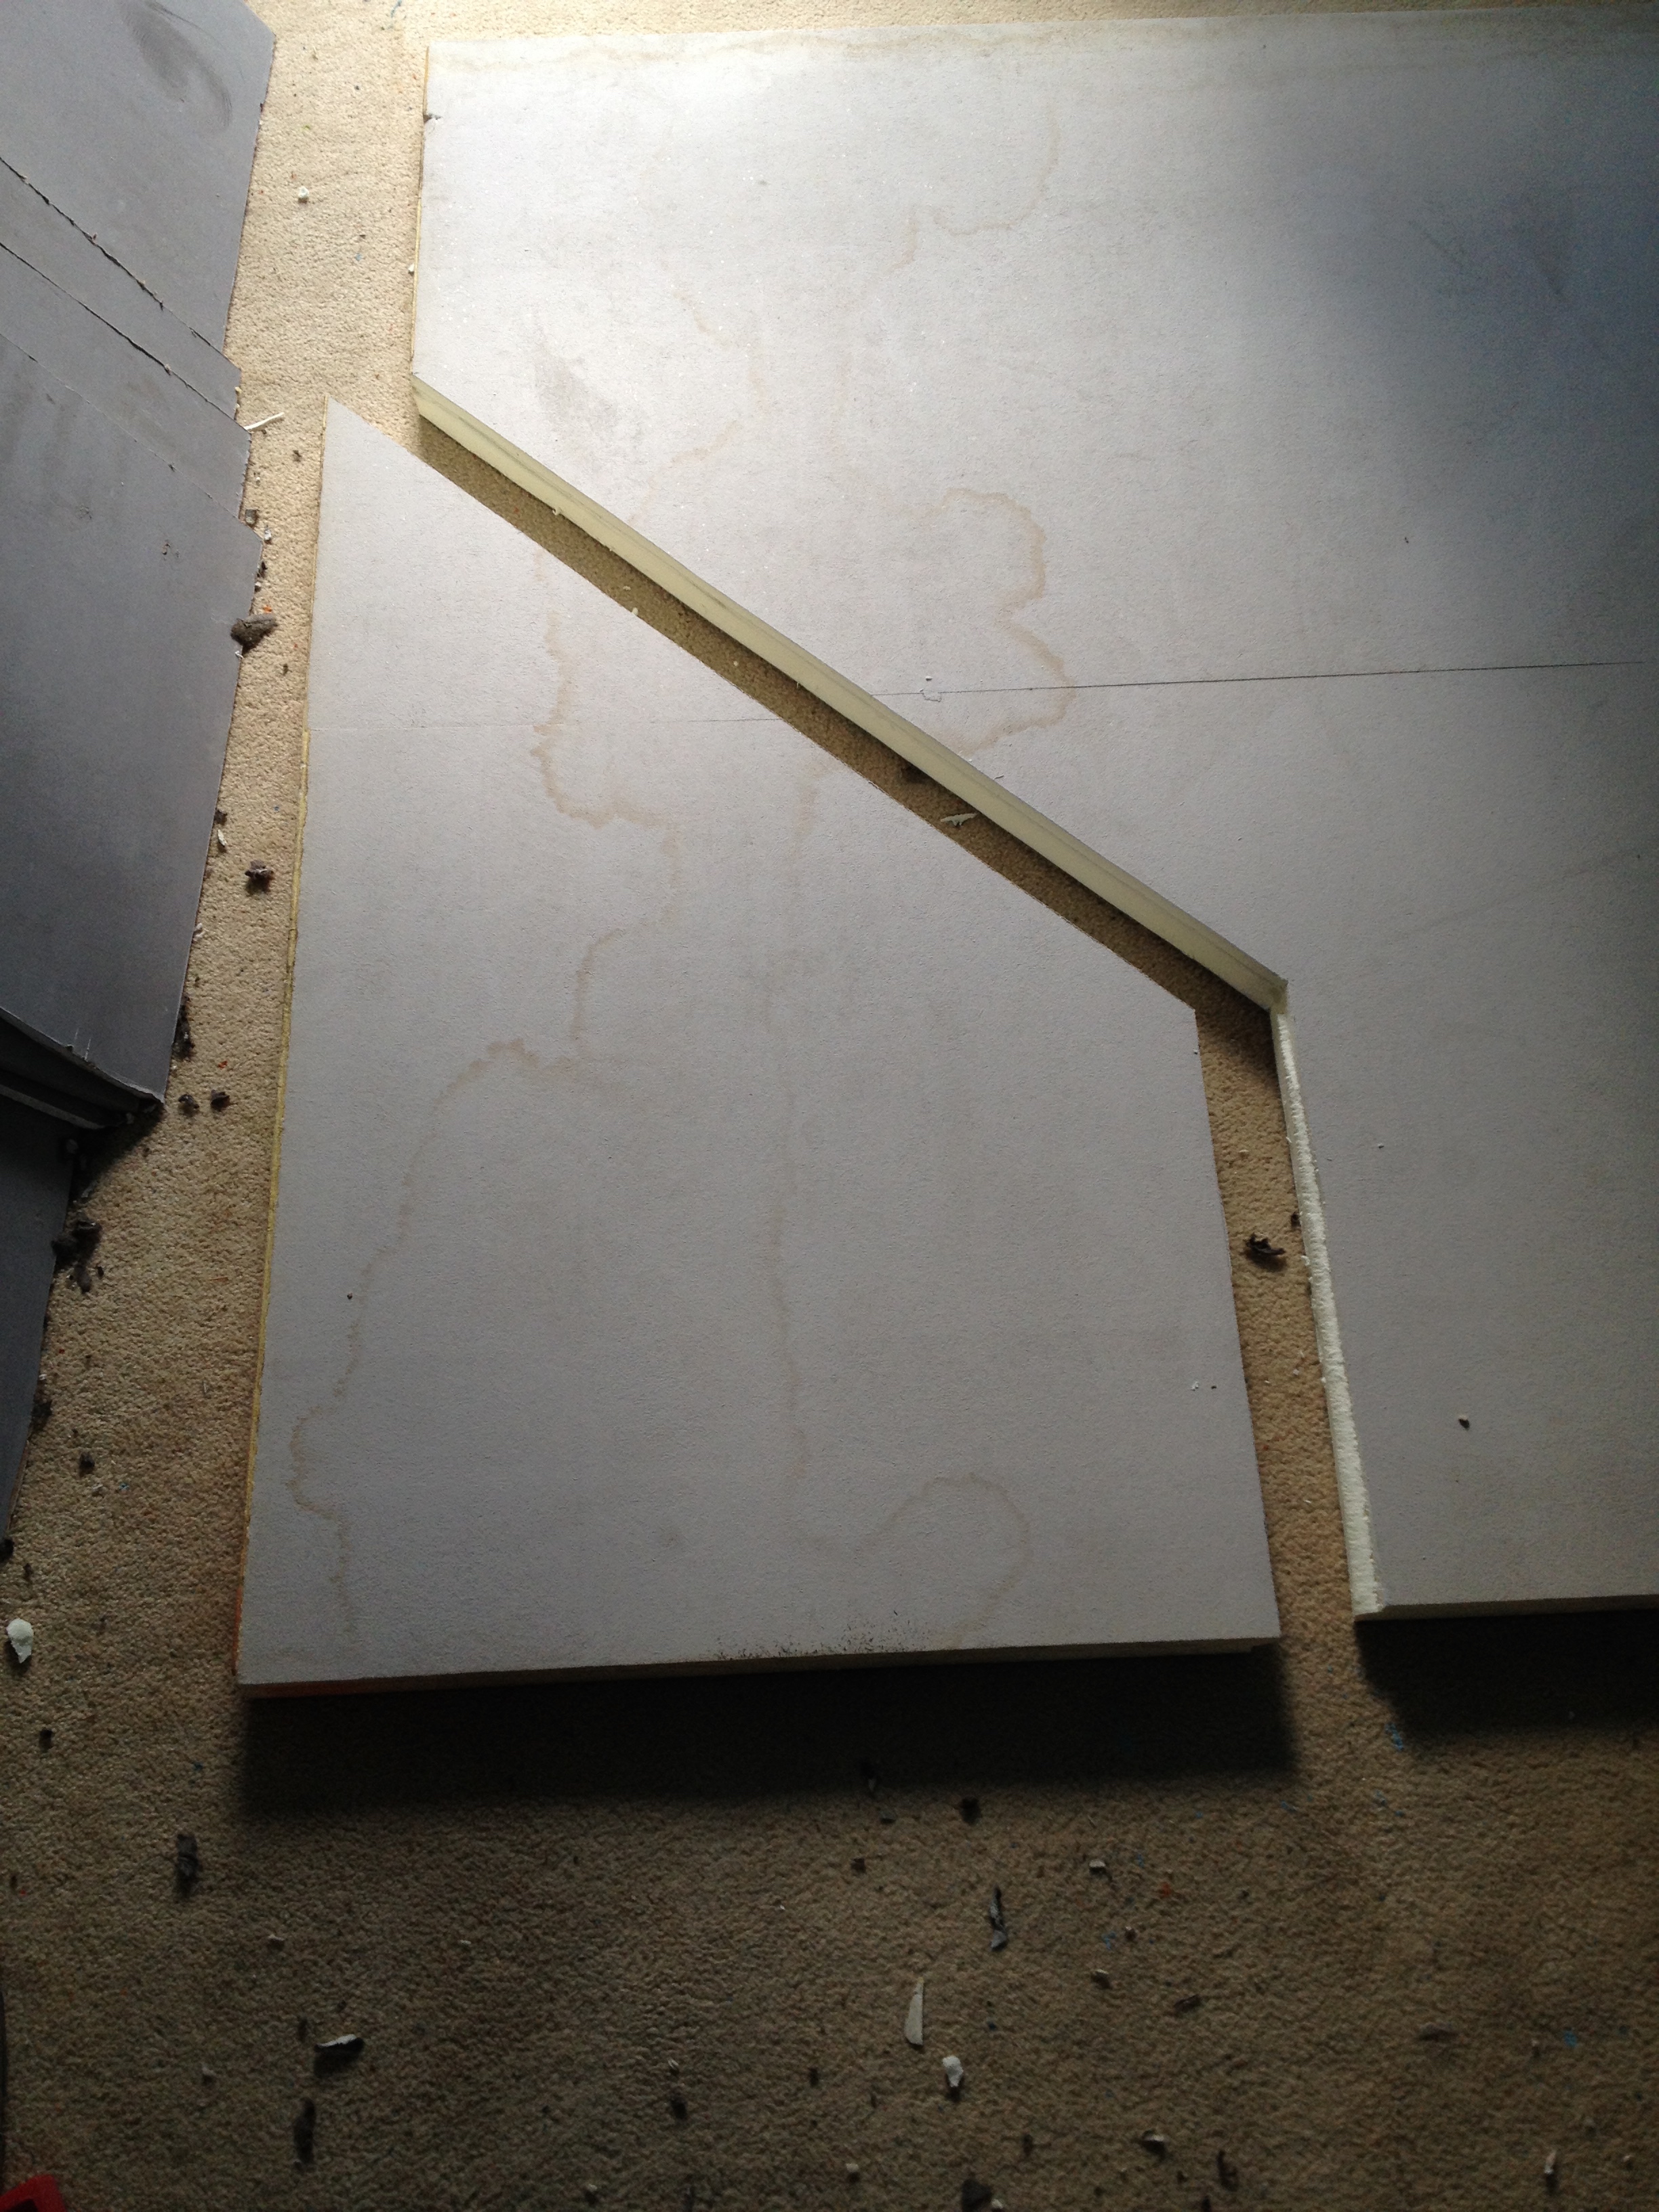
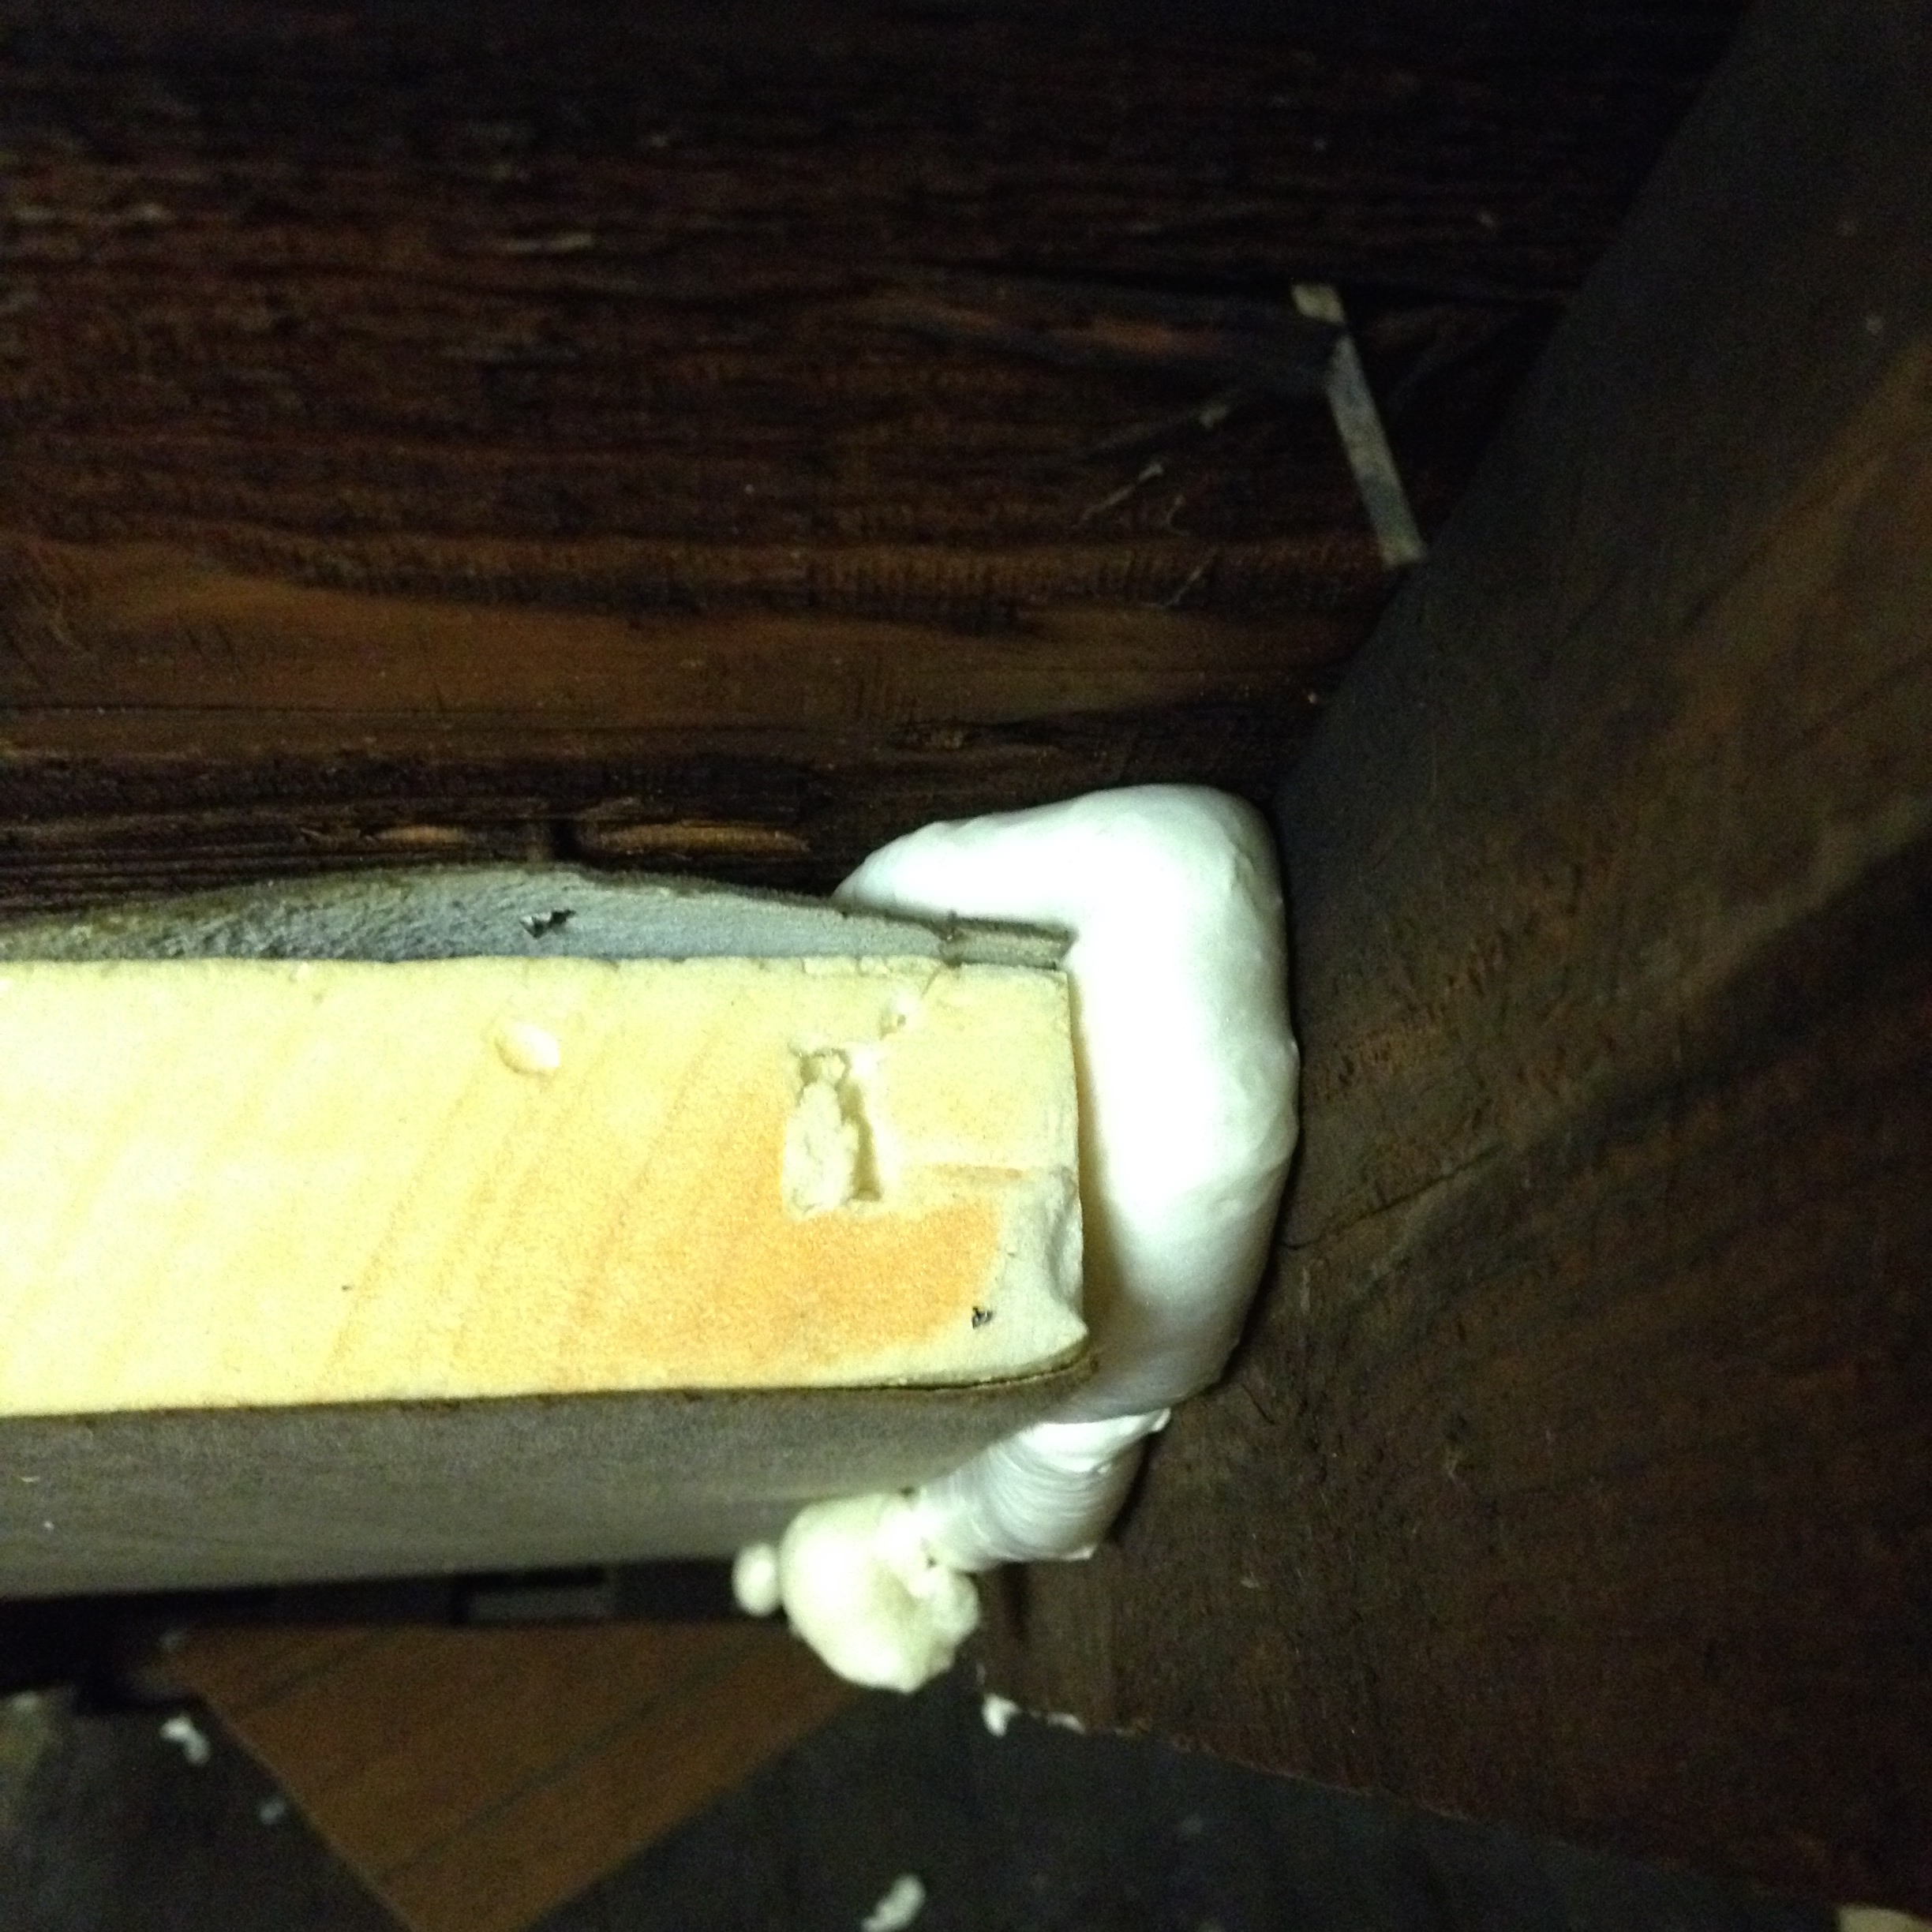
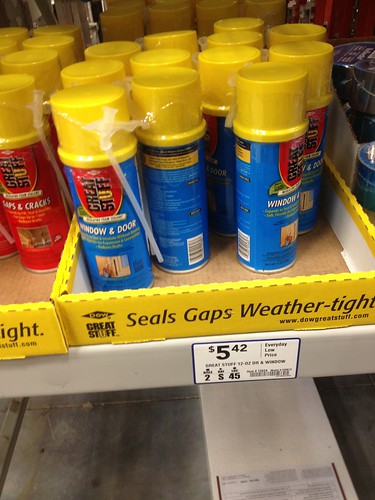
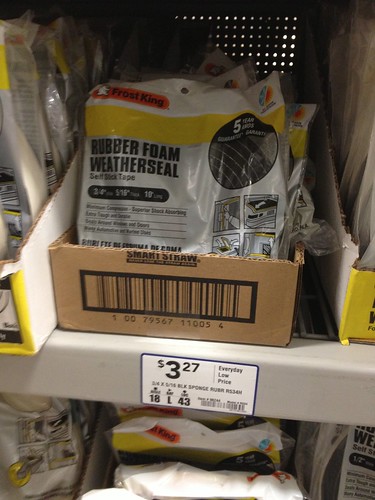
Using a can of spray foam, I did my best to plug the hole.

I suspect when the temperatures rise later this week the demand for plumbers is going to skyrocket as pipes thaw out and problems become more apparent.  The real damage of a frozen pipe is the thousands of gallons that can spill out and flood a house.  If you can catch it early while it is still frozen, you can save yourself a lot of headache.

Posted in: DIY Tagged: insulation, plumbing

Prepping for Winter

December 4, 2014 by Andrew Leave a Comment

Hello December!  It is about that time of the year where I start to roam about the house looking for drafts.  The colder and windier it is outside, the easier it is to find them, and with a 1905 built house, there are always plenty of holes.

Today I sealed up our big living room picture window.

IMG_5075

This window along with several others need to be refurbished.  Until I find time or an experienced handyman, we’ll just have to make do with the ‘old school’ way of sealing up windows.

IMG_5079

These kits are really easy to use.  Just measure out your window size, add a couple of inches of margin/wiggle room and cut the plastic.  Apply the double sided tape and then very carefully stick the plastic on.

IMG_5077

In the above picture you can also see another project I just finished, planting a tree in our front yard.  I planted a Japanese “Kousa” Dogwood in the front and a silver linden in the backyard.

The final optional step of plastic’ing up a window is to use a hair dryer to remove the wrinkles and ripples in the plastic.

IMG_5078

Now you can enjoy a less drafty room!

IMG_5072

Go Green!

You may be asking yourself why we don’t replace our leaky windows with a high efficiency thermal paned unit and the answer to that is that the dollars and cents don’t necessarily add up.  Searching for the cost to replace vs repair old growth double sash wood windows turns up articles like this one (link).

Statistically, it is virtually impossible to recoup, in energy savings, the amount of money spent on replacing historic wood windows with new windows before the new windows need to be replaced.

Then there is the aesthetic concern.  I love old houses, Shae ADORES old houses, so with any home improvement project that we tackle, preservation is always a factor that is considered.

Old House Lovers, Stop Reading Now

Living in an older neighborhood, we are no strangers to modern times trampling over history.  For example, this house that is a part of our neighborhood was recently purchased for $300k.  It was designed and built by a prominent architect around the turn of the century during the peak of his career.

pict1

Five months later, the house looks like this:

IMG_5073

What happened?  Did it burn?  No.  Was it a safety hazard?  No.  Was it dilapidated and beyond repair?  No.

Here are some of the inside pictures taken from the realtors website.

pict 2

pict3

pict4

So why on earth is this charming house being torn down?  It was purchased by an individual so they could make themselves a private putting green and pretend they are putting for a green jacket.

Not every old house can be saved from idiocy, but by golly we will preserve ours for future generations.


Posted in: DIY, House Tagged: insulation, sealing, windows

Cut & Cobble – Part 2

November 18, 2014 by Andrew 2 Comments

You can read part 1 here.

I was very relieved to finish insulating the dormer/turret because it was a very labor intensive job.  Not only were the rafter cavities oddly shaped, you also had to crawl through a narrow hole on your hands and knees, and then sit or lay in an uncomfortable position while you worked.  With that said, I am satisfied with the end result.

IMG_4836
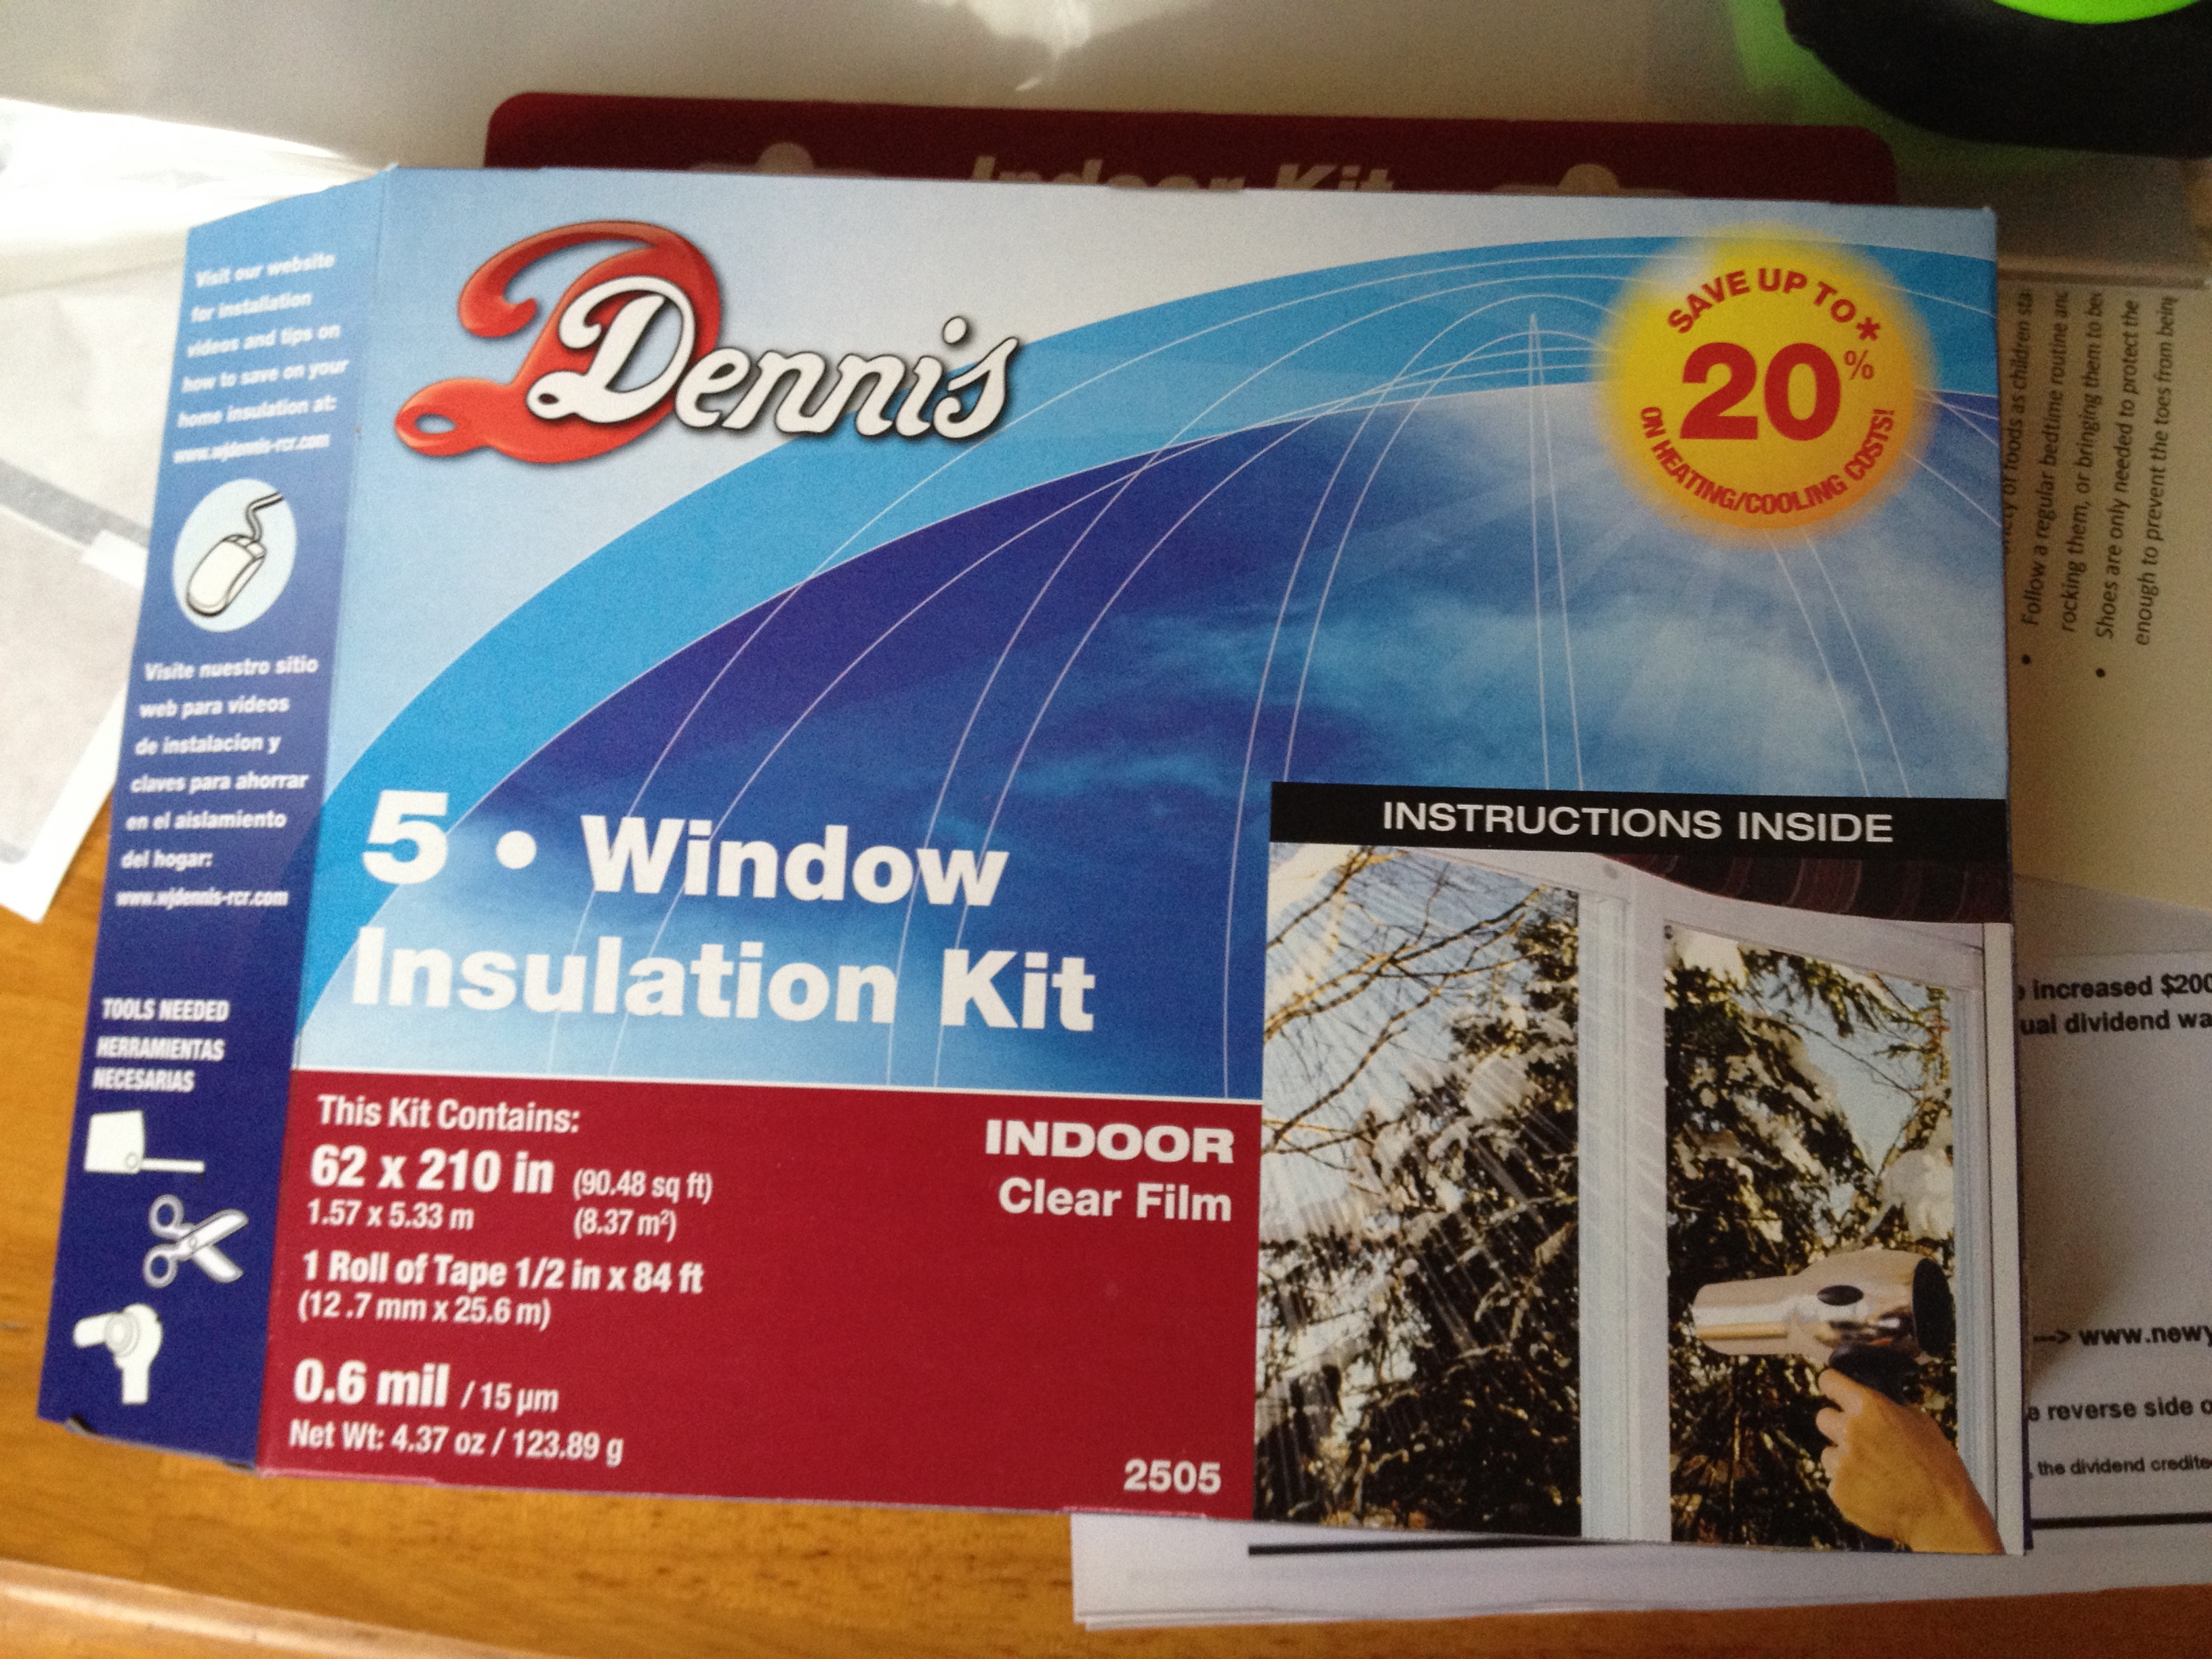
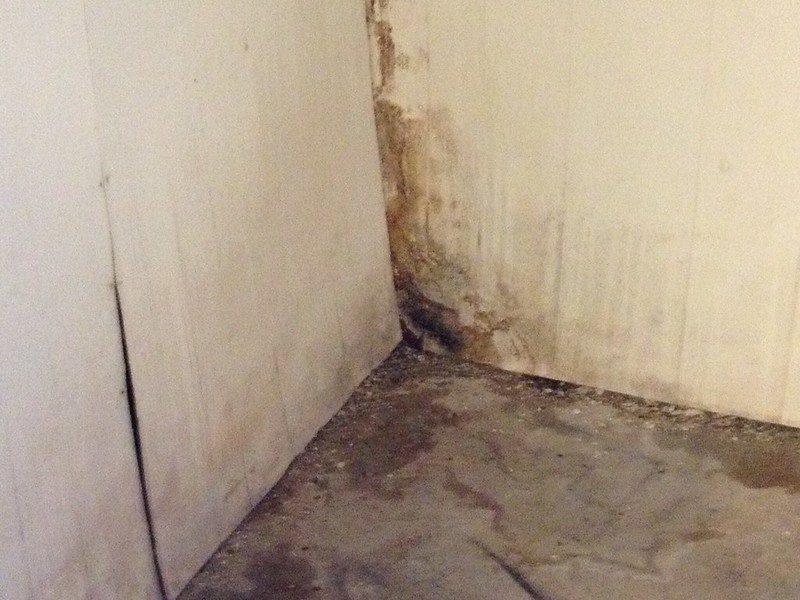
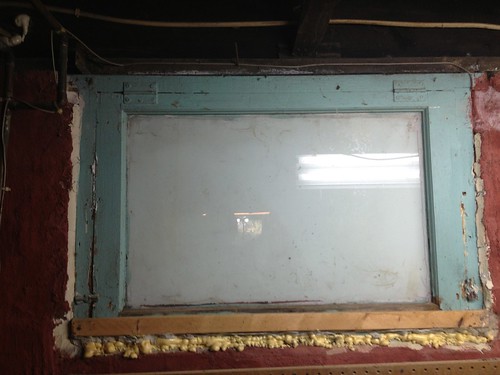
The bathroom below feels noticeably warmer.  It use to be one of the coldest rooms in the house and down right miserable to visit at 4 or 5 in the morning.

With the dormer finished and a pile of extra foam board I decided to expand the scope of the project and redo the insulation of the spare attic room (connected to the dormer).  The previous wall/ceiling assembly was this:

roof assembly

Where the black line was the roof deck (plywood), the gray line below that were battens (1×6) for the original cedar shingles, then the brown 2x4s with the lavender being the old rock wool insulation.  Finally the blue layer was some type of sheet rock shown in the picture below and covering all of that up was a flimsy panel veneer (pink layer – bottom).

IMG_4870

IMG_4876

After clearing away all of the old material I had a clean palette to work with.

IMG_4912

Along the walls I insulated between the joists.

IMG_4931

Filling the cavities between studs and rafters was simply a matter of measuringIMG_4934

Cutting

IMG_4933

Fitting into place and foaming along the edges.

IMG_4935

Here is the end result.

IMG_4937

This room went much faster than the dormer.  I spent a few mornings and a Saturday working on it.  I had just enough foam board to do this room.  Eventually, I would like to double the R value of this room by installing an additional 2″ of foam board on the underside of the rafters.  That would bring this room up to an R 20-25, still well below the recommend value of 30-38 for a cathedral ceiling in zone 5.

Materials cost around $220.  Assuming it will cost $700/year to heat our house (based off last years bills) we can make some predictions about the payback period.  If we save 5% a year, $700 x 0.05 = $35, then it will take about 6 years to make up the material cost.

A different way to think about it is that we may be able to raise our thermostat by 5% and pay the same amount per year.  Last year we kept the temperature at 62°.  This year we have raised it up to 65° (about a 5% increase).  I do not think that temperature and bills scale linearly though because a larger difference in internal/external temperatures would likely result in a nonlinear amount of heat loss.  Anyway, in six months time, I will have another set of bills to add as a second data point in this little experiment.

Posted in: DIY, House Tagged: attic, insulation, winter

Cut & Cobble – Part 1

November 8, 2014 by Andrew 1 Comment

It is hard to believe that it is almost Thanksgiving.  What happened to 2014?  I haven’t done any big home improvement projects for some time so there was an itch that needed scratching.

IMG_4786

Secret Entrance

That looks like a rather innocuous attic wall.  I wonder if there is something behind it? It would be a dull blog post if there wasn’t!

IMG_4787

Our 2nd floor bathroom is part of a dormer/turret and this is the unfinished attic portion.  Some sort of rodent had made a nest up here but I didn’t find any signs of recent activity.

I had several goals for this space.

  1. Clean out all of the nests and old soiled insulation
  2. Uncover all electrical wiring so I could assess its condition and possibly replace
  3. Insulate the space to be air tight

#1 wasn’t very difficult.  Wearing a respirator, long sleeves, and gloves I carted out seven trash bags full of crud.  Whenever you are working in an unfinished attic, you will want to pay special attention not to step through the ceiling.  To that end, I laid down a scrap piece of plywood so I could crawl around without falling through into the bathroom.

IMG_4803

With the space ‘cleaned’ up I was able to inspect the exposed electrical.

109 year old wiring

109 year old wiring

Given its age, it looked to be in good shape.  There are some spots that I may want to address in the future (receptacle wired in with a light switch).  Eventually we will hire out an electrician to redo the whole house, but until then the plan is to leave well enough alone.

#3 goal of re-insulating the space took some consideration.  Fiberglass rolls and blown in cellulose would not make the space air tight (both of these types of insulation are air permeable).  I knew that I wanted to insulate against the rafters, not along the floor joists because the existing electrical was in the floor joists and because the finished attic space connected with this unfinished space.

The only insulating products that I know of that are air impermeable are foam based.  You can either go with a spray foam or a rigid foam board product.  Spray foam is not for DIYers.  There are kits that are sold for DIYers but they start at around $600.  Foam board is best applied in continuous sheets on the underside of rafters or even better yet on the roof deck itself (outside of house).  Seeing as we just had a new roof put on, and a curved turret makes it almost impossible to hang straight boards, I chose to use a hybrid approach.

Cut & Cobble is an insulating technique where you cut pieces of rigid foam board to fit in-between joists or rafters.  Then you use canned spray foam to seal the edges.  Here is an example of where I have insulated using cut and cobble.

IMG_4819

The foam board should have about a half an inch gap to allow the spray foam nozzle to fit.  While you could fit the boards snugly against the wood you would have a hard time sealing the edges because you would either have to caulk or tape them.

IMG_4828

Ideally, an air gap would be left between the insulation and roof deck to allow air to circulate from the soffits to the ridge vent.  This helps keep the roof cool in the winter and prevents ice dams from forming.

RoofWithSoffitRoofVentAndBaffle

Yet another reason why I wanted to redo the insulation in the attic is because last year when our roof was redone, the roofers correctly installed a ridge vent.  The pre-existing fiberglass bats did very little to keep air from moving from the ridge vent/soffit system to the conditioned space.  In fact, in some spaces you can see the ridge vent while standing in the attic!

nada insulation  :-(

nada insulation 🙁

Cut & Cobble is meant as derogatory name because it has many critics.  For starters, it isn’t exactly pretty to look at.

IMG_4826

About 60% done with dormer

The process of measuring, cutting, fitting, and installing tens or even hundreds of panels is very time consuming.  C&C allows thermal bridging.  Thermal bridging is where heat moves through a less insulating material, such as a 2×4.  After a frost or light snowfall, thermal bridging may be visible from the outside.

guess where the rafters are

guess where the rafters are

Not many studies have been done on C&C, but there are many anecdotal stories of premature failure where the edge sealing fails either immediately or after some time has passed.  Finally, the cost of C&C is questionable compared to hiring out a professional spray foam contractor.

I have thought about these negatives and believe that C&C is still the right option in our circumstance.

  1. I am not interested in how it looks.  The areas that I am insulating are not living spaces.
  2. I am doing the work myself so it is not like I am paying an hourly wage to someone to install a tedious product.
  3. Fiberglass also allows thermal bridging and that is what we have installed right now
  4. premature failure *might* be an issue.  Then again, it might not.  This is a gamble.
  5. I got an awesome deal on factory seconds insulation meaning that the material cost for this project is well below what the alternatives would be.

For $80 + $20 delivery I bought approximately 25 panels of 4’x4′ x assorted thickness (between 1 1/2″ to 4″) of polyisocyanurate (polyiso) rigid foam board off a guy on craigslist.

IMG_4814If I had to guess, I would say the retail value of this insulation would be around $500.  Polyiso has one of the highest R values per inch of any insulation at 6.5.  Screen Shot 2014-11-08 at 6.30.59 PM

I only need a small fraction of that bundle to finish the dormer.  In the meantime, I moved the extra from the garage to the attic so it can ‘work’ while it is being stored.

IMG_4818

When I get this project wrapped up I’ll post a followup with pictures and any final thoughts that I had on doing the project.  So far, I can attest to the length of time required to C&C.  It will be interesting if there are any noticeable differences in temperatures when it is all done.

Posted in: DIY, House, Savings Tagged: foam board, insulation, polyiso, winter

Restoring A Basement Window

September 9, 2013 by Andrew Leave a Comment

In May of this year, we bought our first house after nearly two years of looking.  It was built in 1905 in one of the older neighborhoods in town.  We love old homes and the character that they bring with them.  There are hundreds if not thousands of stories that the walls, floors, and guts of the house have to tell if you know where to look and aren’t afraid to get your hands a bit dirty (not to mention saving a whole bucket load of money by not having to call a contractor).  It is a bit like an archeological dig and even the experienced home owners are still surprised sometimes by what they find.

The house had been foreclosed upon and after three years of sitting vacant with no water or heat we bought it at auction.  One of the many projects that we wanted to tackle was to clean the unfinished basement.

One of the previous owners had hung paneling on the walls and at some point water had come into contact with said paneling.

Naturally, we wanted to get rid of all the paneling.

We still have a long ways to go on that larger project, so I thought I’d share a smaller sub project with you that we have finished.

It was obvious from examining the outside of the house that there were additional basement windows covered up by the paneling.  As we worked our way from the North West corner of the basement towards the South West corner we uncovered the first of these windows.

Hmmm… somebody didn’t want anything getting through that window by the looks of it.  The frame had been painted shut, caulked shut, and nailed shut.  The glass had been painted (and they even used a primer).  The hinges had also been graced with some teal paint.

I decided I wanted to try and restore it.  After all, it had lasted for 108 years, who was I to say it couldn’t keep on living.

After prying it out, here is what the external side looked like.

and the opening.  So much light!

I used a paint stripper called Soy Gel to remove the paint.  It is billed as a non toxic, low VOC stripper.  I still wouldn’t want to take a bath in the stuff though.

A vinegar bath plus some friendly face time with a dremel wire brush had these hinges cleaned up within a couple of days.

The window was originally designed to swing inwards, but it lacked a handle.  This made it awkward to actually open.  I decided to remedy the problem with some new hardware.

The locking mechanisms were also too badly damaged to salvage so I picked up a couple of cheap replacements.

I actually purchased the locks at Menards because they were a dollar cheaper there.  Menards also carried spray foam insulation at a cheaper price as well as rubber weatherstripping.  I wanted to really seal up any potential air leaks.

After using a wood epoxy to fill all the dings and dents in the window I put on a couple coats of paint.  I managed to break the glass when I was working on the window so I got my first taste of glazing and pane replacement.  I’m pretty happy with how it turned out.

I applied a generous amount of spray foam and caulk to seal up any gaps in the window frame.  Then after some paint, I applied the rubber weatherstripping.  It should help create a good seal between the window and the frame.

Here is the almost finished product.  I still need to add a slide lock to the right side and finish painting the exterior.

Here is a nice little before and after.

before and after window

On to the next one…

Posted in: DIY, House Tagged: basement, insulation, restoration, window

Recent Posts

  • Min/Maxing Car Sale for Highest Value and Lowest Headache
  • Buying a Car with Data Driven Decision Making
  • Hot Lunch
  • Baking with Dad
  • Winter Nights

Financial Goals

Recent Comments

  • JOSE AHMED on How Much Does Rebuilding a Front Porch Cost?
  • Chuck Clark on Hacking RockAuto Closeout Parts Sale
  • Brad on Troubleshooting a Leaking Whirlpool Dishwasher [UPDATED]
  • Ralph Taylor on Fixing a Slow-Draining Maytag Maxima Washer
  • Dave Zingg on Building a Self Watering Raised Garden Bed

Archives

  • December 2020
  • December 2018
  • July 2018
  • May 2018
  • April 2018
  • March 2018
  • February 2018
  • January 2018
  • December 2017
  • November 2017
  • October 2017
  • September 2017
  • August 2017
  • July 2017
  • June 2017
  • May 2017
  • April 2017
  • March 2017
  • February 2017
  • January 2017
  • December 2016
  • November 2016
  • October 2016
  • September 2016
  • August 2016
  • July 2016
  • June 2016
  • May 2016
  • April 2016
  • March 2016
  • February 2016
  • January 2016
  • December 2015
  • November 2015
  • October 2015
  • September 2015
  • August 2015
  • July 2015
  • June 2015
  • May 2015
  • April 2015
  • March 2015
  • February 2015
  • January 2015
  • December 2014
  • November 2014
  • October 2014
  • September 2014
  • August 2014
  • July 2014
  • June 2014
  • May 2014
  • April 2014
  • March 2014
  • February 2014
  • January 2014
  • December 2013
  • November 2013
  • October 2013
  • September 2013
  • August 2013

Categories

  • Business
  • DIY
  • Finance
  • Frugal Boy
  • Frugal Girl
  • House
  • Misc.
  • Parenting
  • Reading
  • Recipes
  • Savings
  • Technology
  • Travel
  • Uncategorized

Meta

  • Log in
  • Entries feed
  • Comments feed
  • WordPress.org

Copyright © 2022 Frugal Living.

Omega WordPress Theme by ThemeHall