Part 3/4 HVAC Replacement: Selecting Equipment and More Prep
This 4 part series shows some of the decisions and work done to economically upgrade a forced air furnace and ac system. The goal is to reduce the overall cost while improving the finished quality by taking on some of the smaller jobs as DIY instead of bundling the work with the HVAC contractor.
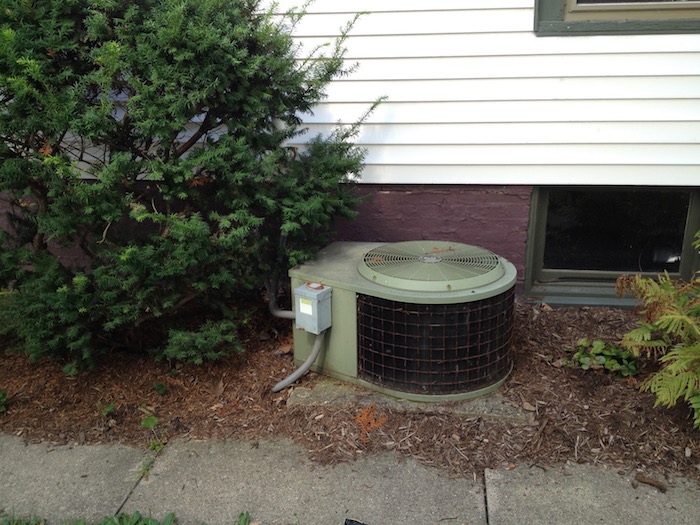
The primary objective of this project was to replace the nonfunctioning 1984 Sear Kenmore air conditioner with a modern, high efficiency, and most importantly, working, air conditioner. The natural gas furnace was also showing its age. The blower had a yellow sticker showing the manufacture date of August 5th, 1994. While the furnace worked and kept the house warm in winter time it wasn’t the most efficient unit. If I had to guess it was probably a 90% efficient model and it most definitely had an old style PSC blower motor. PSC motors work in either ON or OFF. So the air in your ductwork is either blowing at full force or not at all. The more efficient blower motor is an ECM. These electronically controlled motors can usually work at at 50% or 100% or some of the fancier ones can run at anything between 0-100%. Not only do they save on electricity costs but they also improve comfort by constantly circulating and filtering air throughout the house.
The first order of business is in sizing some new equipment. There are three main pieces of equipment in your standard forced air system, the gas furnace, AC condenser, and the AC evaporator coil. Furnaces come in three different airflow configurations, upflow, downflow, and horizontal. In an upflow furnace, the unconditioned air starts at the bottom of the furnace and travels upwards while being heated before exiting out the top. The AC evaporator coil sits on the conditioned side of the furnace. So in an upflow furnace, the evaporator coil would sit on top of the furnace.
As for sizing each piece, furnaces are sized by their output BTU, or British Thermal Unit. Typically, furnaces come in 40k, 60k, 80k, 100k, and 120k BTUs. AC condensers are sized by tons. One ton is equivalent of 12k BTUs of heat that can be removed from a house in one hour. Typical tonnages are 1.5, 2, 2.5, 3, 3.5, 4, 4.5, and 5. Evaporator coils are sized the same or larger than the condenser. There are a lot of different rules of thumbs for sizing both furnaces and AC systems. It is important to get the size correct. You may be tempted just to get a really big system, but that would cause its own set of problems. HVAC equipment is designed to operate best when it is given enough time to run. Short cycling, or the process where a furnace or AC kicks on and too quickly reaches its desired temperature and shuts off again can lead to decreased comfort and energy savings. If a system is sized too small, then the equipment just runs and runs without ever reaching the desired temperature.

The proper way to size equipment is to perform a Manual J calculation. You’ll need to gather a lot of information about your house. http://www.loadcalc.net
In my case, I had already gathered bids from three reputable HVAC contractors. Each of those contractors gave three separate equipment bids for a total of nine different equipment configurations. I simply threw out the lowest and highest sizing outliers and went with the median. For my house that ended up being a 100k BTU furnace and a 3.5 ton AC condenser.
Then I went to my preferred HVAC contractor and asked them to provide me with an estimate for both the equipment and labor. His equipment bid was $1400 more than what I could buy the exact same model numbers for online. The differences were that his bid
- Came with a warranty
- Equipment in stock at local supply house, meaning sooner installation
- Less hassle for me in scheduling lift gate delivery
- Cost $1400 more
We chose to order the equipment ourselves.
- 100,000 BTU 96% AFUE Upflow Variable Speed Goodman Gas Furnace $1,504
- 3.5 Ton 16 SEER Goodman Air Conditioner Condenser $1,151
- 4 to 5 Ton 21″ Width Goodman Cased Evaporator Coil with TXV $536 (this was actually substituted by the factory for an in stock model)
- A new condensate pump
The total was $3,250. Saving $1400 in lieu of a warranty seemed like the best option for us. If you are less risk tolerant then perhaps you would want the peace of mind that a warranty gives. I figure that if we do have problems with one or more pieces then that $1400 would go a long way to resolving them.
Within a few days I received a phone call from the truck driver telling me he was on his way. I paid an extra $35 for lift gate service. All that means is that the semi truck driver will use a little elevator on the back of the truck to get the pallet of equipment down onto the street level. He also had a pallet jack to move it off the street and into our front yard. That was it, the rest of the work of moving the new equipment would be my responsibility.
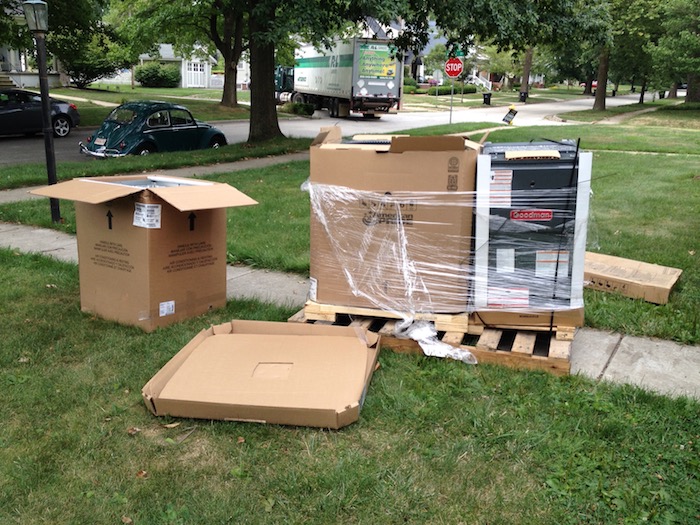 Before signing off on the delivery, it is crucial that you inspect all boxes and equipment. Any damages should be returned immediately. Both the AC condenser and evaporator coil shipped with a charge from the factory. The condenser comes pre-charged with refrigerant and the evaporator comes charged with inert nitrogen gas. The condenser is the most fragile unit, and it is also the heaviest weighing in at around 200 pounds. If there is any damage it would likely show as either crushed fins or oil pooling at the bottom of the box.
I was a bit surprised that the new equipment had arrived so promptly. I thought I would have more time to remove the old stuff. Thankfully, the furnace is fairly easy to remove. In the process of removing it, I discovered a sizable crack in the secondary heat exchanger. I guess that is another good reason to replace with new equipment.


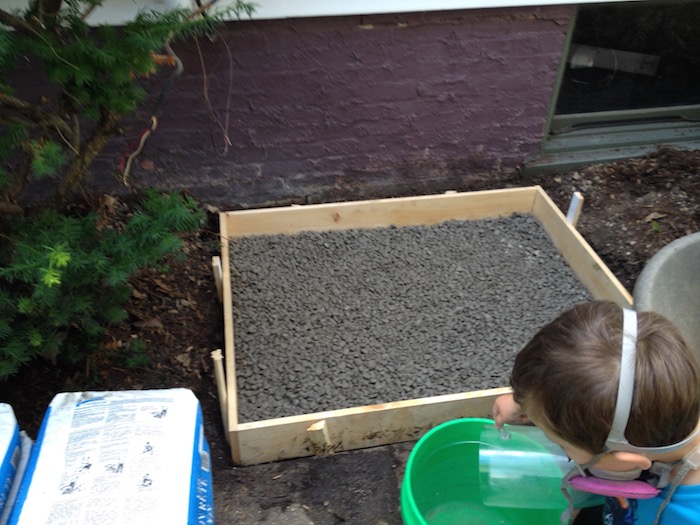
Meanwhile, Frugal Boy was enjoying his new toy.

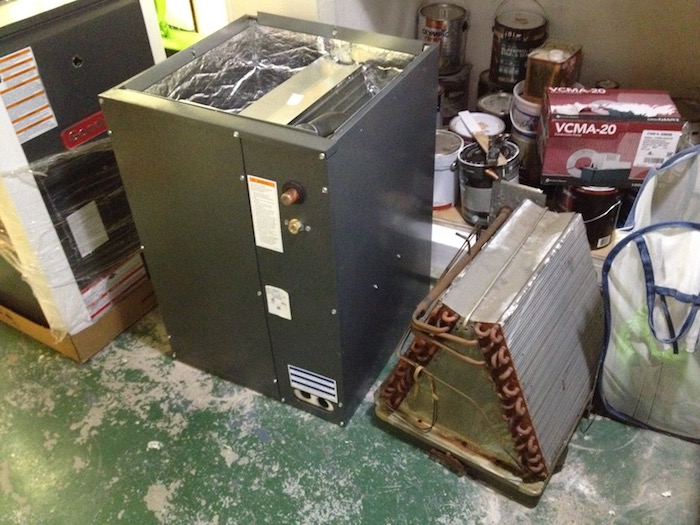
There was a slight size difference between the old evaporator coil and the new one.
With all of the old equipment torn out and the new stuff ready to be installed it was time to call the contractor and let him take it from there. Once he was finished there were just a few loose ends to tie up.