Troubleshooting a Leaking Whirlpool Dishwasher [UPDATED]
For the past couple of days when Shae or I walked in the back door we noticed an unpleasant odor. We checked the half bath adjacent to the door, the entranceway closet, and underneath the kitchen sink. Taking the garbage and compost out did not seem to solve the problem and everyday the odor would come and go.
Yesterday, I finally figured out the source when I went to unload the dishwasher. I smelled that all too familiar smell of something died and saw a little glimmer of water at the base of the washer. Uh oh.
Removing the kick panel revealed a grisly scene of stagnant sludge water pooling under the dishwasher. My first thought was, “Yay, I found the problem.”, quickly followed by, “oh damn”.
Pulling the dishwasher out from underneath the cabinet isn’t too difficult of a task. Flip the breaker(s) at the electrical panel to kill power to the unit, find and turn off the water supply valve, and undo any screws attaching it to the cabinetry.

After mopping up the mess and hosing it down with a liberal amount of bleach, I set to work trying to figure out the source of the leak. My first inclination was the drain hose. The pooled water was not clean, and a leak from the supply line would have flooded the whole room, so I ruled that option out. That left the drain hose or the dishwasher itself.
Fast forward an hour and a half and I had a new drain hose installed and with Shae’s help we did a test run with the dishwasher pulled out from underneath the cabinetry. This way, we could easily see if anything was leaking. Right away, water started gushing out from a port at the bottom of the unit. Well, so much for my hypothesis that it was the drain line.

I looked up the part number online and found out it was the diverter motor. #12 in the diagram below.

Removing the motor was a simple task, it just had two electrical connectors and two screws holding it in place. Upon closer inspection, I could not deduce any water sealing feature on the #12 part. The fault must lie further upstream.
I opened the door to the dishwasher and started removing parts. The first to go were the filter screens, #2 and #6. Next was the sprayer arm, #7. A quarter turn was all it took to unlatch it. Then part #1 was liberated with another quarter turn. Below that is the diverter disk, part #4. It attaches onto the post of the diverter motor, #12, where we saw the water coming out of. Yay, progress!

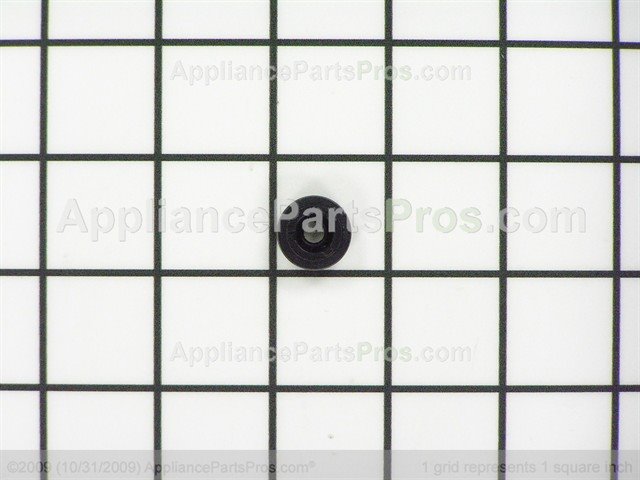
In the above picture, you can see the white diverter motor post sticking up through the bottom of the dishwasher. Water was getting through that black gasket/grommet/seal. With a little digging around the internet, I found the replacement Sump Assembly part, #3 for $56. I don’t need the whole assembly, I just need the grommet. Thankfully, I found it as part #WPW10195677 (alternative part AP6016787). $6 plus shipping. [Update 4/4/2018] The previously linked part is no longer in stock. Here are some alternatives. from SearsDirect.com, or avxseals.com (hat tip to David Olson for finding a suitable replacement part).
With any luck, the replacement grommet will fix the problem, at least for the next 3 years. The total cost so far is $10 for a new drain hose, $14 for a new grommet.
$24 plus some sweat equity sure beats paying a technician to come in and bill $200-$400. It also beats paying $150 for an extended warranty.
The grommet seems to be compatible with Whirlpool, Kenmore, and KitchenAide dishwashers. I suspect all three brands suffer from this same problem. Our next dishwasher will not be one of these three brands.
[UPDATE]
The part arrived today and I was able to pop the old grommet out very easily.

The new grommet slid into place just as easily. This would be a much easier repair if you did not have to remove the diverter motor underneath the machine. Perhaps a more skilled person could, but since I already had the machine pulled out it wasn’t too much extra work.
A quick test of the system revealed no leaks! Huzzah!
As a final step and with the benefit of hindsight, I added a 1/2″ thick sheet of rigid board insulation in the cavity. On sub zero nights, the drain line would freeze. Hopefully, this will save us some future headache.
 Here is a Youtube video that shows the entire procedure.