• About Me
  • Contact Me

Frugal Living

Indulging in life, financially responsible

woodworking

Building a Kids Front Facing Book Display

April 9, 2018 by Andrew Leave a Comment

Shae and I strive to impart a love for reading in our children.  As such, books are one of the primary activity areas in our house (the other is a Lego table).

Unfortunately, kids are pretty awful at picking up and neatly shelving books when they are finished.

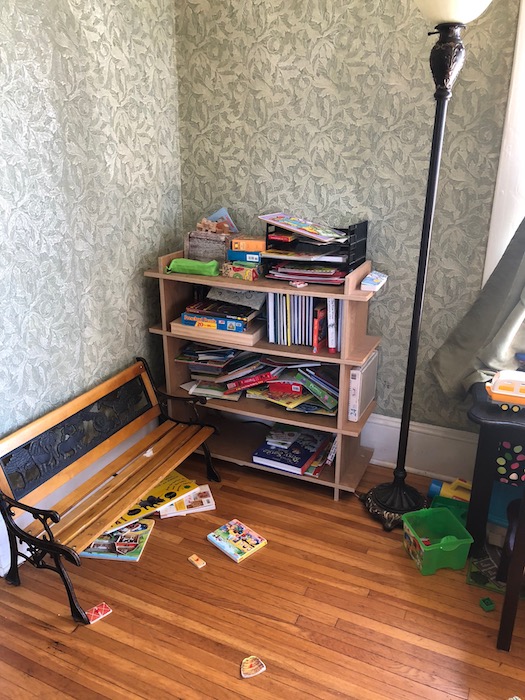
I’ve watched both Frugal Boy and Frugal Girl grab the bottom most book and yank it out causing everything on top to come avalanching out.  We have neatly arranged the books standing upright with the spines facing out and less than 24 hours later it looks like the above picture again.

The problem was simple.  There were too many books and they were not visible enough.  A little kid wants to see the front cover of a book.  That is how they judge it!  The title and author on the spine mean very little to them.

So I started looking around the internet for ideas on how to corral the bookalanche and make it a better experience for everyone.  I really liked Simple Families method.

It is simple, practical, and easy!  What’s not to love?!

First I looked at clear plastic folder holders like this, but they are $8-12 each and only hold one or two books at most without stacking them two or more deep (which utterly defeats the purpose).

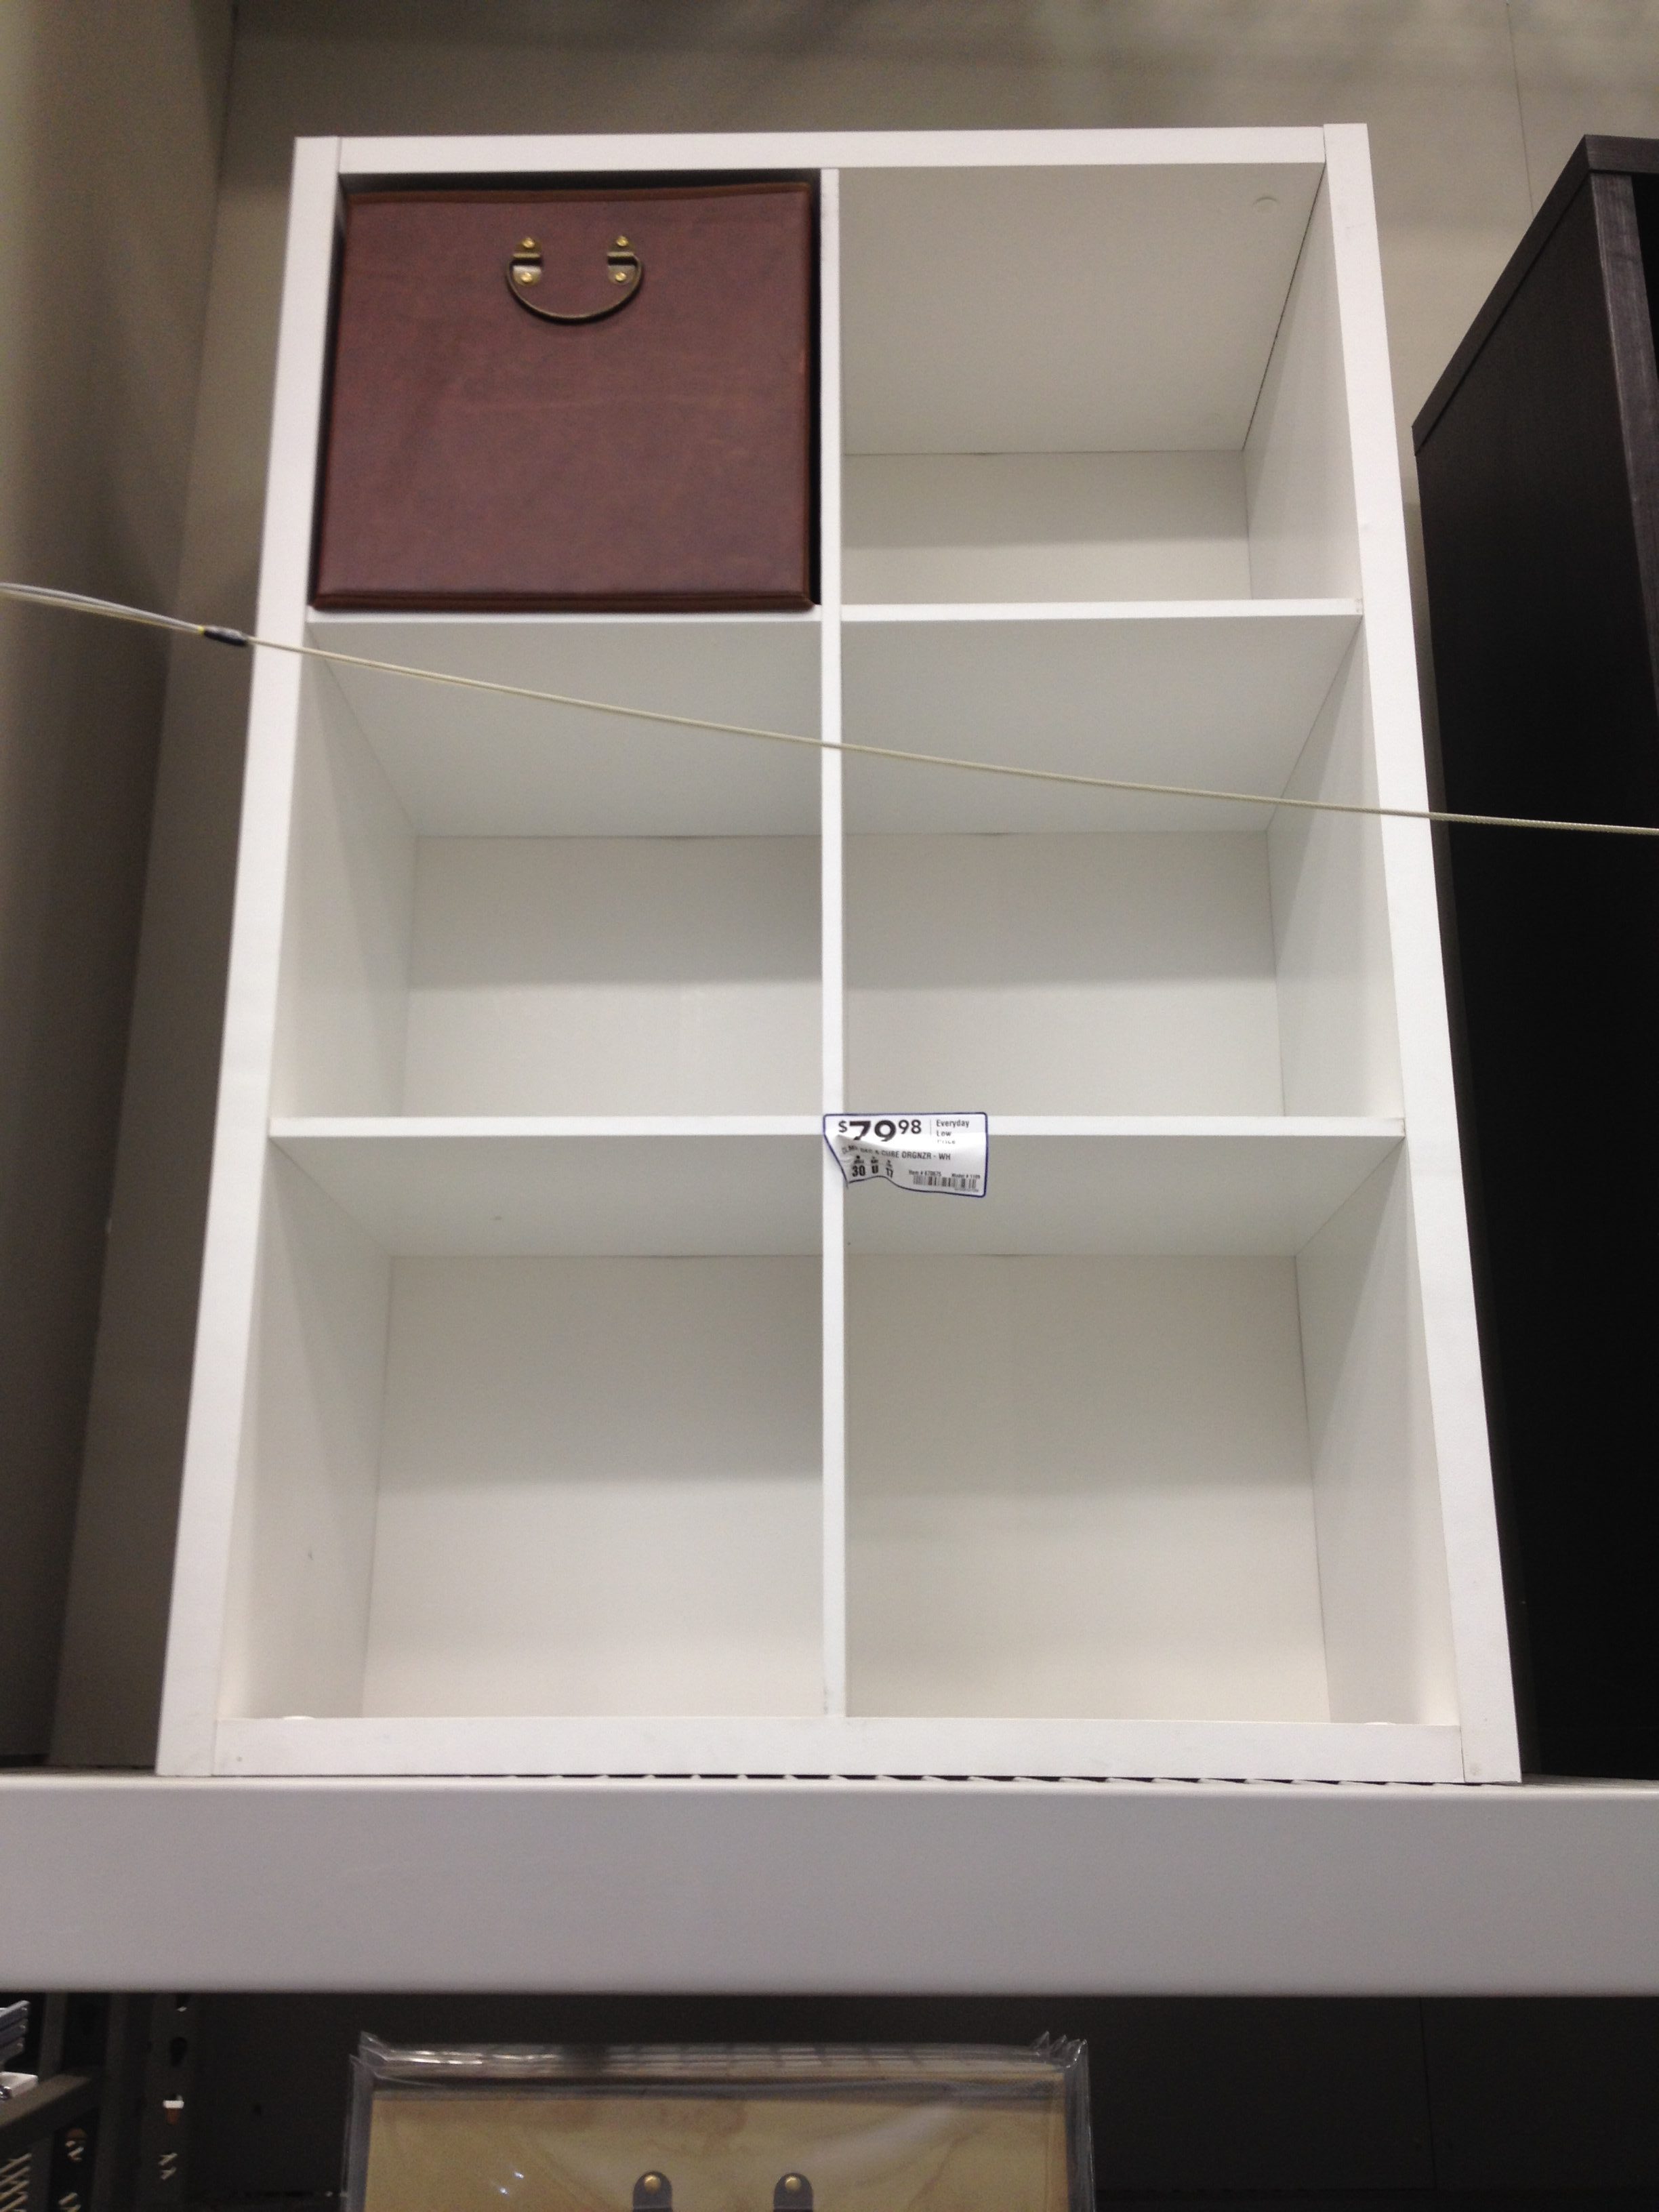
Then I saw the Tidy Books – Original Kids Bookshelf.  It looks great and is sizable at 30″ x 45″ but it also costs a whopping $151.

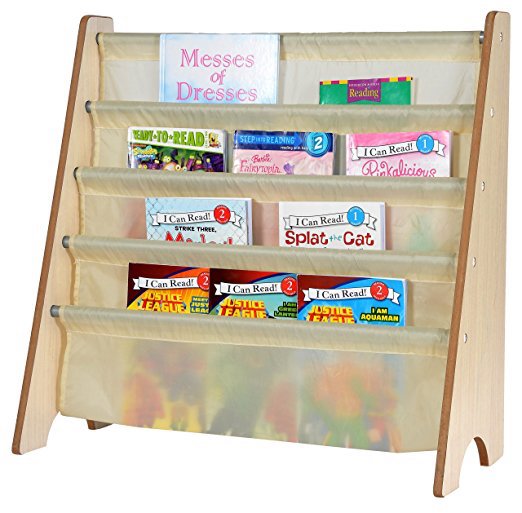
There are some smaller, cheaper options like this sling rack.  It measures 24″ x 24″.

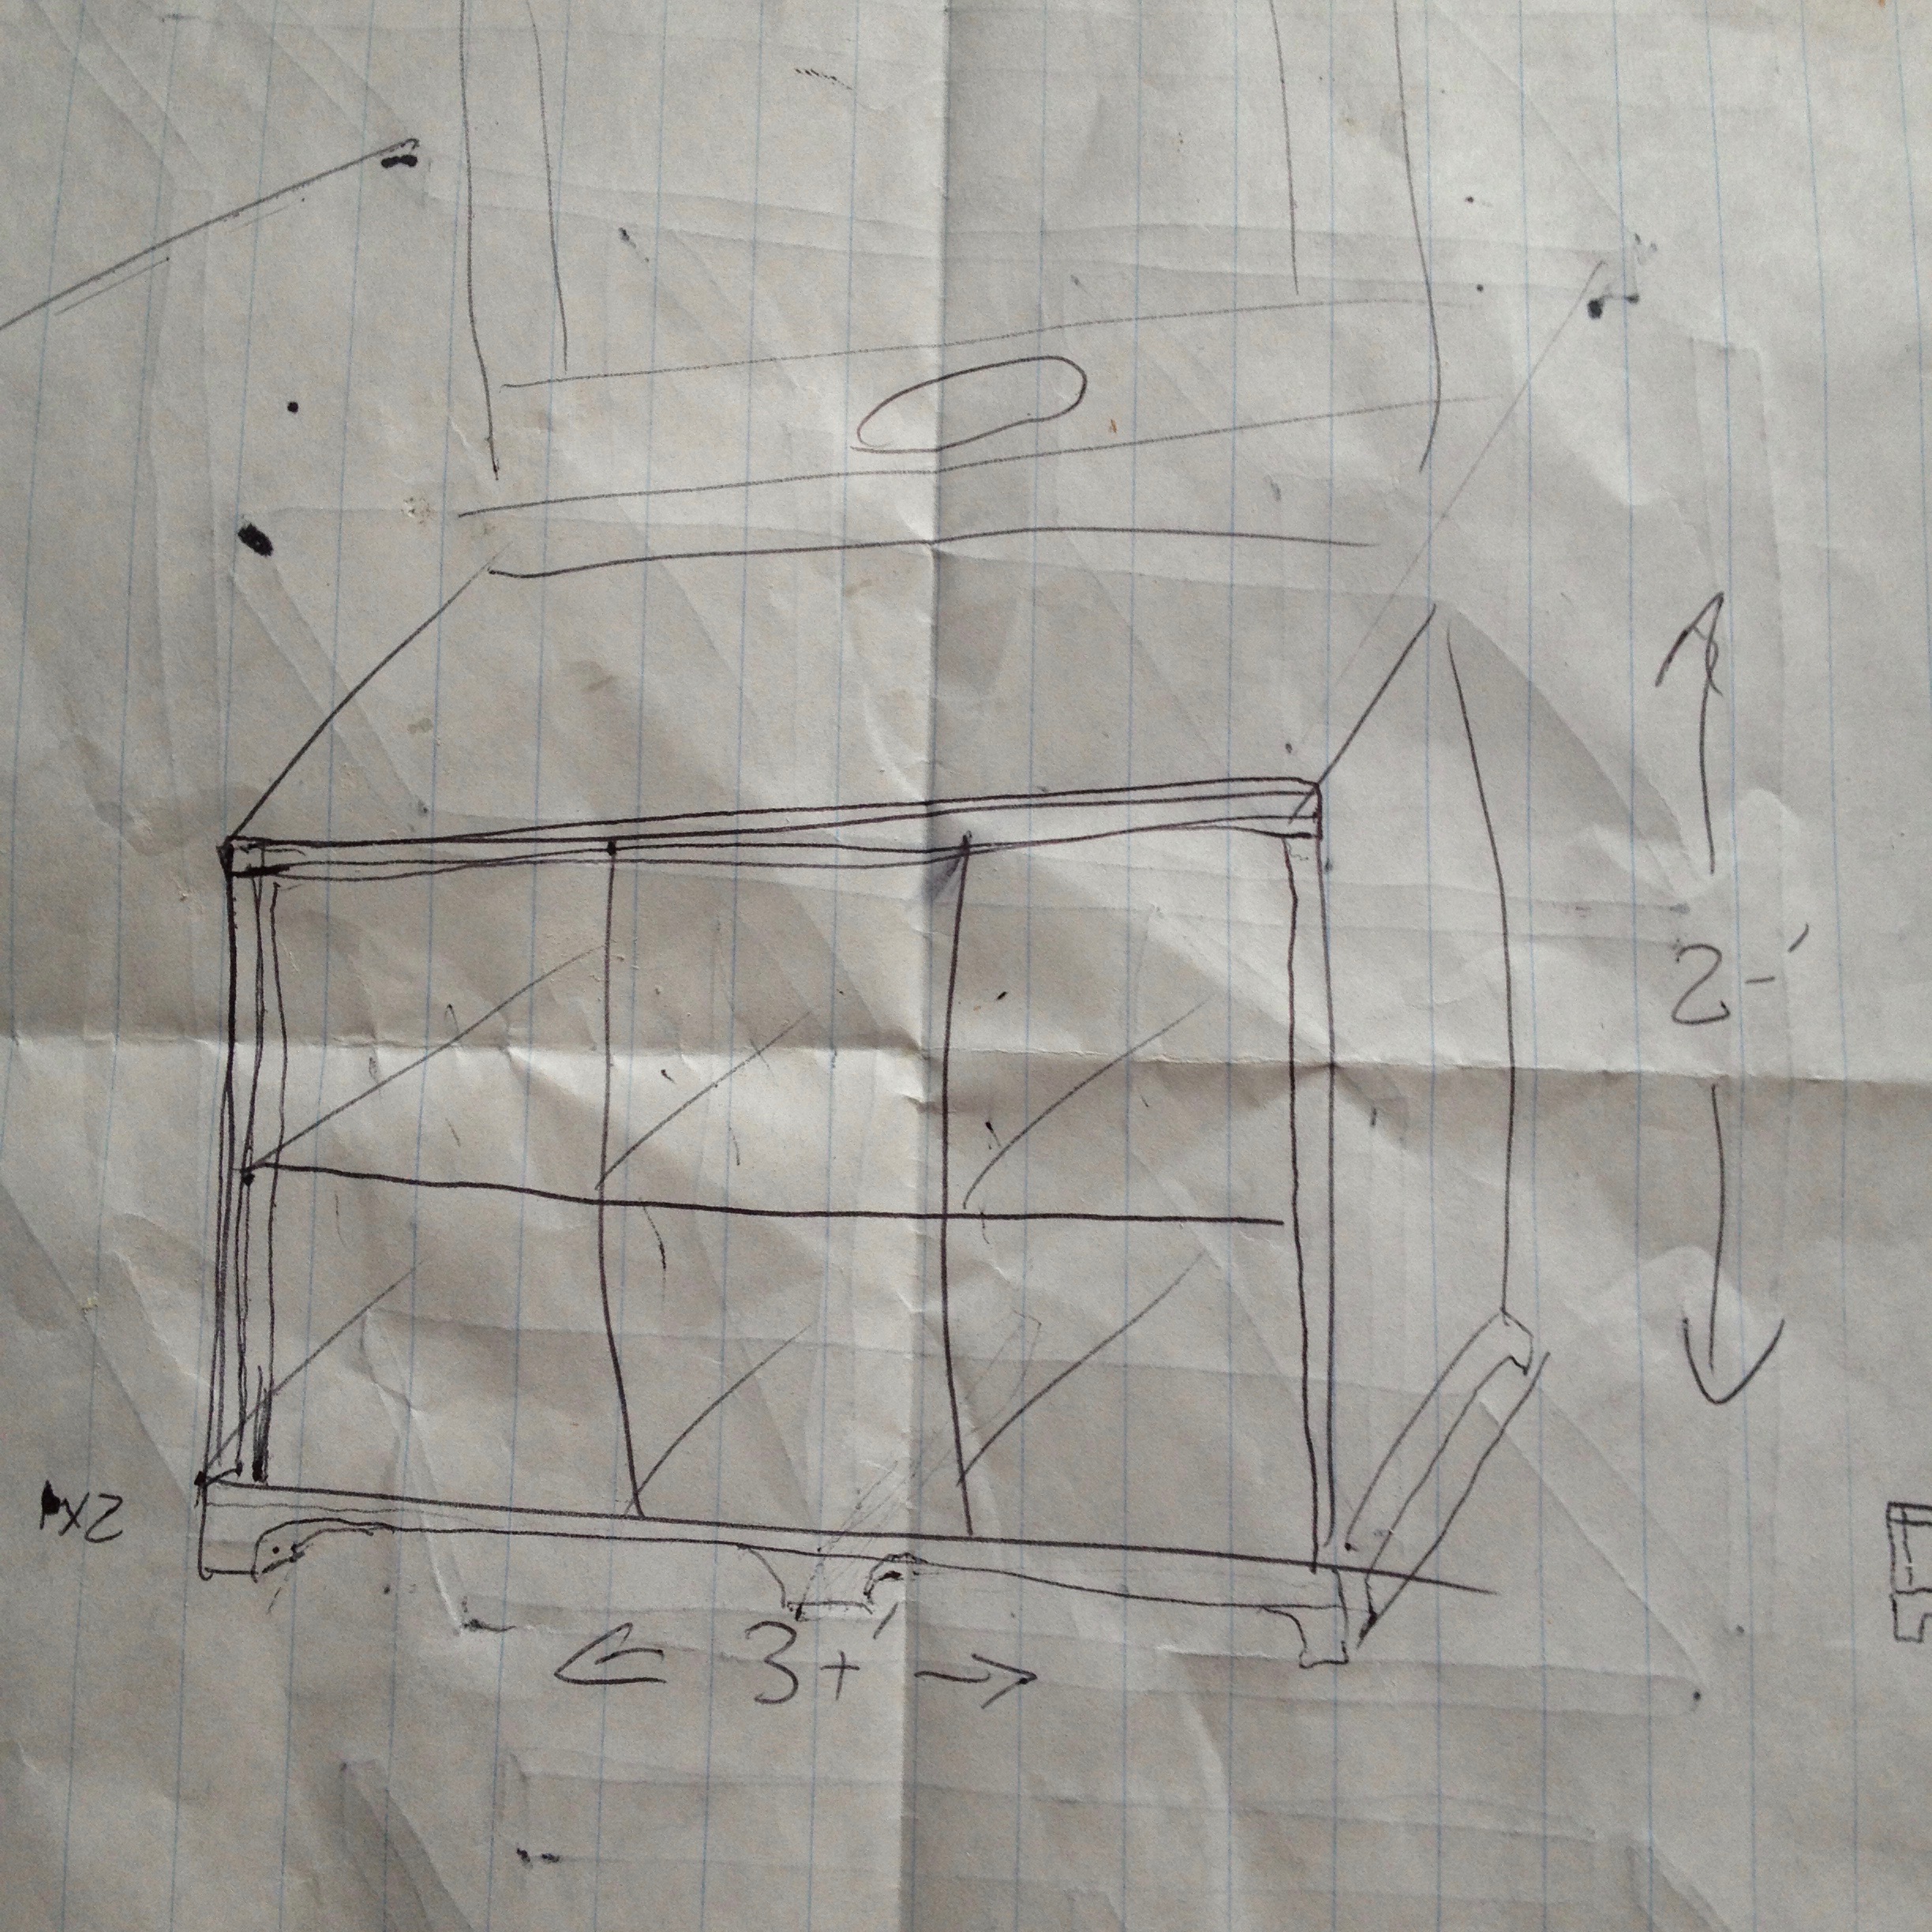
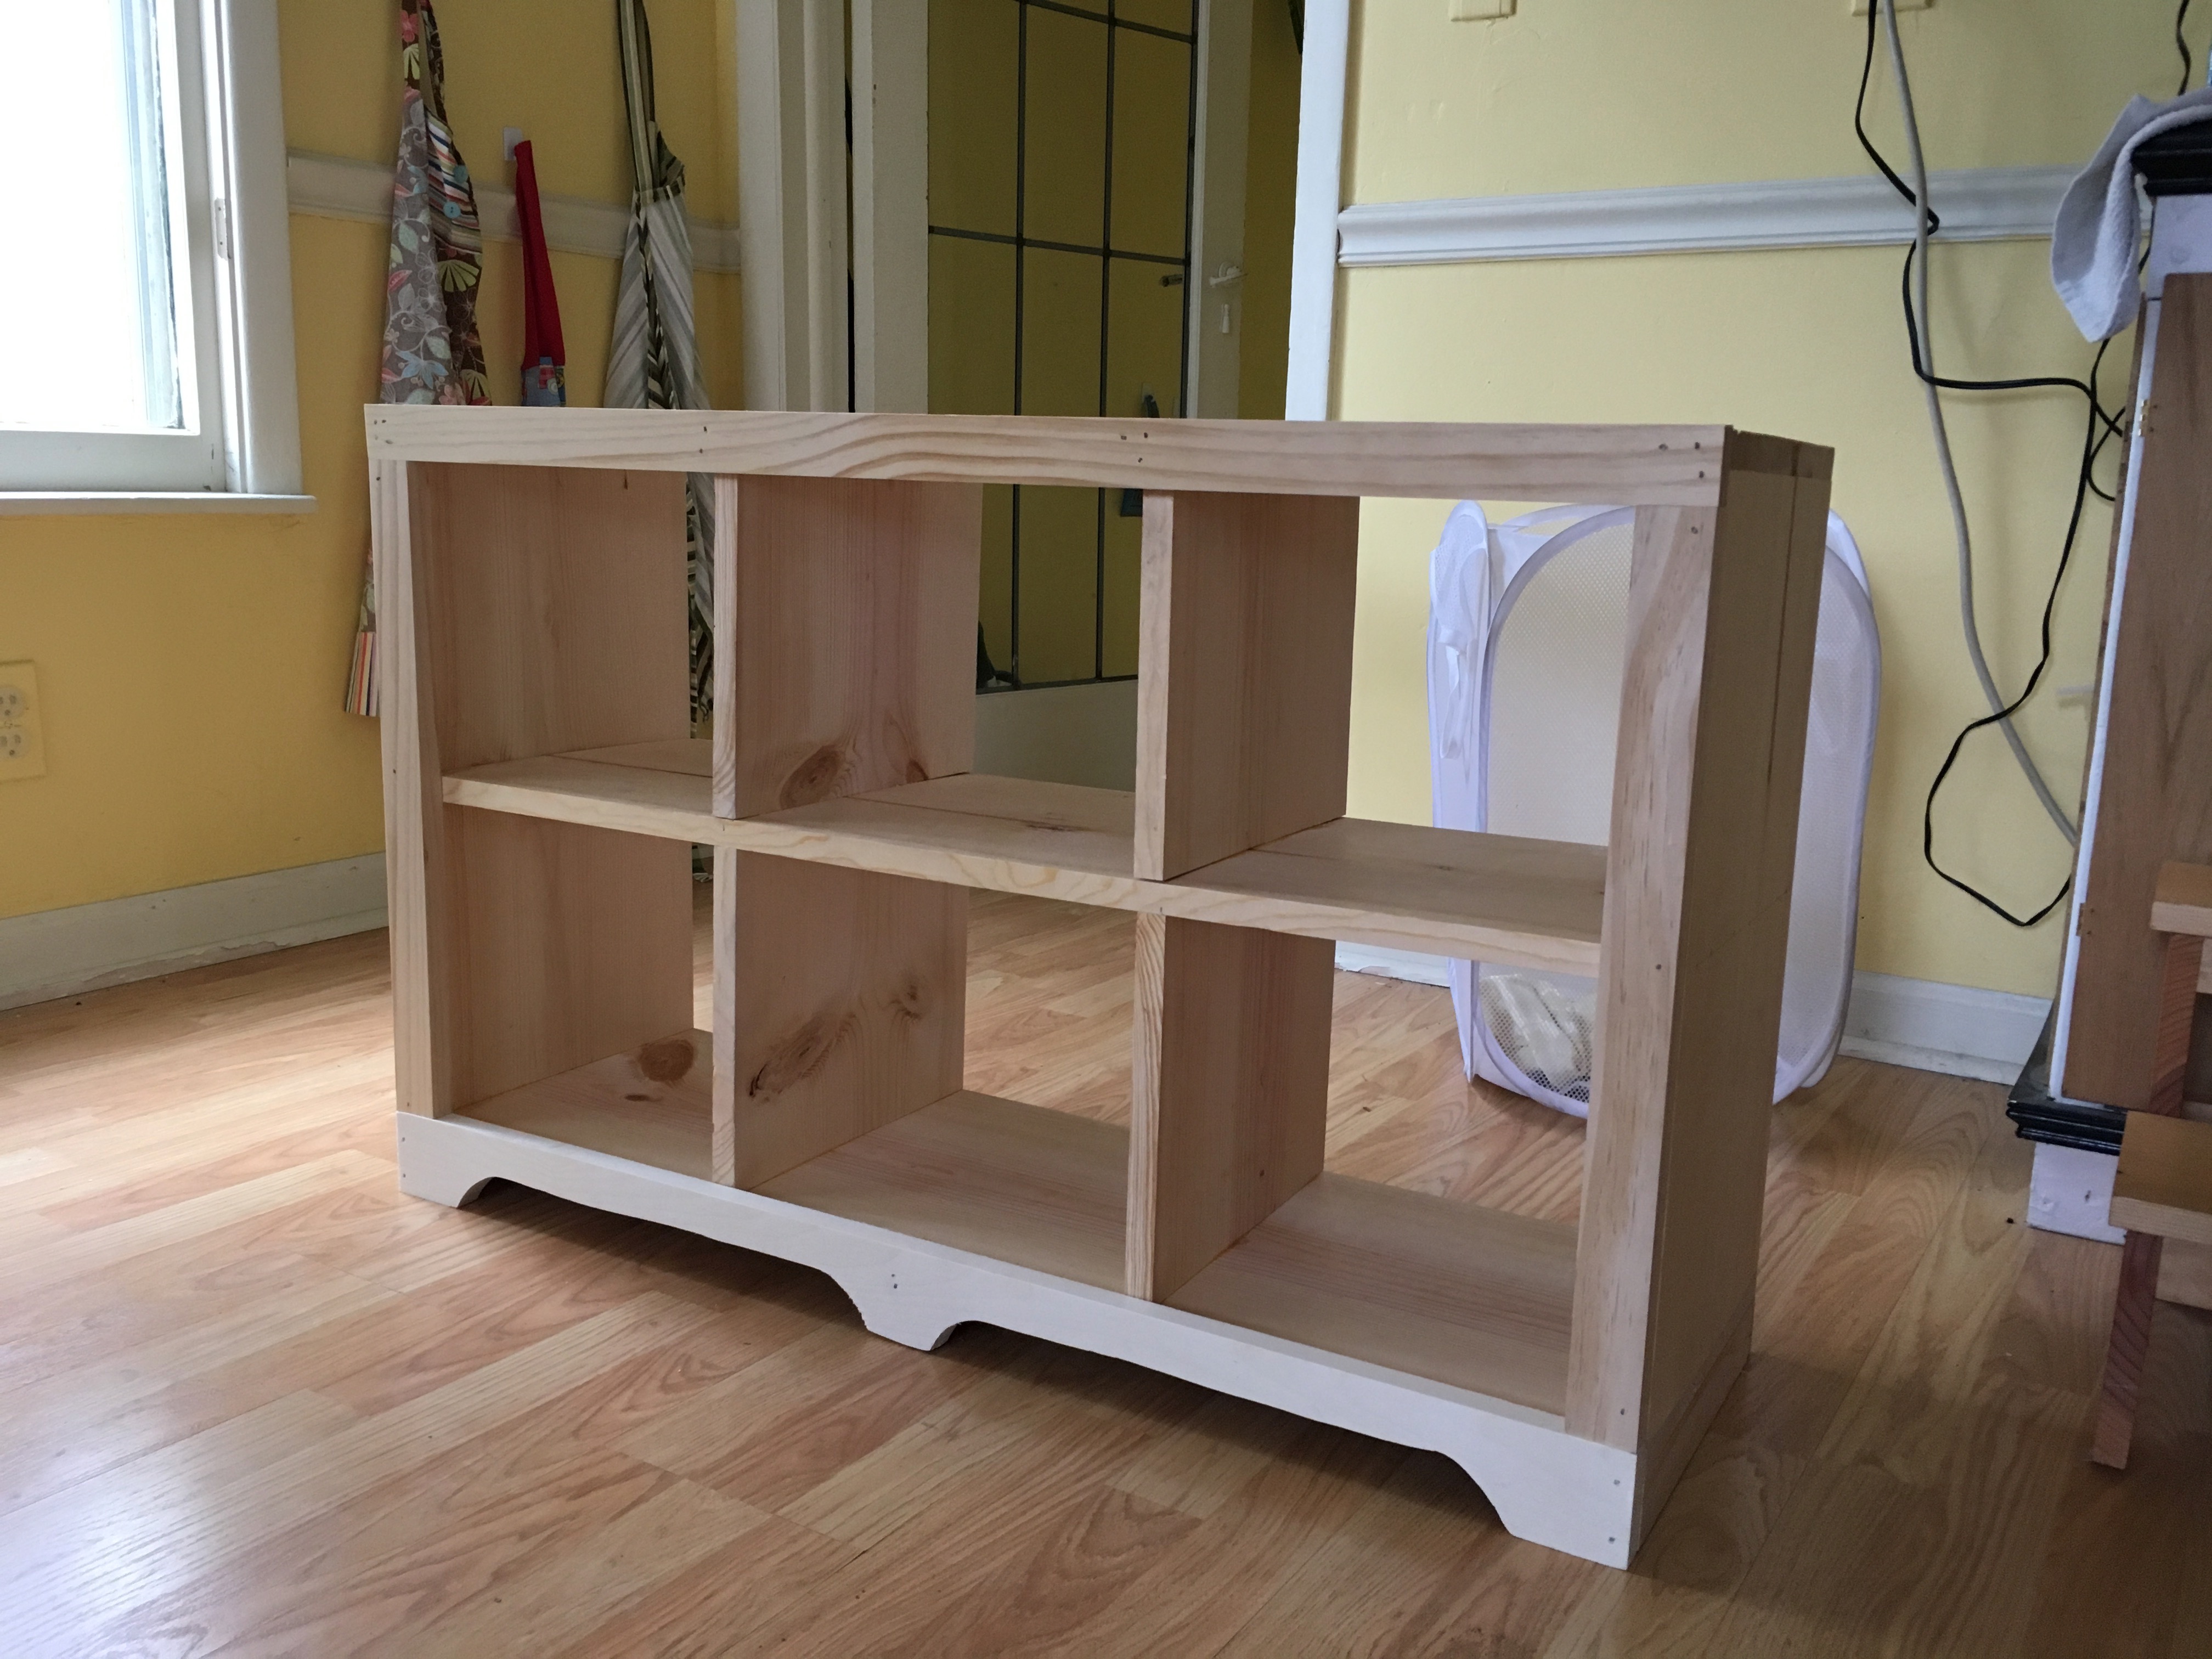
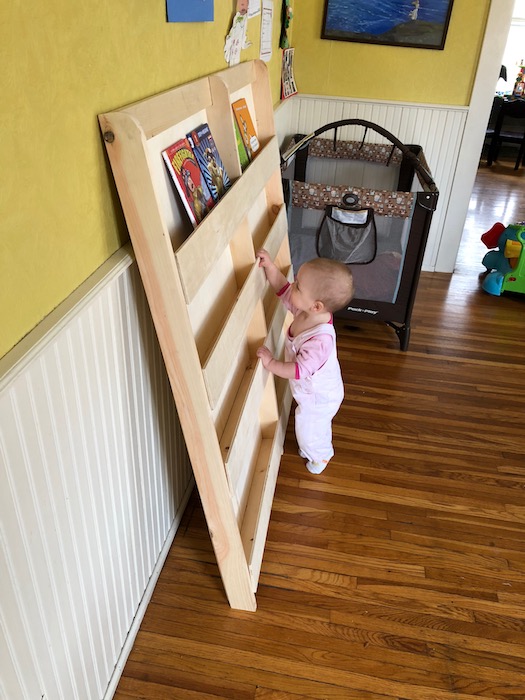
I couldn’t help but think that I could build something myself.  Thankfully, Ana White already did the heavy lifting by publishing some plans for a book or magazine ladder shelf (link here).  I’ve used her plans before when I built a changing table.

For about $35 worth of materials, I was able to build a custom sized piece to exactly fit the intended space.  48″x48″.

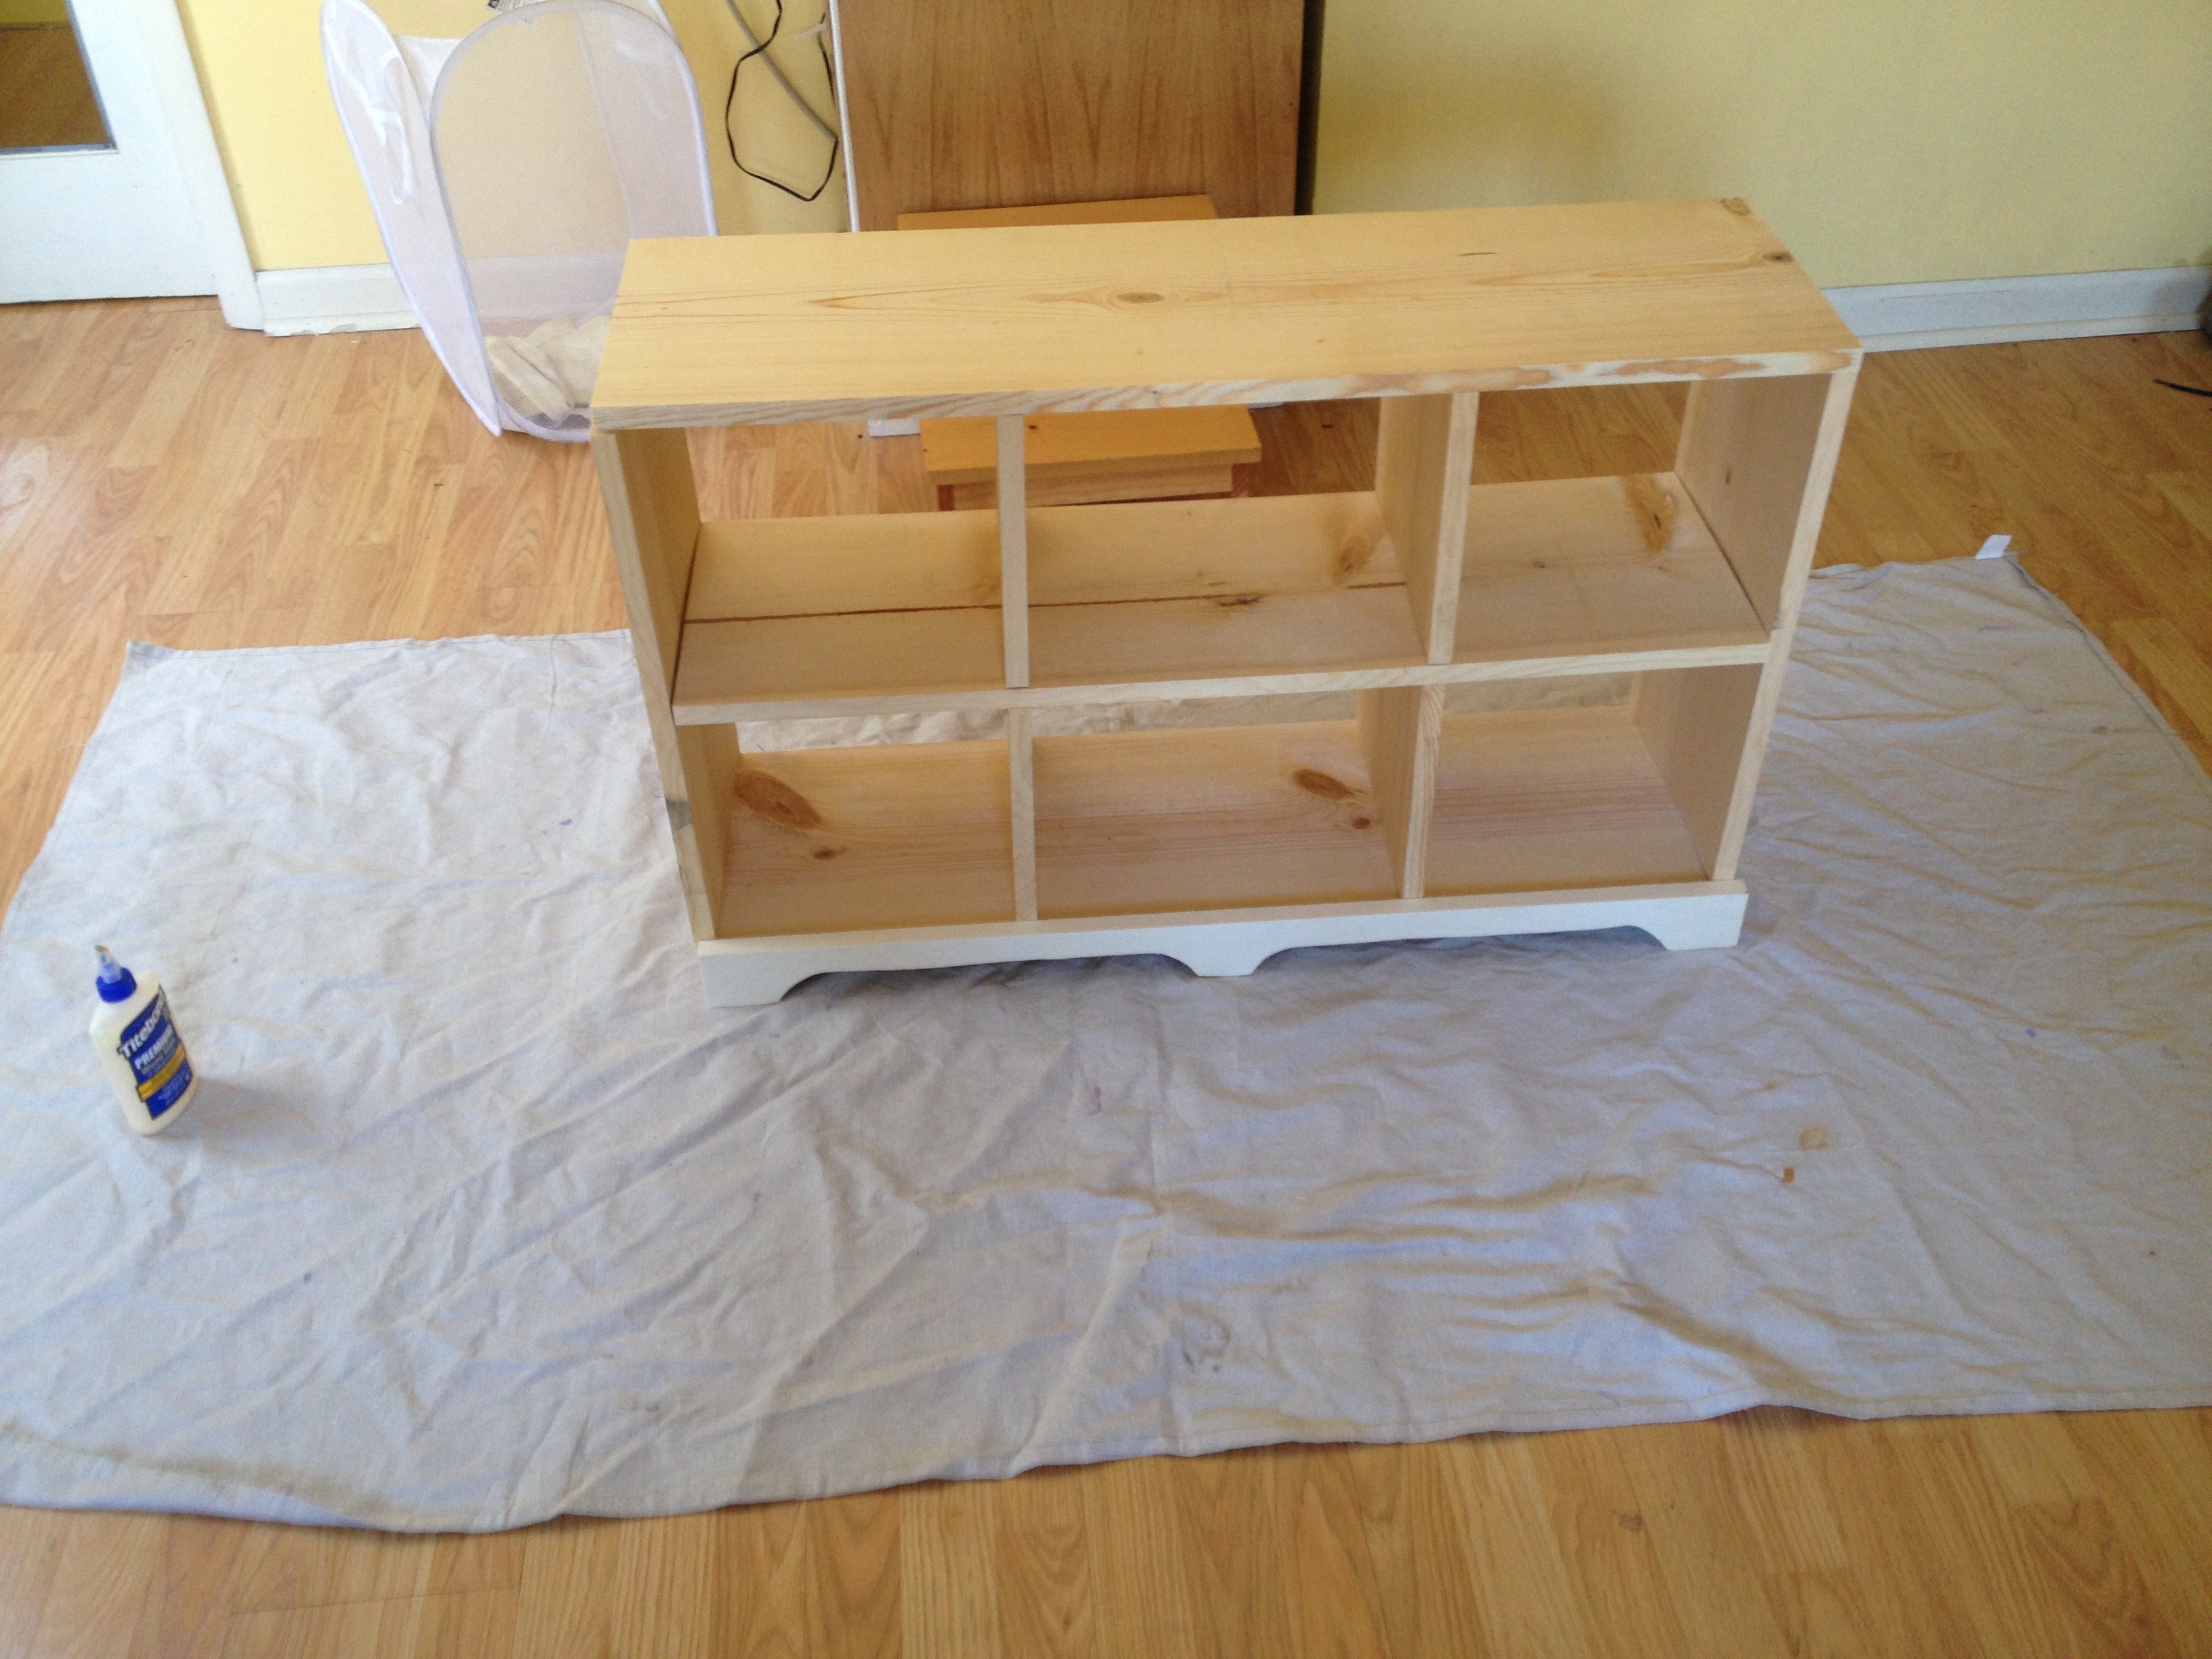
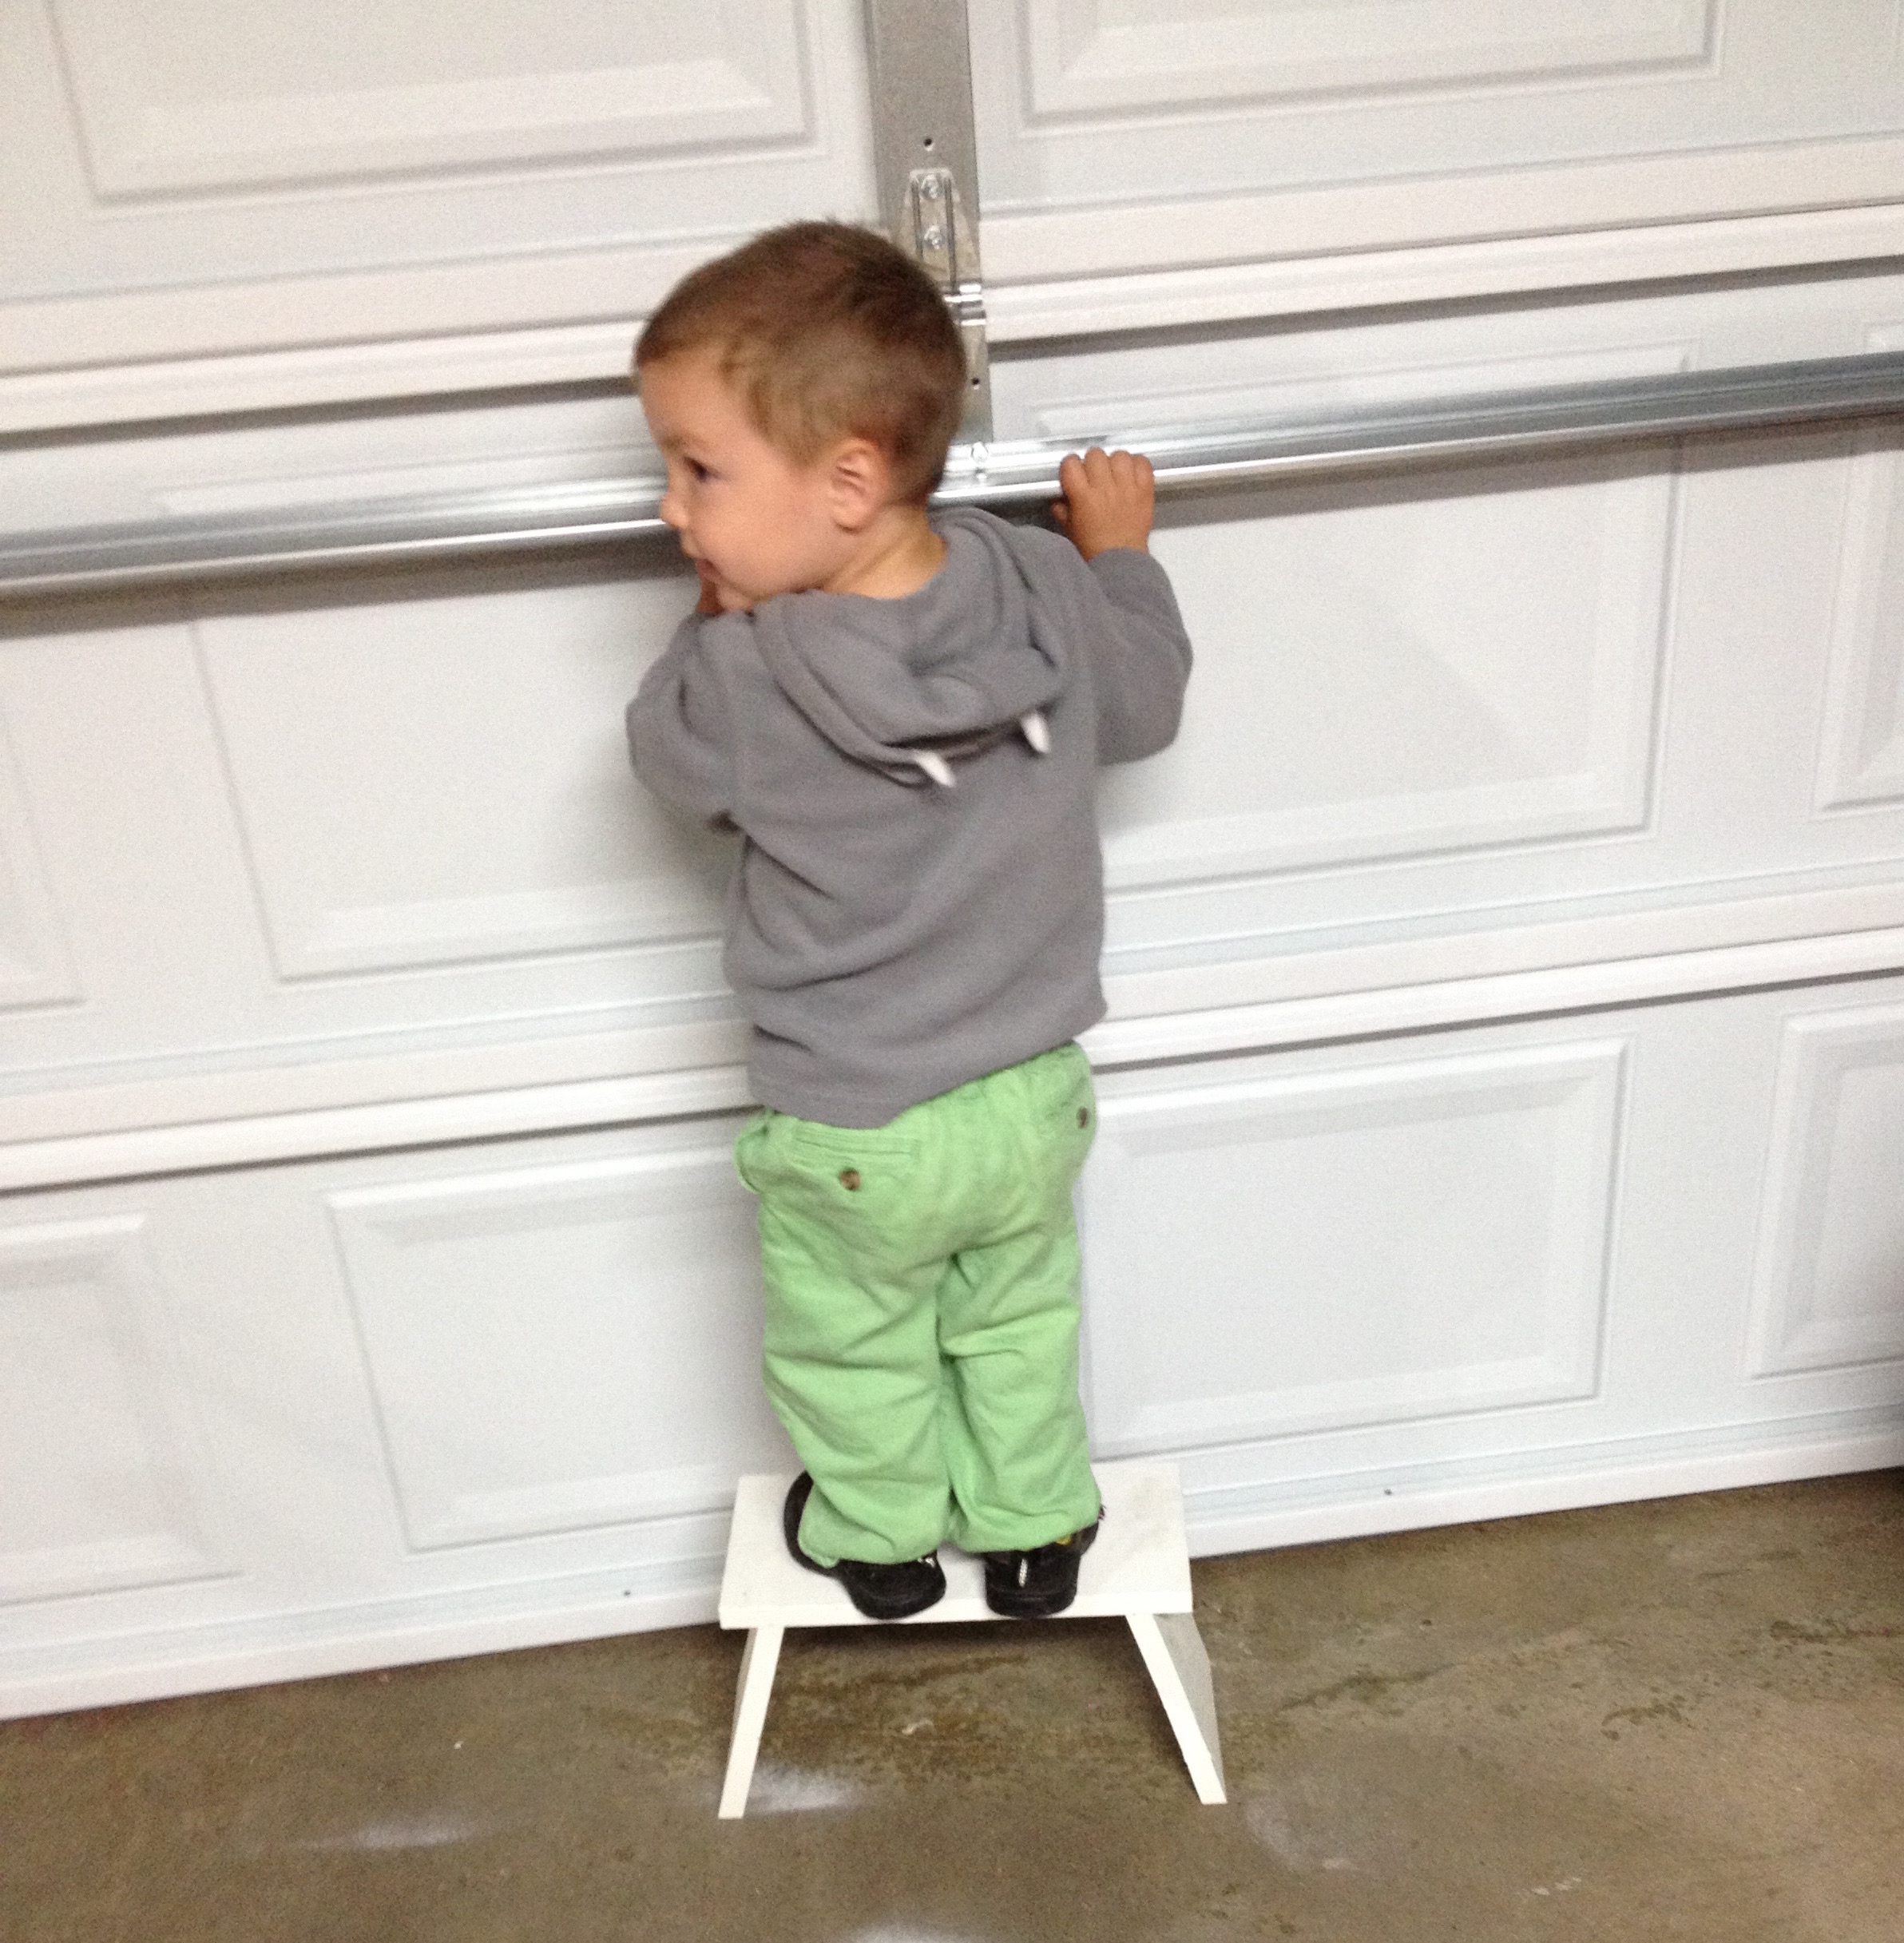
I assembled it in the garage.

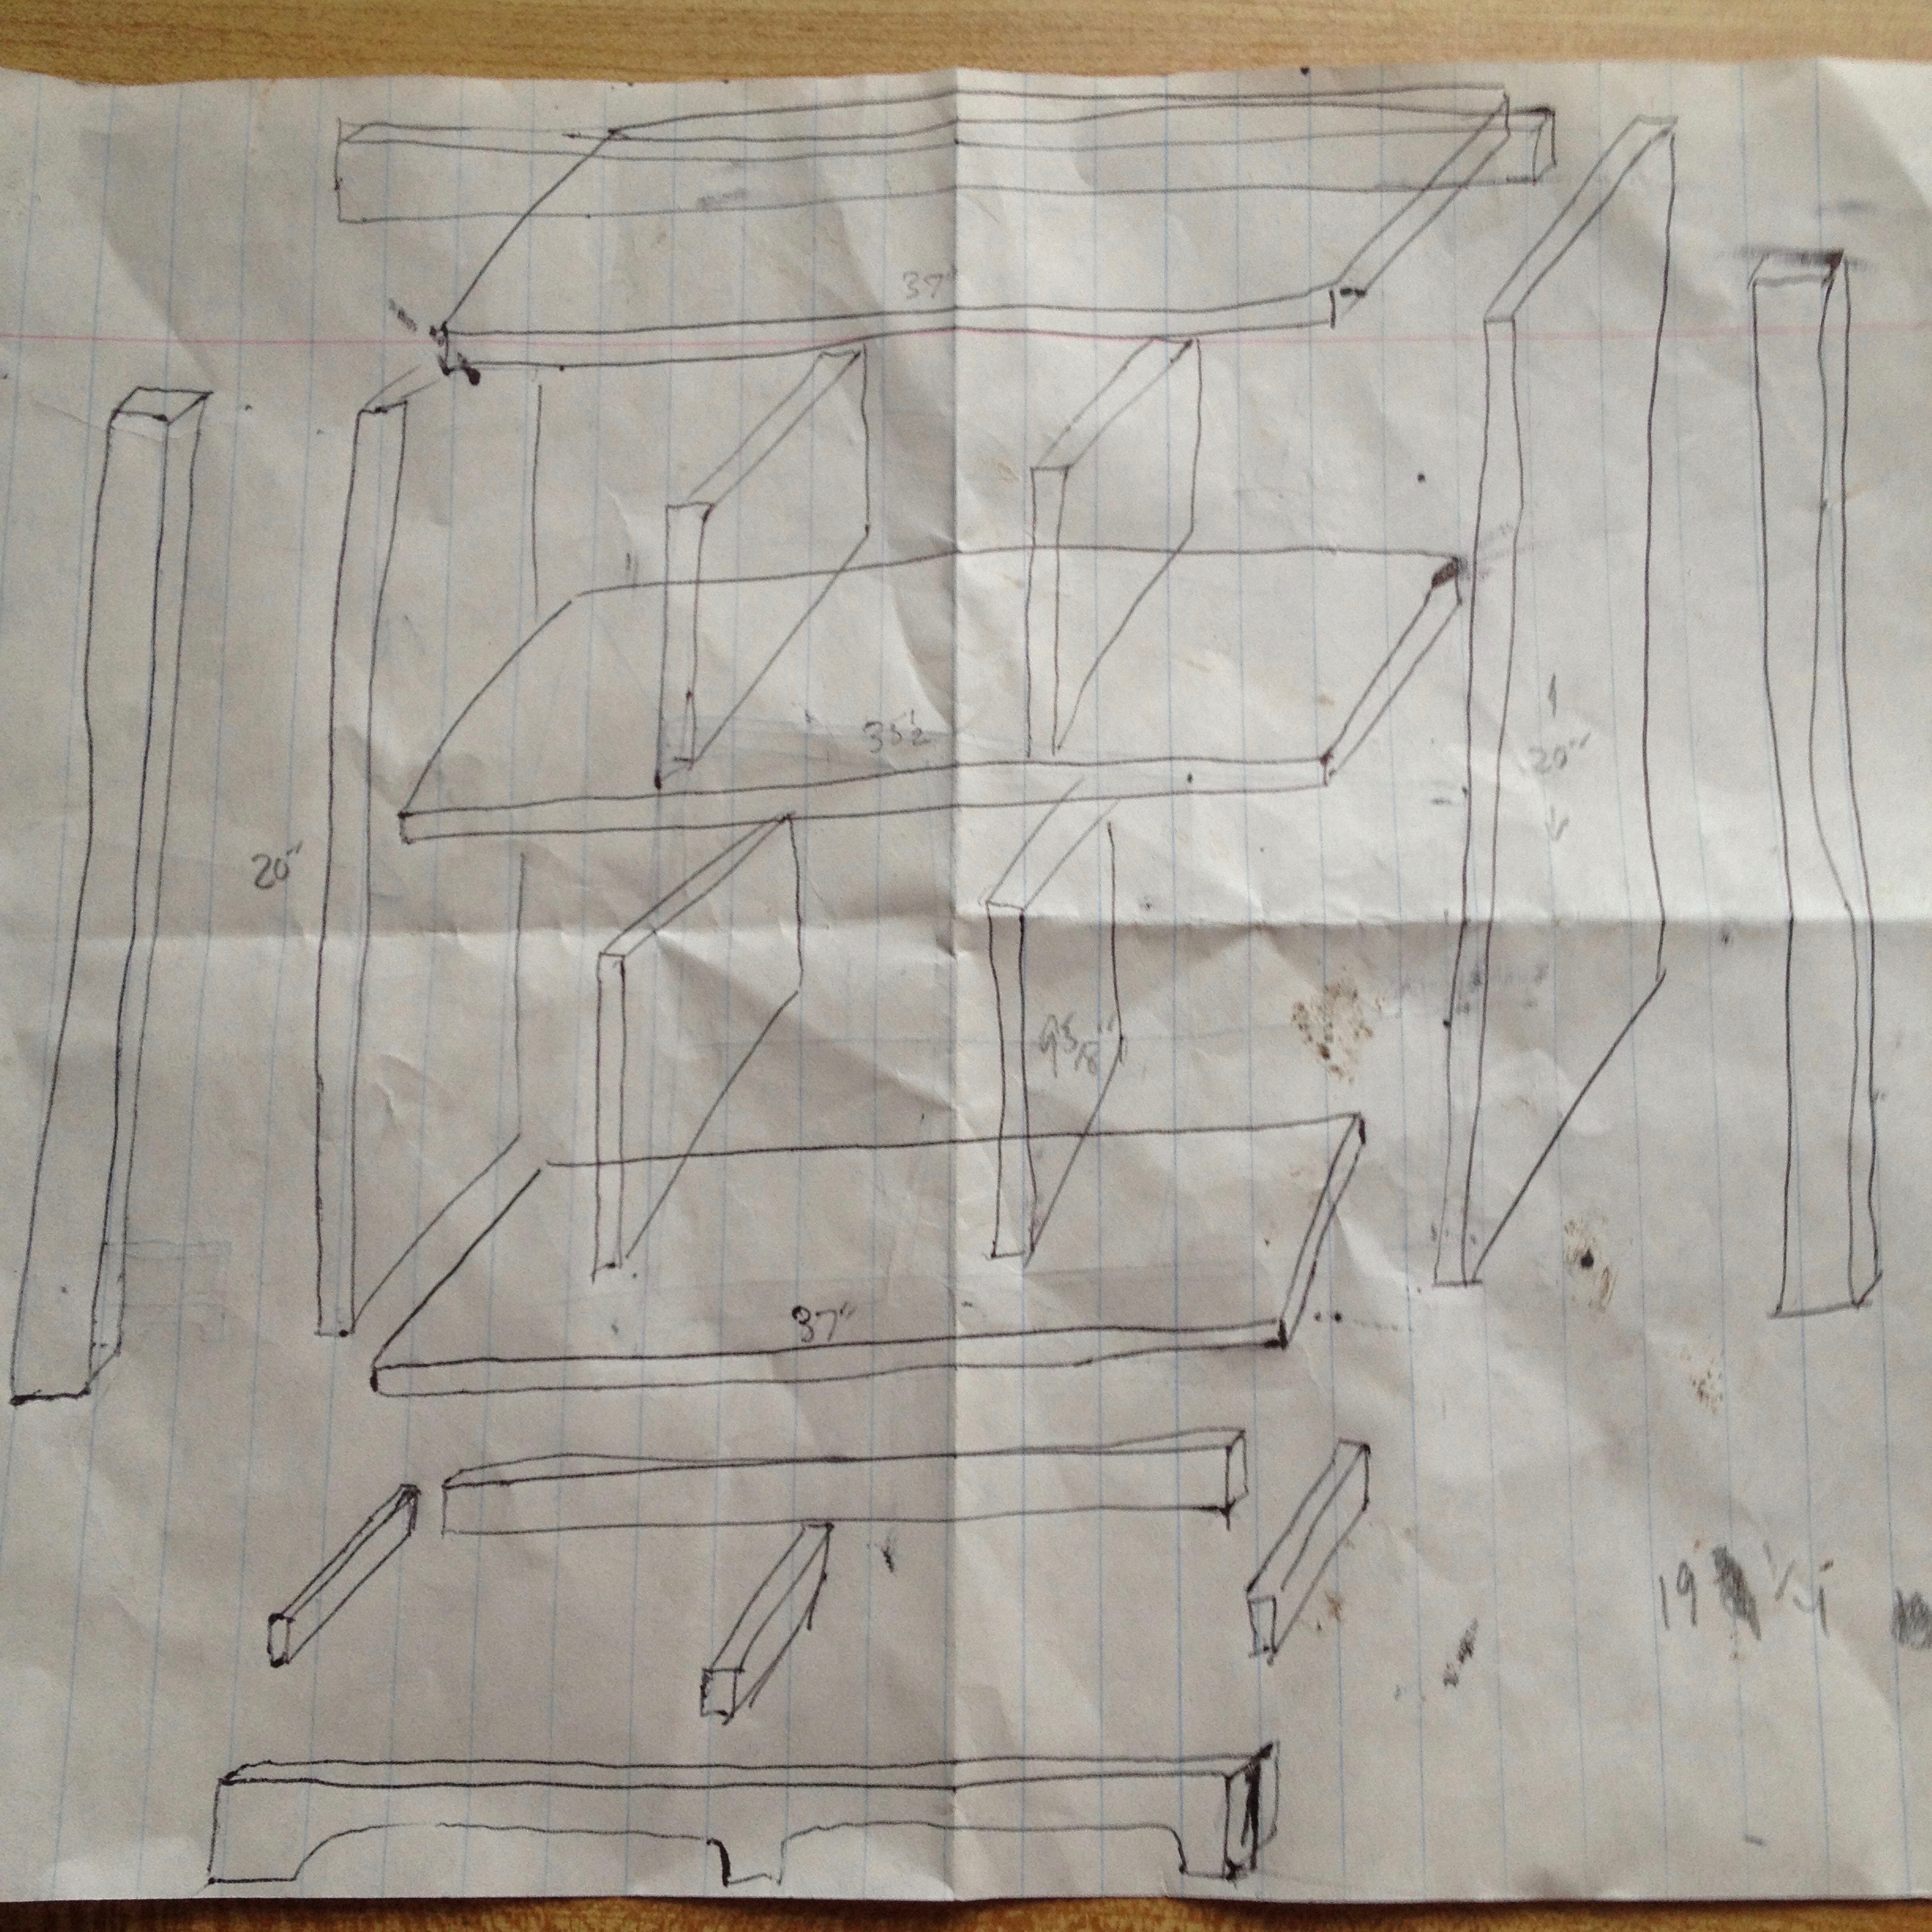
You may be able to scrounge up the materials from leftovers of other projects.

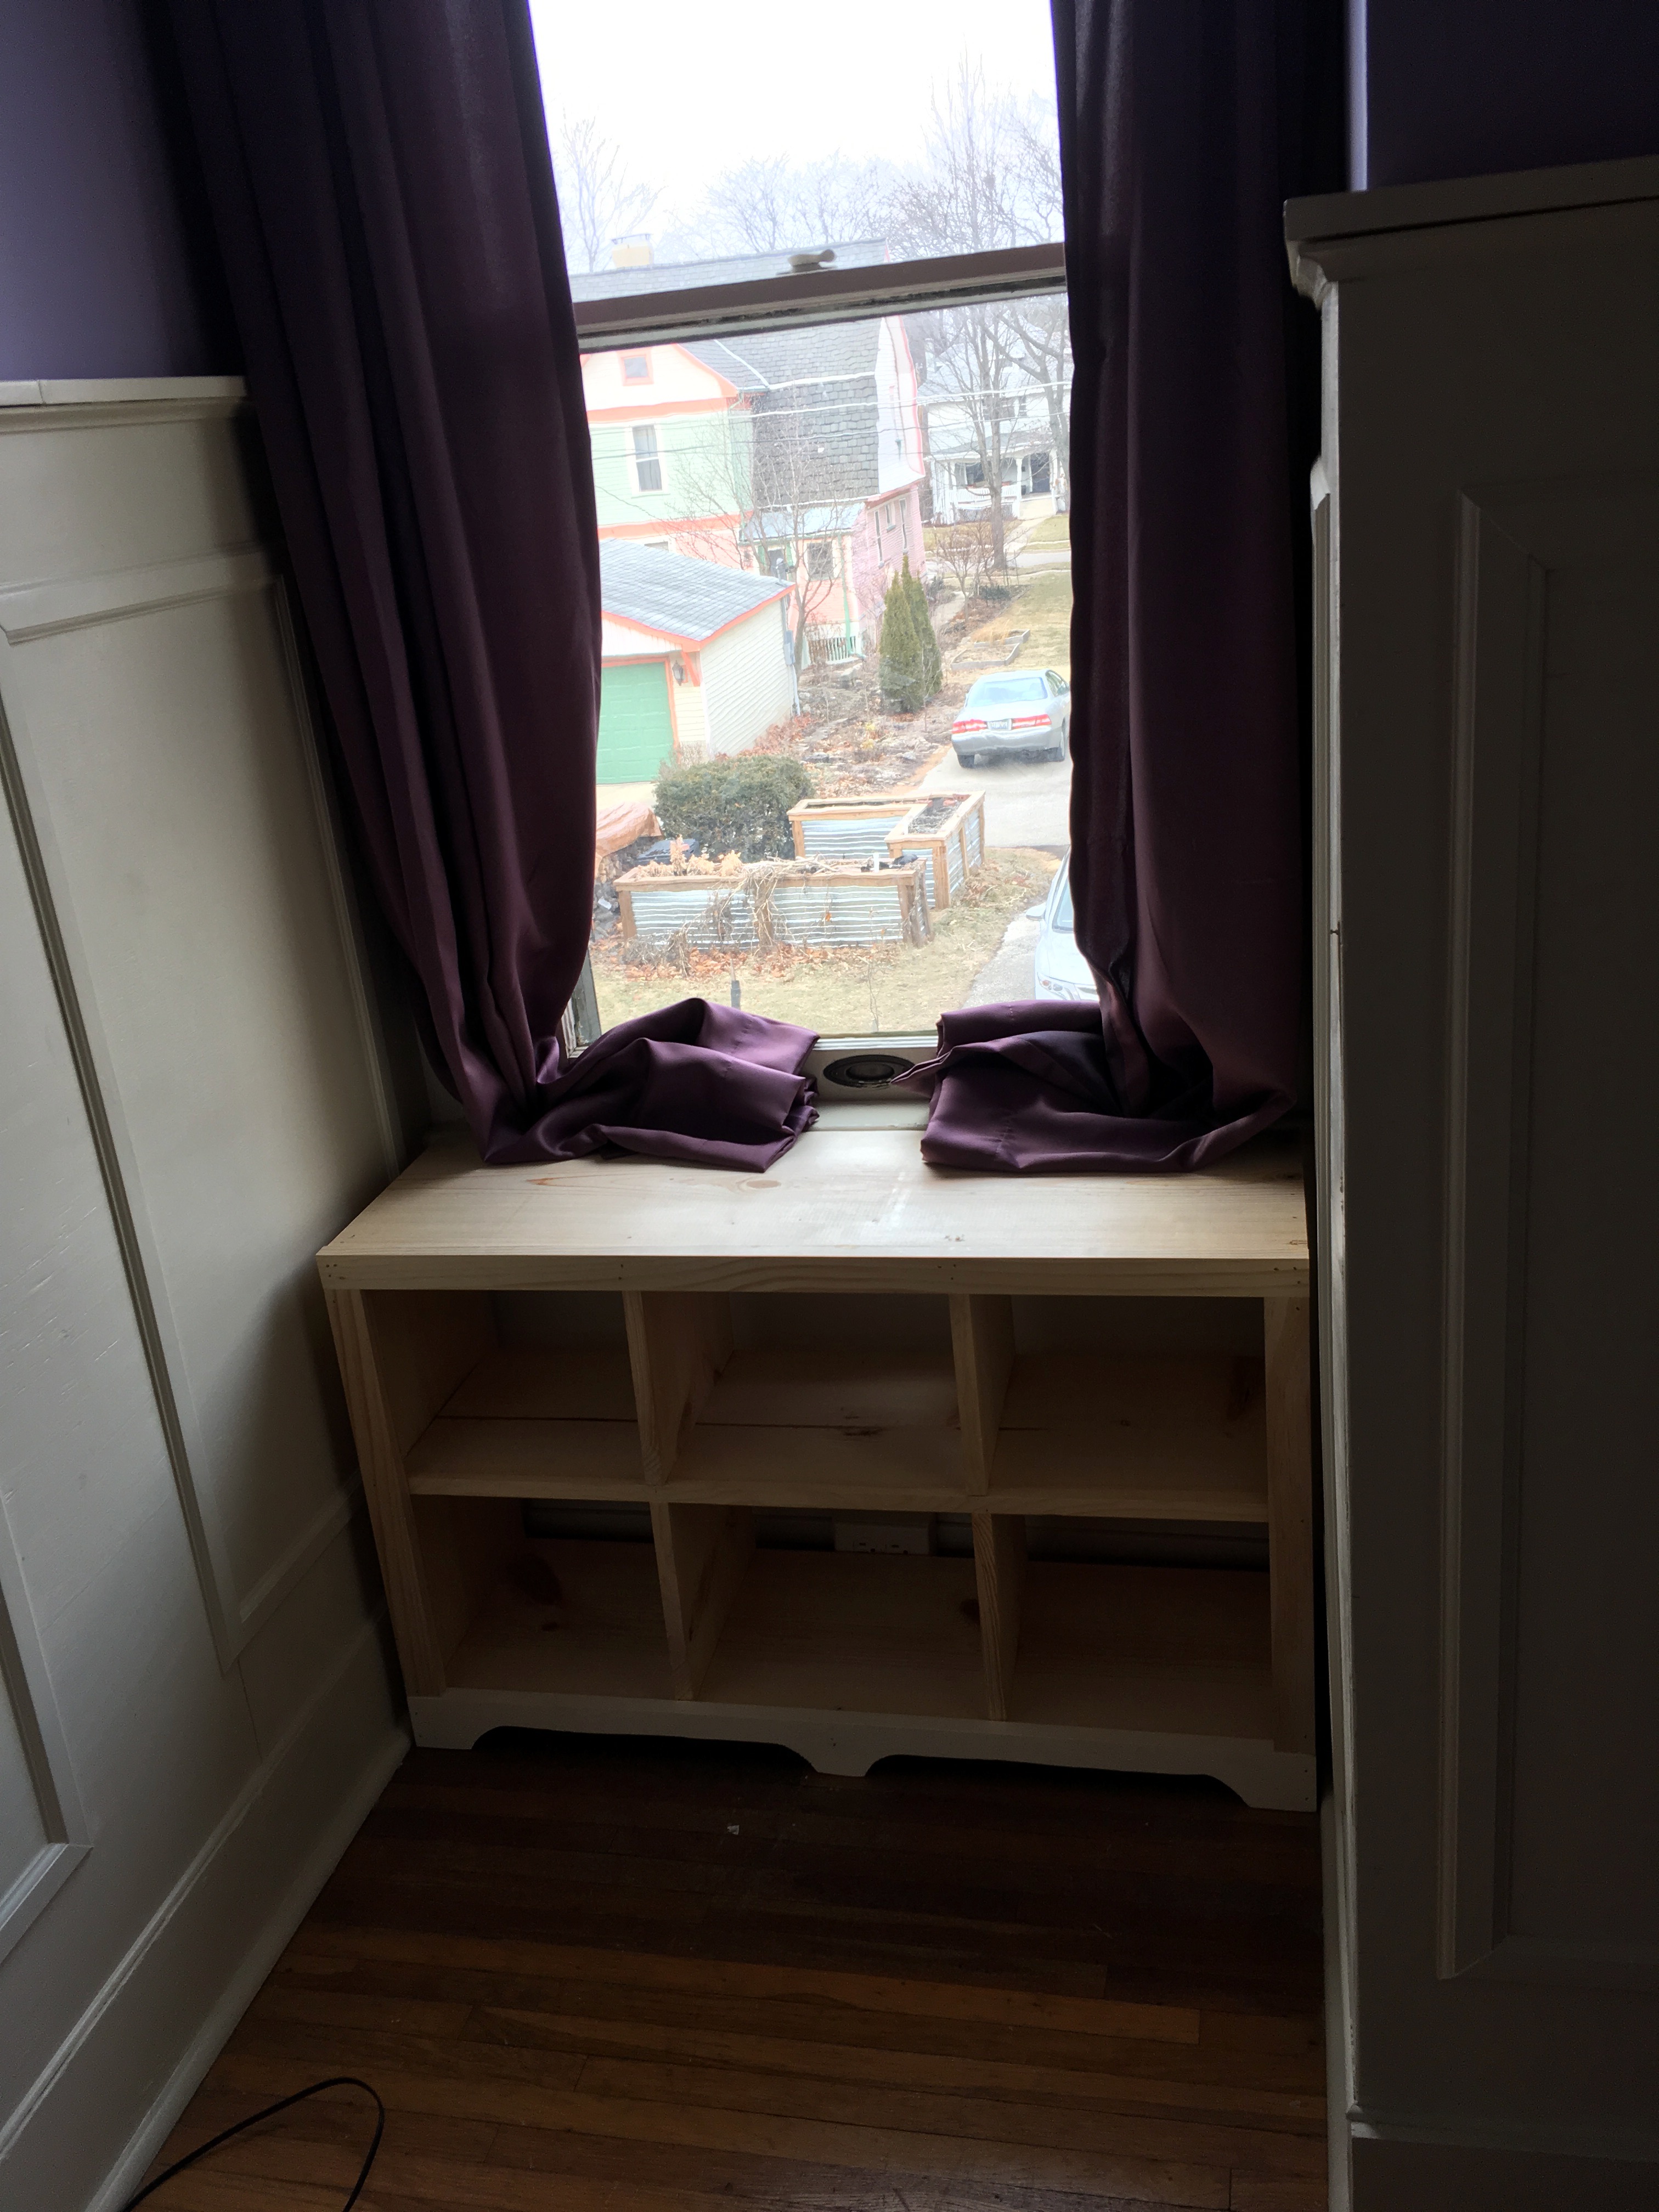
I brought it inside to test it out with the kids.  They seemed to respond very well to it.

It is important to note that the unit leans against the wall and ultimately has to be fastened to the wall to keep it from tipping over.  I used a 10° angle on the feet per the original instructions.  Ana recommended in a note afterwards that 5° might be more appropriate.  However, I have some networking equipment that I wanted to hide behind it, so I stuck with the original 10°.

Frugal Boy is tall enough to reach the top shelf with ease.  We can put one or two of his jigsaw puzzles up there and no longer have to worry about lil sis dumping them out all over.

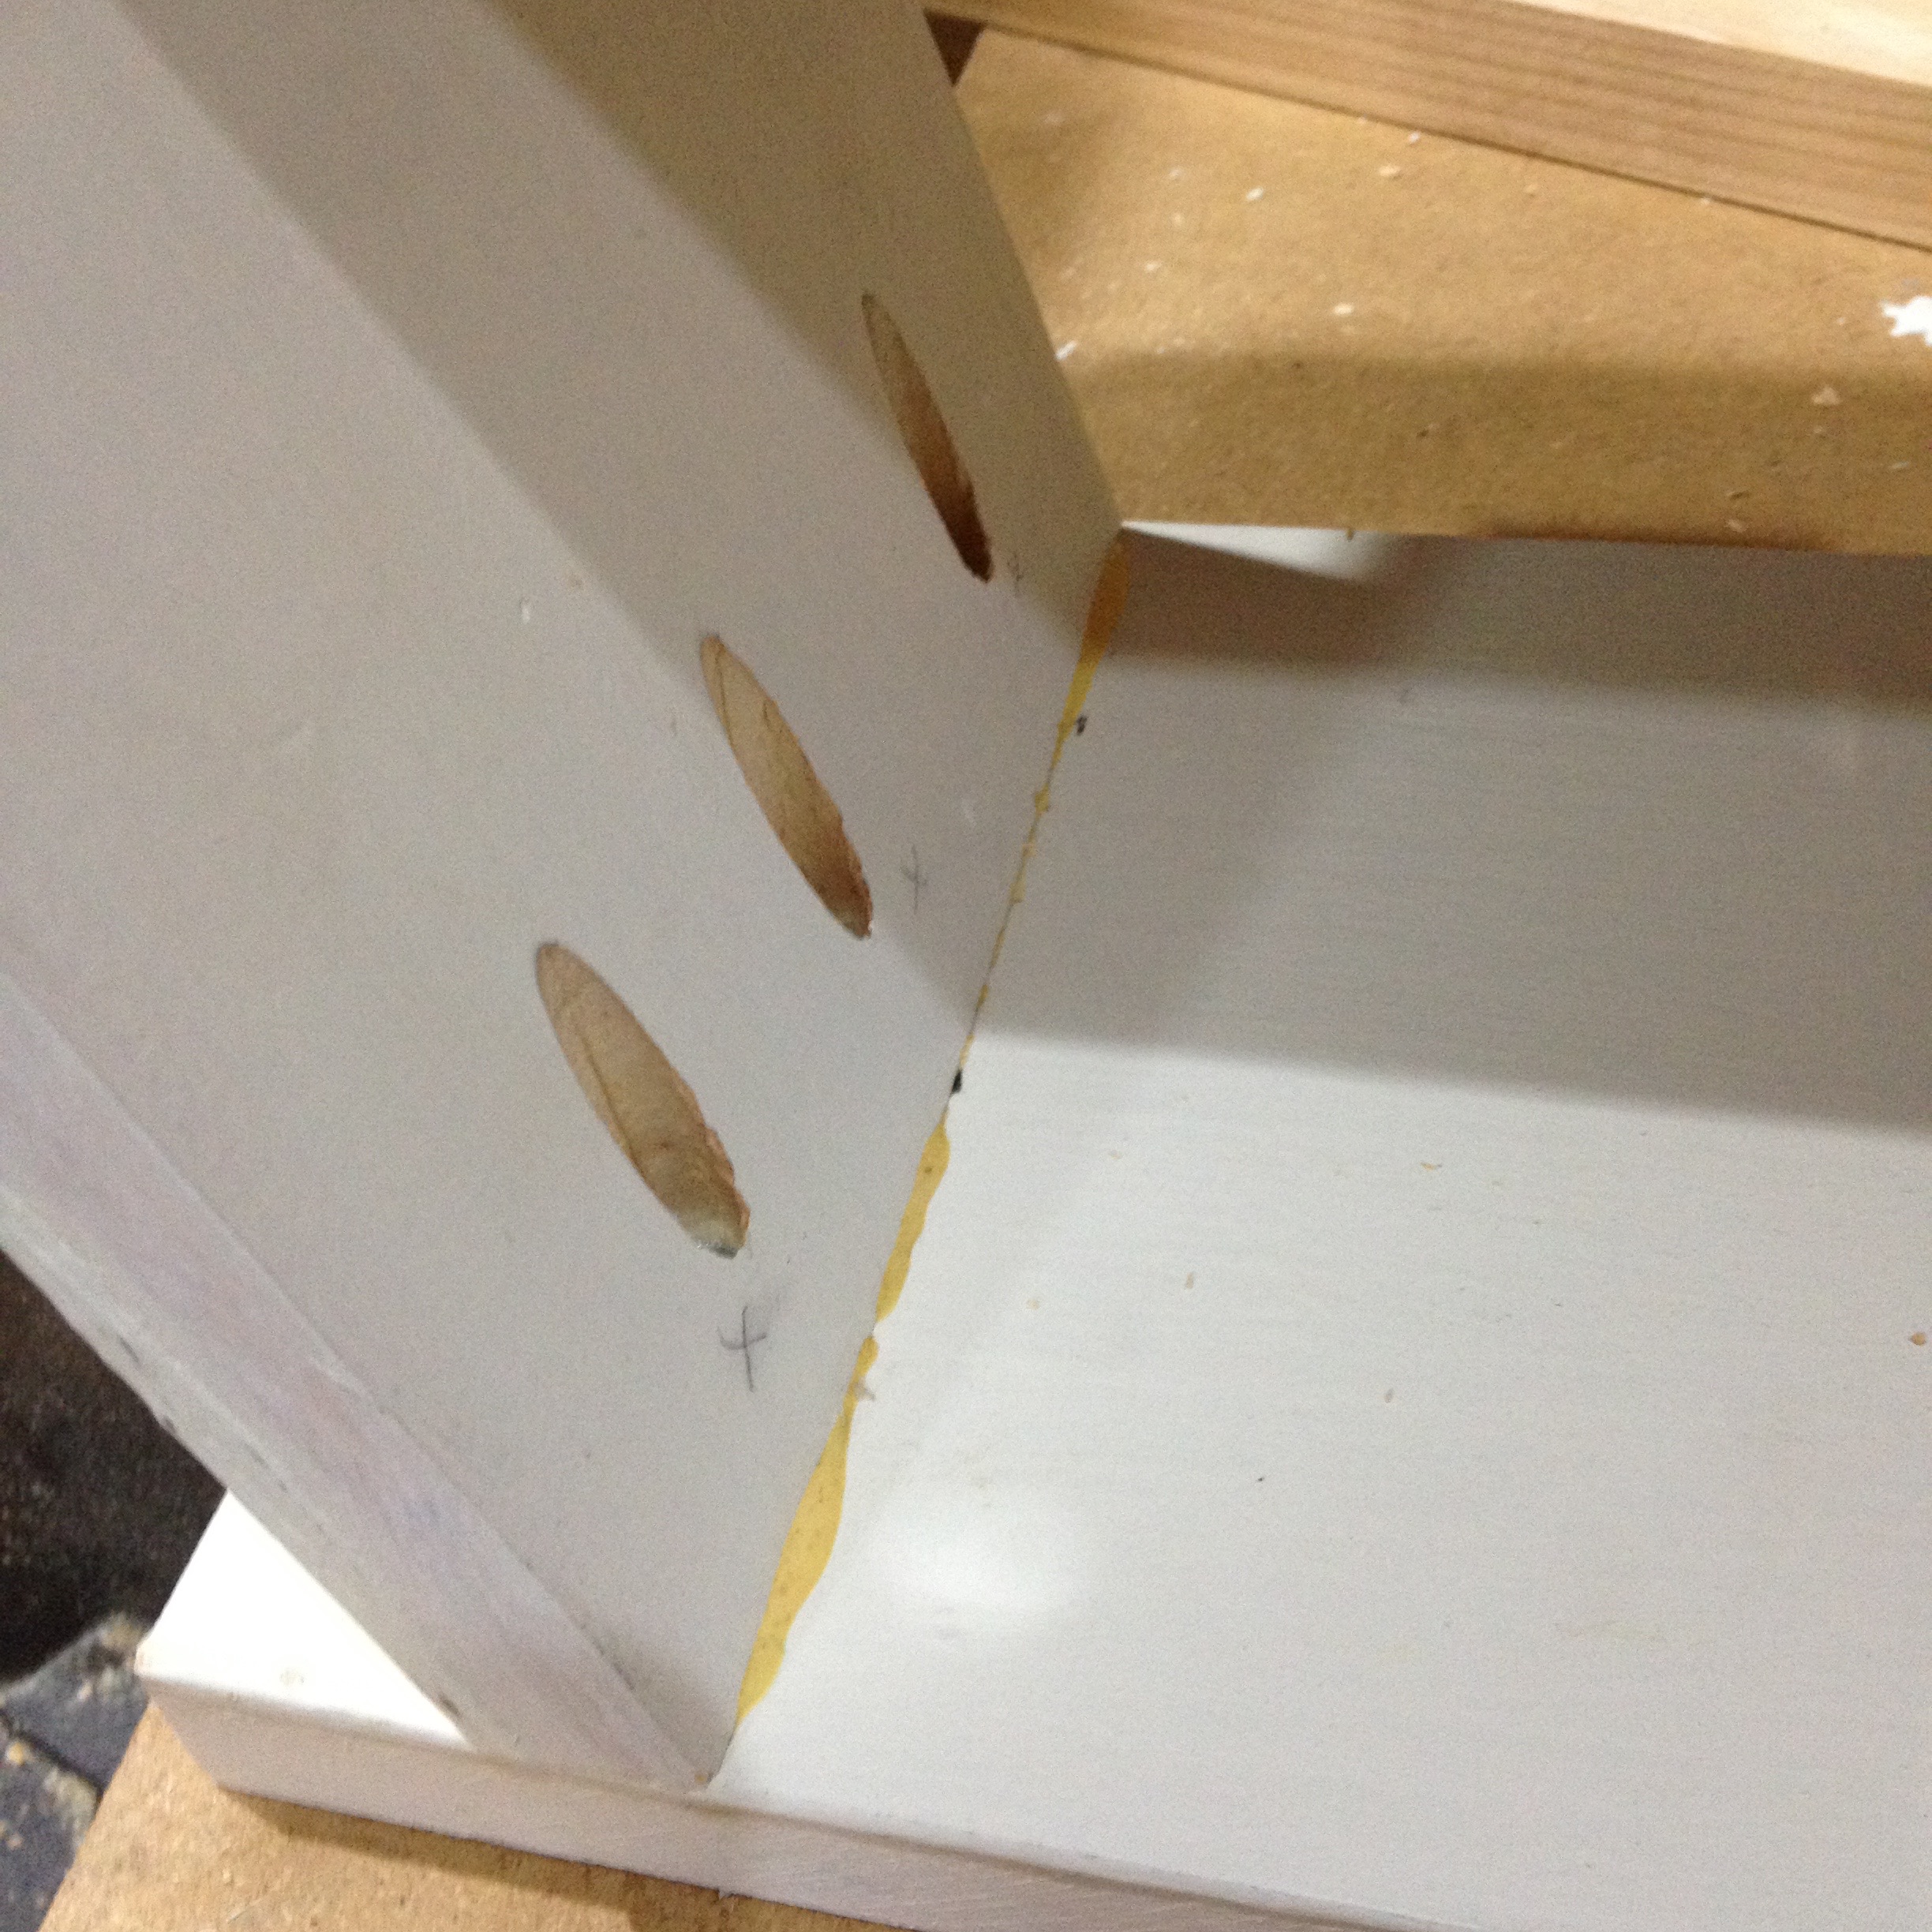
I finished the project up with two coats of paint that I had.

I didn’t see the need to plaster the bookshelf with bright colored alphabet letters.  Maybe it is just me being a miserly old man, but I don’t think every surface in a child’s line of view needs to be a shade of neon bright.

SO MUCH STIMULI

Besides, the emphasis should be placed on the books themselves.  I think it really comes back to the Simple Families blog post about teaching children some reverence for books.  These are treasures that should be cared for, not dumped into a heap.

So far Frugal Boy has adapted very well to the new system.

How do you manage books in your household?  Do traditional bookshelves work or have you tried something else?

Posted in: DIY, Frugal Boy, Frugal Girl, Parenting, Reading Tagged: book, library, reading, tips, Toys, woodworking

Let’s Play Swords Daddy!

February 4, 2017 by Andrew Leave a Comment

It was a sunny day yesterday, so I took Frugal Boy outside to get some of the wiggles out.  It didn’t take him long to find a scrap piece of wood and come swaggering over with a big grin on his face.

“Let’s play swords daddy!”

I found my scrap piece of wood and we commenced playing swords.  My knuckles got rapped a couple of times before I decided to upgrade my sword with a guard.  Of course, as soon as Frugal Boy saw my superior sword, he wanted to be on equal footing, so I ended up making two.  A few quick cuts on the miter saw and six nails later and we had a pair of excellent play swords.

En garde!


Posted in: DIY, Frugal Boy Tagged: Toys, woodworking

Building a Kid’s Cubby Dresser

January 28, 2017 by Andrew Leave a Comment

Before Frugal Boy was born, I built a changing table slash dresser to store all of his clothing.  That piece of furniture has served us very well for the past three years, but with the pending arrival of another child, we need more storage space.  There is a little nook in the kid’s room that looked like an opportune location to place a cubby system.

Shae and I looked around the big box home improvement stores at different storage systems, but the problem was that the dimensions were never right for the space.  They were also quite pricey, to the tune of $80.

It became fairly obvious that we’d need to build something ourselves.

I sketched out a rough idea based off a simple height x width measurement that I made of the space.

Then, I went to Menards and picked up:

  • (2) 1×12-8′ #2 Quality Board
  • (2) 1×2-8′ Select Board

I already had:

  • wood glue
  • 1 1/4 pocket screws
  • 16 ga finish nails
  • 1×3-4′ poplar board

After making the cuts in the garage, I brought the pieces inside to assemble where it was warm.  Here it is dry fitted (note some of the face boards are not present).

Here is the exploded view that I drew prior to making cuts.

The assembled end product.

Finally, here it is in place.  It looks so snug in that spot.  If I get motivated I will paint it and add a seat cushion to the top.

The total cost of materials was $26 and it took me about 3 hours to put together from bringing home the material to putting it in place.

Posted in: DIY Tagged: woodworking

Building an Outdoor Garden Stool

April 30, 2016 by Andrew Leave a Comment

IMG_9248

Shae and I really like our raised garden beds.  They keep the rabbits out of our produce, and are dead simple to weed.  Our vertically challenged son however has been missing out on the action, so last night I whipped together a simple outdoor garden stool.

The stool is just made up of scrap wood that I had lying around the garage.  I made the step 14″ wide, and the legs are at a 15° angle.  Pocket screws and wood glue hold the legs on.

IMG_9263

After letting Frugal Boy try it out, I added a couple of 1x stabilizers to help prevent it from rocking back and forth.  They are held on just by wood glue.

IMG_9262

Frugal Boy can now see into things that were 7″ out of reach before.  Like the car windows.

IMG_9251

And the car mirror.

IMG_9254

And the support strut of the garage door.

IMG_9255

And the workbench in the garage.

IMG_9258

He loves his little outdoor stool and it was super easy to make!

IMG_9250

Posted in: DIY, Frugal Boy Tagged: Backyard, woodworking

How Much Does Rebuilding a Front Porch Cost?

October 27, 2015 by Andrew 2 Comments

In honor of my brother buying his first house, I thought a cost of home ownership post was appropriate.  Maybe this will be a spooky Halloween post for him and other new homeowners around the world or it will be a shot of encouragement.

For the past five months I have been rebuilding our front porch.  The old porch had a failing foundation and was looking like it could fall down at any moment.  When we bought the house we knew we would have to do something about it, and two years later we finally did.  So before we get into the numbers a bit, let’s take a look at a before and after picture.

Porch Rebuild Progress

Everything from the roof down was demolished and rebuilt.  While I did most of the work by myself, I did have quite a bit of guidance from our next door neighbor who is a professional carpenter.  Shae helped with painting and decision making.  Additionally, we hired a mason to lay new brick piers and a flooring contractor to sand the new/reused porch flooring.

With November only a week away and winter not far behind that this project is likely being shelved until next spring.  There are still handrails to finish up, skirting, and a lot of touch up painting needed to officially mark the job as complete.

So you ask, what did it cost to get this far.  $4235.03.  Of that, raw materials was 79%, hired help was 20%, and bureaucratic fees made up the final 1%.

Porch Rebuild Pie Chart

Our material cost was driven up by our choice to reuse the existing ipe flooring.  Ipe is an extremely dense and rot resistance Brazilian hardwood.  We were able to salvage about 70% of the existing flooring and reuse it, but the other 30% plus new stair treads in matching ipe accounted for 43% of our  material cost at a total of $1438.66.

Another area we splurged on was the foundation work.  We could have stuck a treated 6×6 into the ground and poured concrete around it and called it a day.  Instead we dug huge holes to make large concrete pads to support brick piers (that were themselves filled with concrete) to support the framing.

IMG_6649

IMG_7551

The extra strong foundation was $1274.95 (793.95 in materials + 485 in mason labor).  Our justification for spending so much on that was two fold.  Firstly, if the foundation had been done properly the first time around, we wouldn’t have had to do this project.  Secondly, a wood post in the ground would not match the historic nature of our house and neighborhood.  It would also eventually rot out and that brings us back to our first reason.

Once you take out those two big ticket items we are left with $1521.42.  That covers all of the framing lumber, painting, tools, a professional sander, permits, and misc. nickels and dimes.

Okay, I know I know.  I left out the biggest cost of all in the numbers above.  My time.  I have been working on this on and off for the past five months and that has value.  I do not know how many hours I put in, but I do know what local costs are for hiring out a job like this to a contractor.  Let me just say, my time investment has been worth it.  We have easily saved five figures by doing the work ourselves.  All you have to do is take a look at the Labor portion of our costs and see that just two guys ate up 20% of the project cost.  Imagine what a full team working for a couple of weeks would do!

Good luck with your new house bro.  They are expensive and time consuming but for us, that beats the alternative of sharing a wall and roof with someone else.  So roll up your sleeves and start building some sweat, blood, and tears equity!

Posted in: DIY, House Tagged: Budget, woodworking
1 2 Next »

Recent Posts

  • Min/Maxing Car Sale for Highest Value and Lowest Headache
  • Buying a Car with Data Driven Decision Making
  • Hot Lunch
  • Baking with Dad
  • Winter Nights

Financial Goals

Recent Comments

  • Lori on Fixing a Slow-Draining Maytag Maxima Washer
  • JOSE AHMED on How Much Does Rebuilding a Front Porch Cost?
  • Chuck Clark on Hacking RockAuto Closeout Parts Sale
  • Brad on Troubleshooting a Leaking Whirlpool Dishwasher [UPDATED]
  • Ralph Taylor on Fixing a Slow-Draining Maytag Maxima Washer

Archives

  • December 2020
  • December 2018
  • July 2018
  • May 2018
  • April 2018
  • March 2018
  • February 2018
  • January 2018
  • December 2017
  • November 2017
  • October 2017
  • September 2017
  • August 2017
  • July 2017
  • June 2017
  • May 2017
  • April 2017
  • March 2017
  • February 2017
  • January 2017
  • December 2016
  • November 2016
  • October 2016
  • September 2016
  • August 2016
  • July 2016
  • June 2016
  • May 2016
  • April 2016
  • March 2016
  • February 2016
  • January 2016
  • December 2015
  • November 2015
  • October 2015
  • September 2015
  • August 2015
  • July 2015
  • June 2015
  • May 2015
  • April 2015
  • March 2015
  • February 2015
  • January 2015
  • December 2014
  • November 2014
  • October 2014
  • September 2014
  • August 2014
  • July 2014
  • June 2014
  • May 2014
  • April 2014
  • March 2014
  • February 2014
  • January 2014
  • December 2013
  • November 2013
  • October 2013
  • September 2013
  • August 2013

Categories

  • Business
  • DIY
  • Finance
  • Frugal Boy
  • Frugal Girl
  • House
  • Misc.
  • Parenting
  • Reading
  • Recipes
  • Savings
  • Technology
  • Travel
  • Uncategorized

Meta

  • Log in
  • Entries feed
  • Comments feed
  • WordPress.org

Copyright © 2022 Frugal Living.

Omega WordPress Theme by ThemeHall