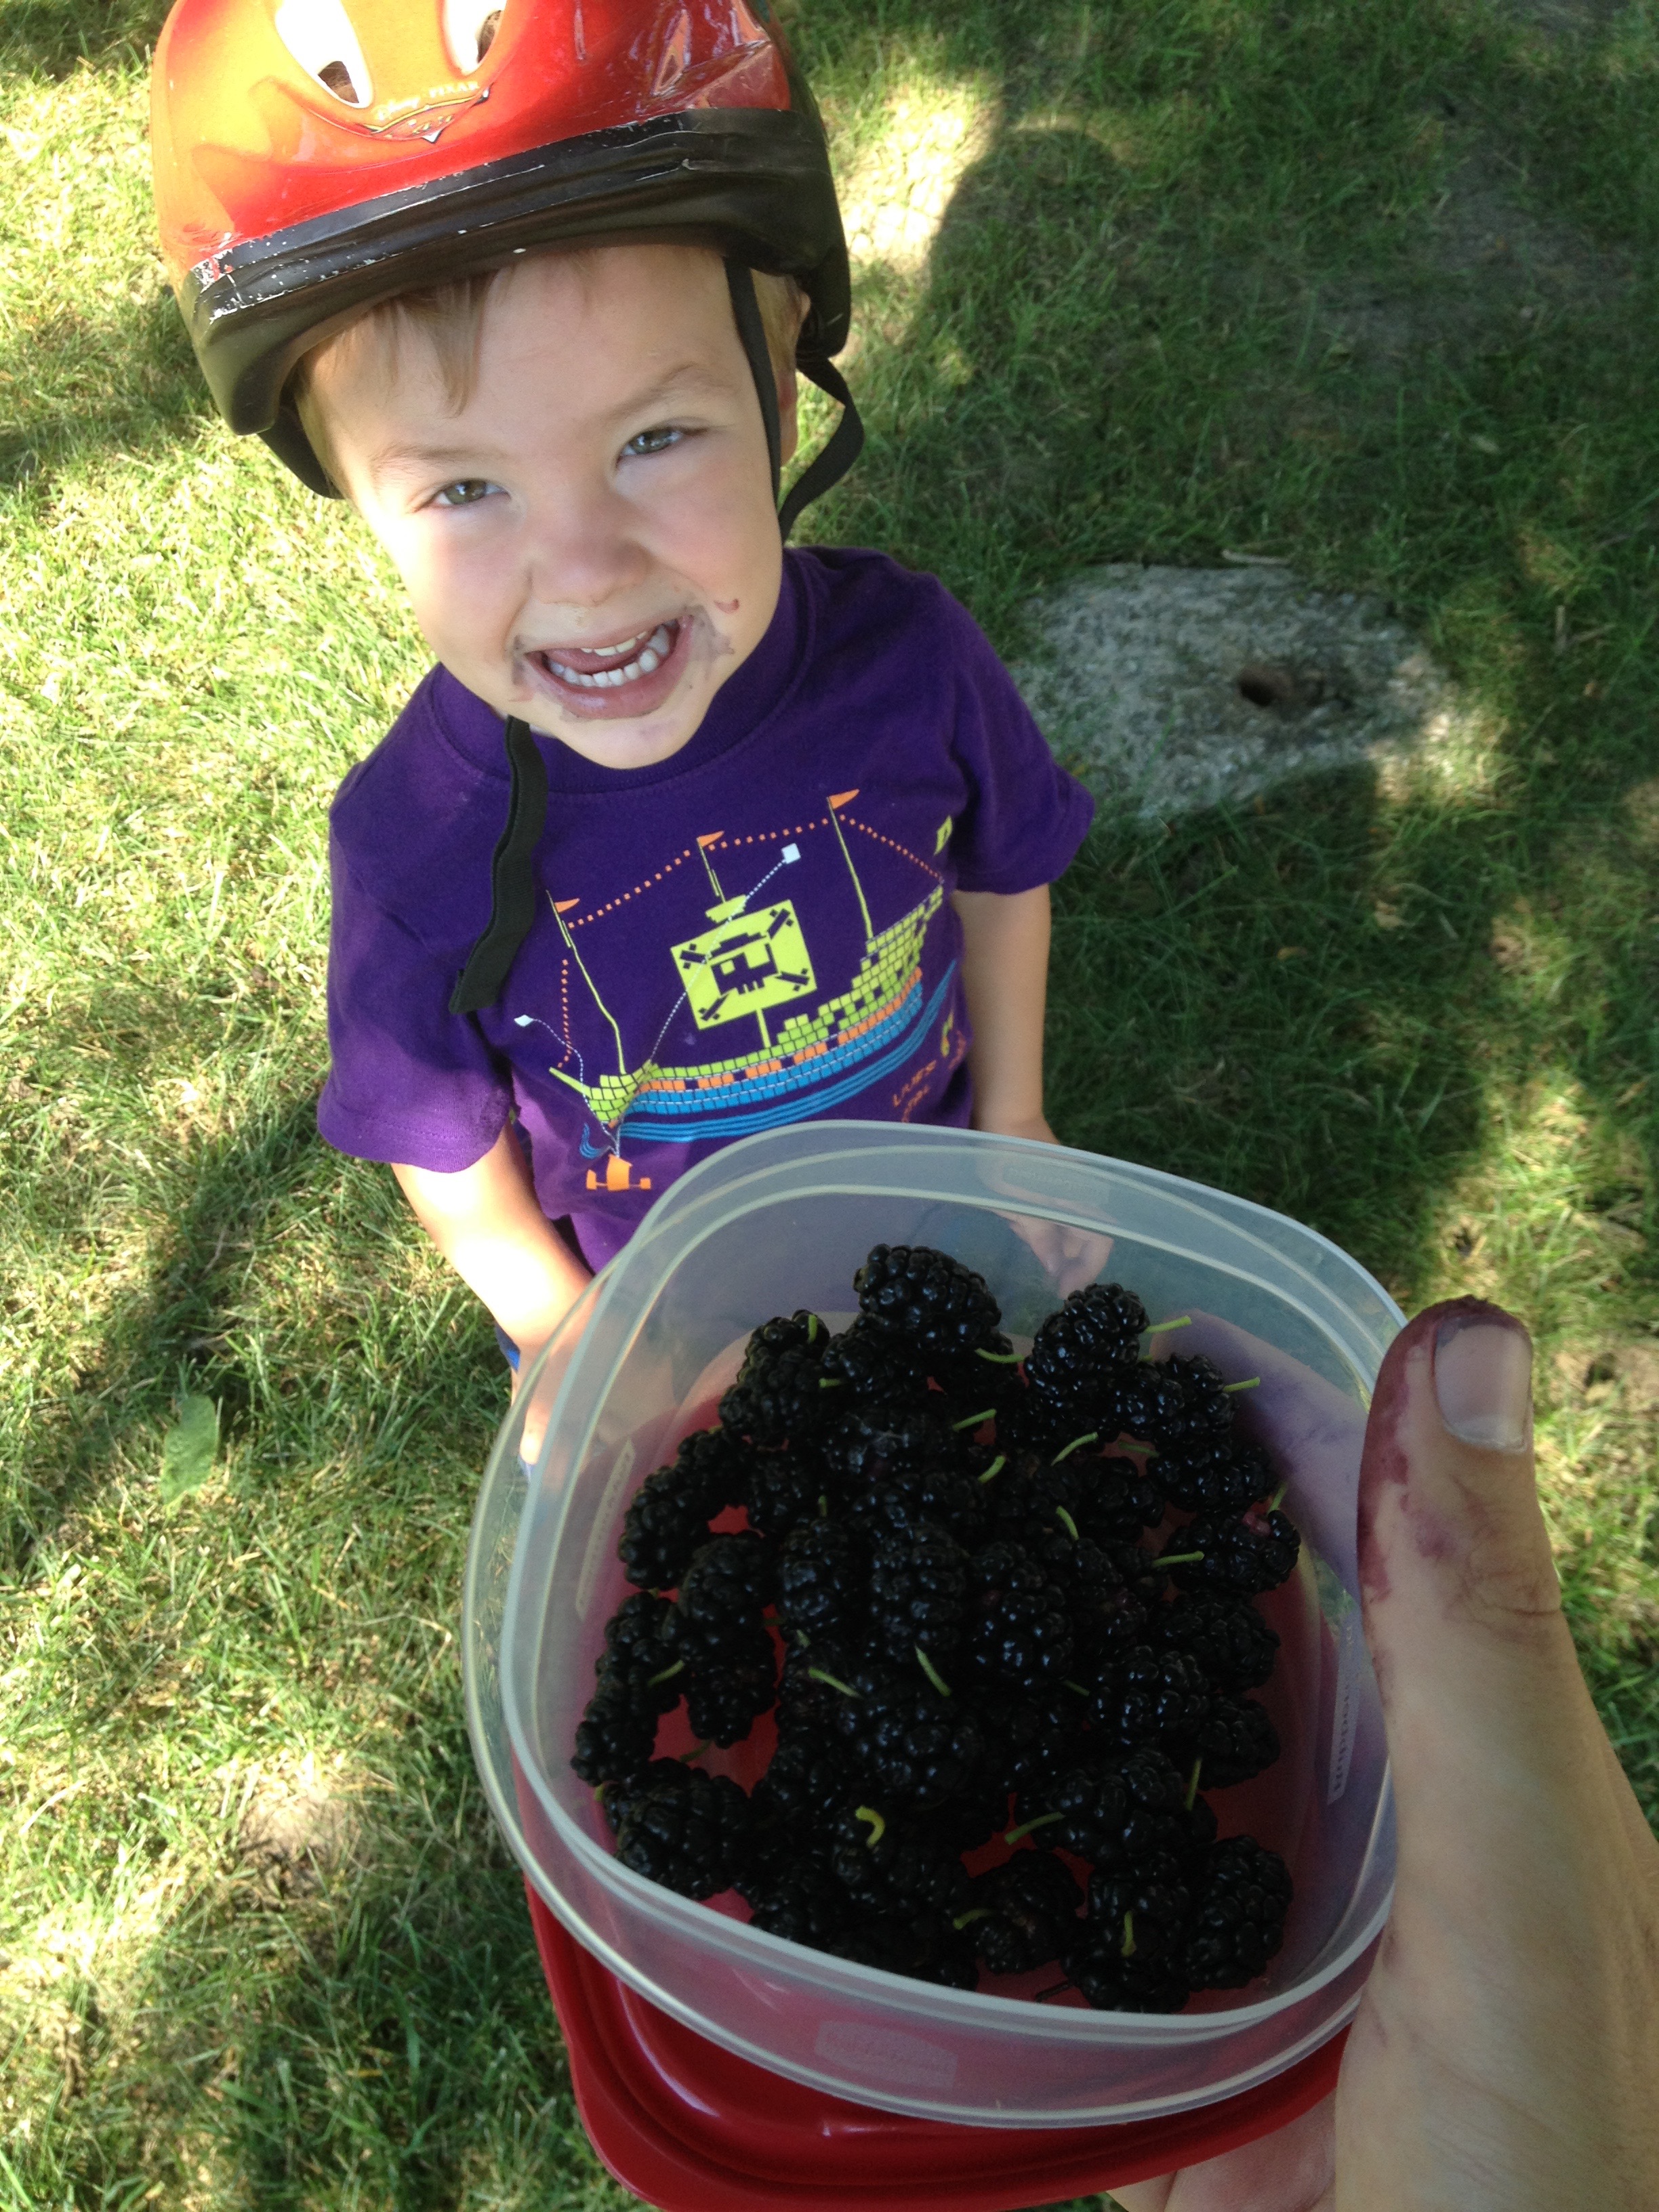
Mulberry trees are in peak ripeness in the Midwest right now. I thought that I would take advantage of that fact by going on a bike ride with Frugal Boy to a place that had plenty of low hanging trees branches.
Frugal Boy can eat them faster than I can pick them, so I had to teach him how to pick his own. Give a boy a mulberry and he’ll poop purple for a day, teach a boy to pick mulberries and he’ll poop purple for a week!
After I had filled up all the containers that I had brought with we took our bounty back to Shae.
Mulberries are fragile and don’t stay very long even when they are refrigerated. That is part of the reason that you won’t find them in stores. Shae decided that she wanted to make jam out of them. She followed a recipe without pectin. It was just mulberries, sugar, and a little water.
Mulberries have a very dark purple color to them. It looks almost black.
After cooking up the mixture it filled one pint canning jar. It is a bit runny, but very tasty!
The extent of my baking knowledge up until now has been to follow the instructions on the back of the ready mix boxes. Come along with Shae and myself as we embark on a six week baking challenge where we push our comfort zones and try baking recipes we have never done before!
Week 4 – Apple Turnovers
We chose apple turnovers because we wanted to make a puff pastry. In particular, we wanted to make a full puff pastry. Normally, a turnover recipe has you use pre-prepared pastry rolls from the store, and while that greatly cuts down the work and time required, it doesn’t teach us anything about the process!
So how does one make a flaky, crisp pastry dough? Easy! All you need is flour, water, salt, and a metric ton of butter.
We all put our aprons on, Frugal Boy too after much convincing, and got out the stand mixer to combine 5 cups of flour with a teaspoon of salt and 2 cups of water. You’ll want to add the water in slowly otherwise the dough gets very hard and tough to roll out.
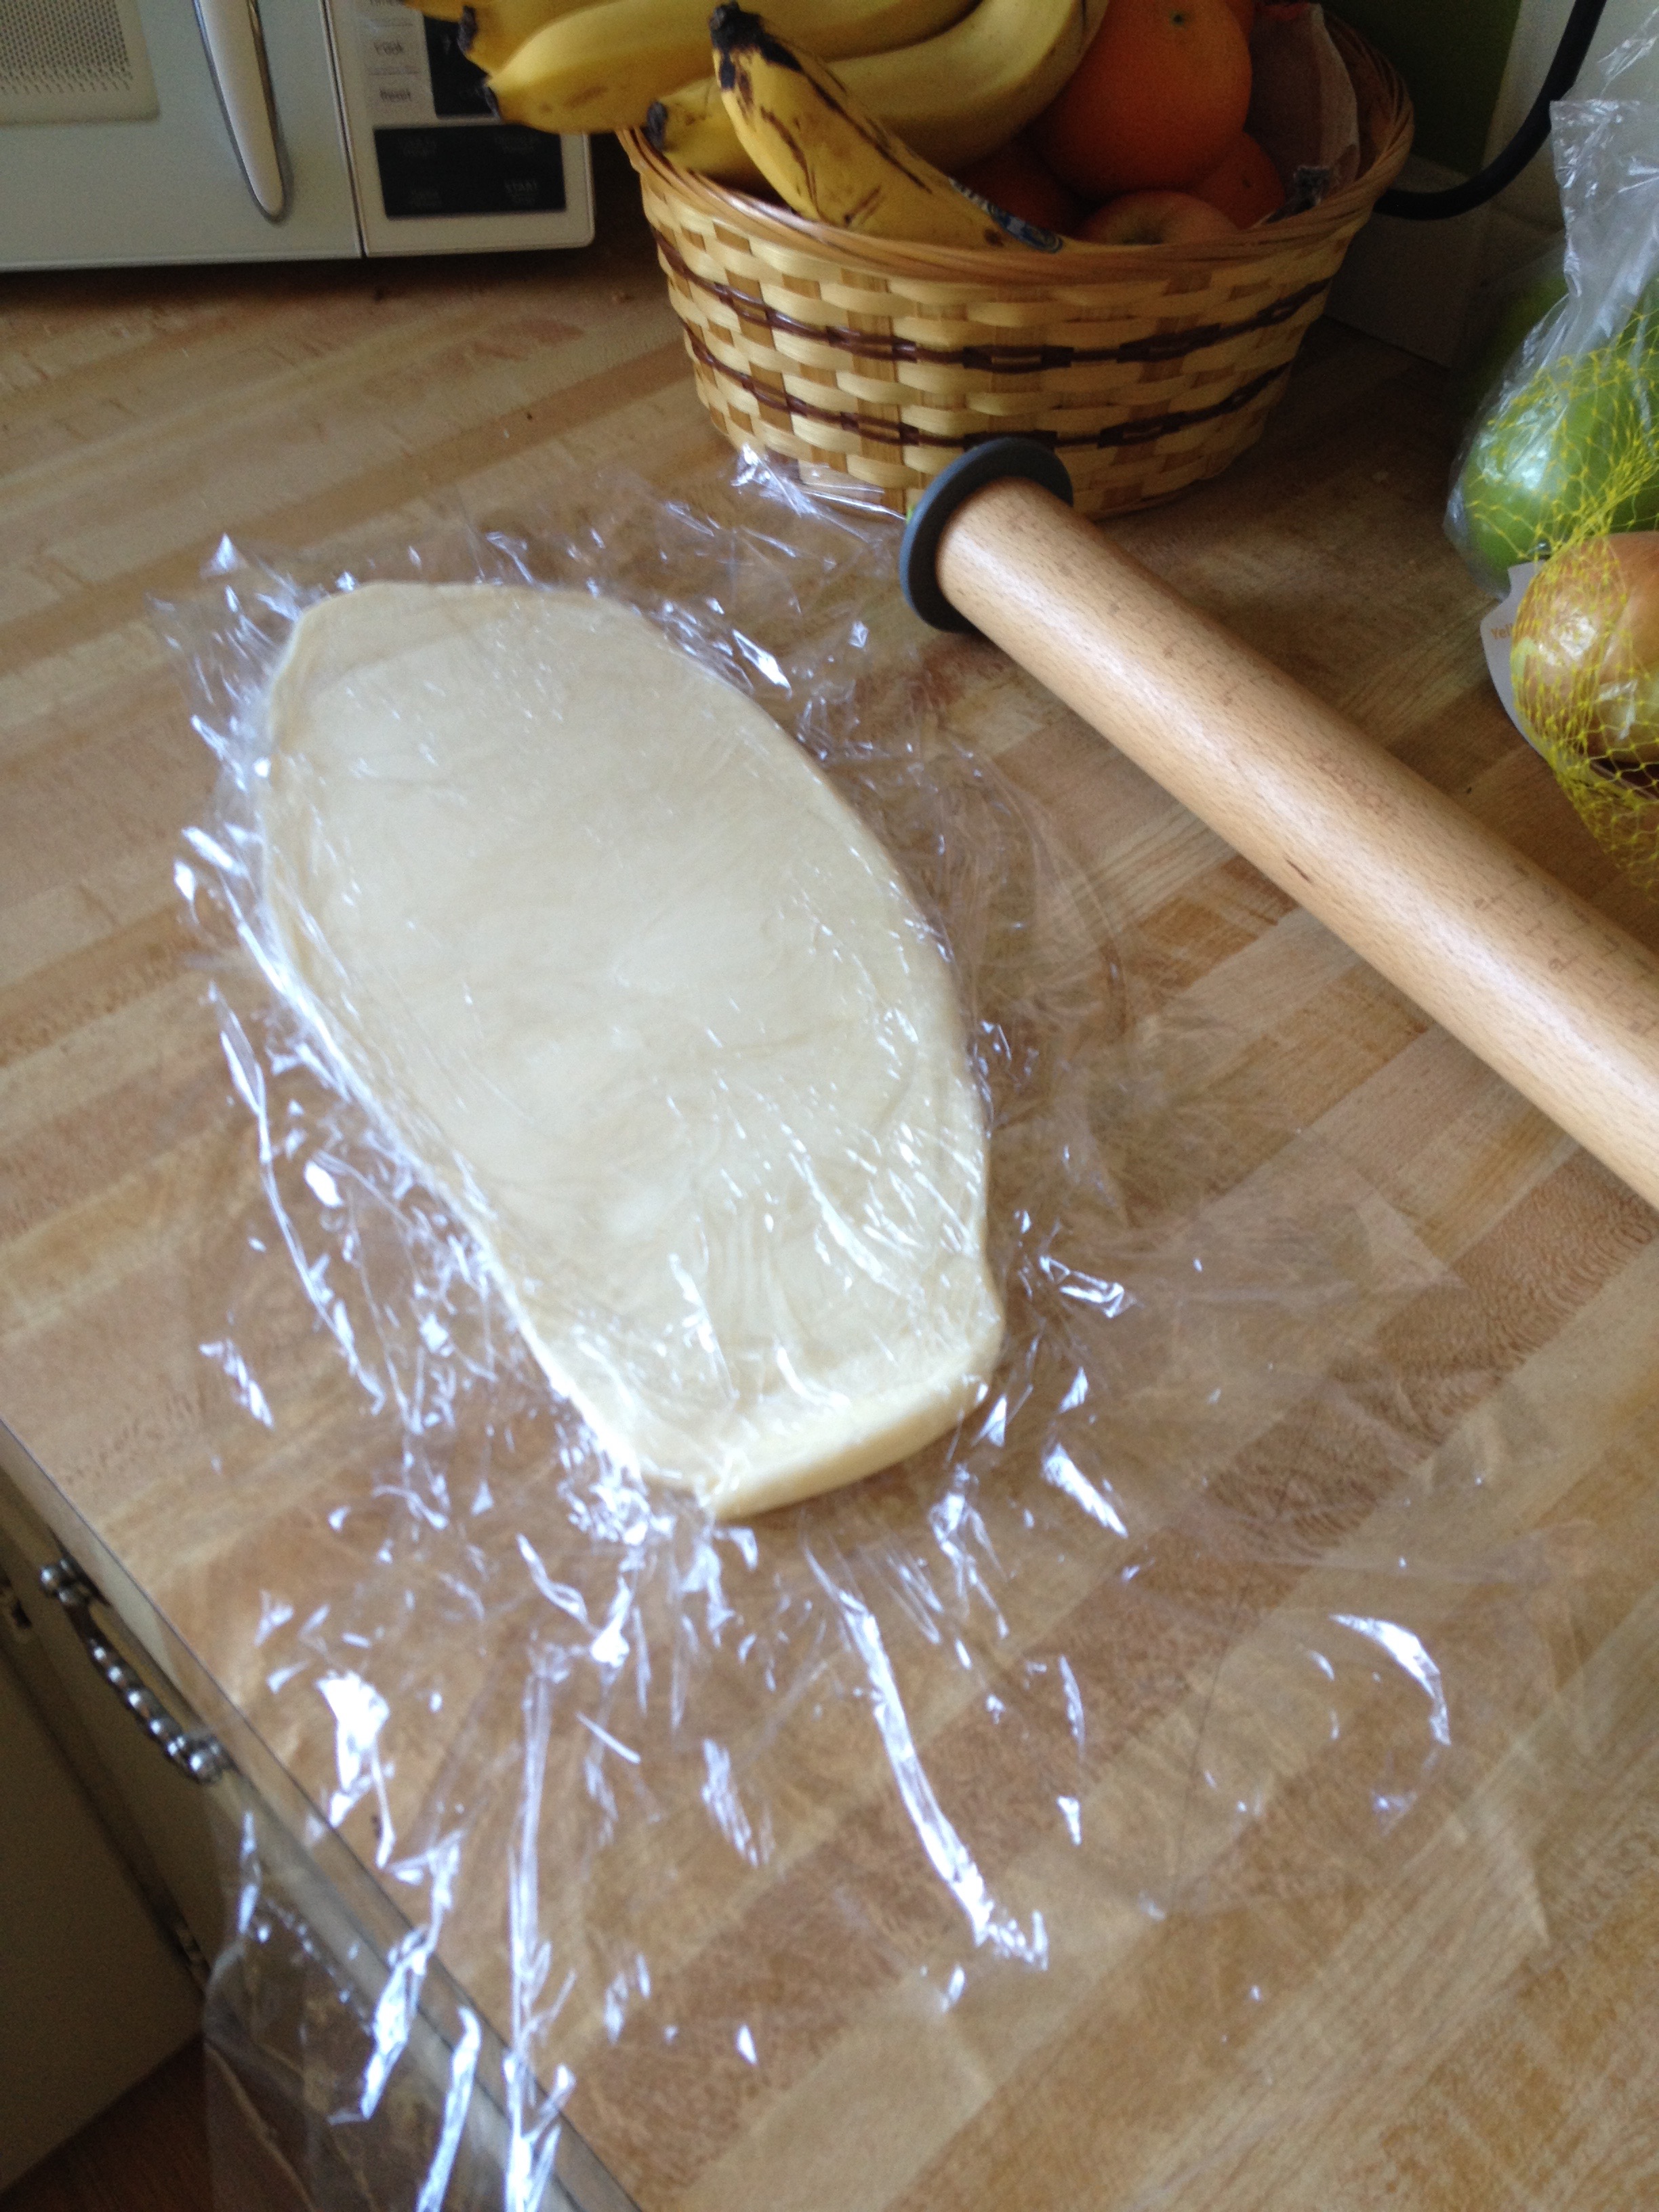
While you are doing that, you’ll want to get out a block o butter. This recipe called for 2 cups worth. Sandwich it with plastic wrap and get out something heavy, like a rolling pin.
Then pound the butter flat and stick it in the fridge to chill.
After the dough has rested, and the butter has chilled, you can roll out the dough.
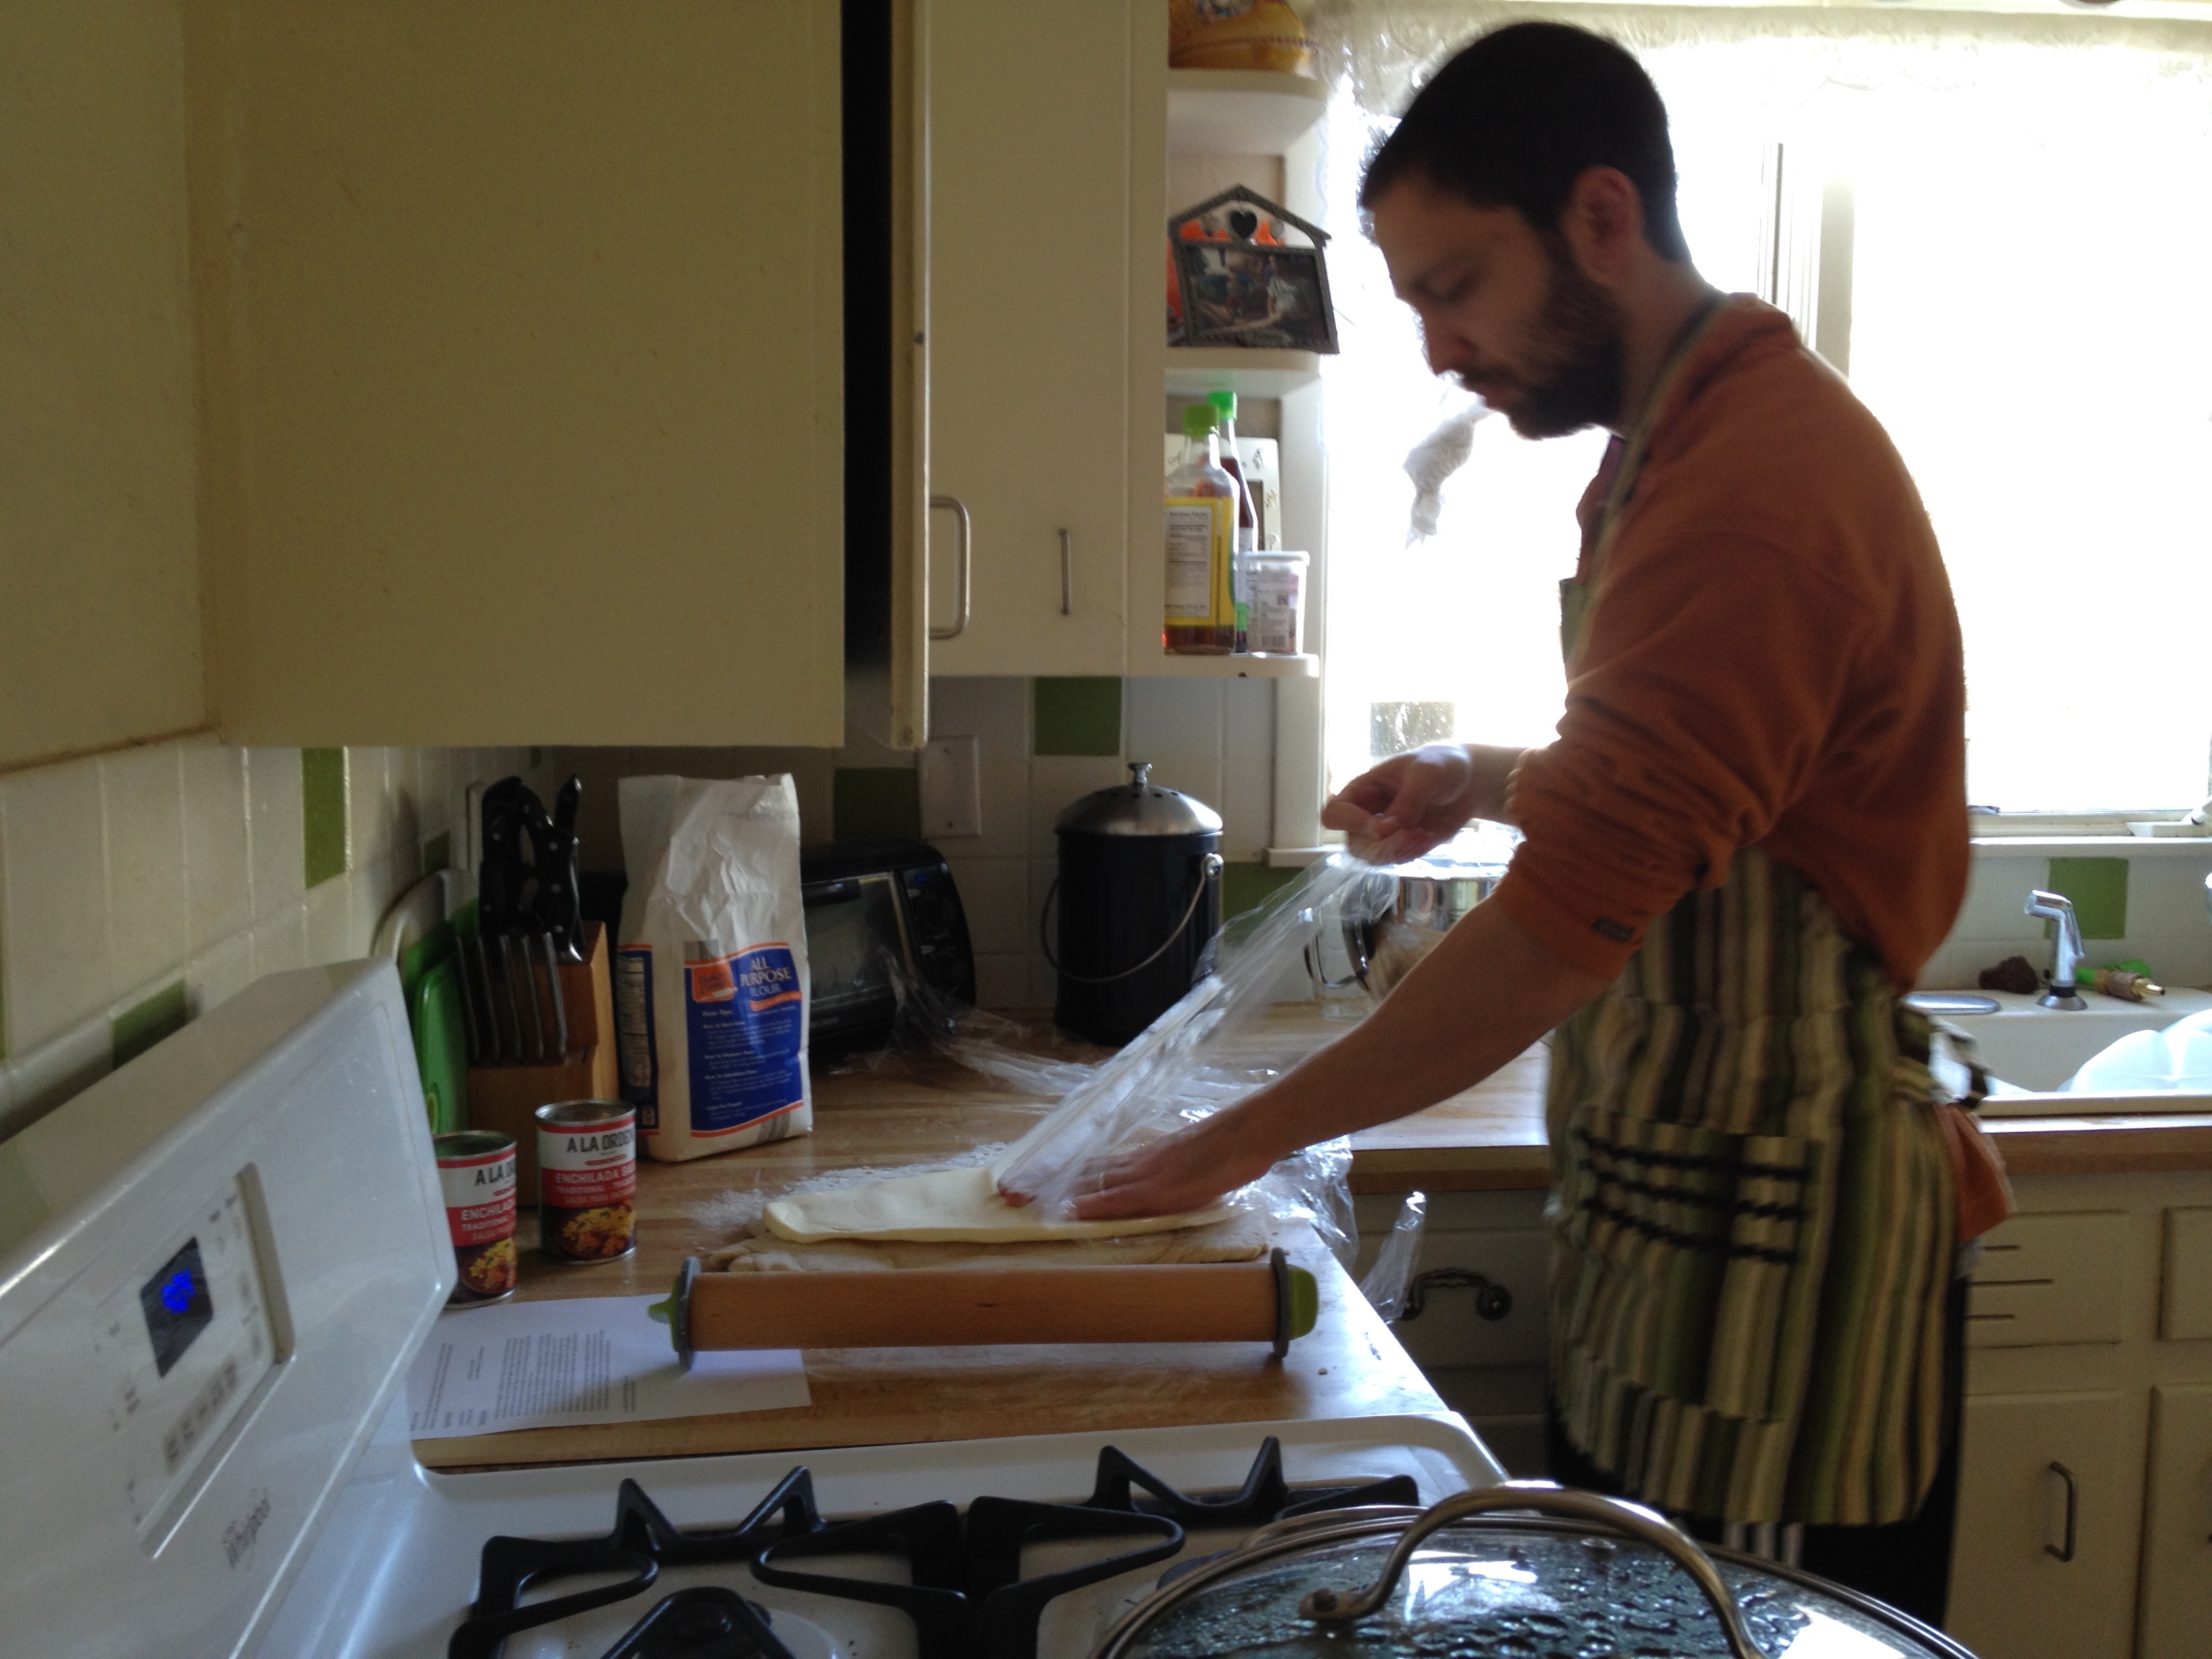
And yes, that is the manliest apron we have.
Once the dough is rolled out, place the butter on top. We are going to start laminating the dough and butter.
Here begins the lengthy part. In order to laminate the butter and dough together, you will repeat folding the dough and butter into thirds, rolling it out flat again and sticking it back in the refrigerator to chill. You don’t want the butter to melt into the dough. After about six times of doing this, you will end up with a nicely layered dough/butter creation.
The whole point of layering butter in the dough is to have it expand (some might even say puff) when baking. The butter steams up and gives a wonderful flakiness to the finished pastry.
Now that you have your finished pastry dough, you can roll it out to a 1/4 inch thickness or thinner and shape as desired. Traditional apple turnover recipes call for cutting out squares from the rolled dough, placing the apple filling into the square, and folding the dough over before baking. We opted to make cups instead.
Look at those beautiful layers!
We finished off the apple cups by adding a sugar glaze.
They are best eaten fresh from the oven. Over time they will get soggy and lose their crispiness. If you buy the pastry dough pre-made the recipe only takes about 60 minutes to make. If you make the dough from scratch, it will take several hours.
We have two weeks left on this 6 week challenge. Leave a comment on what we should try baking next!
The extent of my baking knowledge up until now has been to follow the instructions on the back of the ready mix boxes. Come along with Shae and myself as we embark on a six week baking challenge where we push our comfort zones and try baking recipes we have never done before!
Week 3 – Soda Bread
We all know that there are two types of bread, leavened and unleavened. Leavened breads incorporate some type of rising agent such as yeast or bicarbonate, where as unleavened breads do not.
This week, I attempted a leavened soda bread. The bread gets its rise from the chemical reaction of bicarbonate (a base) with lemon juice (an acid). When bases and acids mix together they fizz, and it is that fizz that gives the soda bread its air pockets and rise.
Soda breads are a part of the quick bread family. They only take about an hour to prepare and cook because you do not have to wait for the yeast to break down sugar and ferment.
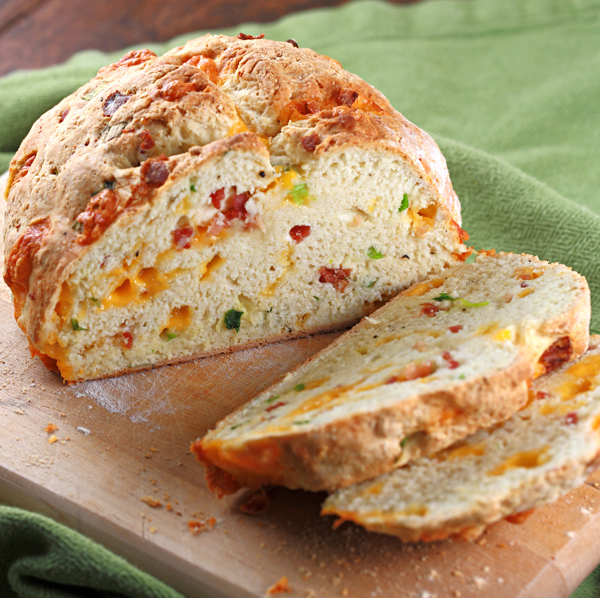
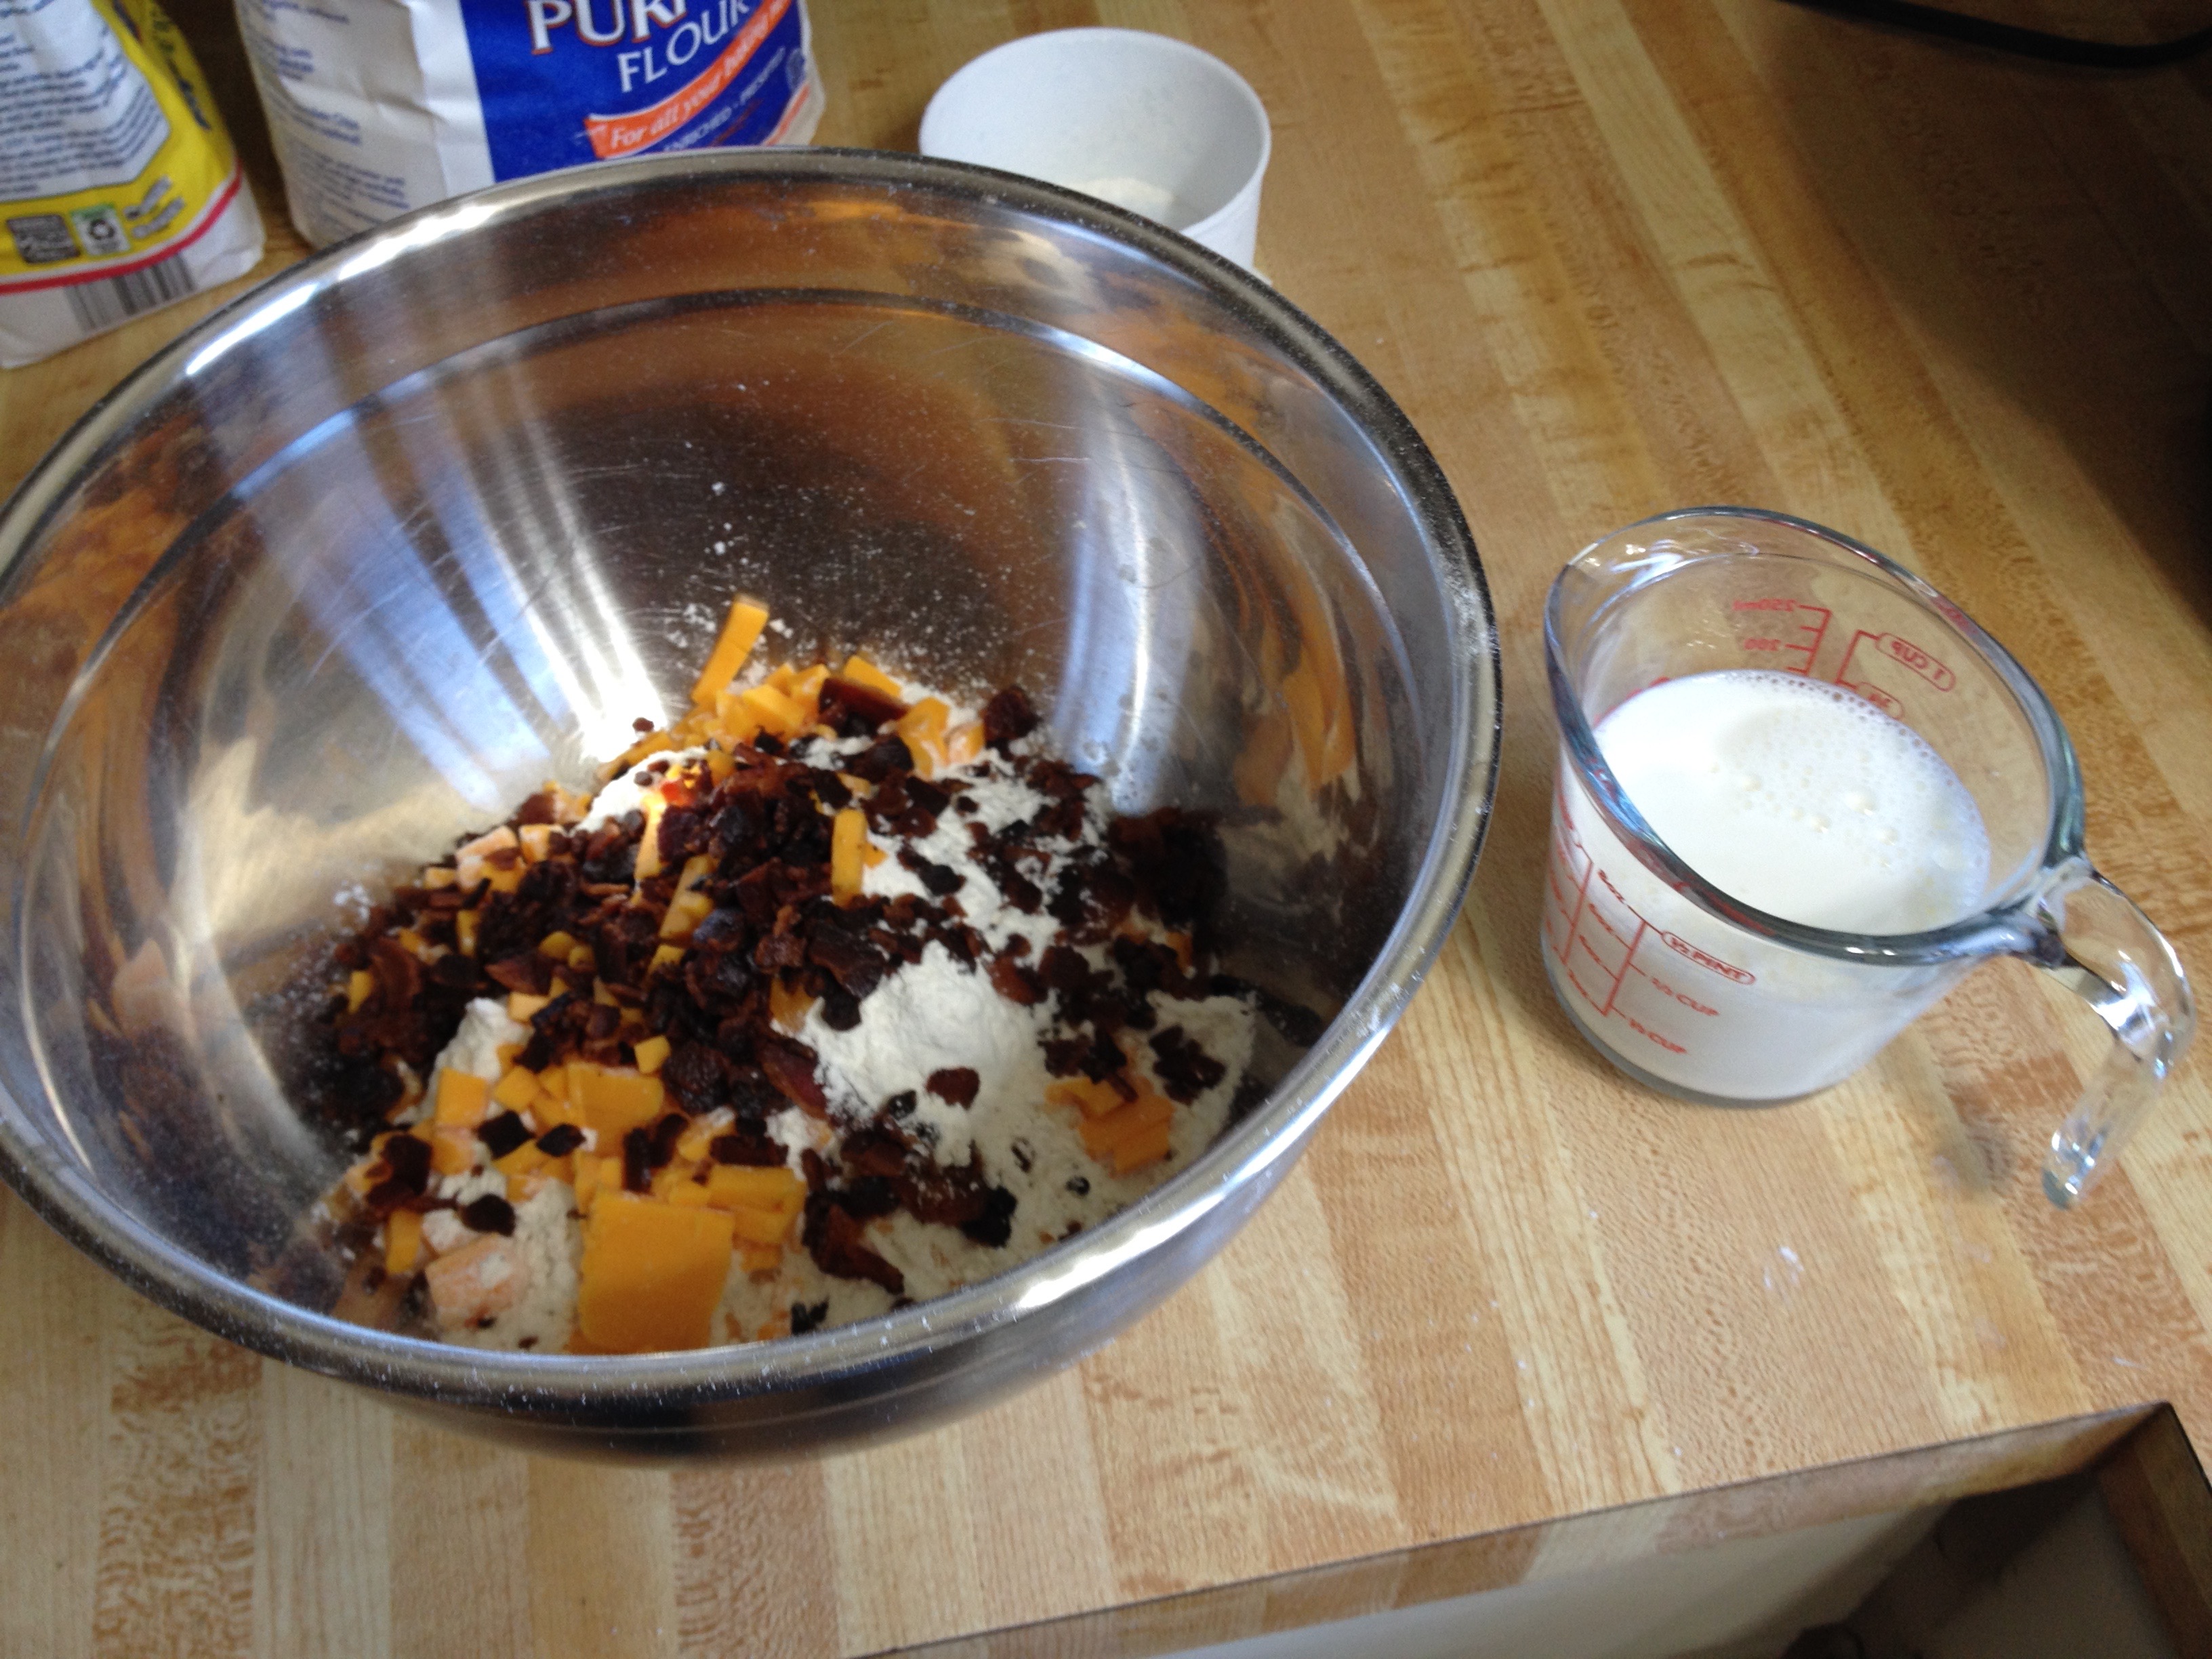
I used flour, sharp cheddar cheese, bacon, baking soda (my base), milk, lemon juice (my acid), a pinch of sugar, a pinch of salt, and dried chives for my mix.
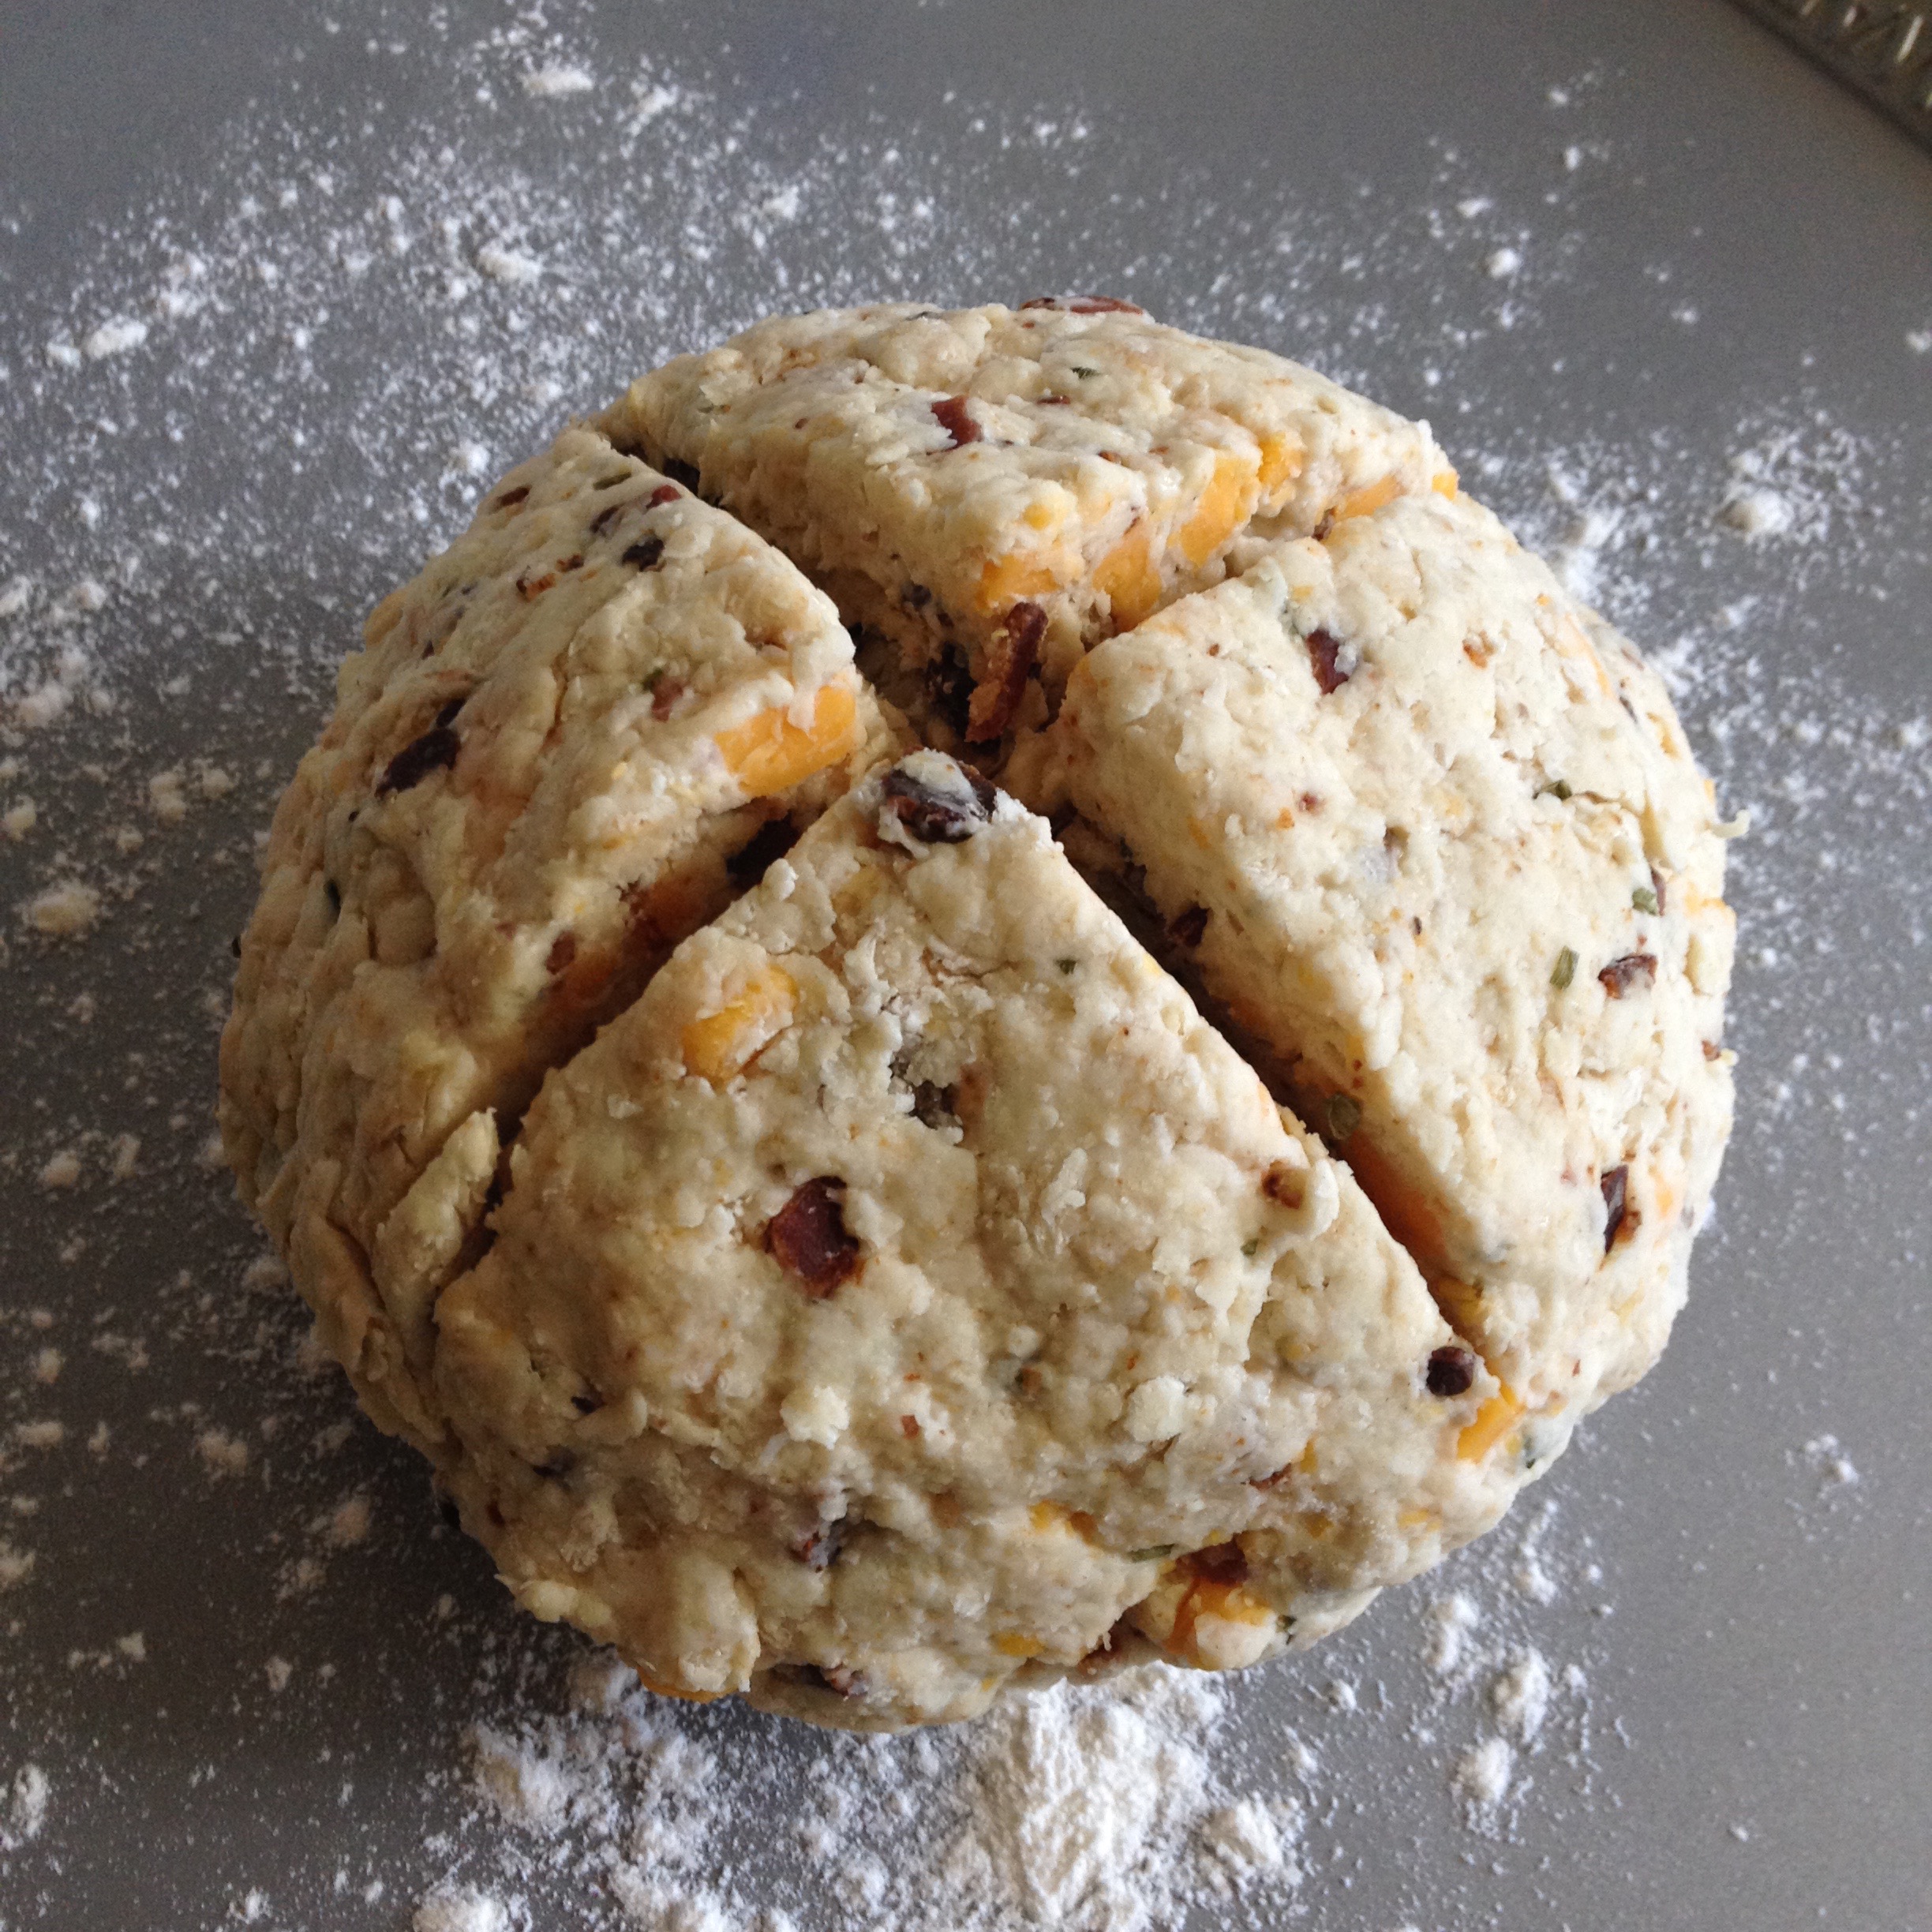
After combining all of the ingredients thoroughly and a little bit of kneading the dough was formed into a ball and a cross was cut into the top to help heat penetrate during baking.
The recipe I was following said to bake it for 22 minutes. After 30 minutes it was starting to look done on the outside.
But the inside was a different story. As Paul Hollywood would say, “It’s raw”.
I found the flavor to be quite bland. The bread needed a lot more filling to be interesting and should I attempt another soda bread I would make it flatter to promote more even baking.
What should we try baking for next week? I was thinking of tackling puff pastry.
and not a creature was stirring, not even a mouse because I just bought eight more mouse traps. If you recall, we have a bit of a mouse problem in our house as they have set up shop in the drop ceiling above our bed. Ewwww. Anyway, while I was at the store I perused their selection of 50% off Christmas decorations. This year our various strands of decorative lights had all given up the ghost and I am way to frugal to pay retail. At 50% off though I caved and bought a few strands of Christmas lights to do some last minute decorating. I figure in two days everything will be at 75% off so that would be the ideal time to stock up for next year.
Today, with Shae’s help I also finished making our homemade ravioli that we are giving away to friends and neighbors.
So far we have made a basic spinach & ricotta, butternut squash & gorgonzola, butternut squash & goat cheese cranberry, and our final most refined one was sweet potato & gorgonzola ravioli. We experimented with different dough recipes, rest times, rolling thickness, and cut out diameters before finding what we considered to be a tasty ravioli. I’ve made over 250 ravioli and at 2 minutes a piece it has definitely been a gift from the heart. Next year it may be back to easy and quick sugar cookie cutouts. Now that’s a sentence I’d never thought I would hear!
Here is one last frugal tip before I sign off and enjoy our traditional Christmas duck. If you are driving, make sure that your car tires are fully inflated. Under inflated tires reduces gas mileage and prematurely wears the tire. I checked all four tires on our car and found that they all needed some topping off.
Merry Christmas to all and to all a good night (except for those damn mice).
We’re always looking for ways to save money, especially on things we use/buy regularly. You may remember our foray into making our own breakfast sandwiches. While not very big on cost savings when you factor in the time to make them, it does offer the opportunity to expand into variations other than the 3 flavors offered at Aldi.
Another food product we eat like it’s going out of style is yogurt. When we were starting out our lives post-college we went only for the cheapest yogurt we could get. At 33 cents for a 6 oz cup the Aldi & Kroger generic brands ruled the refrigerator. Then we started looking at the nutrition labels. The generic cups of yogurts, regardless of flavor, all had about 36 grams of sugar. We did the math:
4 grams of sugar = 1 teaspoon of sugar
36 grams of sugar = 9 teaspoons of sugar
9 teaspoons of sugar = 3 tablespoons of sugar
3 tablespoons of sugar in just one small container of yogurt. Yikes! Now granted some (not much) of the sugar comes from the milk, but companies tend to make up for lack of fat (flavor) in products by adding sugar. It’s very difficult to find full fat or low sugar yogurts without spending over a dollar per 6oz cup. Not very frugal when you’re on a limited budget.
After that realization we coughed up a little extra money for the name-brand regular yogurt at about 50-70 cents a cup. The sugar content was reduced but not by much (24-26 grams or 2 tablespoons).
About a year ago we started on the Greek yogurts and bought tubs instead of individual cups when it made sense (coupons make the pre-portioned cups a better deal). The plain Greek yogurt quart tubs cost $3.89 and only have 10-16 grams of sugar. You’re probably thinking why not just get the generic “lite” or “carb master” variety and save yourself the money and have the lower sugar content. That comes to the matter of taste. I can’t stand the aftertaste of artificial sweeteners. Picky, I know.
Now on to the main point of this post. I was browsing the web the other day and a recipe to make your own yogurt caught my eye. The process was very hands-off and for a little less than the cost of a quart tub you could have almost a gallon of yogurt (4 quarts if you can’t remember your US customary conversions). It only needed 4 things:
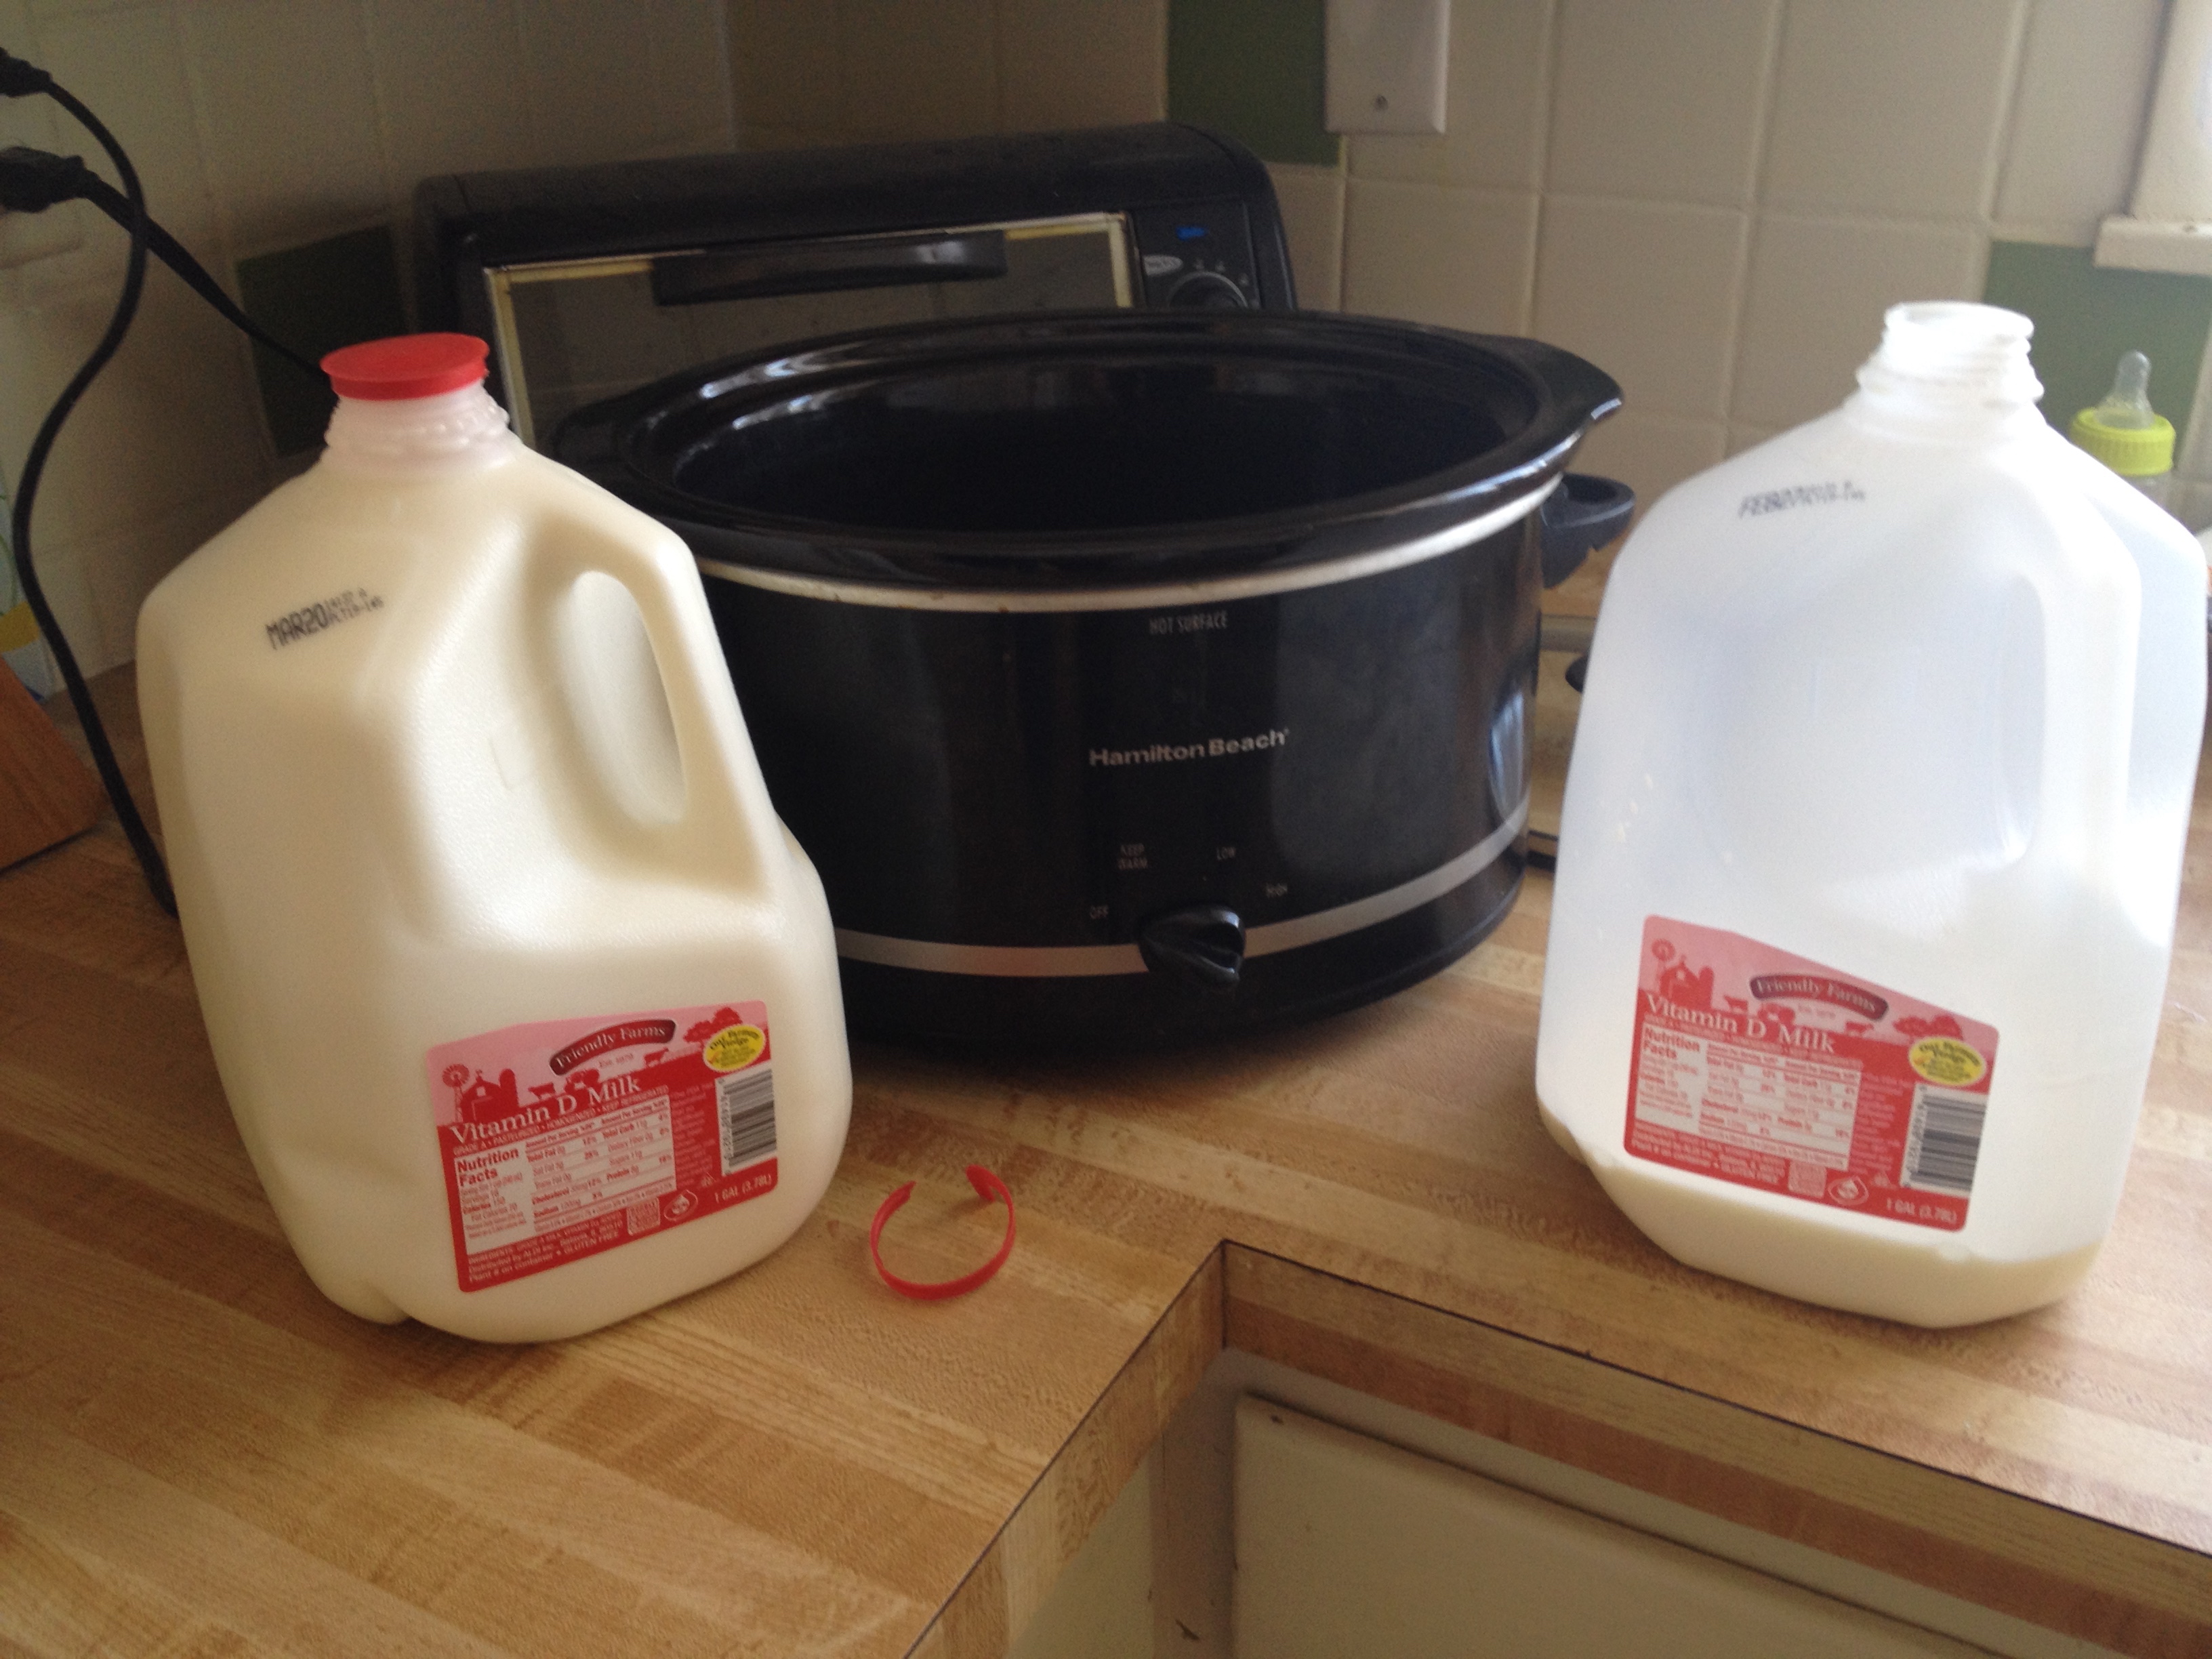
Slow cooker
Thermometer
Gallon of milk (the recipes say skim or 2% will work but whole milk is best)
6oz cup of no-sugar/sweetner added, plain yogurt – look for the live and active cultures seal on the label
You begin by pouring your gallon of milk into your slow cooker, put the lid on and turn it to the low heat setting.
We have a 4 quart slow cooker so we couldn’t quite fit in a whole gallon.
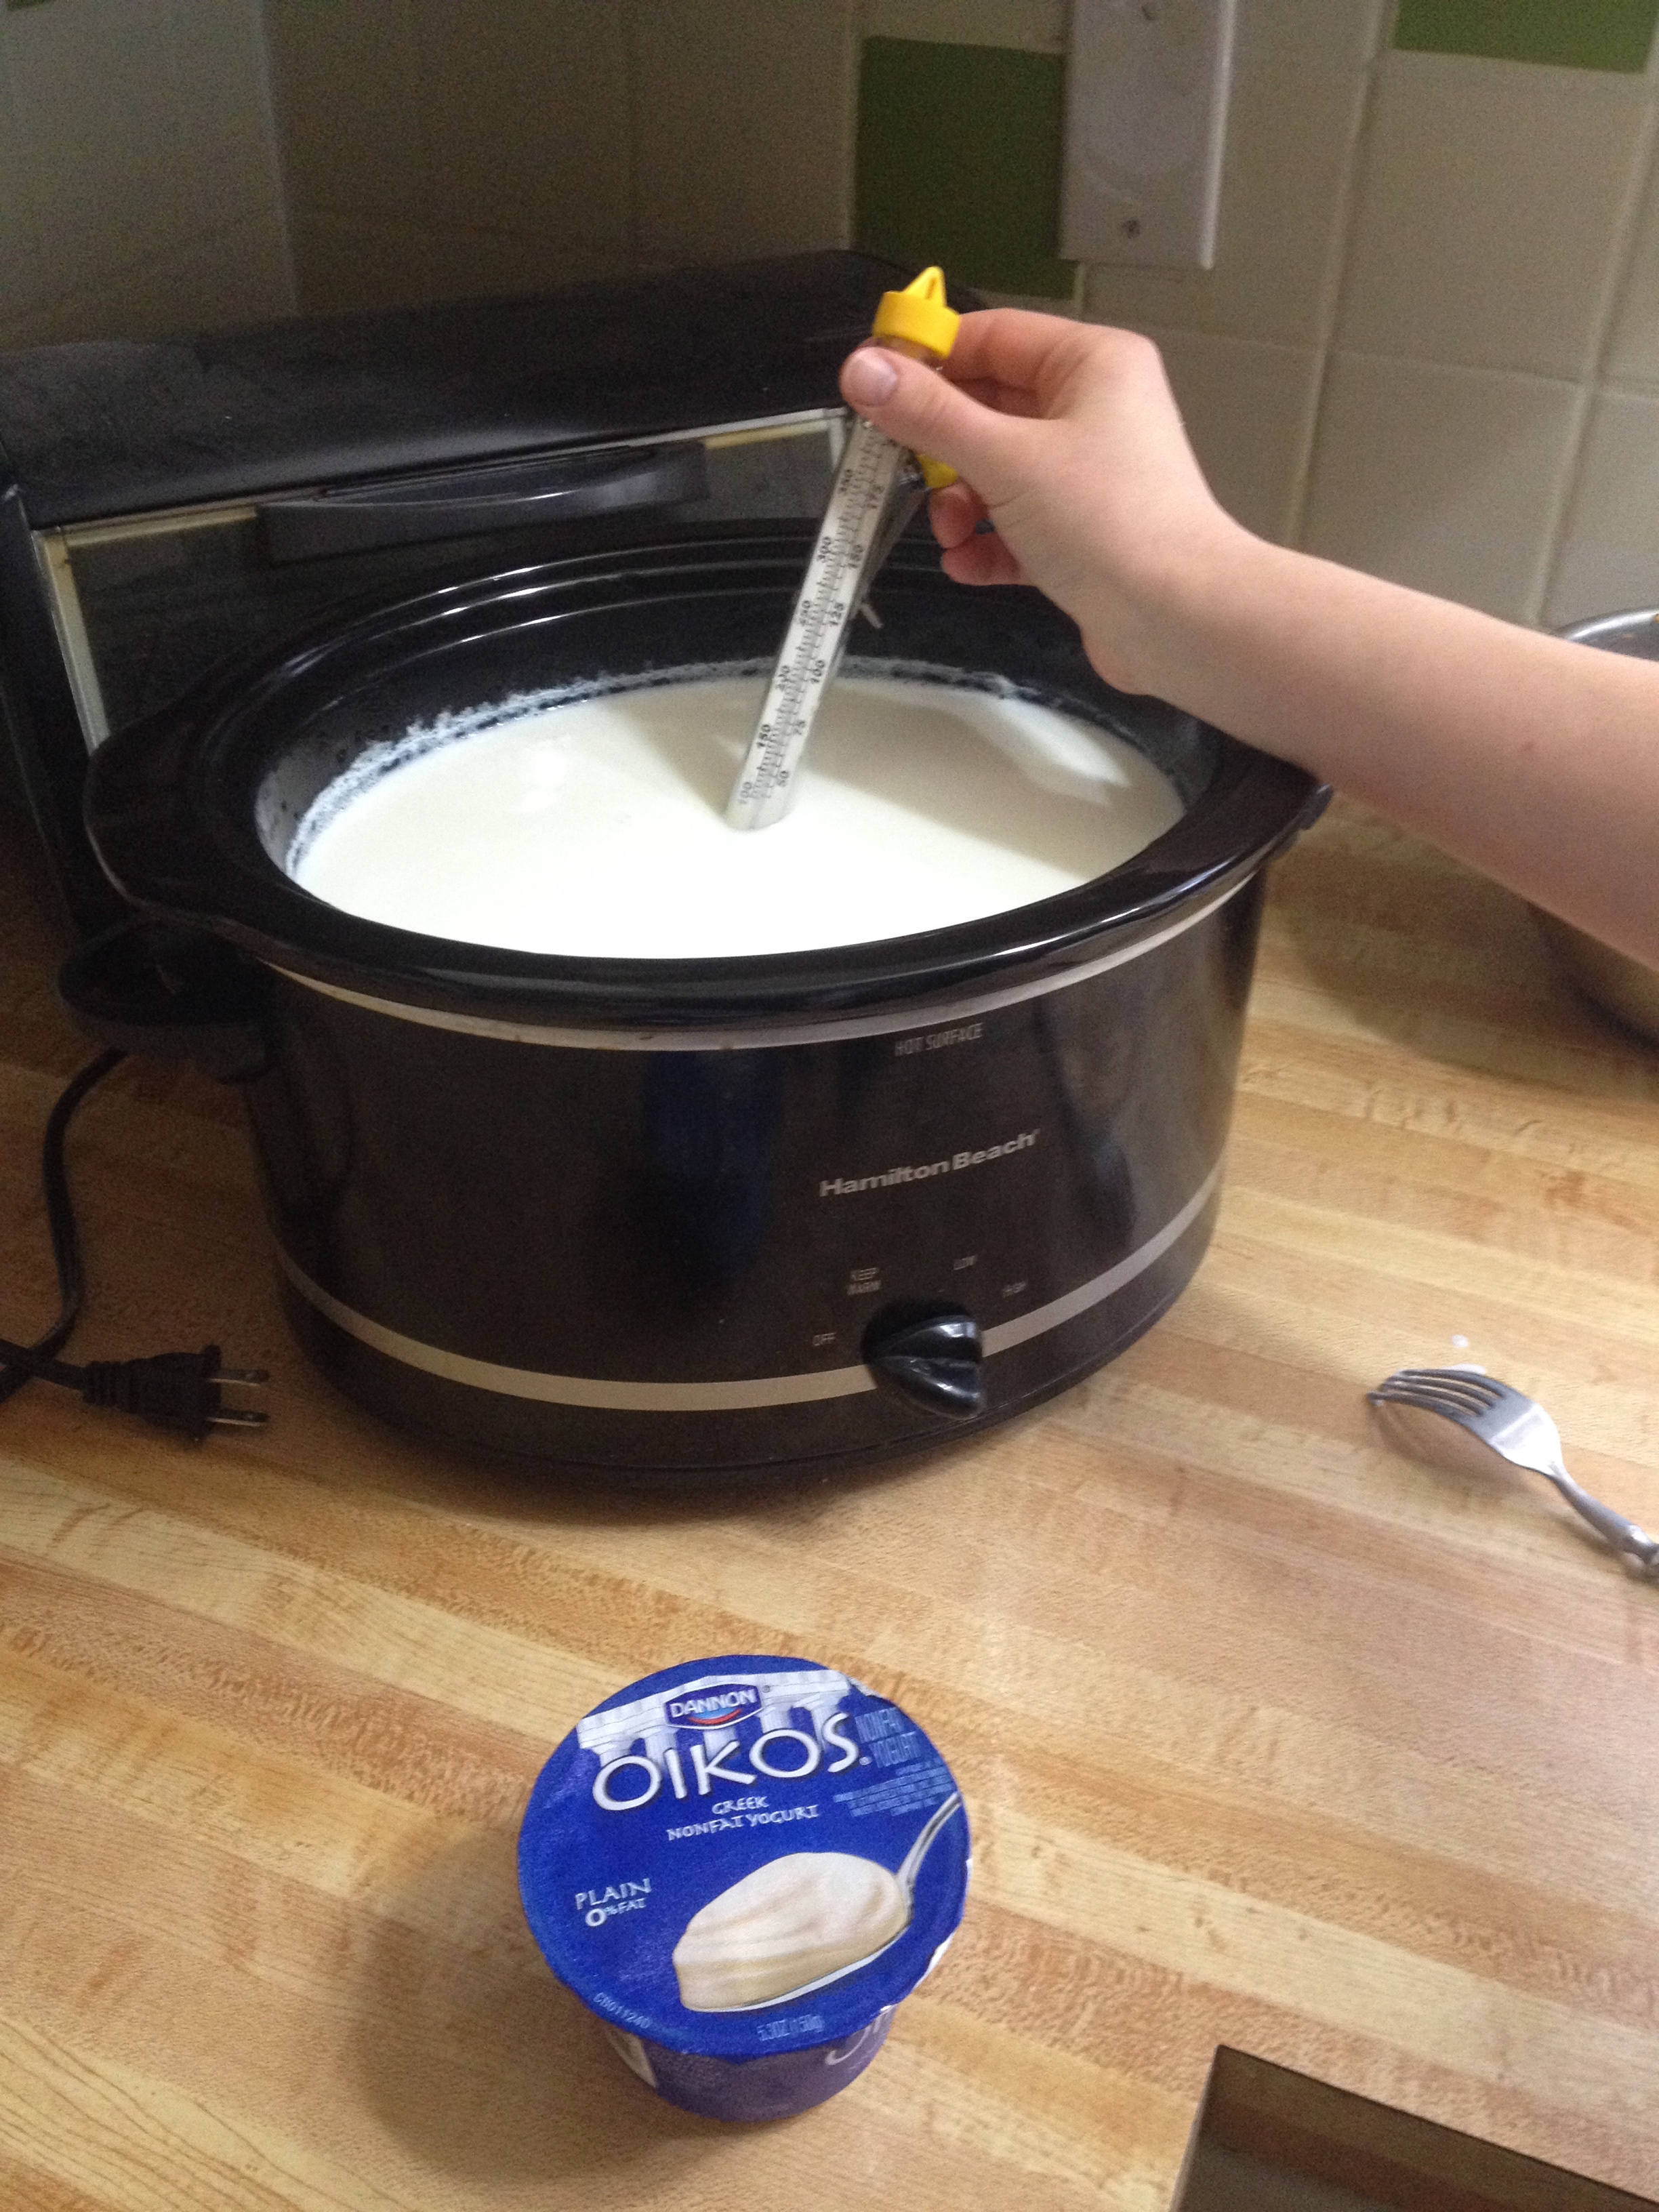
You want the milk to heat to 180 degrees to kill off any bad bacteria present so the good bacteria from the starter yogurt can grow freely. This is important so use your thermometer to make sure the milk gets hot enough. Depending on the heat output of your slow cooker it can take several hours (ours took about 3 hours).
Once the milk hits 180, turn off your slow cooker and let it sit with the lid on to cool to 95-115 degrees (another 2-3 hours). This is the ideal temperature for the good bacteria to grow. Take about a cup or so of the still warm milk out of the slow cooker and mix it with your starter yogurt. Pour that milk/yogurt mixture back into the rest of the milk and mix well.
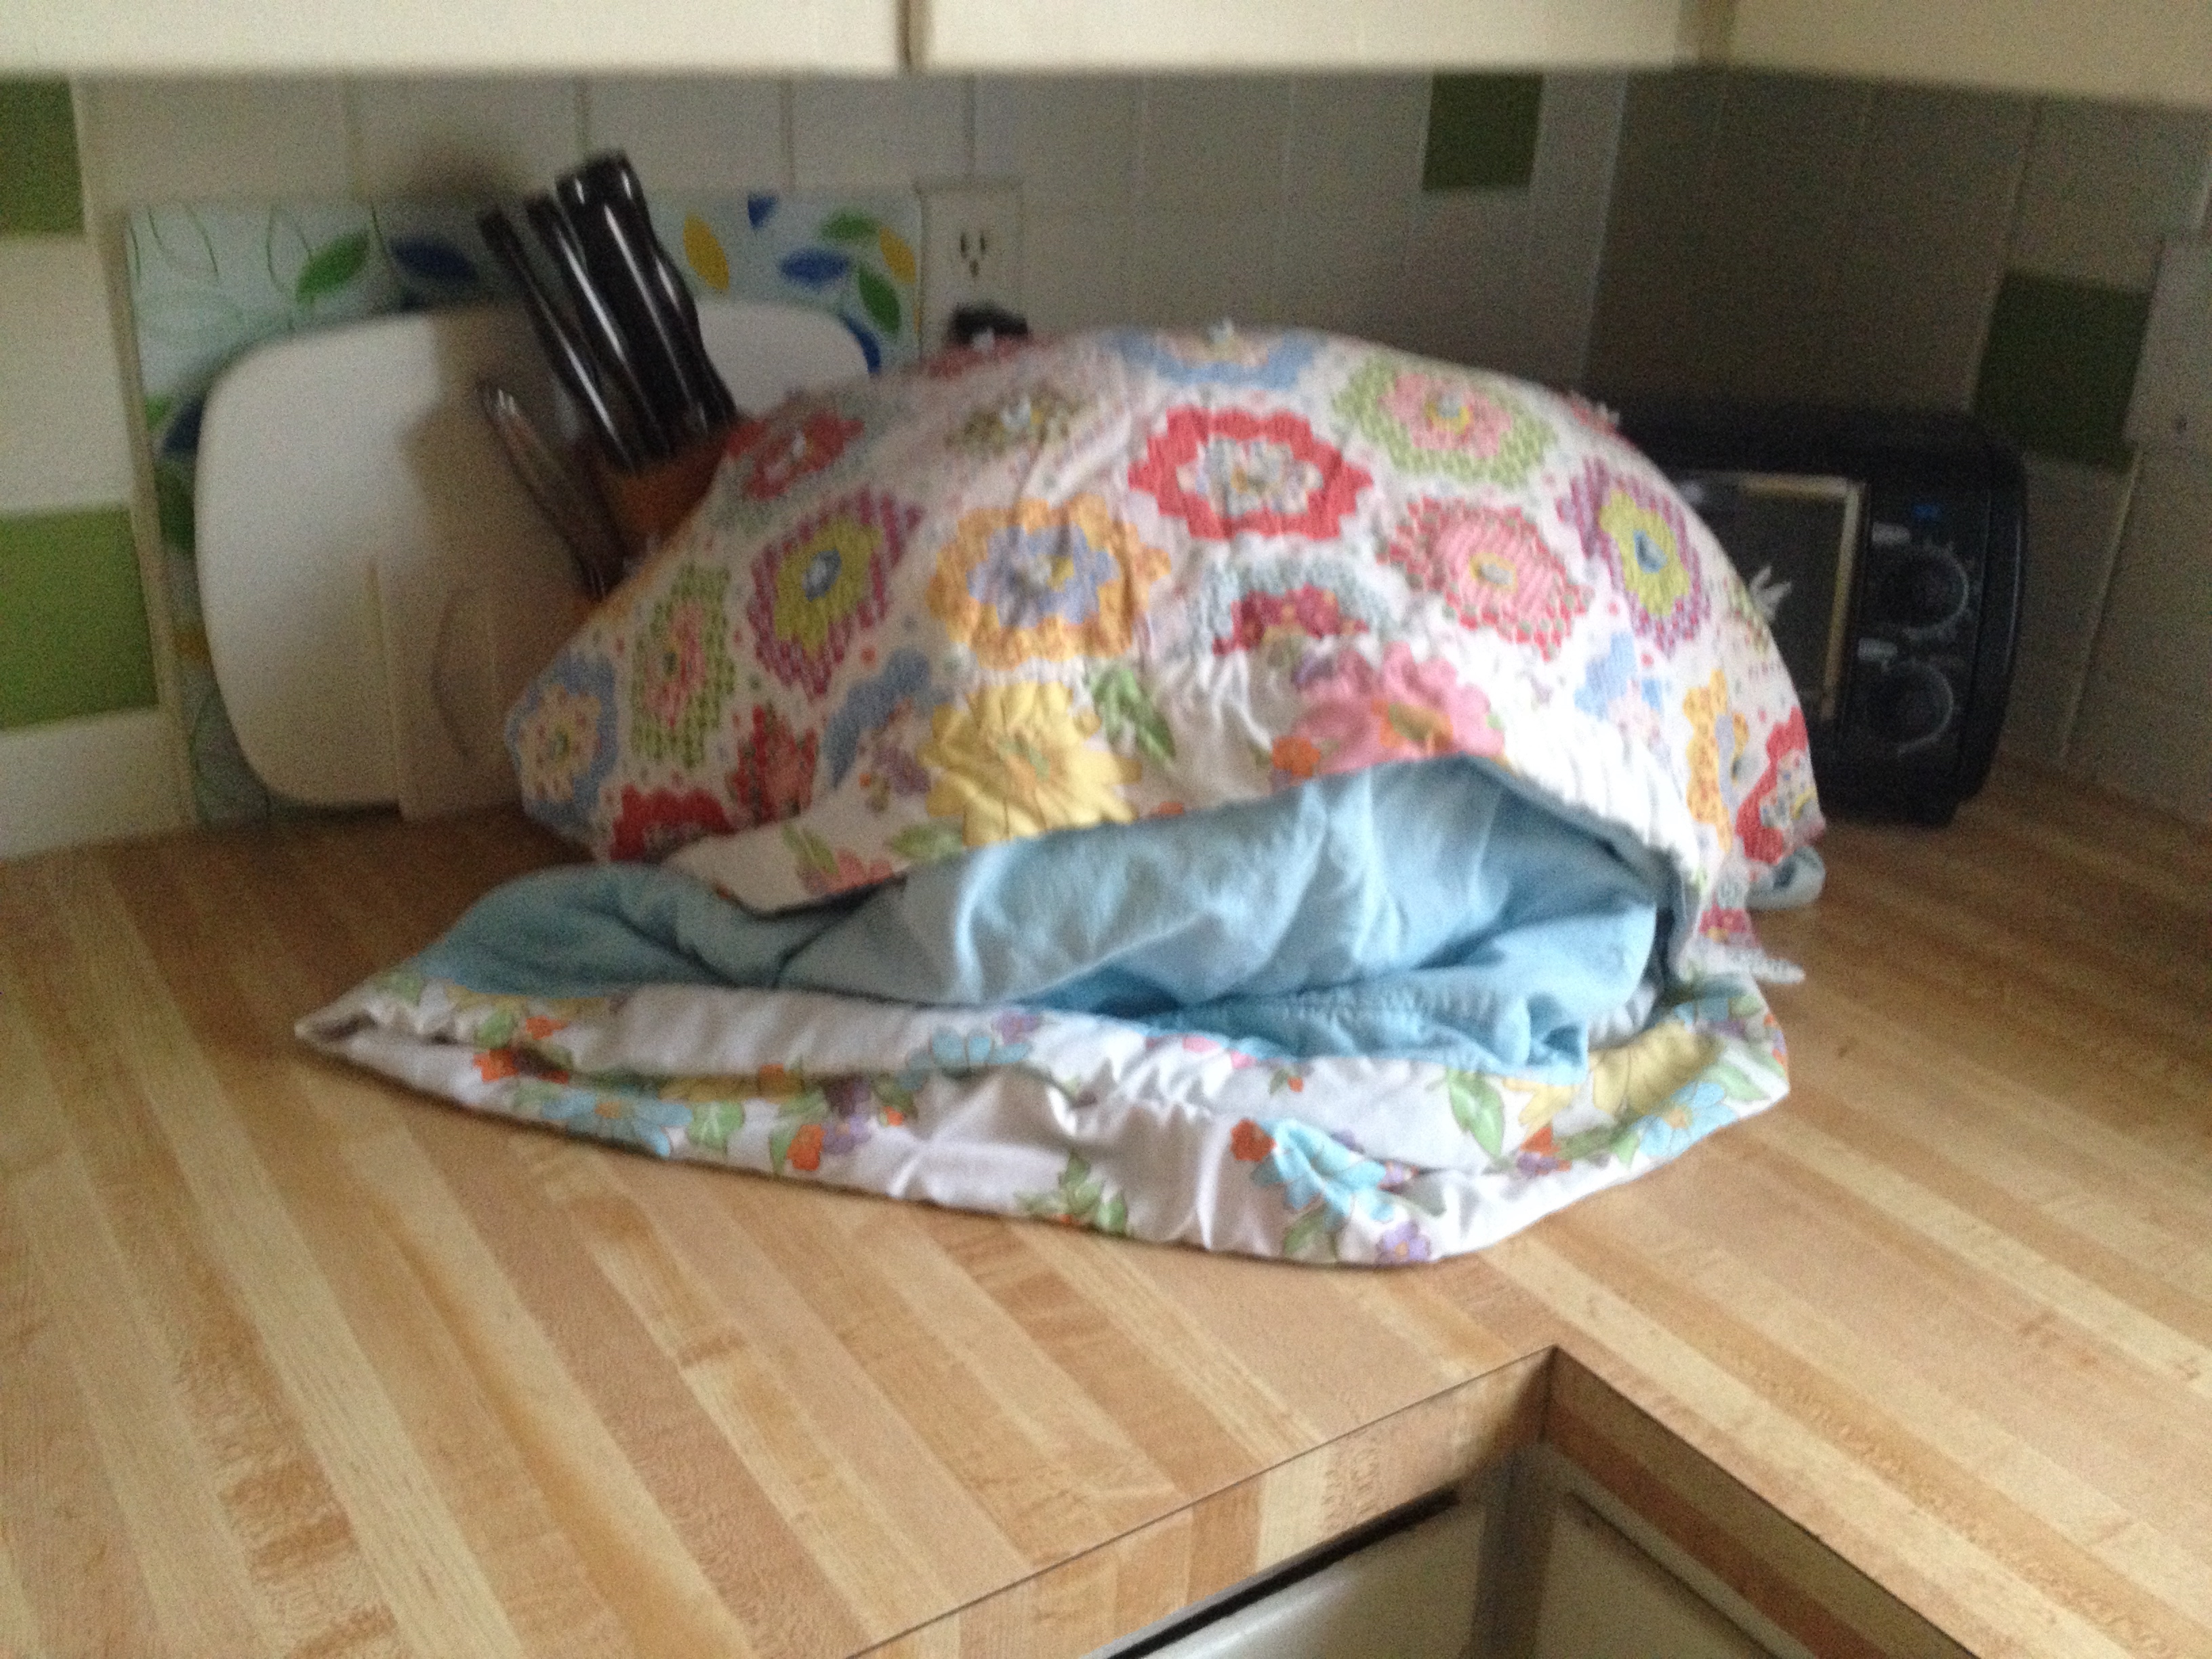
At this point some recipes had you stick the yogurt in a cool oven with the light turned on. Other recipes had you use a thermos or cooler. The goal is to keep the milk at a stable, warm temperature while it ferments. We opted for wrapping the slow cooker in a blanket to insulate.
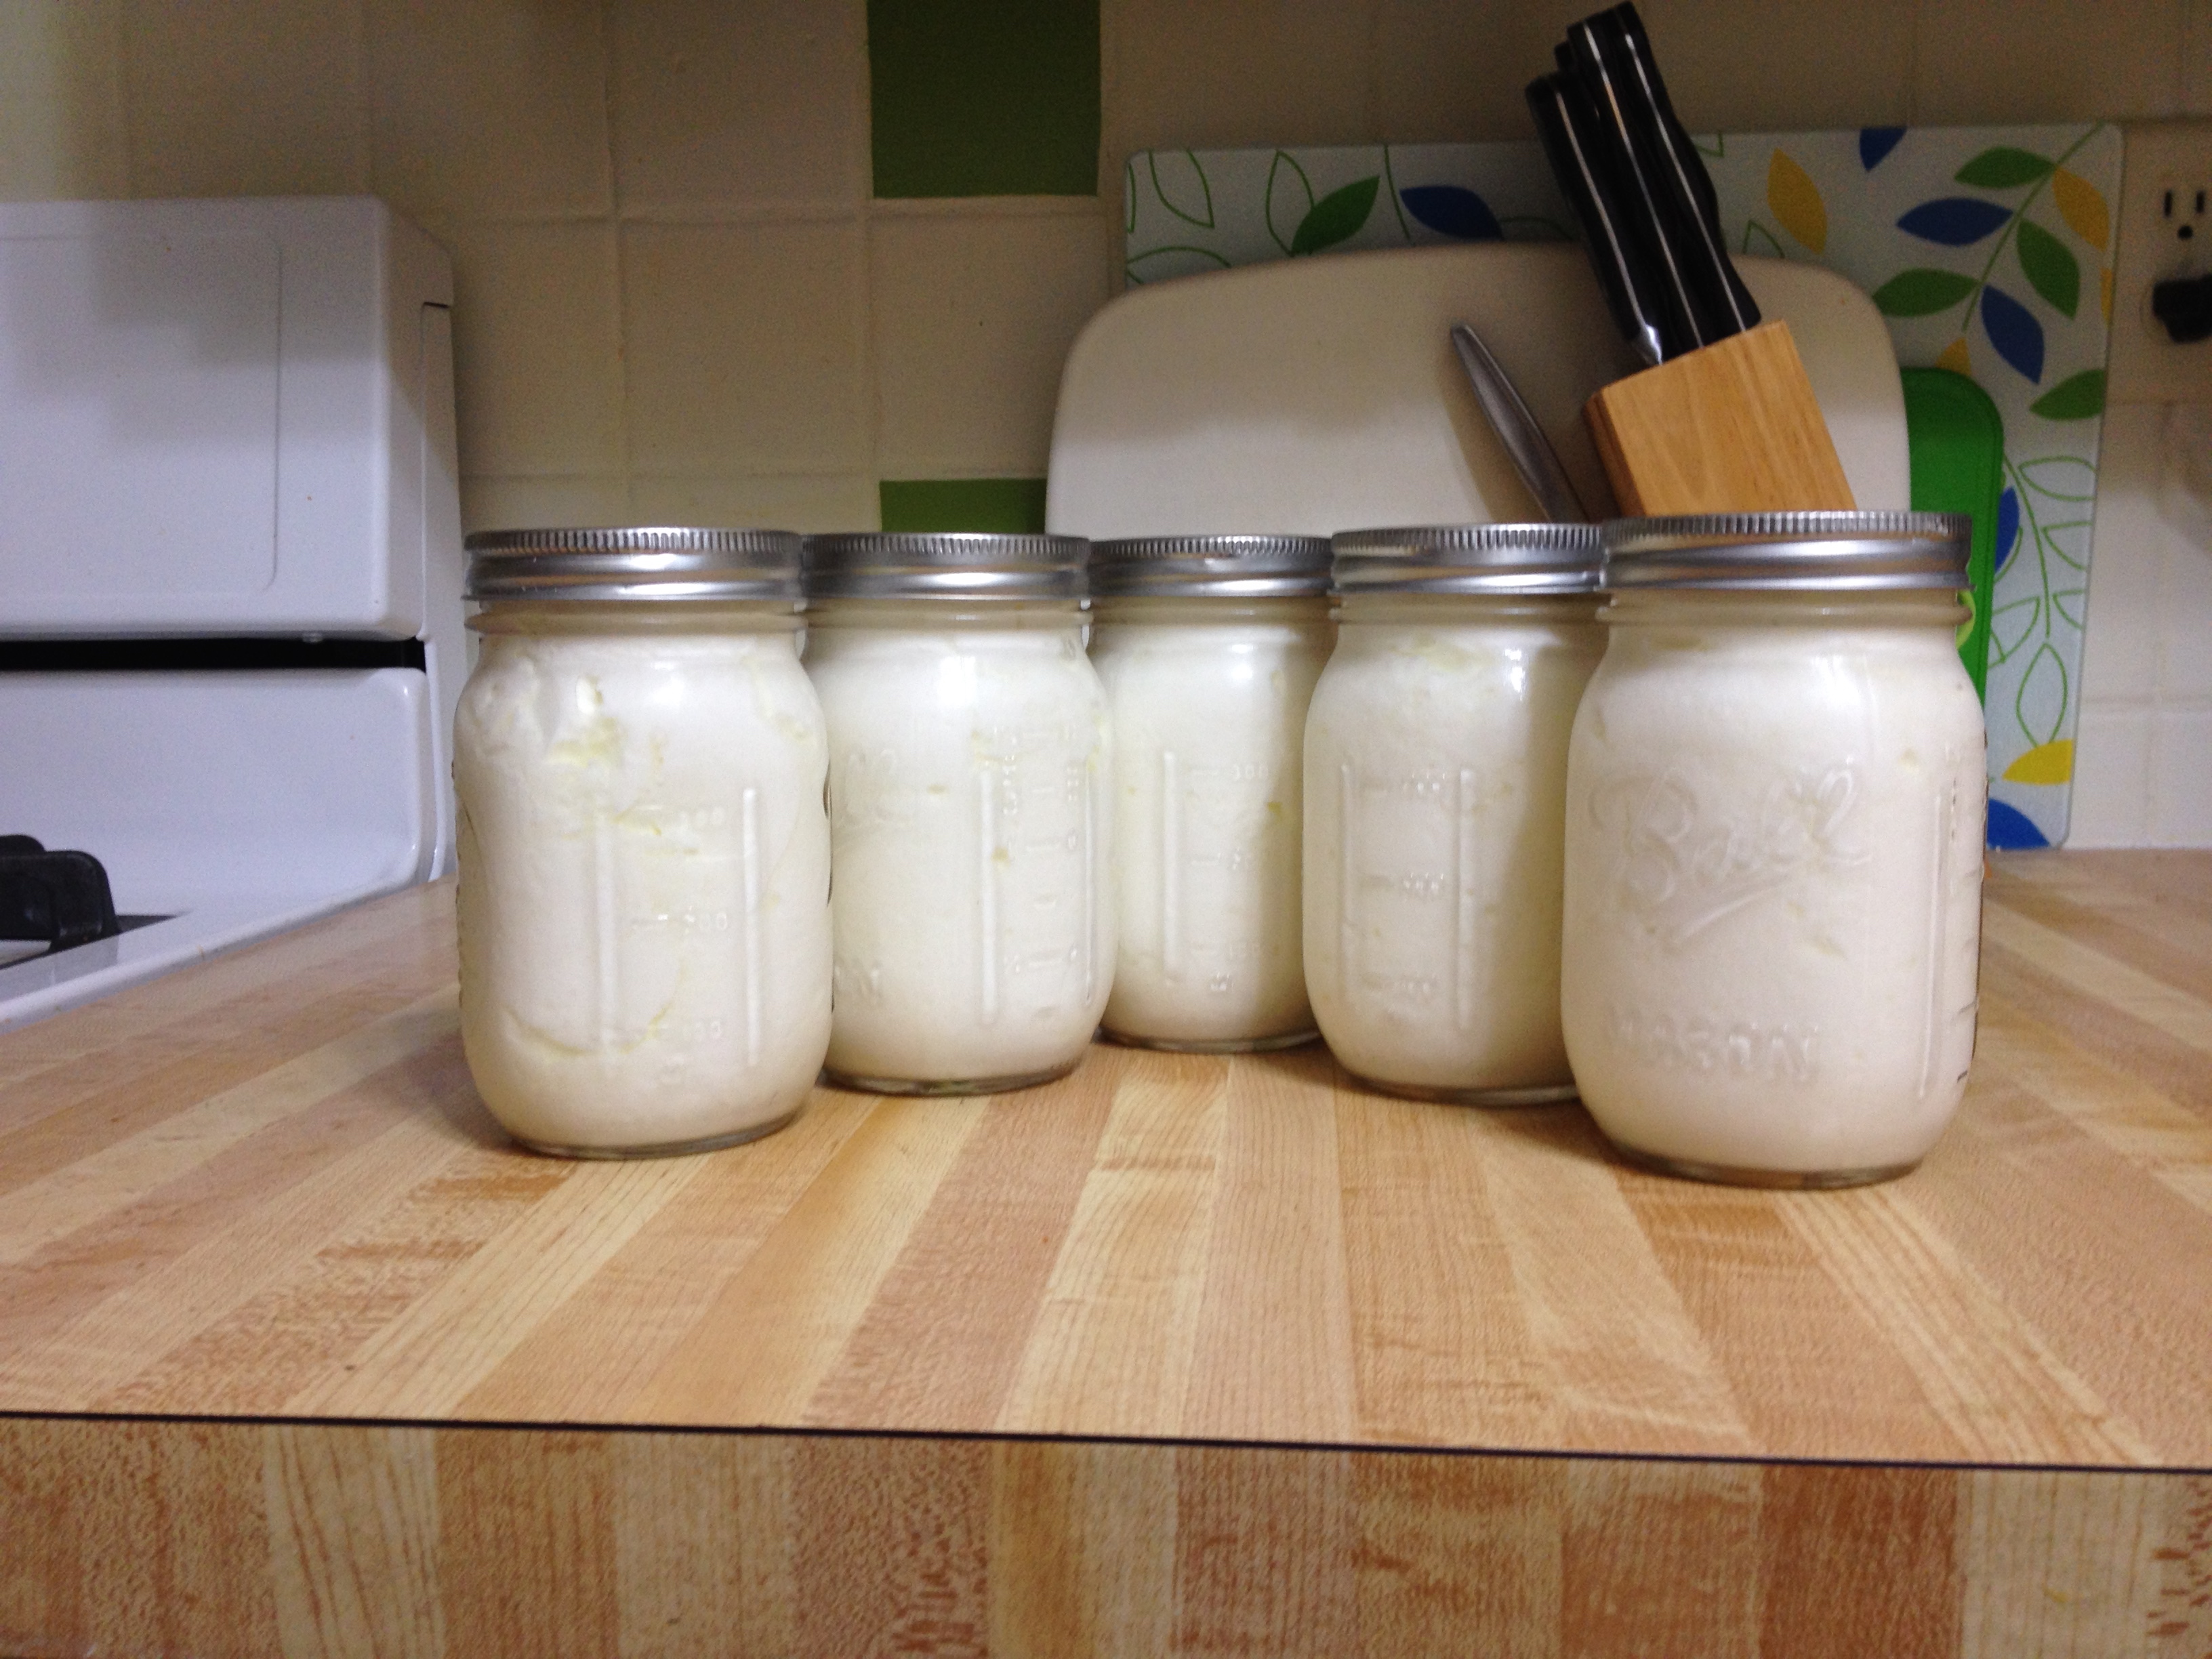
Your job is done at this point and the live bacteria from the starter yogurt go to work. The yogurt should sit for 8-12 hours in its cocoon. If you like more sour tasting yogurt let it sit for the 12 hours, for a less tangy yogurt 8 hours should suffice. We let ours sit overnight for about 12 hours. Once the fermenting period is up you can transfer the yogurt to containers and place it in the refrigerator.
We had about 3 1/2 quarts total of yogurt. About a quart was eaten by the time I remembered to take this picture.
Your homemade yogurt will keep for about 2 weeks (if you don’t eat it all before then). Our total cost was $3.69. $2.69 for the milk and another dollar for the starter yogurt. The next batch will cost even less as we’ll use a cup of yogurt from this batch as the starter. The taste is great, even after 12 hours it wasn’t very sour at all and the whole milk made it very creamy. Even Frugal Boy has been enjoying the yogurt.