Homemade Ice Cream – A Delicious But Not So Frugal Treat
This past Christmas, Shae and I got the KitchenAid Ice Cream Maker attachment as a gift from her parents. The set consists of a freezer bowl, a churning paddle, some plastic connector bits, and an instructions manual.
In the world of homemade ice cream, there are three methods.
Method 1 – Salt & Ice
This is the tried and true coffee can way of making ice cream. You pour your cream mixture into a small can, seal it up, then place that small can inside a bigger can packed with ice and salt. After sealing the bigger can, you (or better yet, your kids) roll the can back and forth across the kitchen floor for 30 minutes until the inside can freezes.
There are more sophisticated setups for salt & ice but they all work the same. A nice write up on this if you want to try it at home is available here.
Method 2 – The Freezer Bucket
In this method, instead of using ice and salt, you pre-freeze a special mixing bowl that contains blue-ice in the side walls. These big mixing bowls act like cooler packs that you throw in the freezer before going on a picnic or taking your lunch to work. The KitchenAid Ice Cream Maker utilizes one of these bowls. The advantage is that you don’t have to bother with crushing up ice and adding in salt. The disadvantage is that you need to freeze the bowl overnight in order to get it cold enough to make ice cream.
Method 3 – Compressors
At the very highest end of home ice cream makers are kitchen gadgets that have built in compressors. These units just plug into the wall and the built in compressor makes the mixing area cold enough to make ice cream. The advantage is that you don’t have to pre-freeze a bulky bowl. The disadvantage is price. Compressor styled ice cream makers range anywhere from $200-600. Assuming that ingredients are free and you only buy high end $5/quart ice cream. It would take between 40-120 quarts of ice cream to pay off one of these machines. As you’ll see further down, ingredients for high quality ice cream are anything but free.
Starting with a Recipe
We followed one of the KitchenAid recipes back in January when we broke in the gizmo. I don’t think we had our freezer cold enough, because there were a lot of large ice crystals that formed. This time around, we were better prepared and set our freezer down to the coldest setting. The faster your ice cream mixture freezes, the smaller the ice crystals will be. The name of the game becomes, get your cream mixture as close to freezing as possible before starting the churning process.
This time around, we followed this rocky road recipe with some modifications. We substituted whipping cream in place of the heavy cream and we changed light cream with 2% milk.
With our mixing bowl frozen and the cream mixture thoroughly chilled, we were able to start the churning process.

Frugal Boy wanted to pour his milk into the bowl as well. I am not sure if he understood that ice cream comes from dairy, or if he would have just as happily poured in a cup of water. Either way, I am happy that we can teach him how different foods are made so that he can understand what it is that he is eating and what had to happen in order to make that possible.
When using the KitchenAid, you have to start the mixing paddle before you pour the mixture in otherwise it will freeze to the sides instantly.
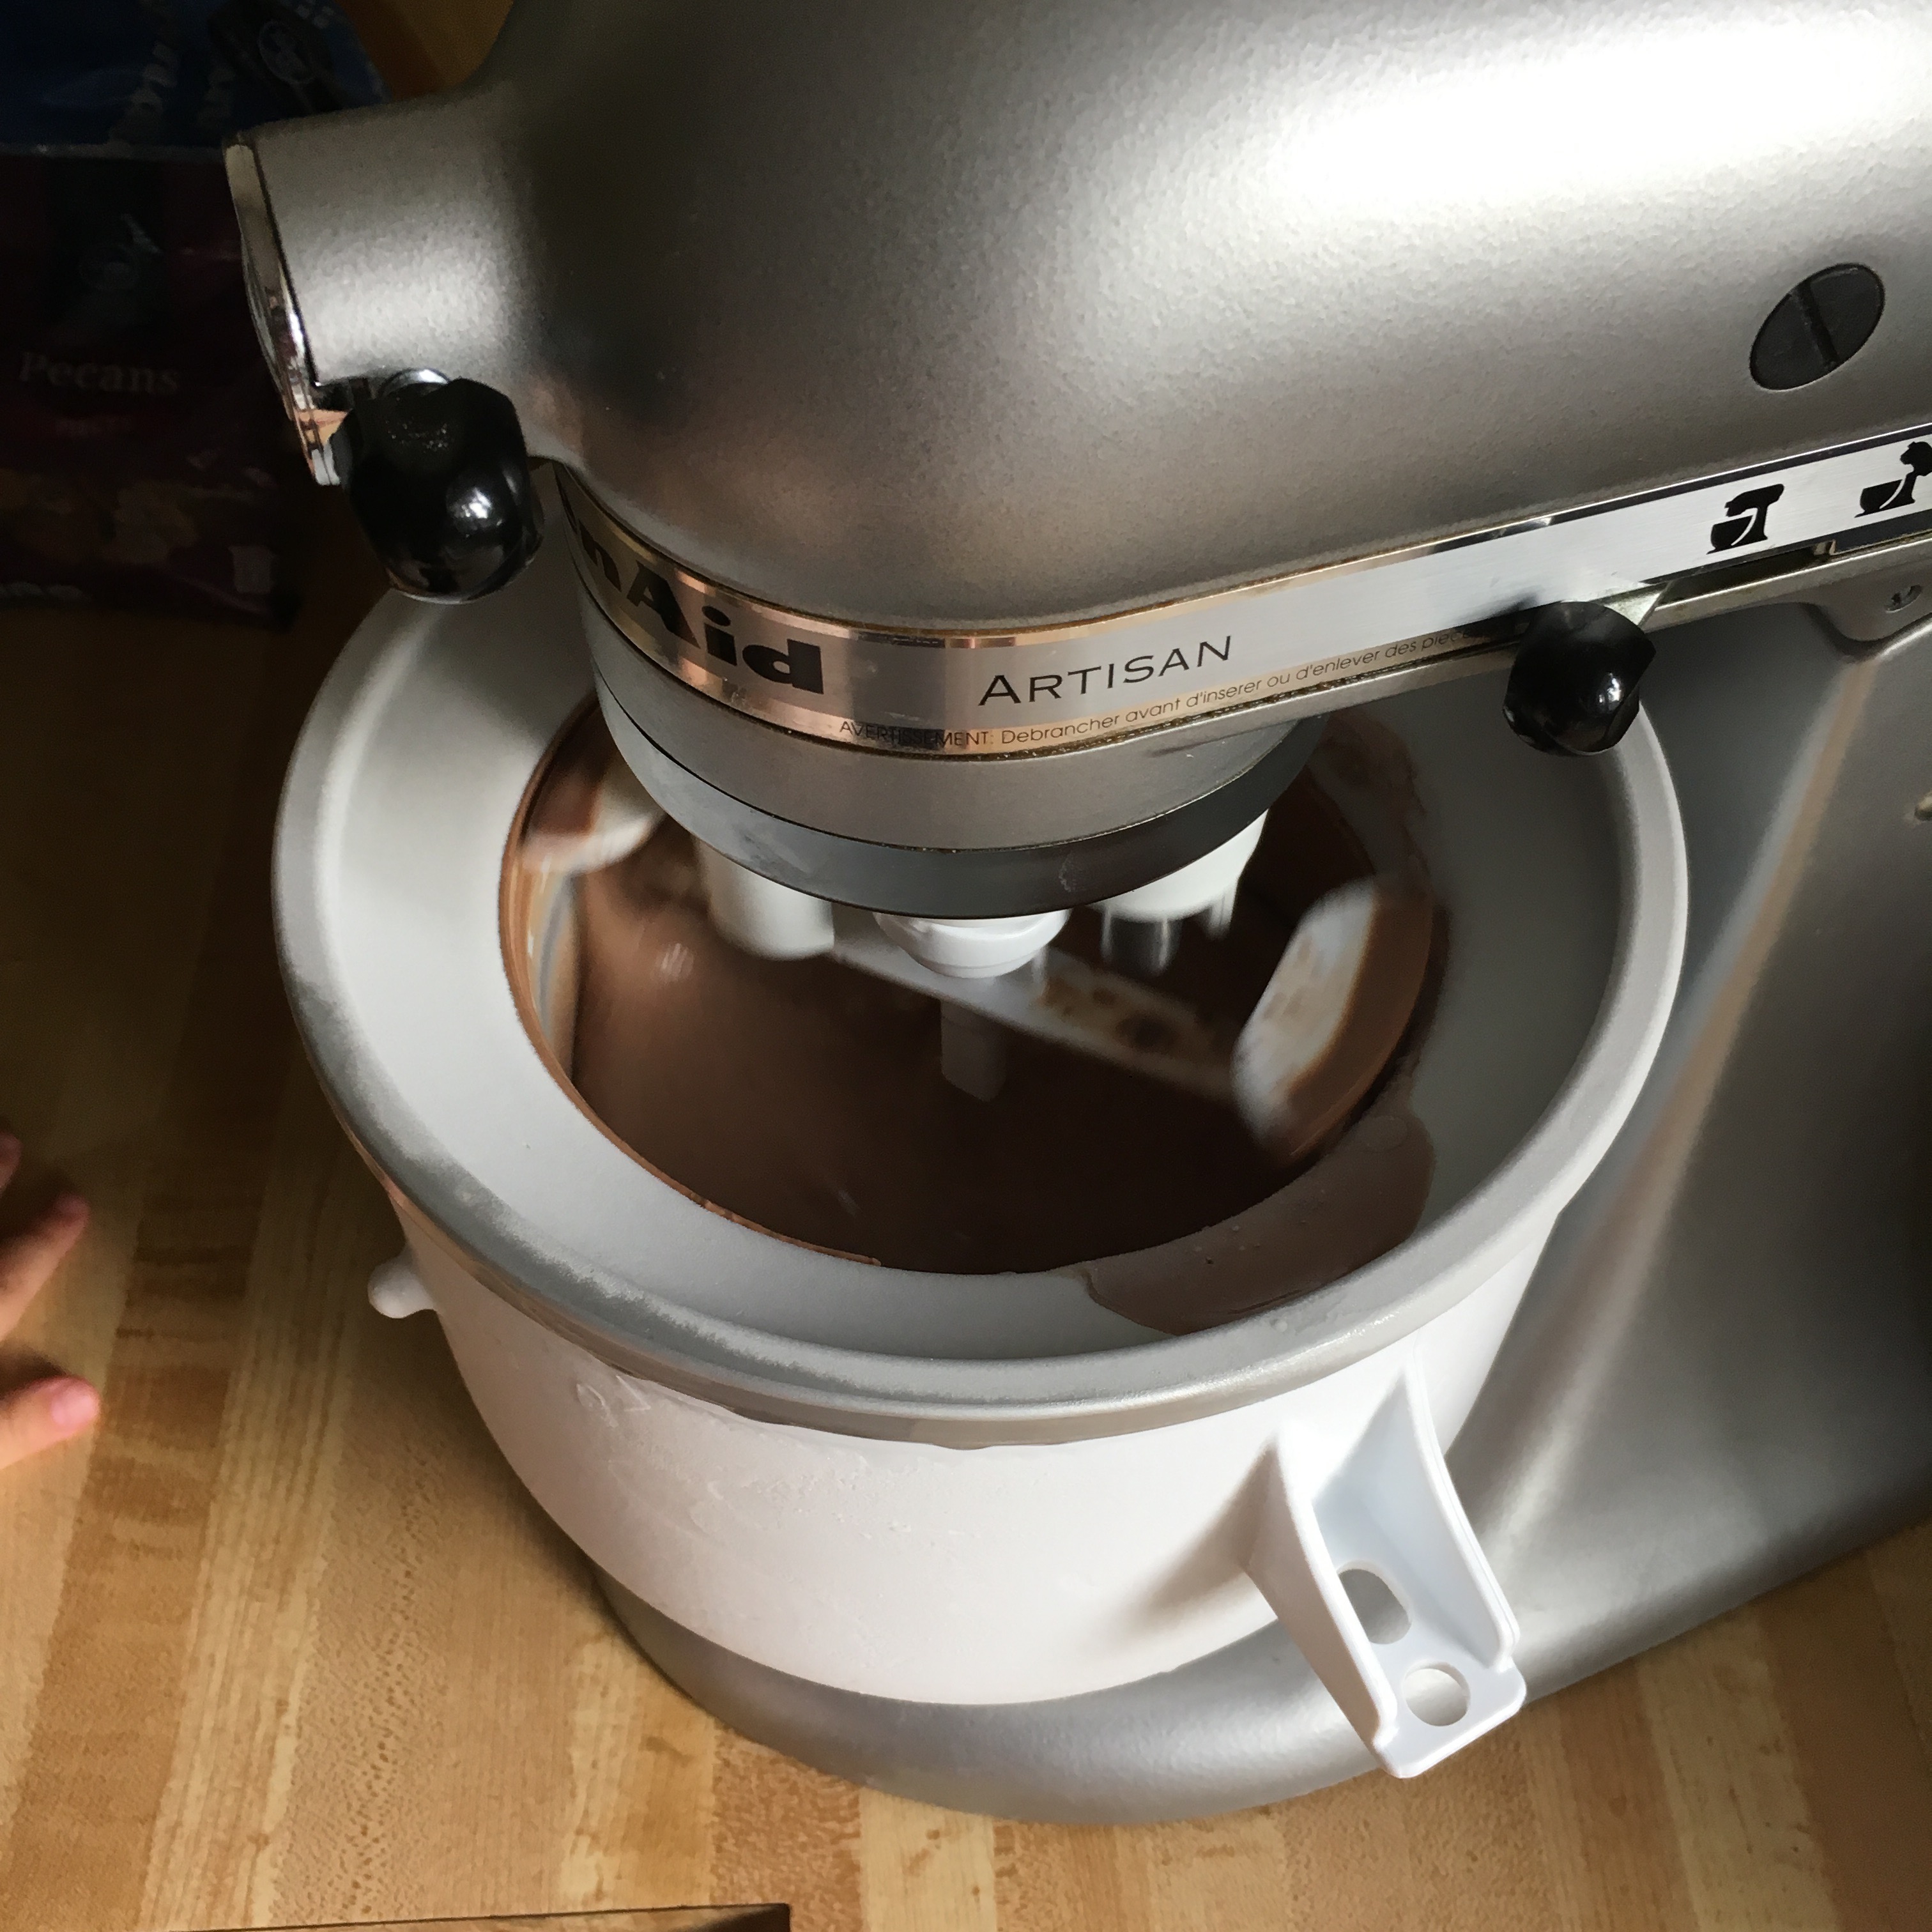
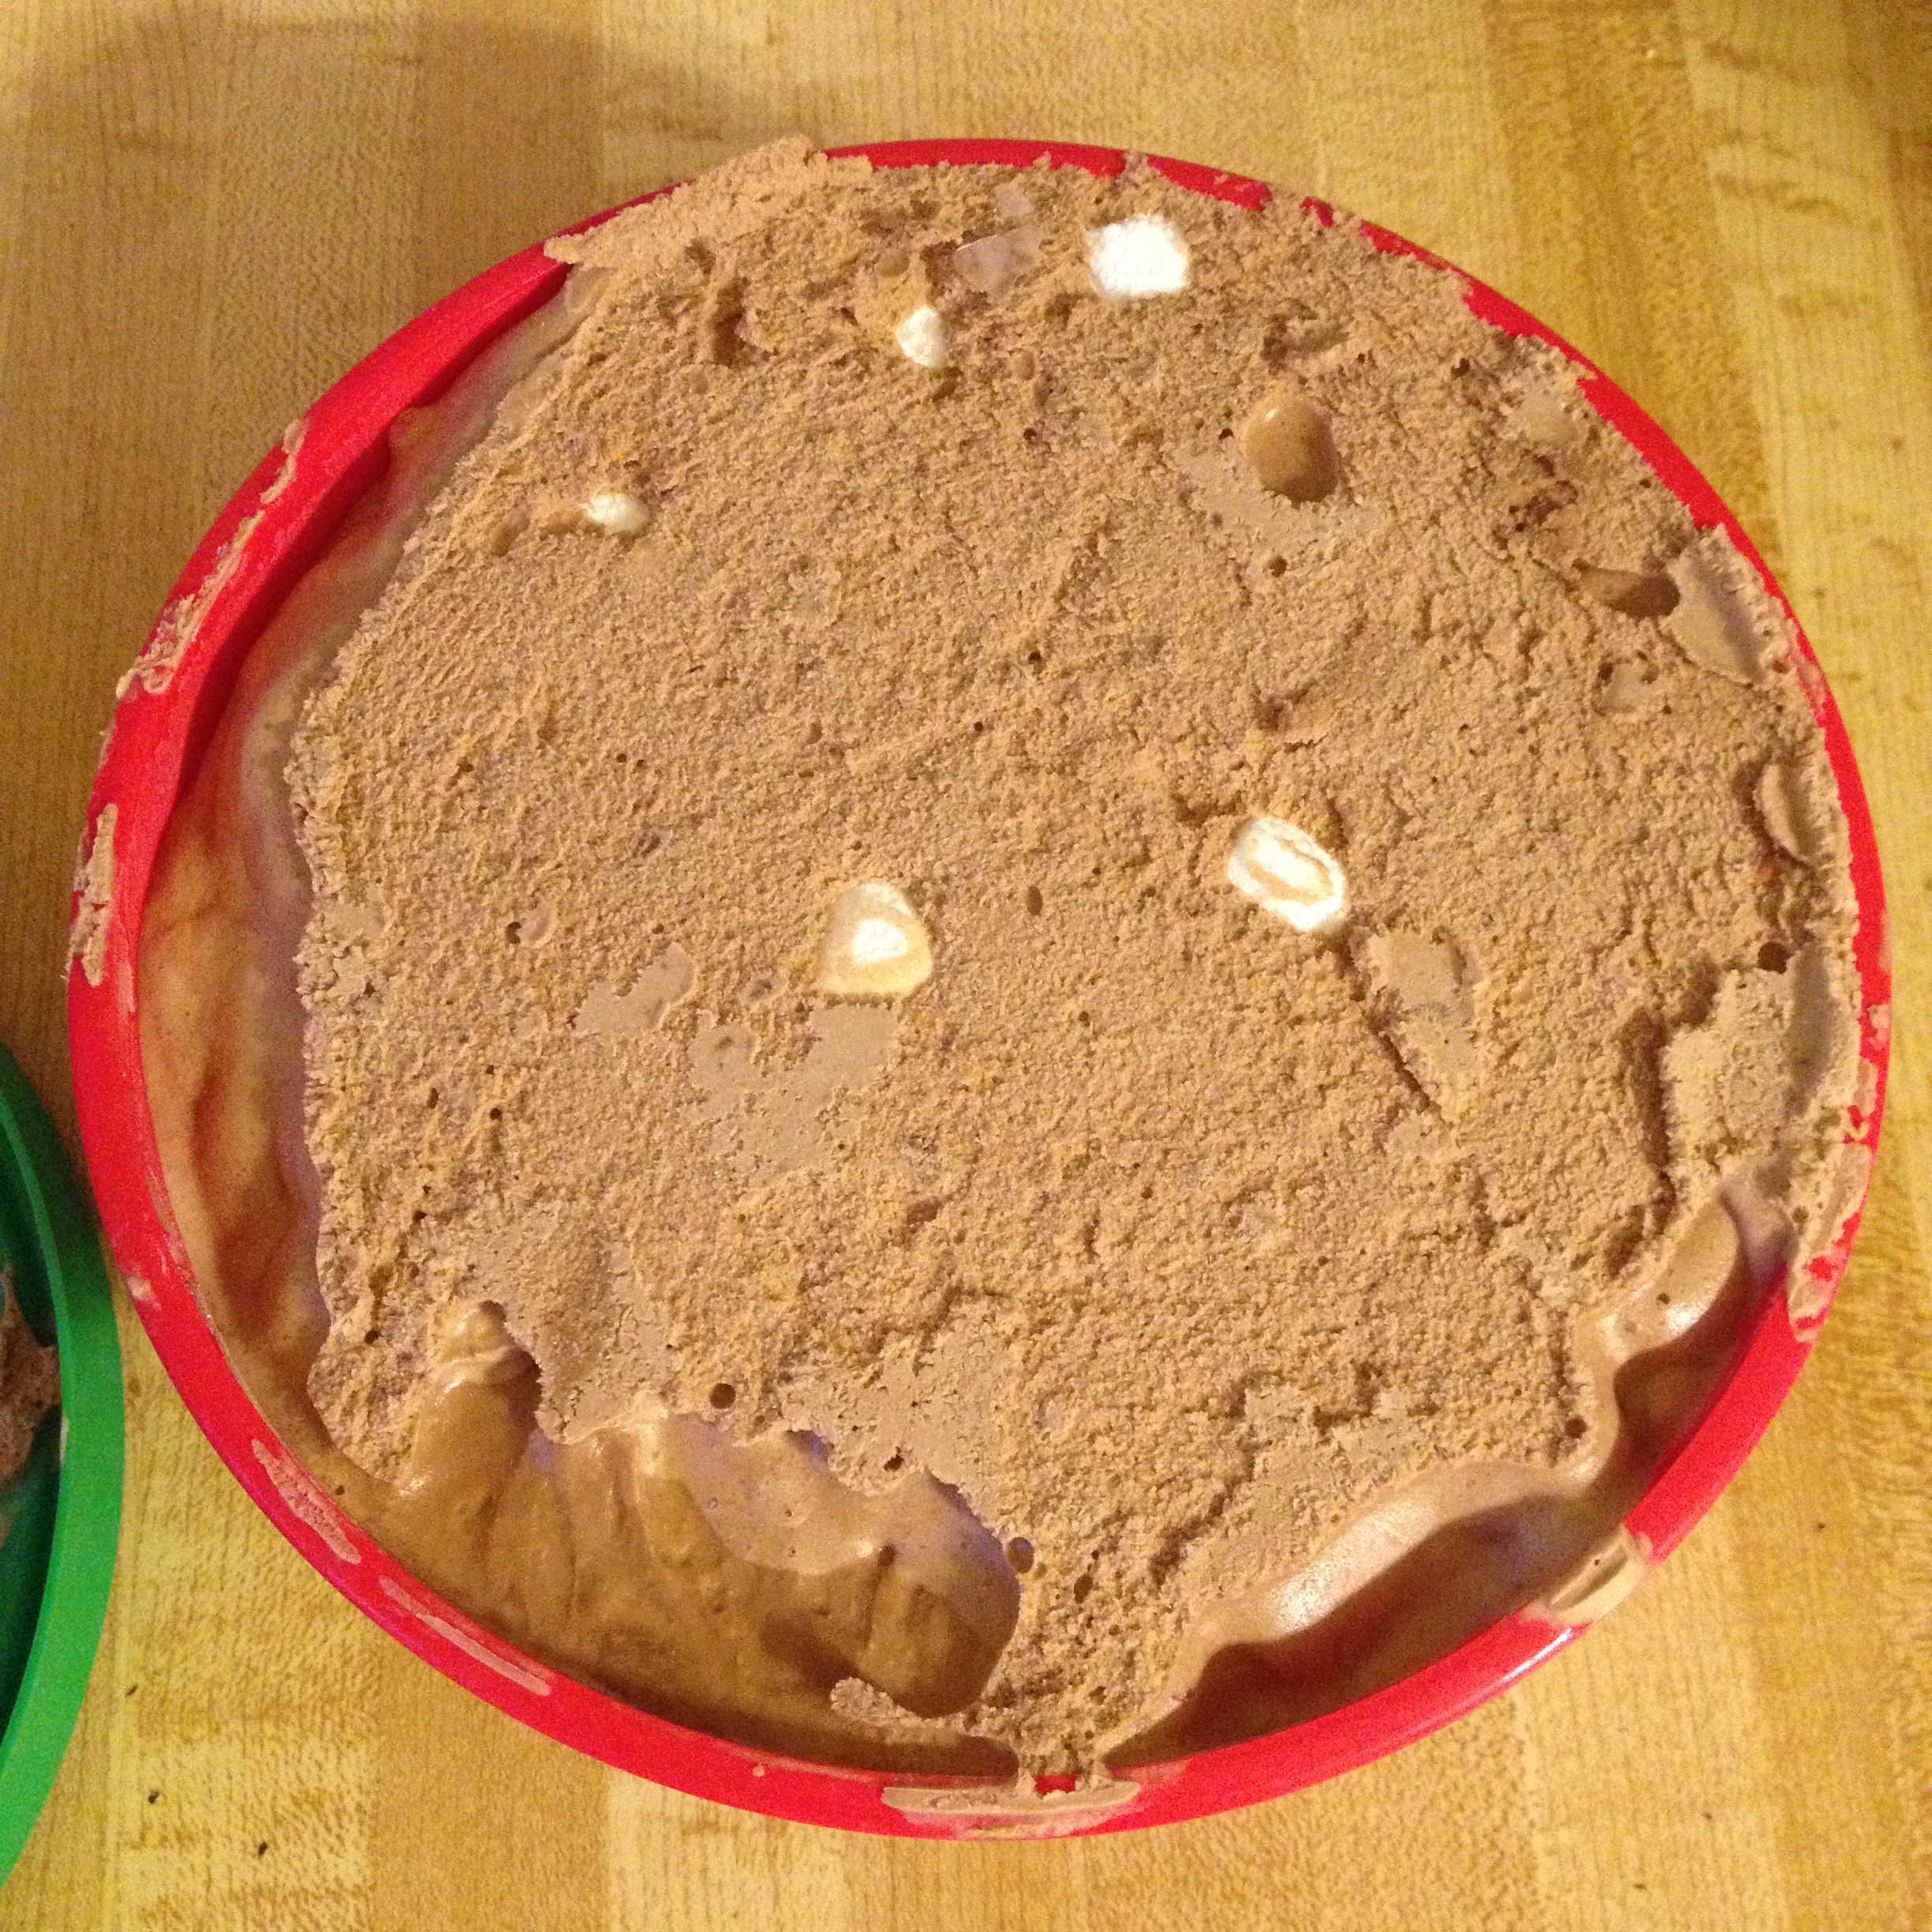
The paddle is designed to start slipping when the ice cream gets thicker. This helps to protect the mixers motor from burning out. At the end of mixing, throw in any add-ons. For rocky road, that would include mini marshmallows and chunks of pecan.

At this stage, the ice cream will have the consistency of soft serve. You’ll want to ‘ripen’ it by putting the ice cream in the freezer. Remember that the faster the ice cream freezes, the less ice crystals it will have and the smoother the consistency will be. We used a shallow plastic tub and that seemed to work quite well.
The Taste Verdict?

Yummy. When properly made, like this batch was, you end up with a really high quality creamy silky smooth ice cream that tastes just like the expensive brands at the supermarket. The key to a great consistency is to keep everything as cold as possible. Chill the mixture at the bottom and back of your refrigerator. Some people even pop it into the freezer for a few minutes before starting the churning. You really want it to freeze quickly.
The Cost Verdict?
Making ice cream at home is not going to save you money over buying it at the store. So don’t buy into a system with that delusion. Even if you use the coffee can method instead of a fancy machine, the fact remains that the raw ingredients are pricey. A pint of whipping cream will set you back about $2.50. Add in a 14 oz can of sweetened condensed milk and you are already at $3.50. Throw in 25¢ of regular milk (a cup or two) and just the base of the ice cream is at $3.75 for 2 quarts. Mix-ins such as pecans rapidly drive up the price.
What About FroYo?
Shae is the queen at making yogurt. It is a fairly simple process with one ingredient, milk. Aldi has been selling milk for under $1/gallon. I think the last time we went it was 94¢. One gallon of milk will make half a gallon (two quarts) of strained, thick, greek yogurt. Most frozen yogurt recipes are pretty simple: yogurt, sugar, a flavoring such as vanilla extract. Sugar is about 21¢ per cup and that is more than enough for two quarts of greek yogurt. Vanilla extract is also about 21¢ per tablespoon. That brings the raw ingredient cost of vanilla froyo to around $1.36 for two quarts.
Have you made ice cream before? What recipes should we try out?