Nuestras viajas en Quintana Roo
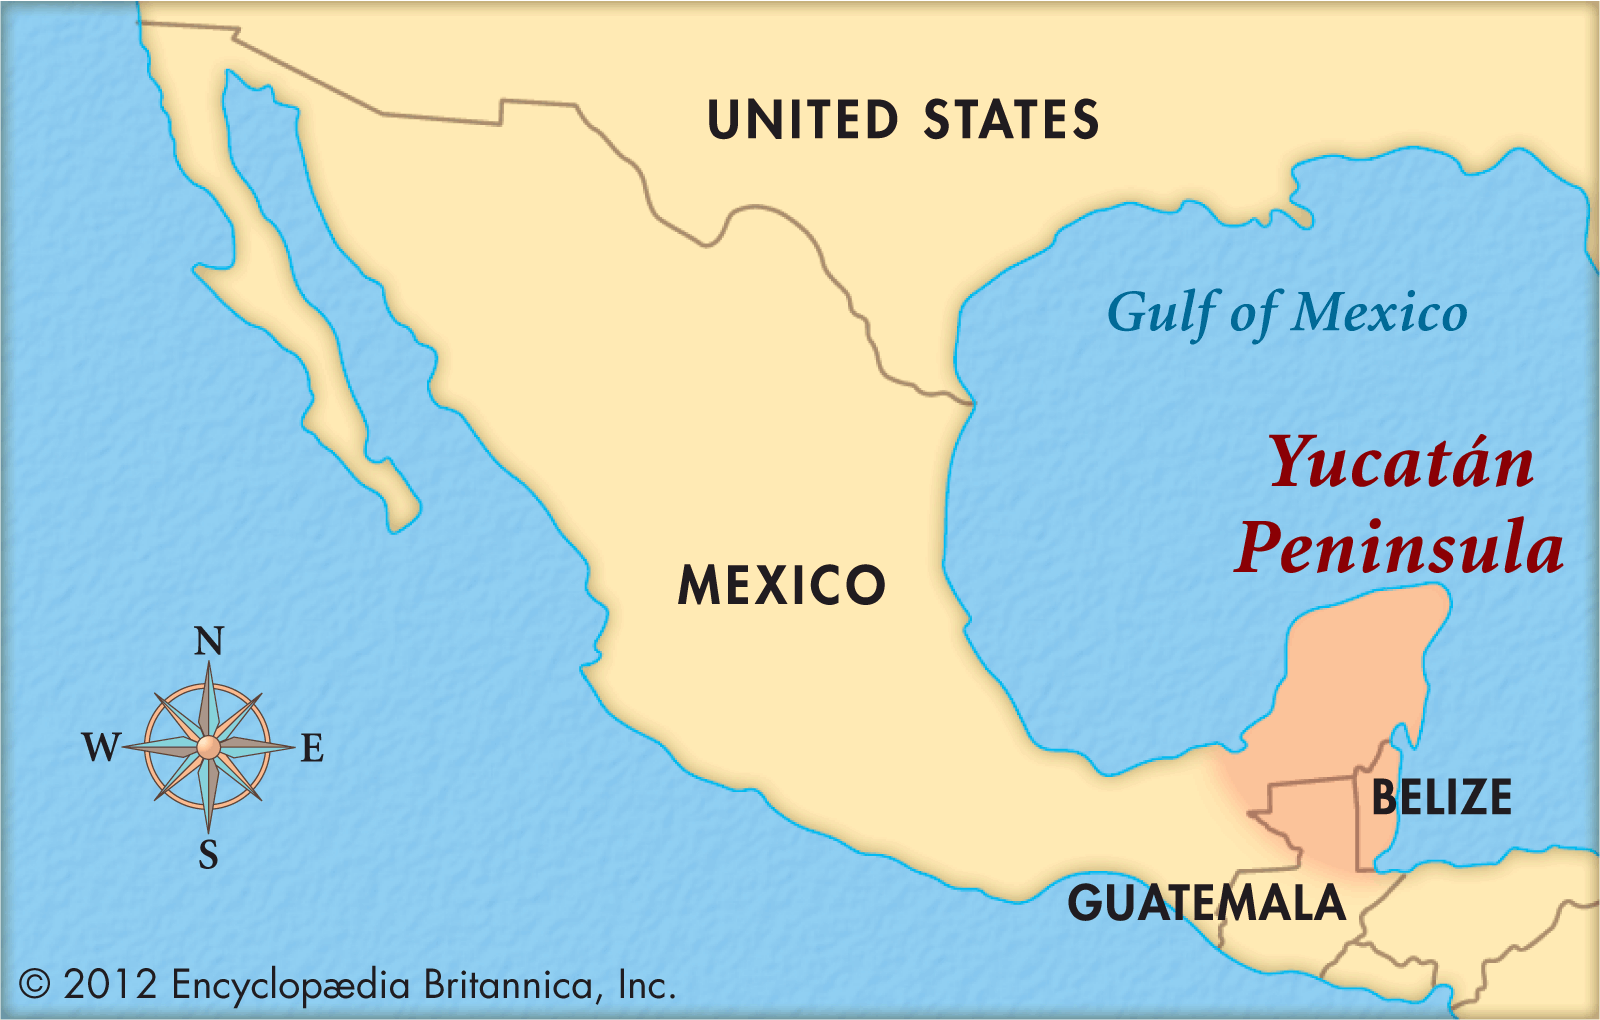
We just got back from a week long trip to Mexico’s Yucatan peninsula. If your geography is a bit rusty, it is situated right here.
The purpose of the trip was threefold.
Firstly, we wanted to have a good time and get away from the pressures of work and our daily routine.
Secondly, we wanted to expand our comfort zone by doing an international trip to a non English speaking country.
Finally, we want to see if geographic arbitrage, the act of living abroad to save money, is something that we can realistically cope with. An easy starter trip to the tourist heavy Riviera Maya seemed like a logical first step before visiting further afield places such as Ecuador, Panama, and Columbia (see here for Forbes top countries to retire to). If we can make trips to all of these places, we will be better suited to make geographic arbitrage a reality. Who wouldn’t want to spend six months of the year enjoying the beach and fresh seafood.
Getting There
The timing of this trip was intended to capitalize on Frugal Boy’s age. Under two year olds have the option of flying as lap children on airlines. Considering each of our roundtrip adult tickets was $400, being able to save that amount helped to keep costs down. With some extreme luck, both of our flights to and from Cancún had 30-40 empty seats so Frugal Boy got his own seat even without paying for one. While most domestic flights you can book online with lap children, our international flight required calling the airline to book. While we didn’t have to pay the full $400, there was about $17 in taxes/fees that had to be paid for his fare. There were cheaper flight options available to us, but they involved multiple layovers and took about 3x as long. In the end, we are willing to sacrifice some money for sanity.

Frugal Boy sat very well for the four hour flight. The only mishap was a blowout diaper right when the seatbelt light came on. Shae was a saint and sat with the stench for almost an hour. I was two seats away and could not smell it, so I think our neighbors were spared. 🙂
Getting Around
We knew that we did not want to hang around Cancún for more than a night so we rented a car at the airport. The general path of travel was a giant triangle. We drove down the coast making stops at Playa del Carmen and Tulum, before heading inland to Valladolid.

Rental cars in Mexico are often a source of contention with new travelers. If you search on any of the travel aggregator websites (Kayak, Expedia, Travelocity, etc.) you will see week long rentals for under $10 total. Of course, that price is way to good to be true. The catch lies in insurance. Chances are very good that your USA auto insurance and credit card insurance is worthless in Mexico. [update] I looked up the Visa rental car insurance program and it does indeed cover CDW in Mexico (damage to the car) and many other international markets. You have to decline the rental agency’s CDW coverage and book with your Visa credit card in order to take advantage of this benefit. You still need to purchase liability coverage. Knowing this, we could have saved about $200 and still had the same amount of coverage. That means you will need to purchase a policy in Mexico to cover your travels. Liability insurance is mandatory and failure to have it in the case of an accident can mean jail time. Of course rental companies will be happy to sell you insurance, and that insurance can be pricey. We played it safe and loaded up the car with tons of optional insurances. The main benefit was that if we were in an accident, it would have been a $0 deductible out of our own pockets. The total rental cost was around $460 for a week. We could have trimmed costs by getting less insurance, renting from a non-airport location (avoids the airport taxes), or skipping the car altogether and using the ADO bus system (equivalent to Greyhound).
Once we had the car, driving was pretty much the same as in the states.

The two major differences are the use of Returnos, designated u-turn areas, and the abundance of giant speed bumps called topes. Most of the topes were made out of concrete and resembled the speed bumps we see in the states, but there was also metal versions.

Most topes required you to slow down to 2-3 mph to safely cross. Many of the streets are one way, so it is important to pay attention before making turns. Valladolid had some of the best signage as you can see.

Paying for Things
While most places accepted USD, the exchange rate fluctuated wildly from vendor to vendor. Our credit card charges a 3% transaction fee for international exchanges, so we only used it for the rental car and one night’s hotel stay (we simply didn’t have enough pesos on hand at the time). In general, you will get a better deal if you use the native currency. The easiest way to get pesos is to hit up an ATM.

The exchange rate at the ATMs were in the mid 17s. For every USD you would get 17.5 Mexican Pesos. For reference, most restaurants used 1:15, money changers used 1:16.5, grocery stores used 1:17 or even 1:18, and street side vendors used around 1:12. The US Dollar is extremely strong right now and makes traveling internationally an enjoyable experience.
Peso bills are logically sized from largest to smallest value and size.

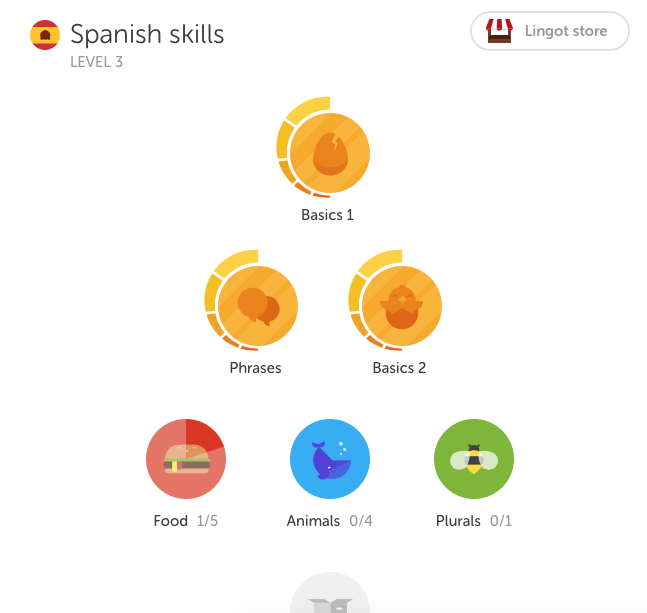
The Language Barrier
We have been using Duolingo for just under 4 months. With 4 months of free spanish lessons, we were able to muddle our way through even the non touristy city of Valladolid. I also checked out three pocket phrase books from the library before we left. Why pay for a phrase book when your local library has them!
The tourist strips had a heavy bilingual population, but once we were out of those areas it was predominantly Spanish only. Signs were always easier to understand because you can take them at your own pace and they don’t have an accent.
The road signs followed many of the same image conventions as the USA ones, so it was easy to understand them and make timely decisions.
With all of that said, we certainly would like to improve our listening and speaking skills before the next trip.
Resting our Heads
For this trip, we decided to try out Airbnb for the first time. The tag line for the website is, “Rent unique places to stay from local hosts in 190+ countries.” We rented three separate apartments, one in Cancún, Tulum, and Valladolid. We also reserved two hotels, one for the return Cancún portion and one for Playa del Carmen. We really enjoyed our Airbnb rentals, much more than the hotels we stayed at. The accommodations were larger, more personal, with friendly faces, and cheaper prices. Often times, the hosts had great personal recommendations for things to do around the area.

Cancún Apartment

Tulum Apartment
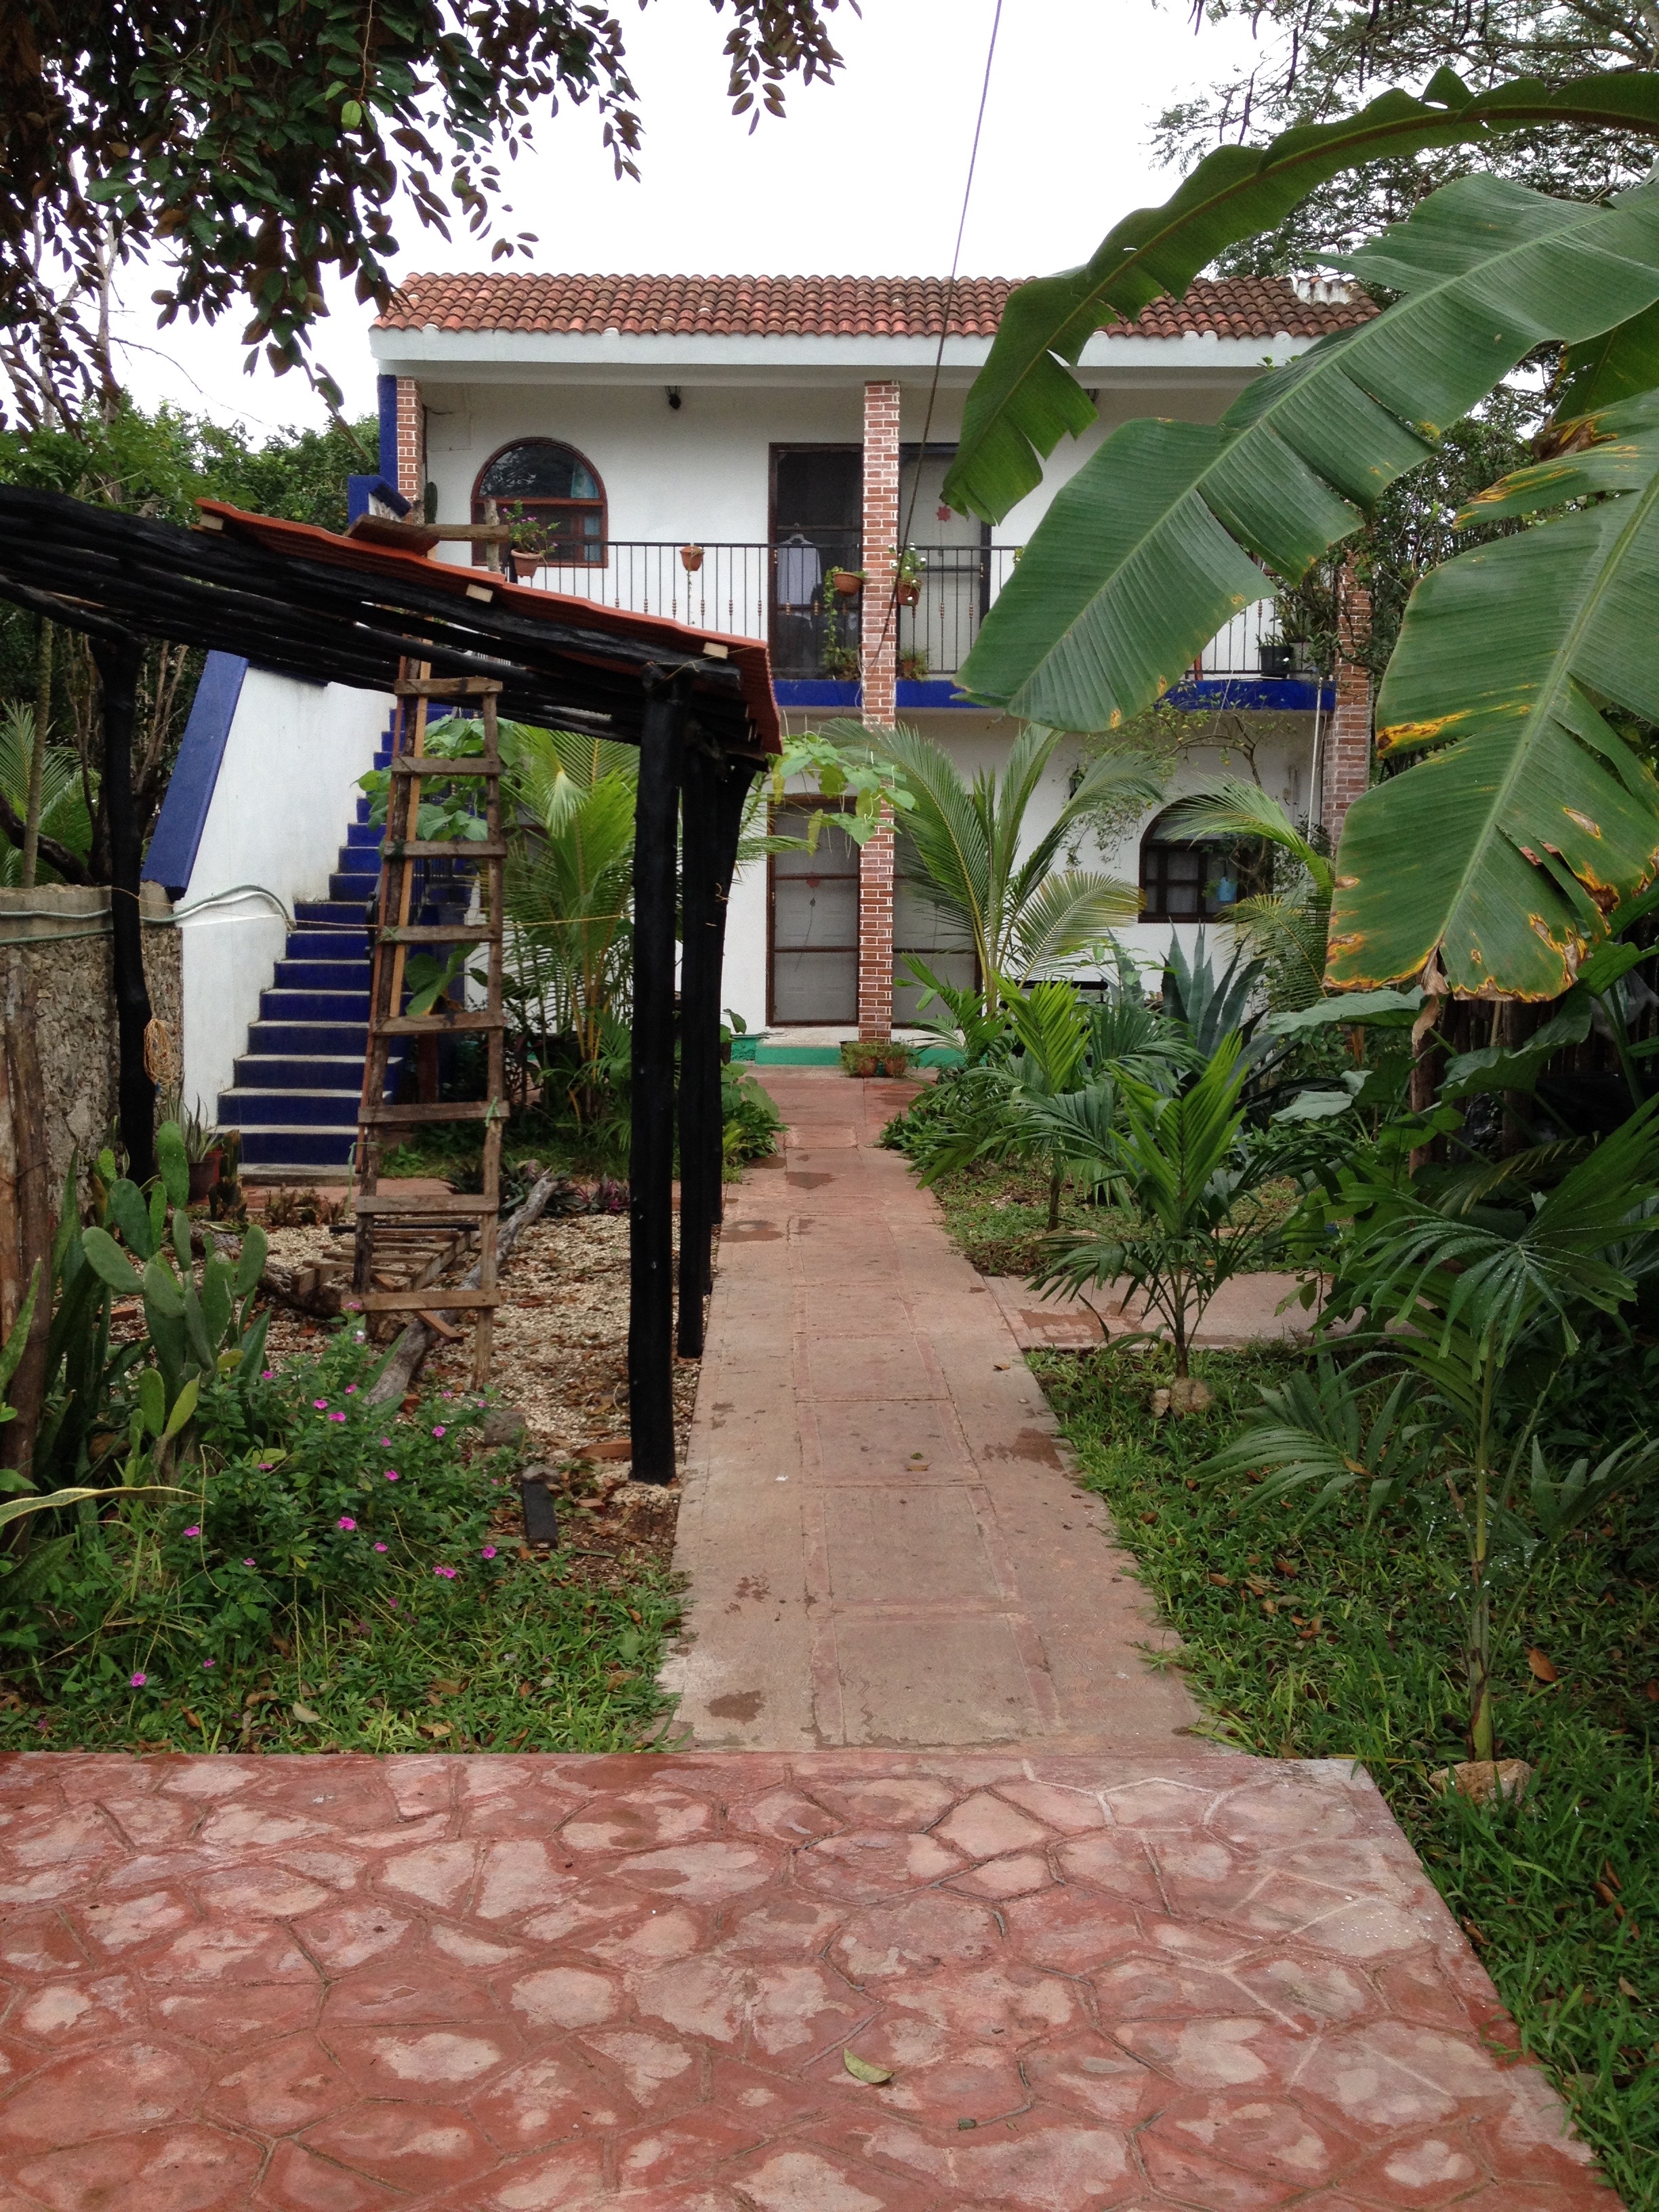
Valladolid Apartment
All of the apartments we stayed at had WiFi that was fast enough to do video calls home. This was a big bonus for reassuring family that yes, we had not been taken hostage by a cartel. It was also nice because I could post pictures from our day online for friends and family to see.
I would heartily recommend Airbnb and am looking forward to using it for future trips.
Filling our Stomachs
If there was one thing that was noticeably cheaper in Mexico, it had to have been food. A sit down meal for two with drinks and tip was often around 5 USD. Even in the ‘expensive’ touristy places it was only around $10-$12.
None of us got Montezuma’s Revenge. We drank bottled water and brushed our teeth with bottled water. We even ate at a food truck one night and felt none the worse for it. In fact, it was Shae’s favorite food for the entire trip.

One of our favorite cultural experiences was the panaderias (bakeries). Armed with a silver platter and tongs, you could pick out individual pastries. Over the course of the week we sampled almost everything that the bakeries had to offer. Usually our breakfasts consisted of baked goods.

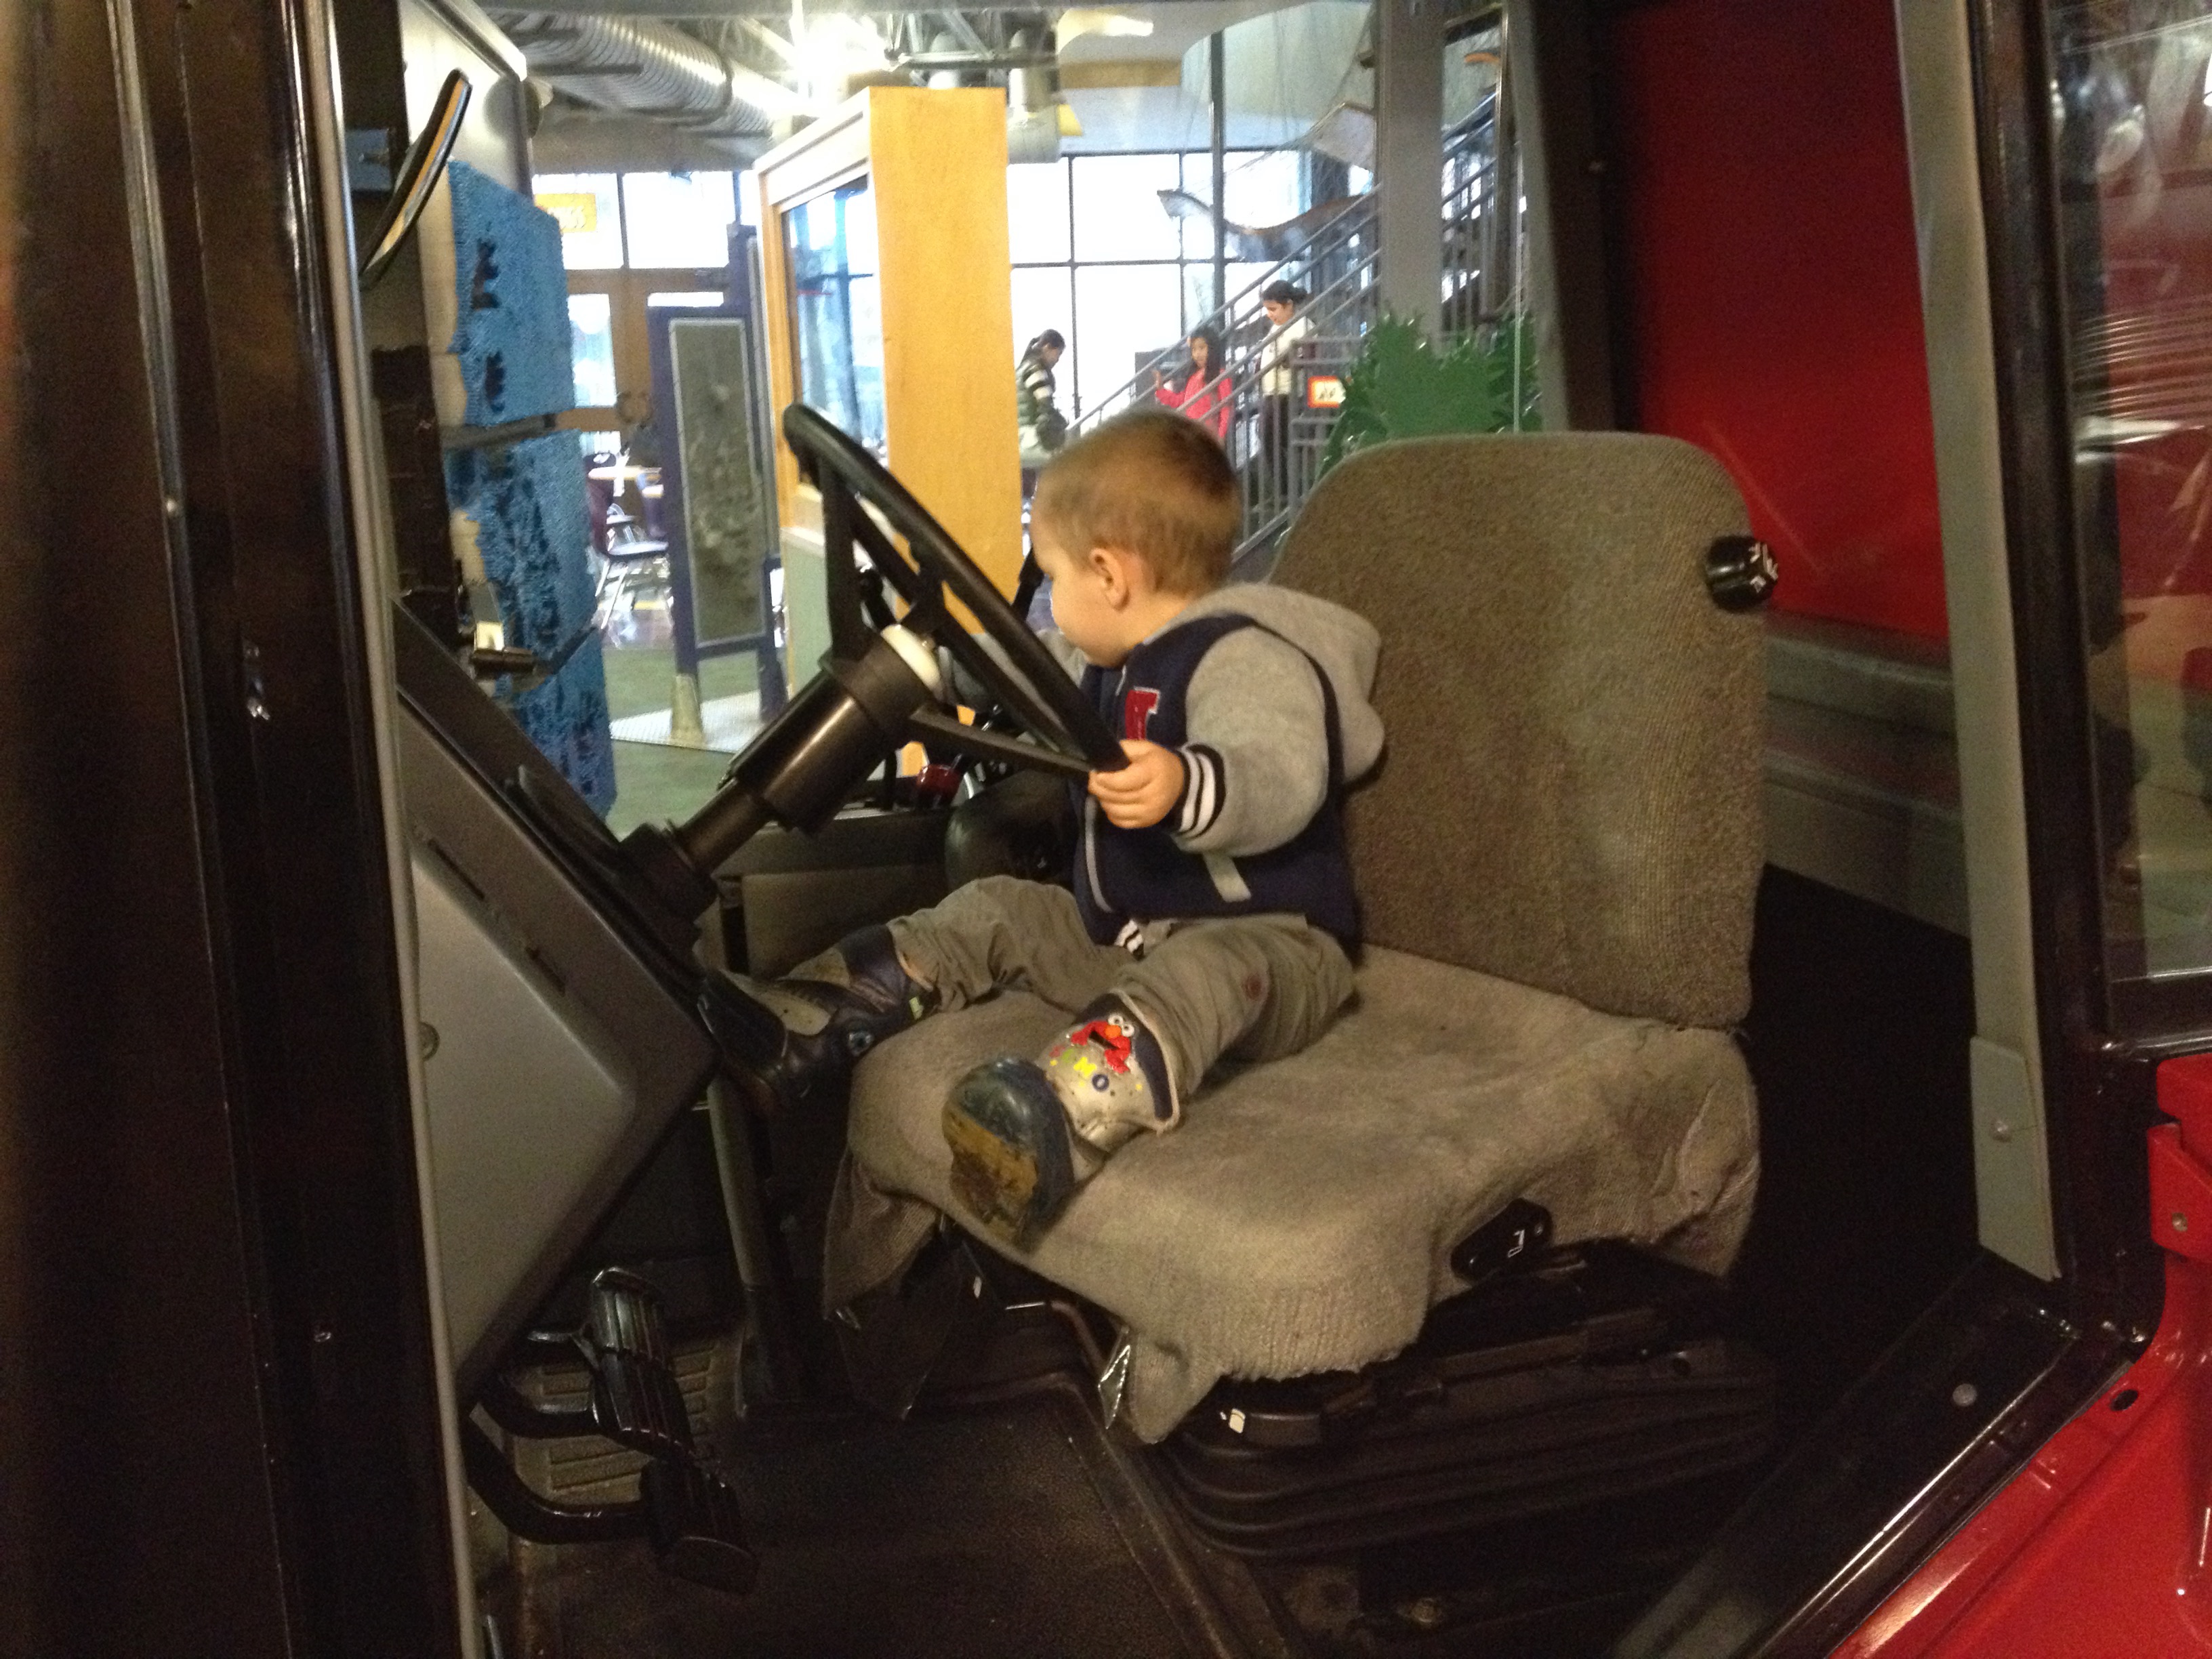
Traveling with a Little Kid
My brother asked me if traveling with Frugal Boy internationally was any harder than doing so domestically. I have to say no. Traveling around Mexico with Frugal Boy was no more challenging than carting him around the states.
In fact, I think that it may have improved our experience. Sure there were times when we wished we had left him with the grandparents, but that’s true of any trip. There were also times when locals, usually older women, would approach us or interact with us because of him. Little kids are great ice breakers and so far that seems to be a universal truth in my experiences.
Having the Boba carrier was a huge help, especially at the Mayan ruin sites we visited and in Valladolid were sidewalks were virtually non existent.

If you can handle traveling domestically with your children, you can do it internationally as well.
Summing Up
We had a great vacation. While none of the places we visited are places we would want to live for multiple months of the year, it was still interesting to see them and get a feel of what geographic arbitrage would be like. The total cost of the trip was around $2250.
- Airfare: $814.72
- Lodging (7 nights): $563.74
- Rental Car: $460
- ATM withdrawals (food, gas, souvenirs, misc.): $425.94
Our goal was to have the trip cost what our monthly mortgage payment would have been, so in that regard we went over budget, but not terribly so.
Nothing bad happened to us and we never felt threatened or in danger. The Mexican people are friendly and just living out their lives like we do here in the states. They have families, jobs, homes, cars, cell phones, and generally greet you with a smile. We never had any trouble with the police or military. Just follow the law, don’t speed, and don’t act like an asshole and you’ll be okay.
I often joked with family that we were going to South Florida. For the most part, that felt true.