• About Me
  • Contact Me

Frugal Living

Indulging in life, financially responsible

Author: Andrew

Spring Hiking – Part 2

March 18, 2015 by Andrew Leave a Comment

You can read part 1 here.

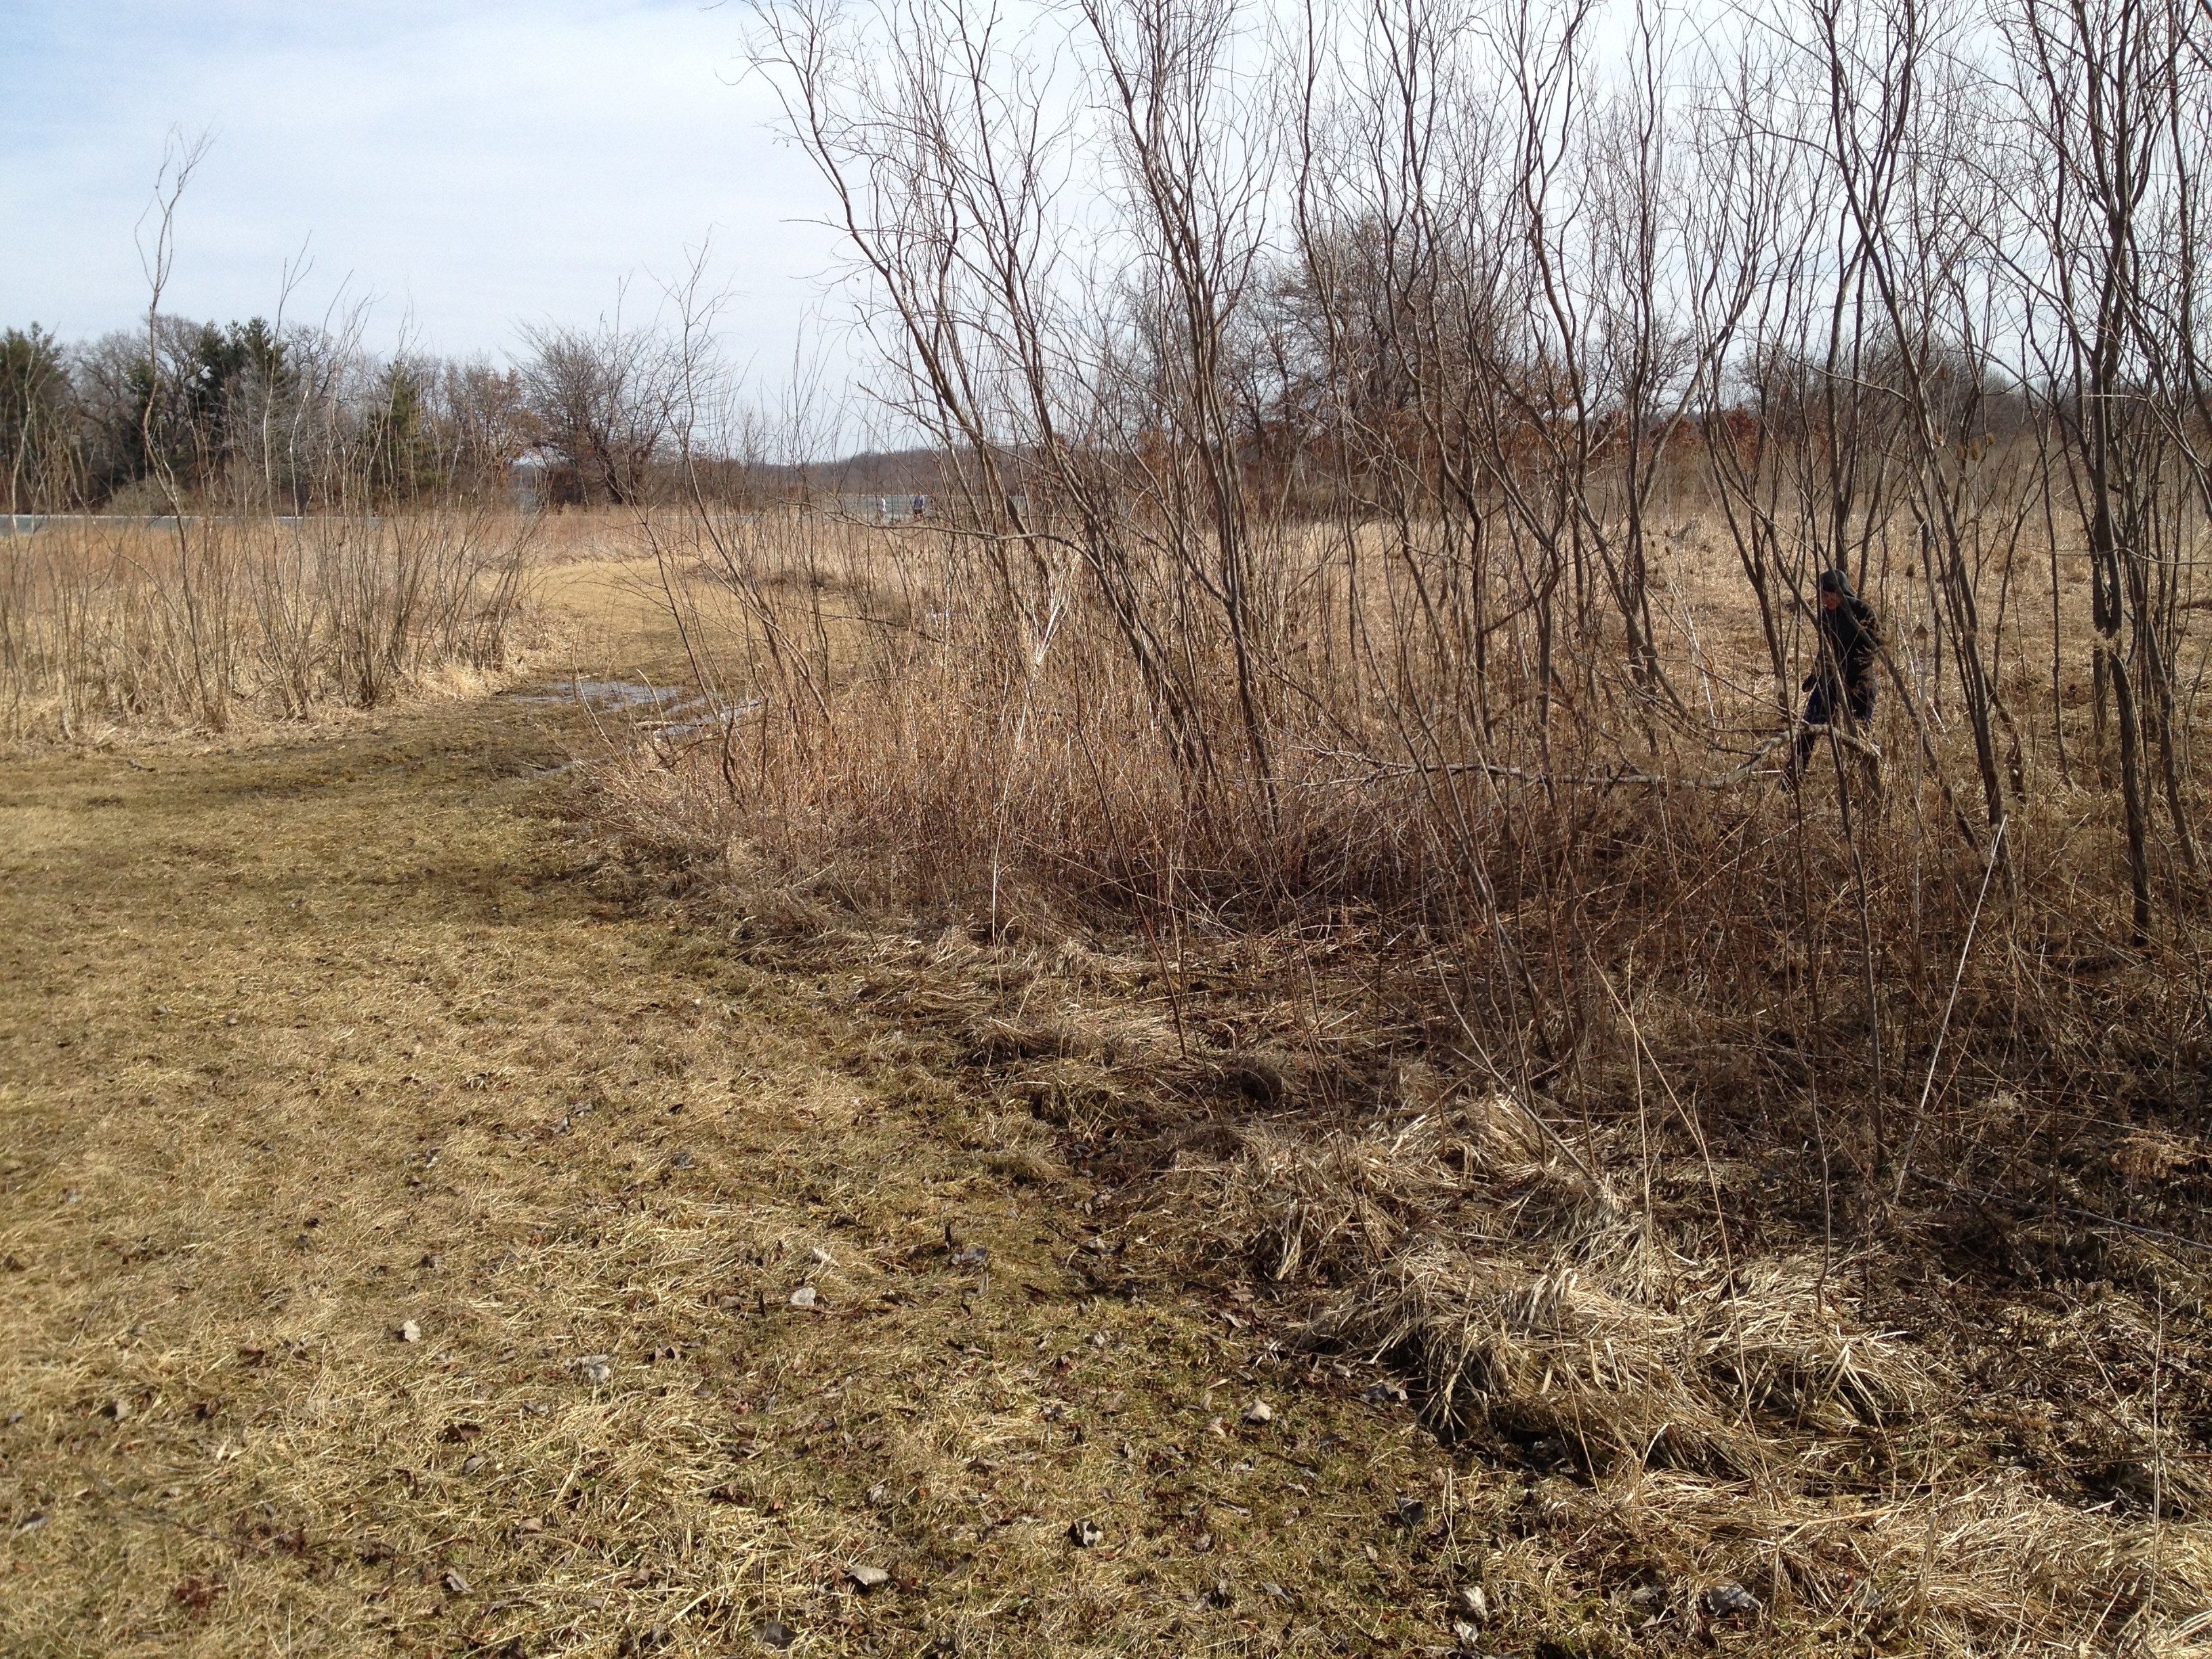
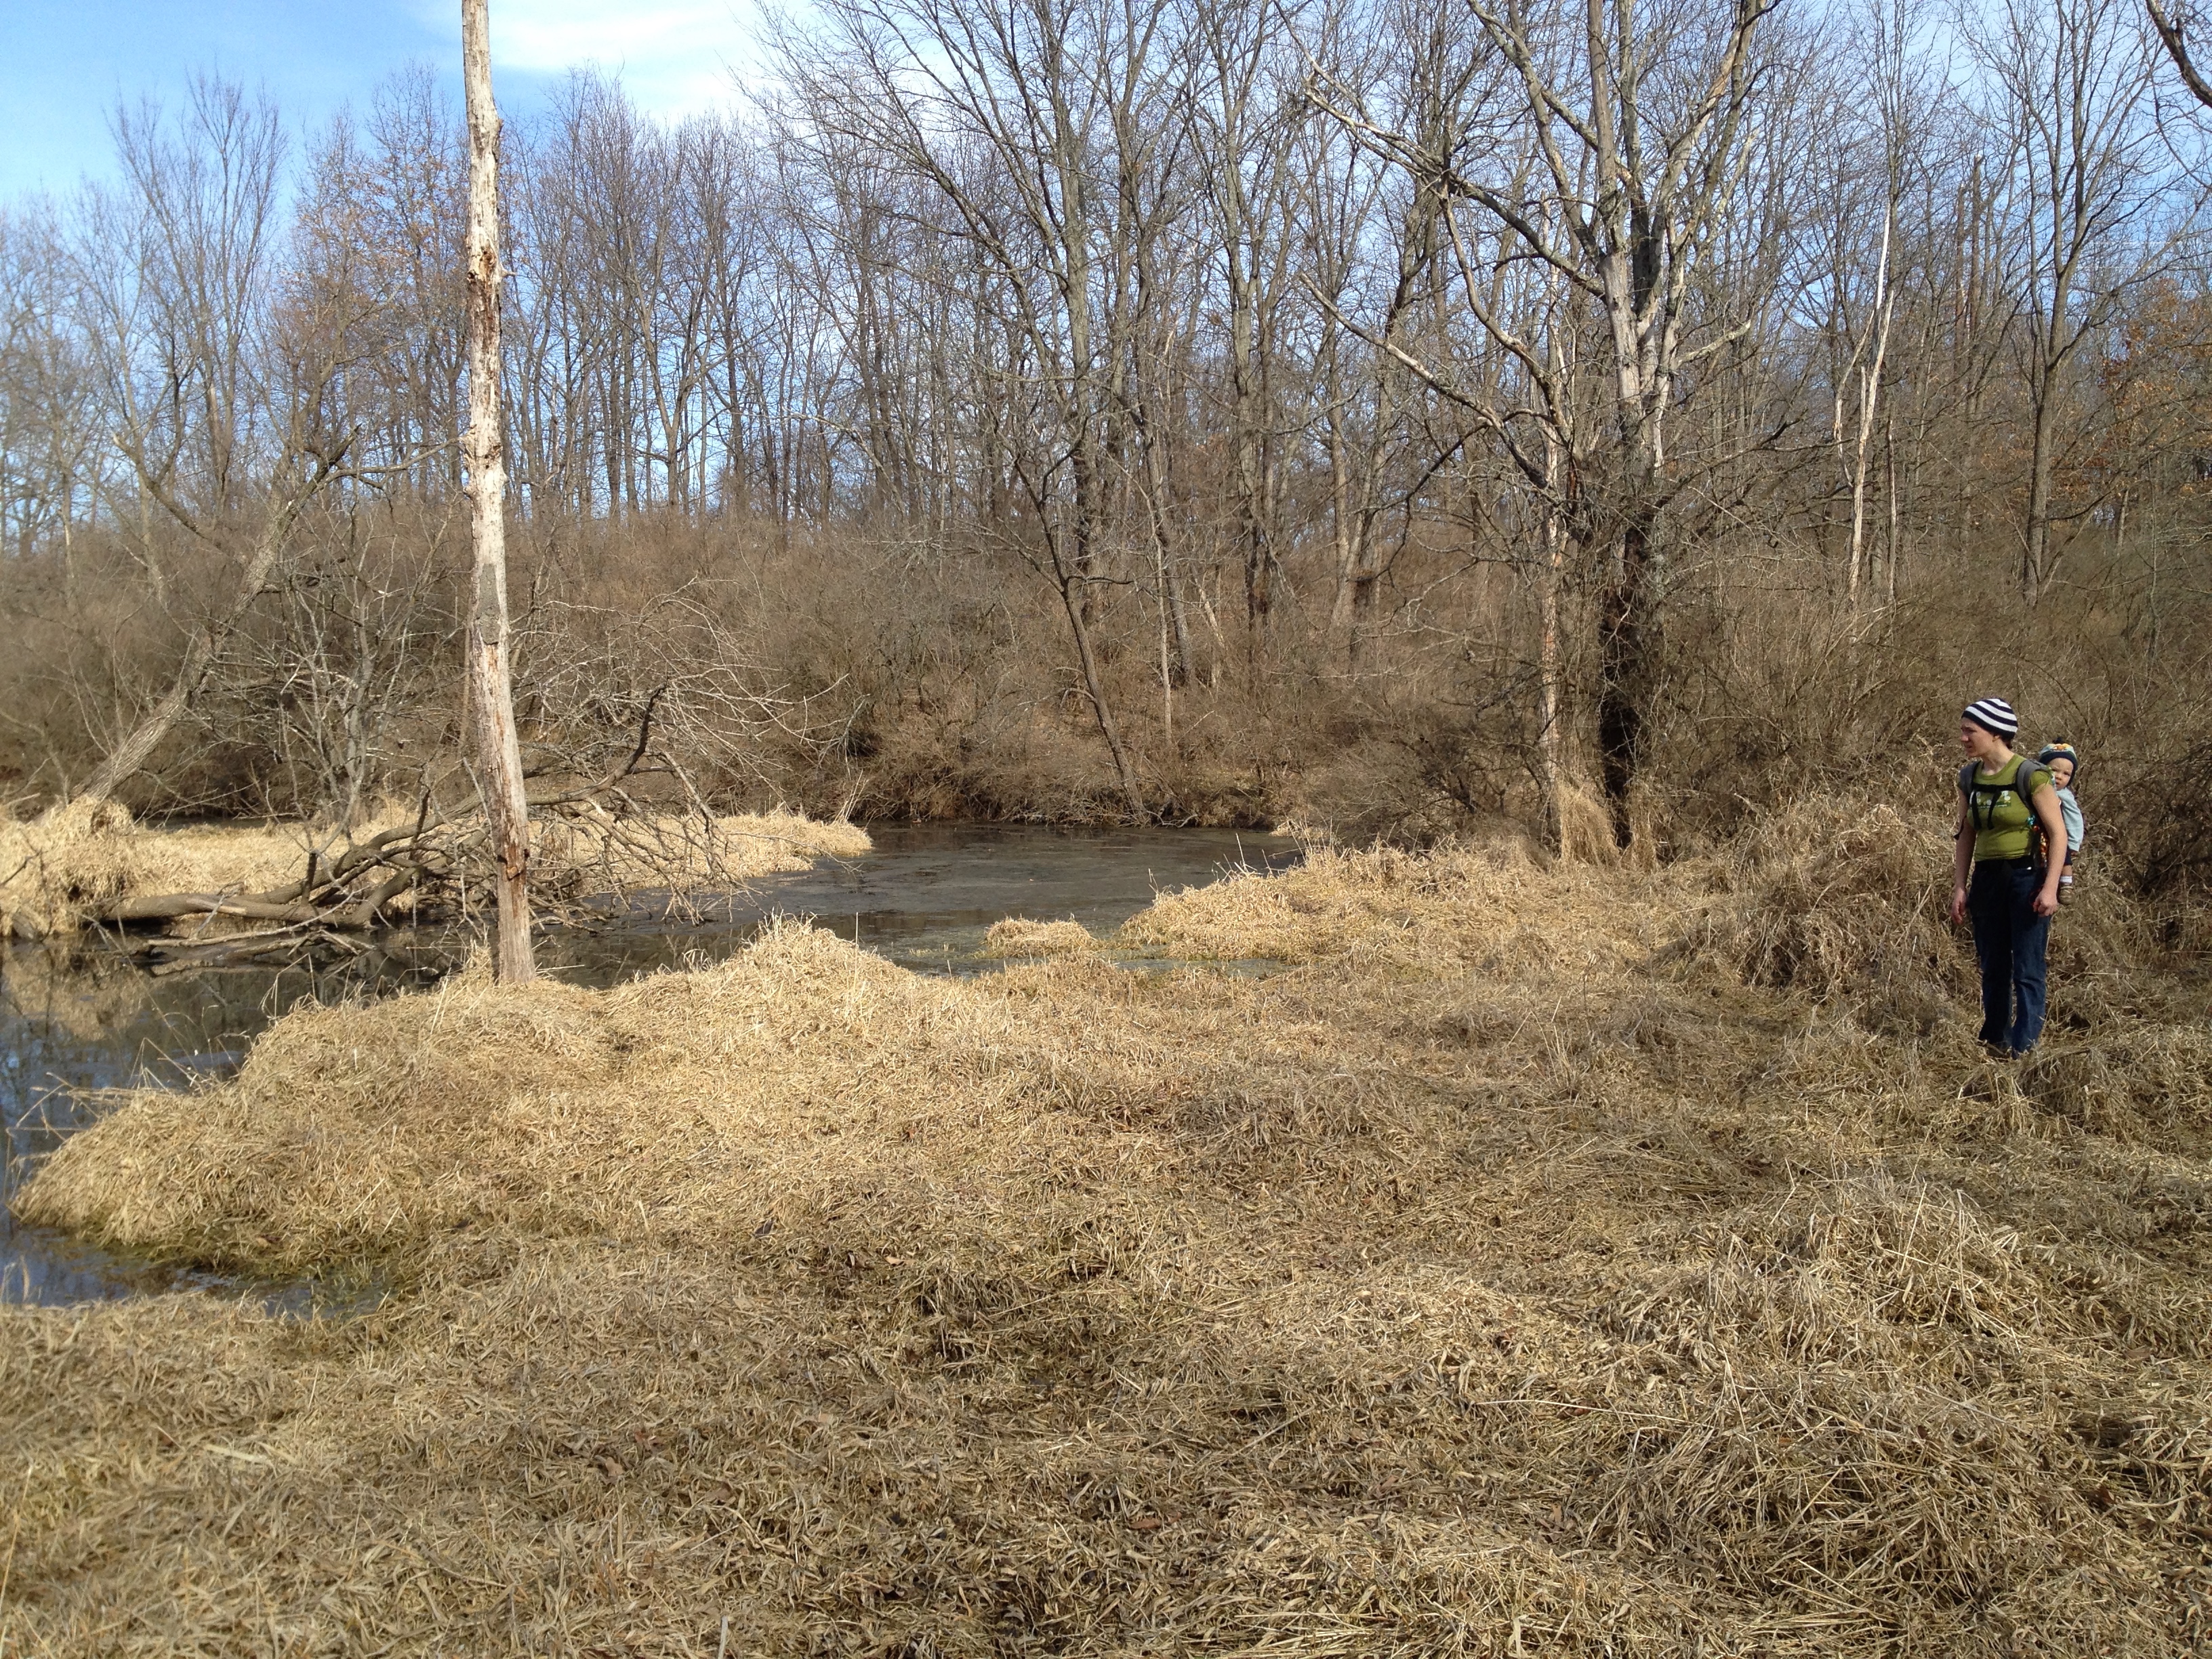
On Sunday we ran some errands around town and then hit the road for our second hiking trip.  A short drive later and we had arrived at our destination, Starved Rock State Park.

IMG_6045

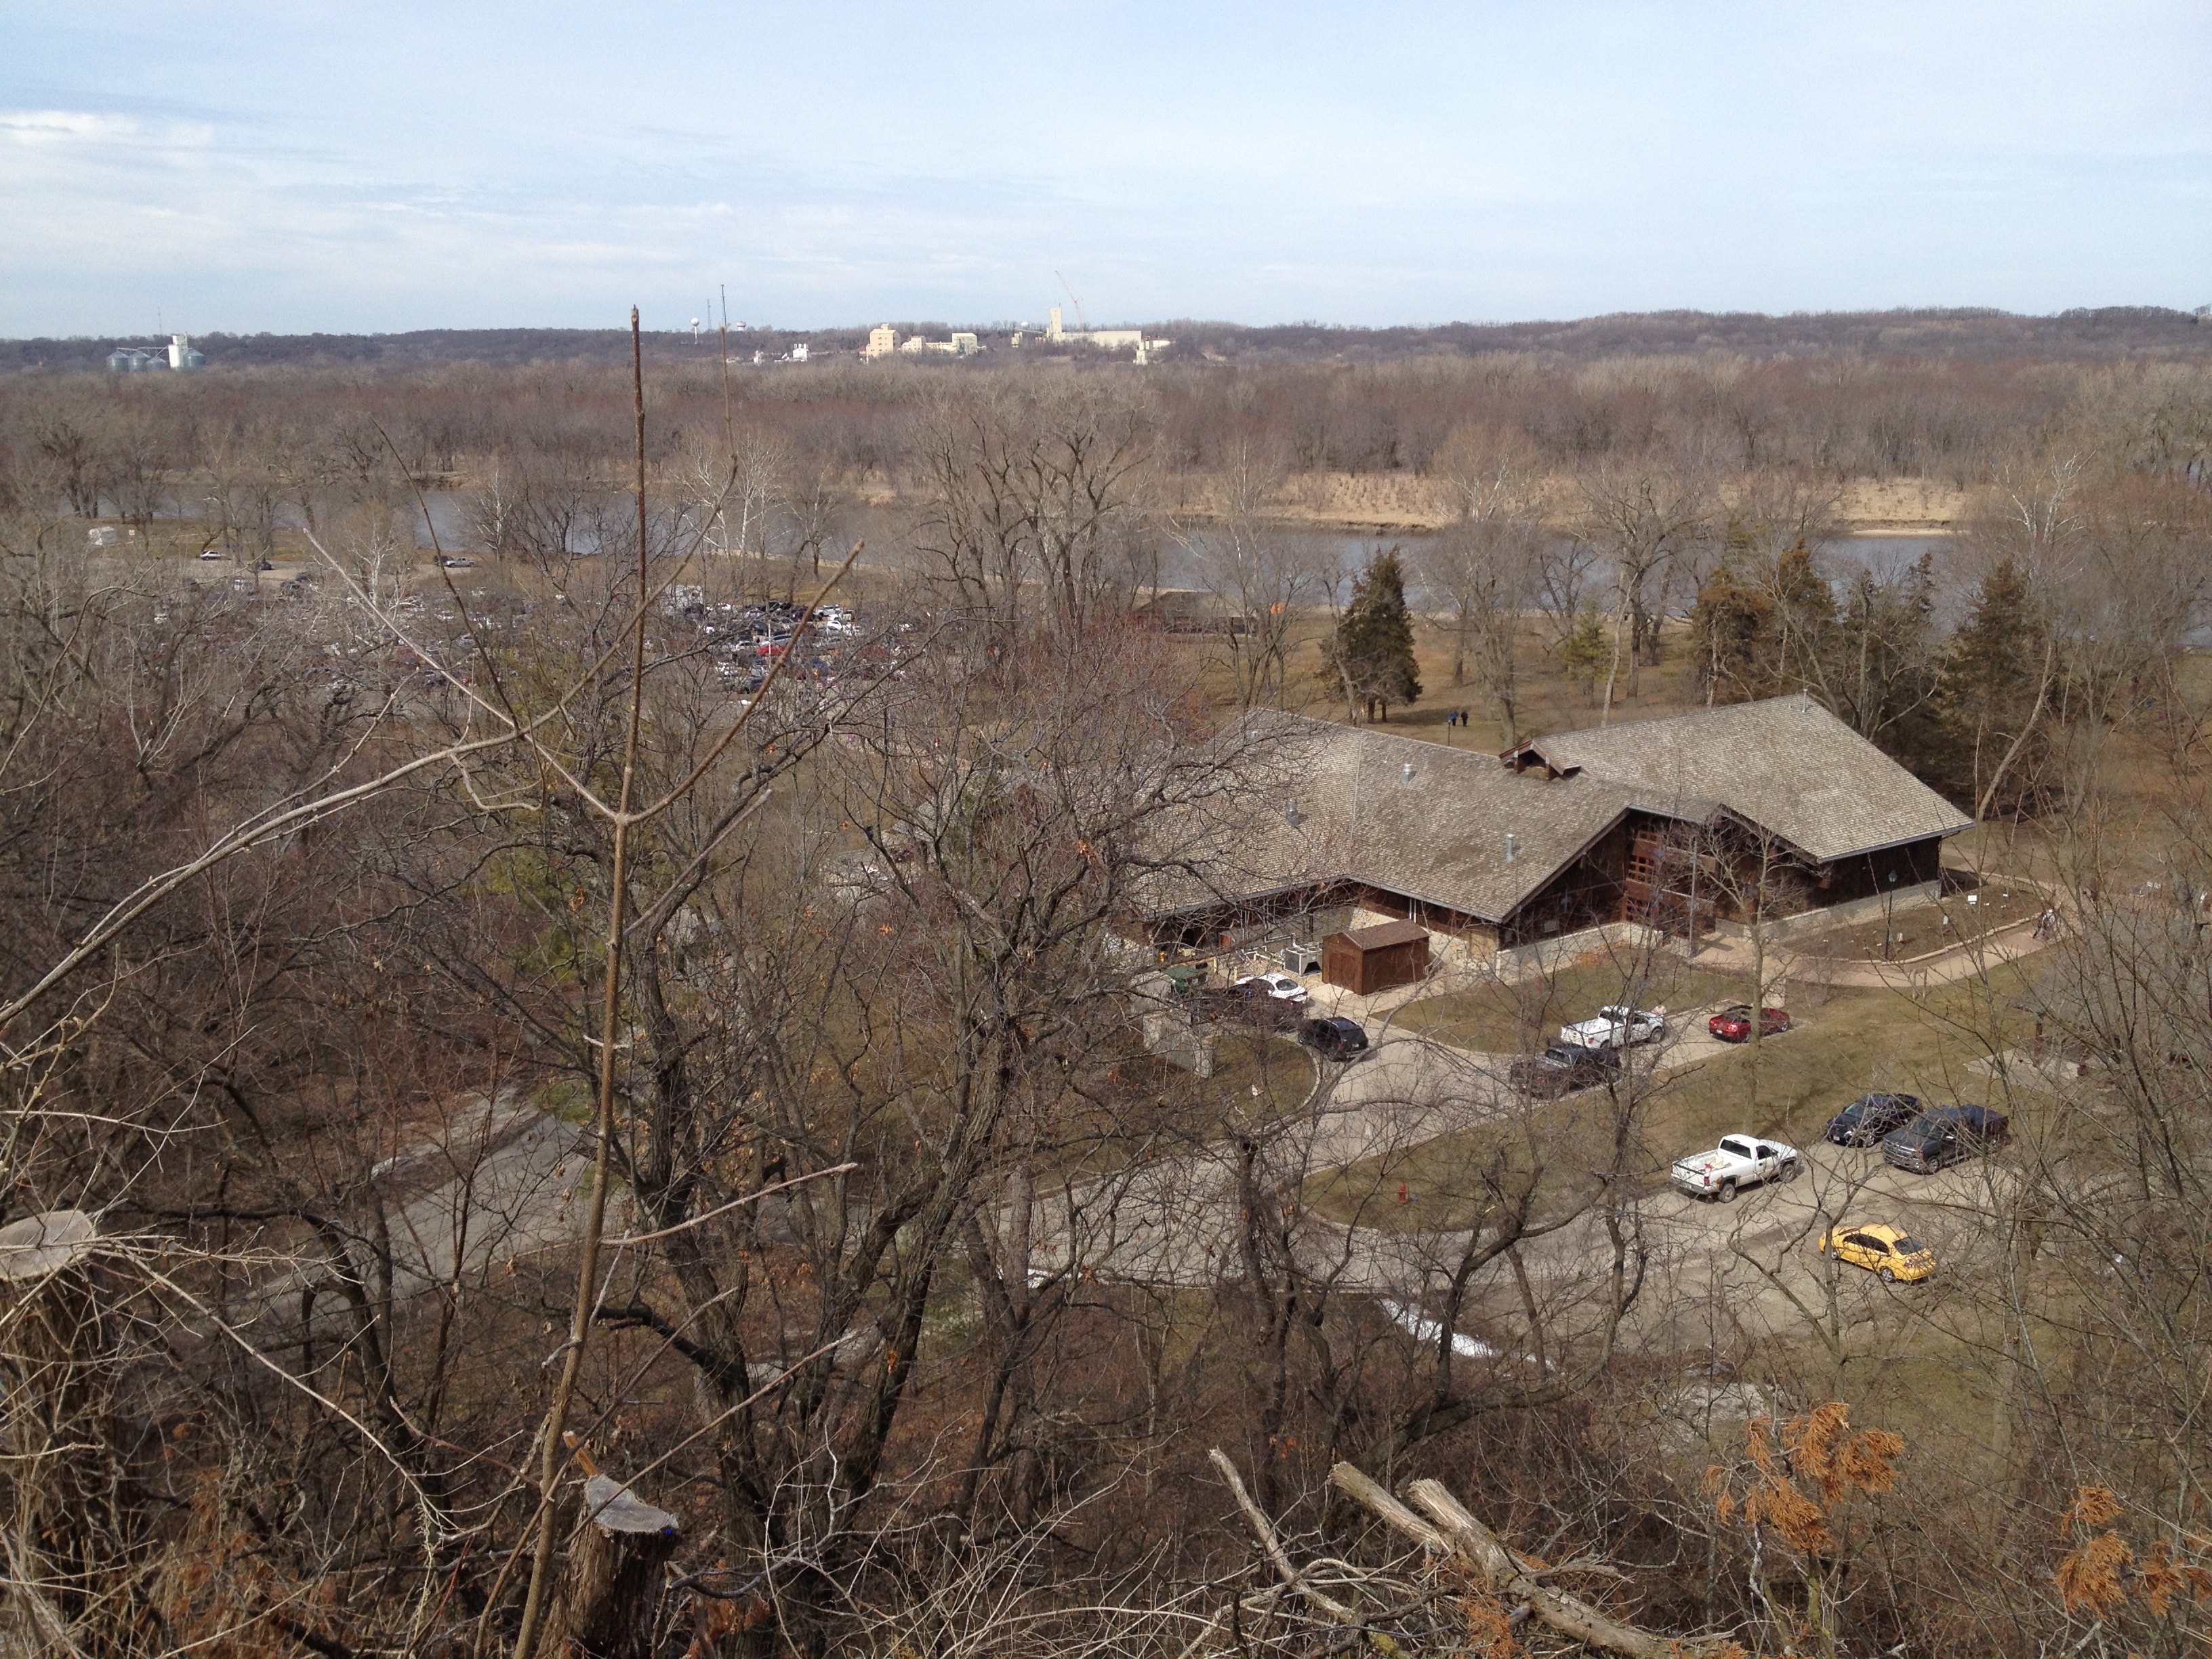
Starved Rock sits on the south side of the Illinois river in the center of the state.  As with all Illinois parks, there is no entrance fee.

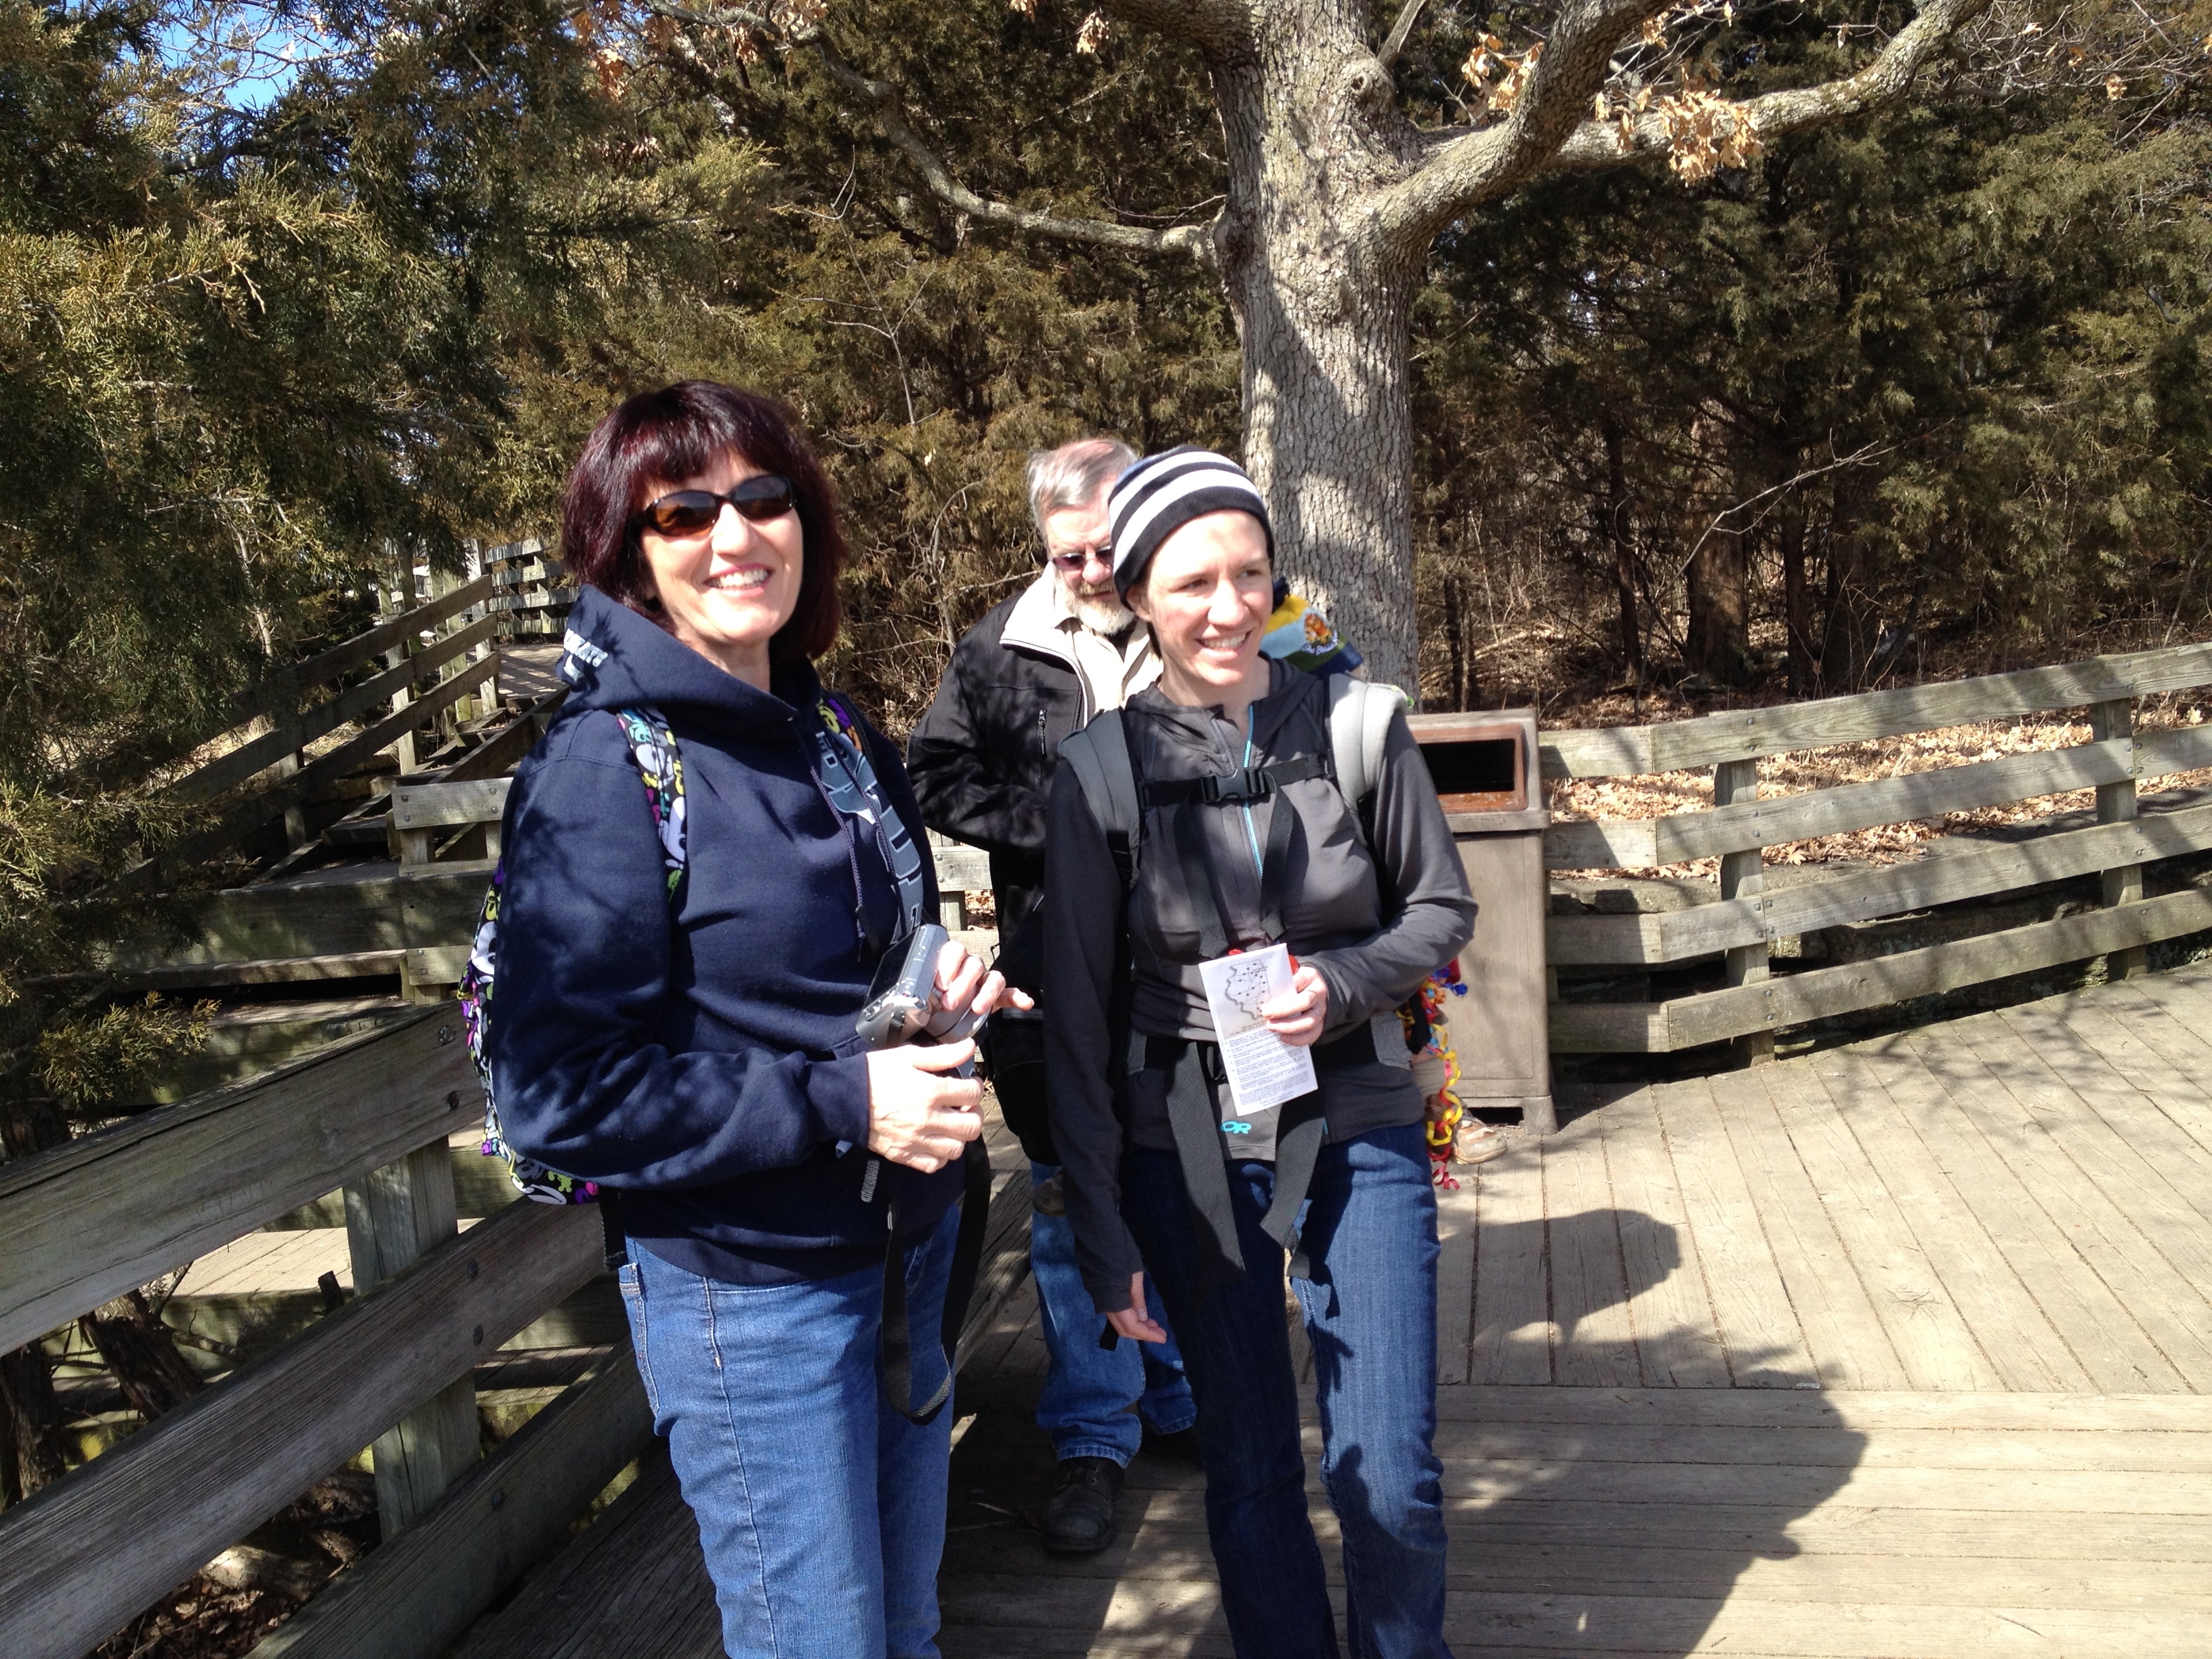
We met up with Grandma and Grandpa just in time to have a picnic lunch.  It was a bit chilly outside but the sun sent rays of warmth that had us taking off our jackets later in the day.

IMG_3445

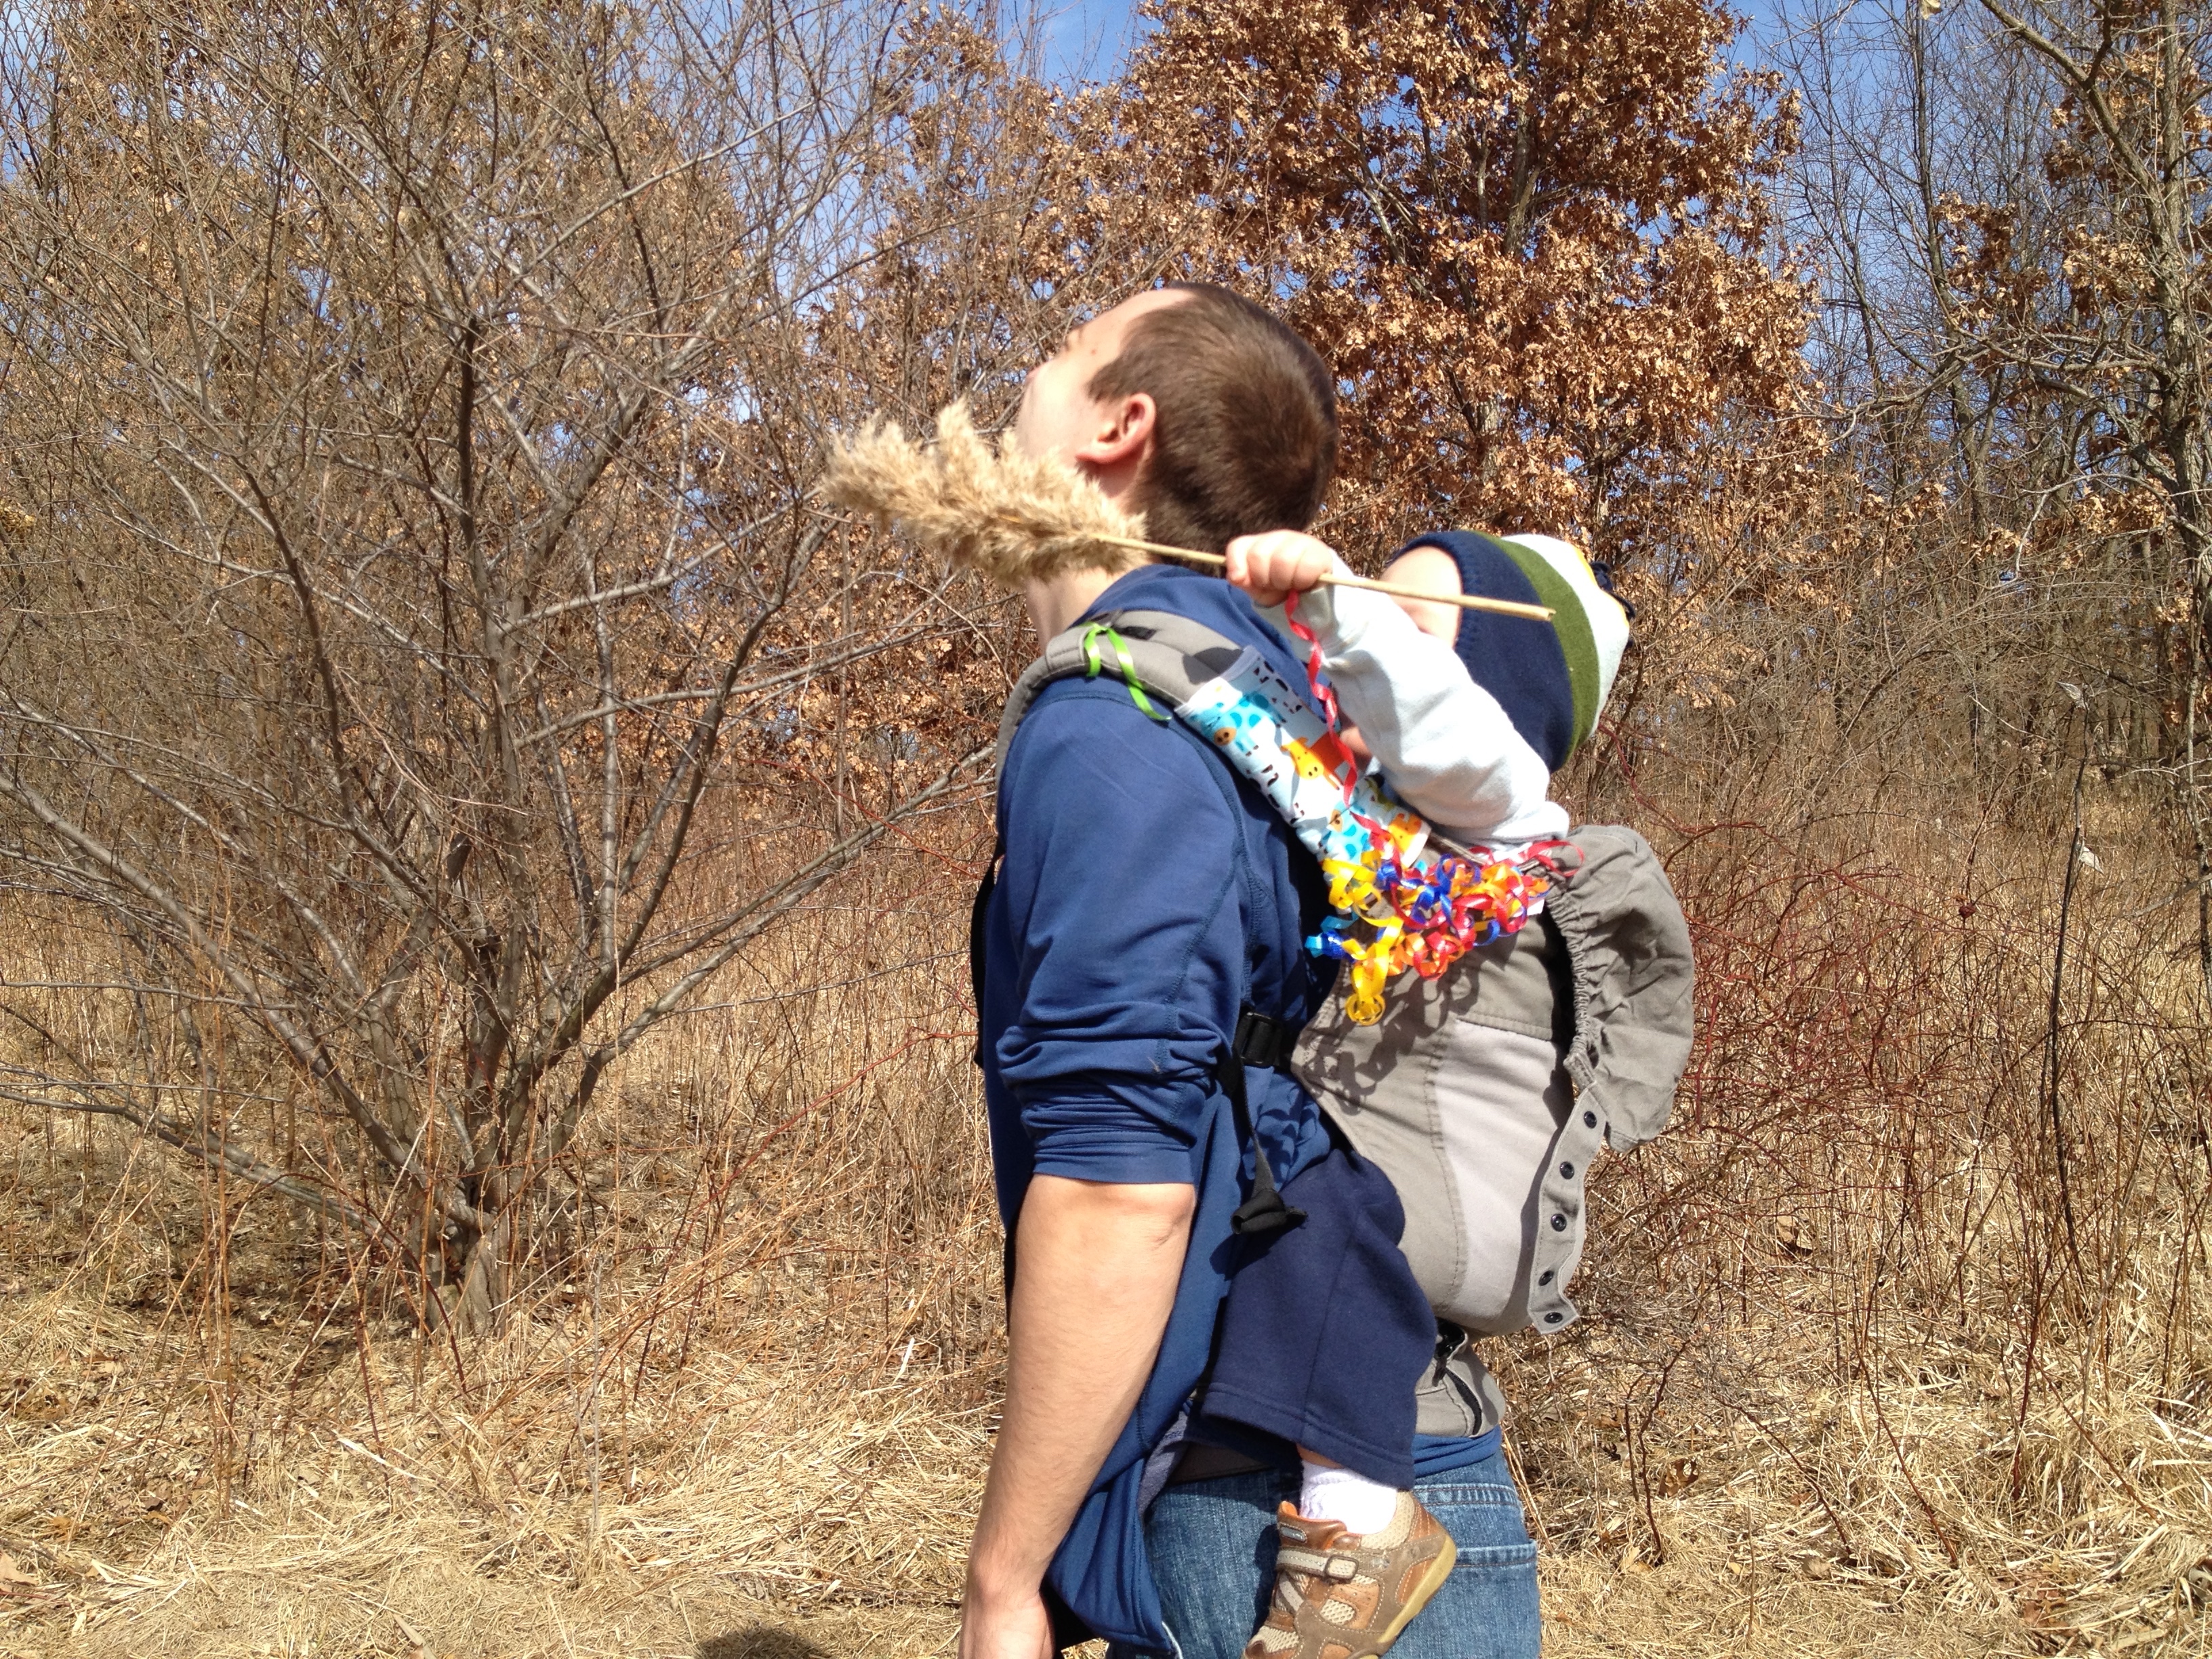
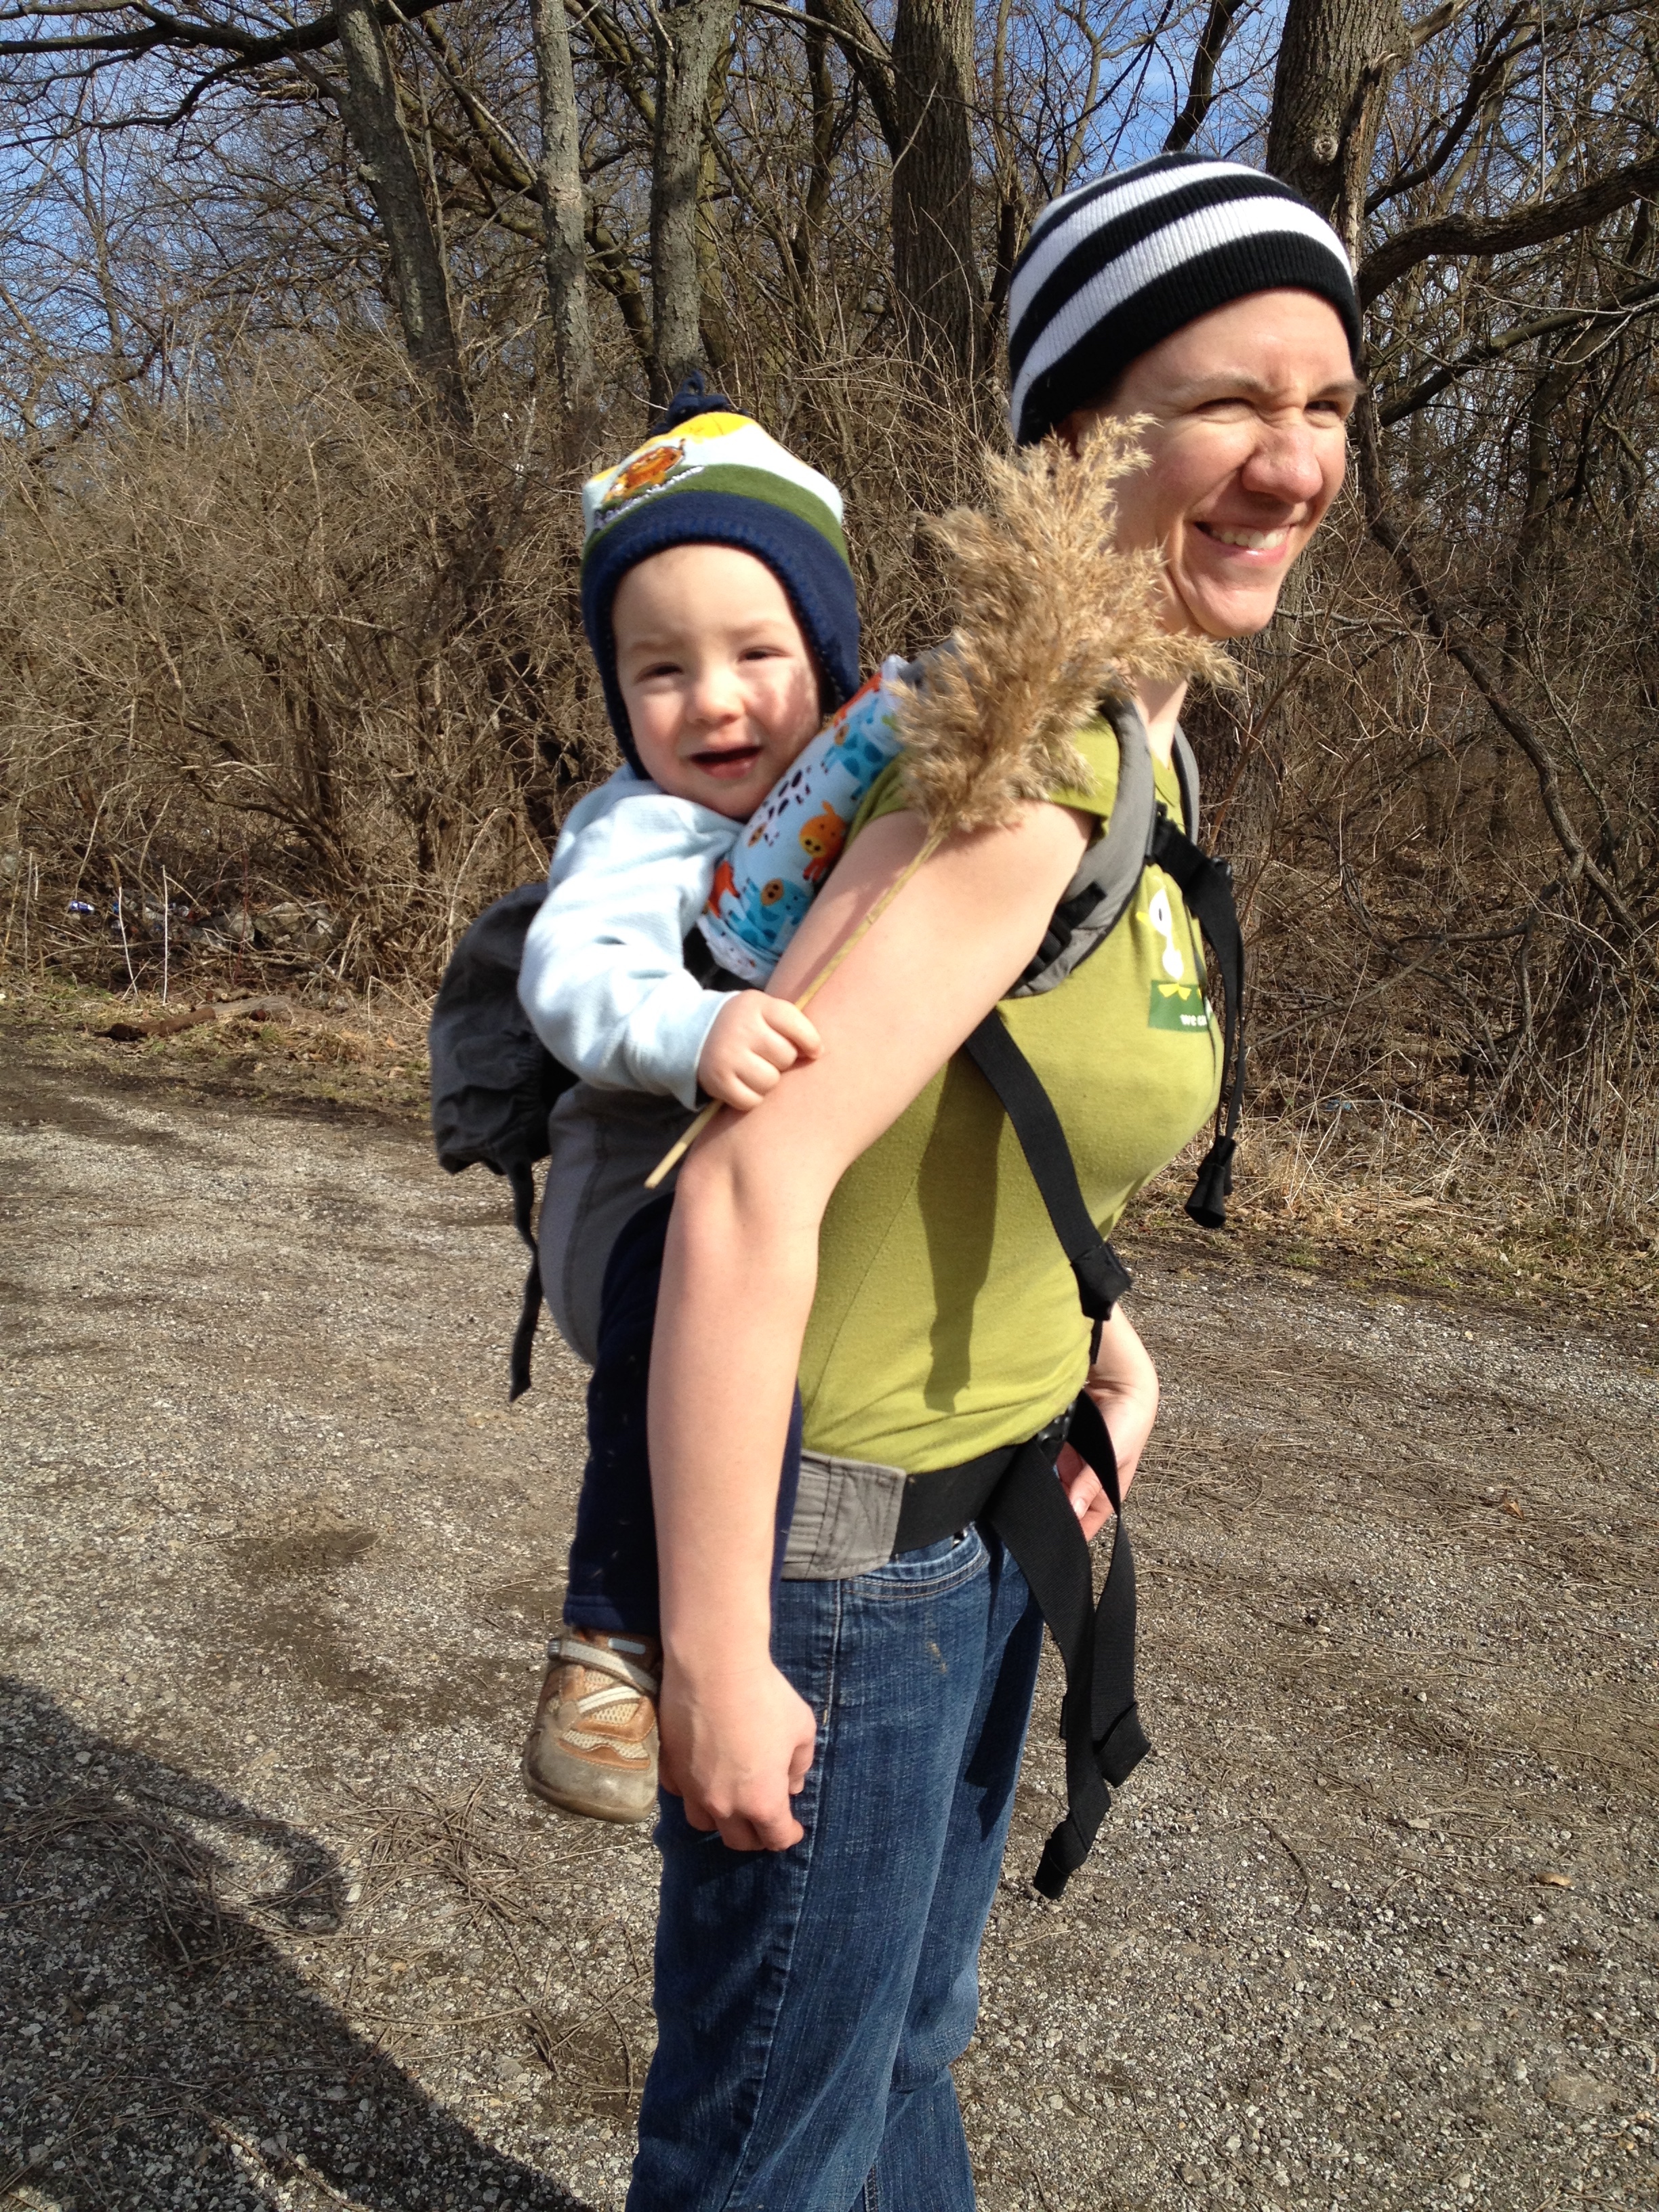
After lunch and a few trips to the parking lot and back to get the appropriate baby gear for hiking we set off on our first trail.  Baby carriers like the Boba are, in my opinion, essential to hiking with a little one.  There were many stairs on the trails and it would have been impractical to take a stroller.

IMG_6030

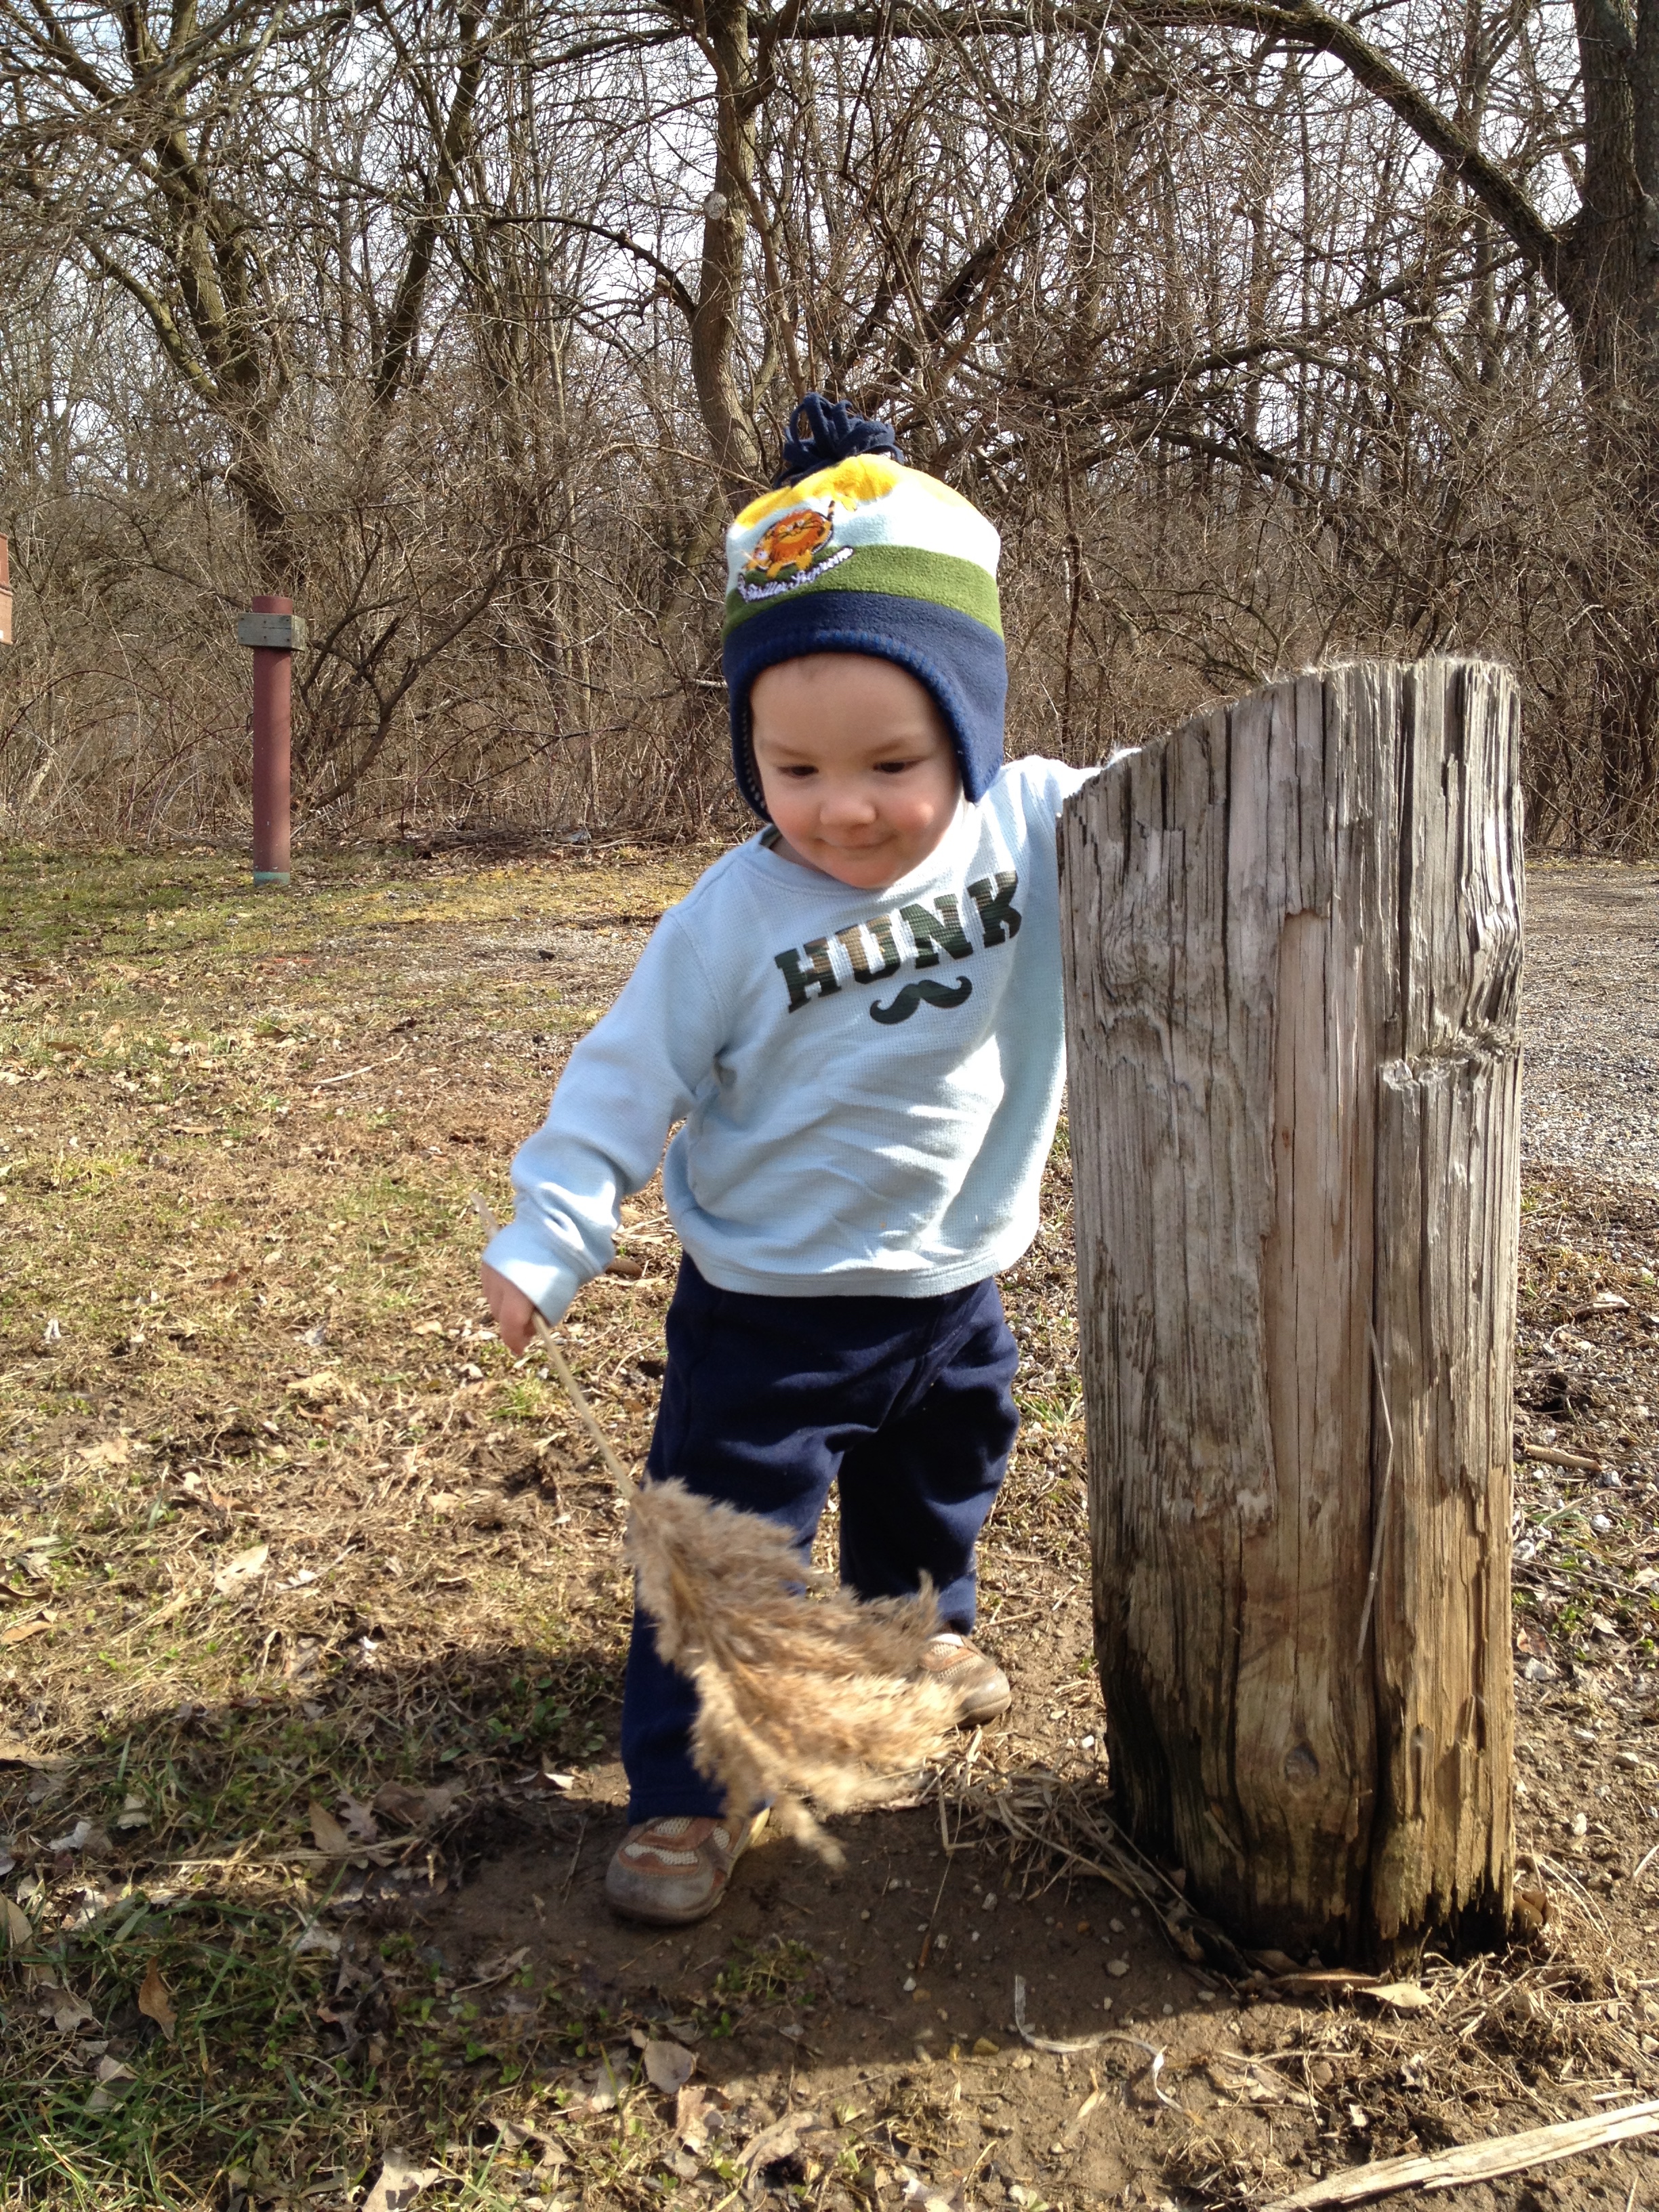
We tried to let Frugal Boy out frequently so he could get some of his wiggles out.  The day before he spent too much time in the carrier and by the time we got home, we were exhausted and he was ready to crawl all over us.

The grandparents were happy to keep an eye on him, while I watched a barge go through the lock.

IMG_3448

There was plenty of debris caught up by the dam.

IMG_6035

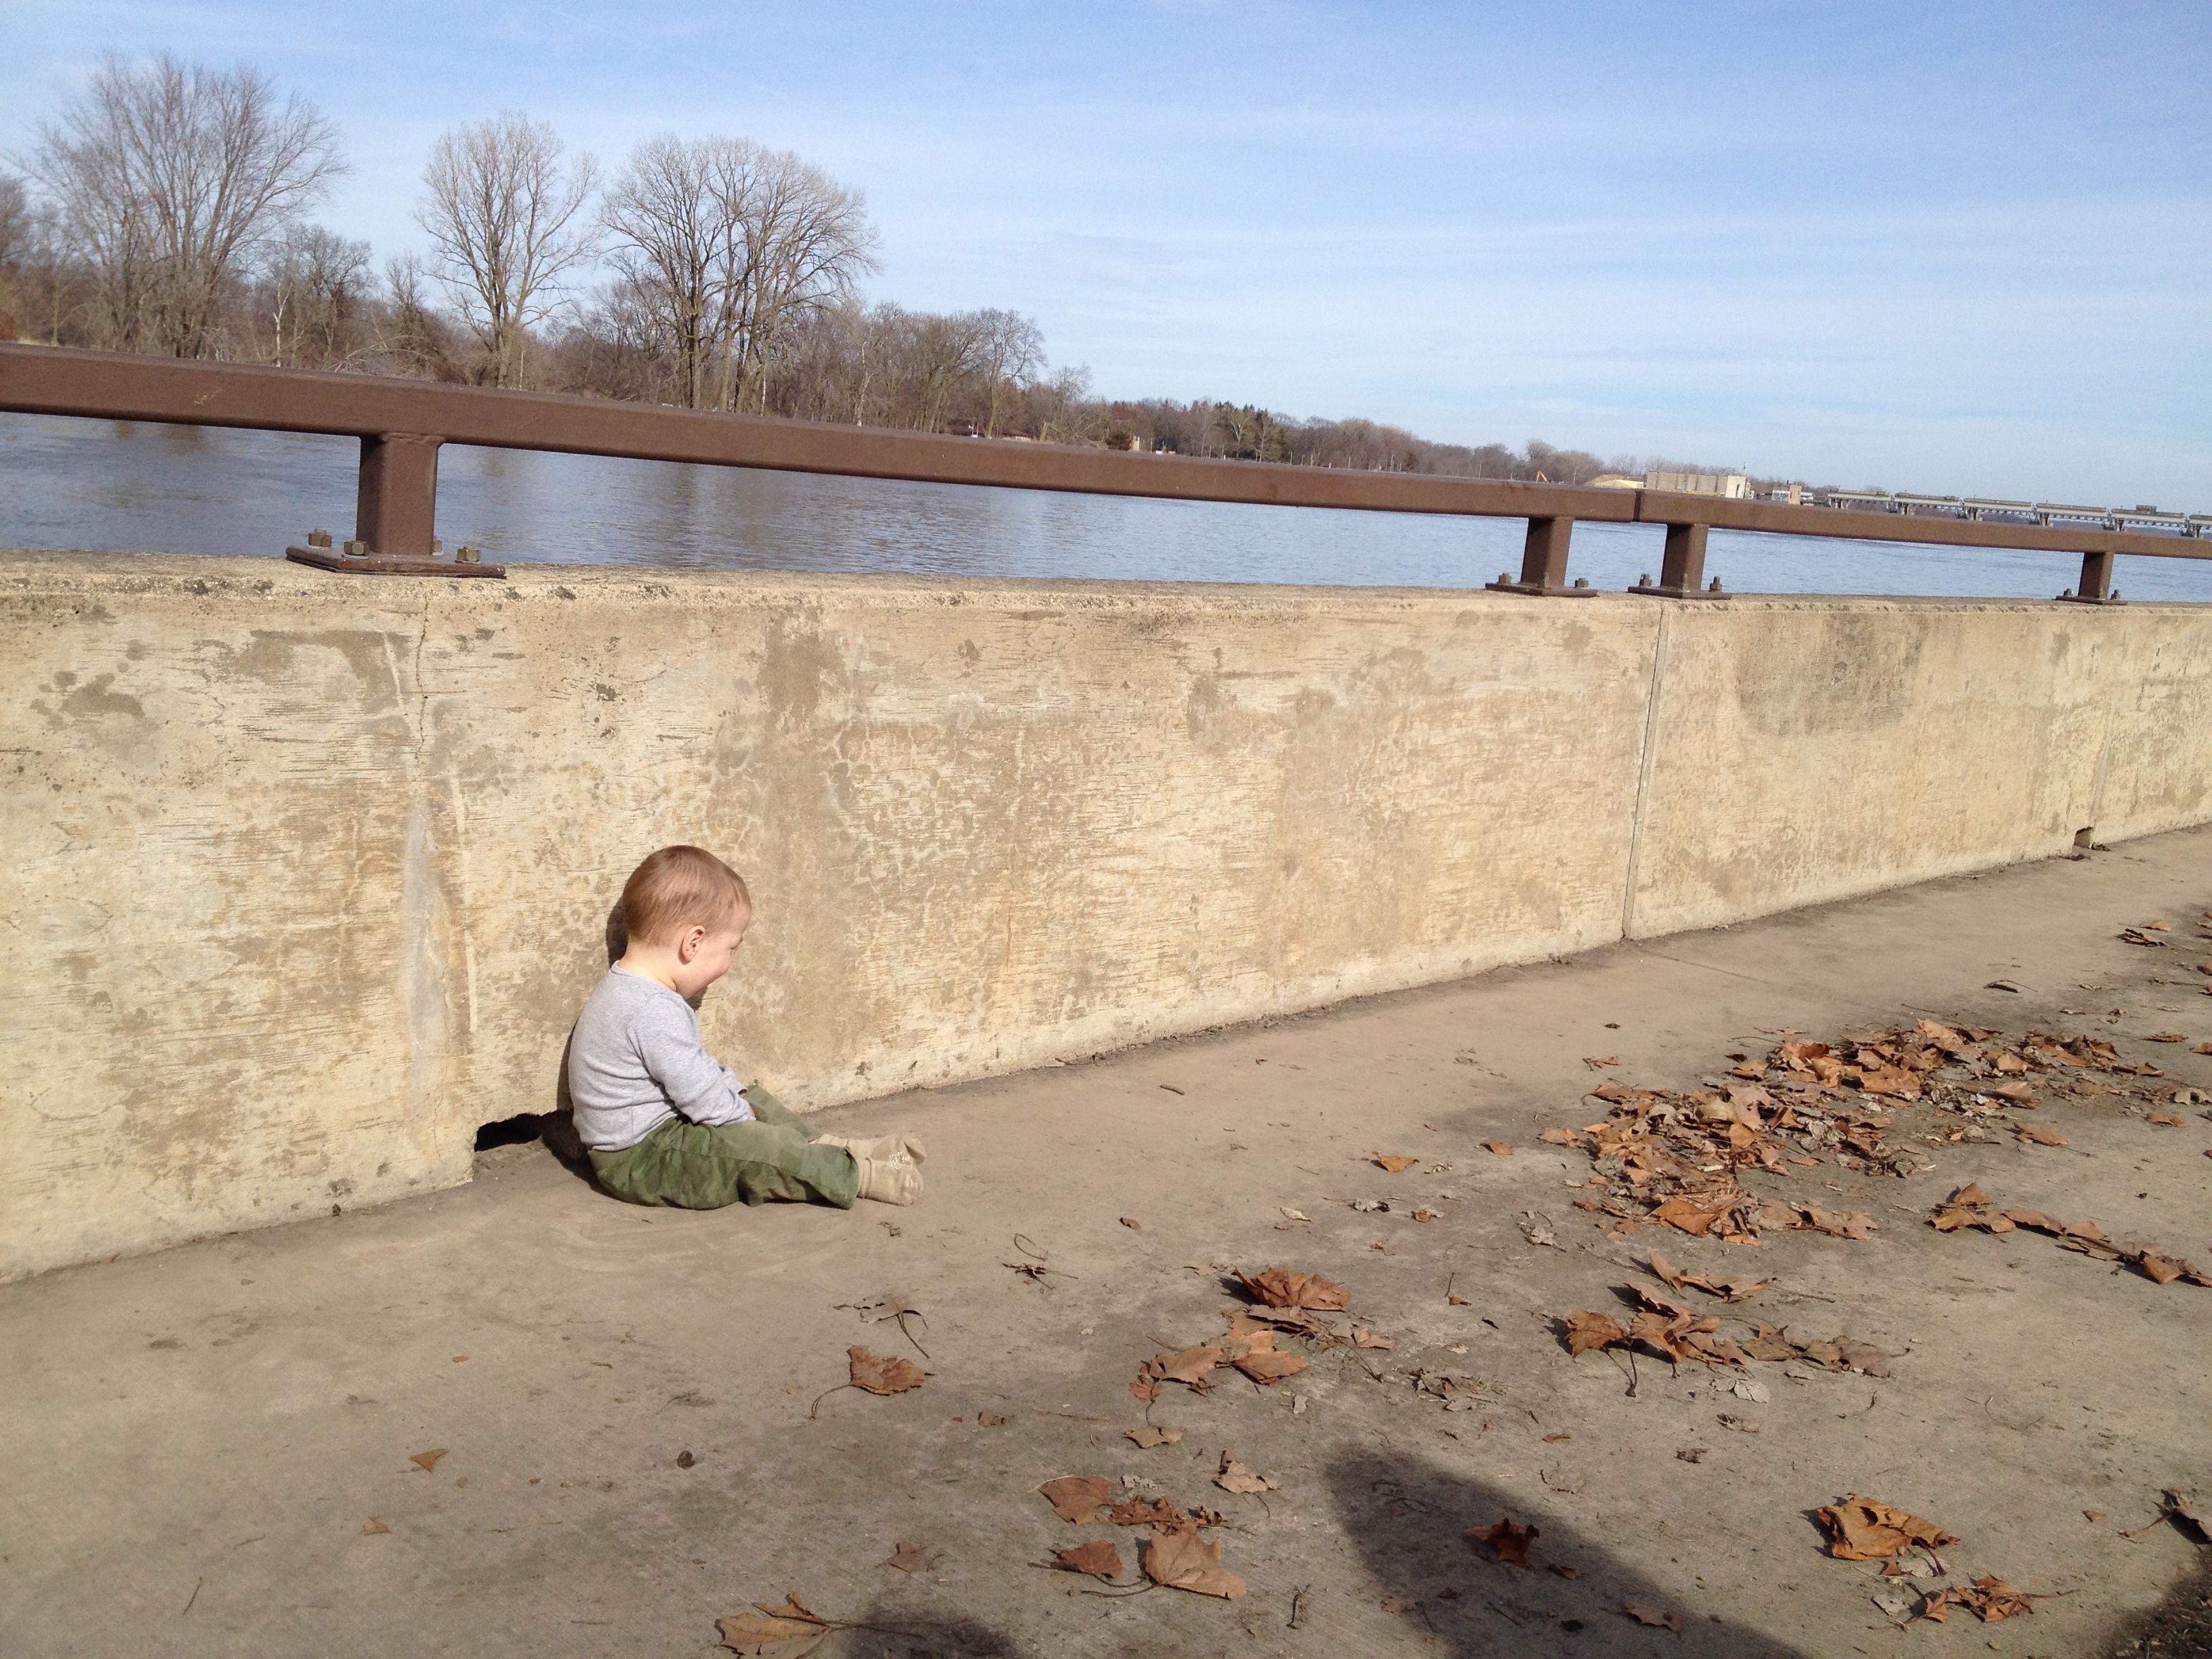
Frugal Boy found that he could sit on part of the fence that was just the right height for him.

IMG_3453

Eagle Cliff Overlook seemed like a good place to turnaround.  A few years back, Shae and I hiked about three miles beyond the overlook and the trails were not as interesting.  Perhaps the next time we visit we will try some of the side trails and canyons.

IMG_3459

We worked our way back to the visitors center via a roundabout way so we could see French Canyon.  The canyon was very icy and the grandparents wisely chose to watch us from afar.

IMG_6040

Shae and Frugal Boy turned around when the handrail ended, leaving just me to scratch a bouldering itch.

IMG_6041

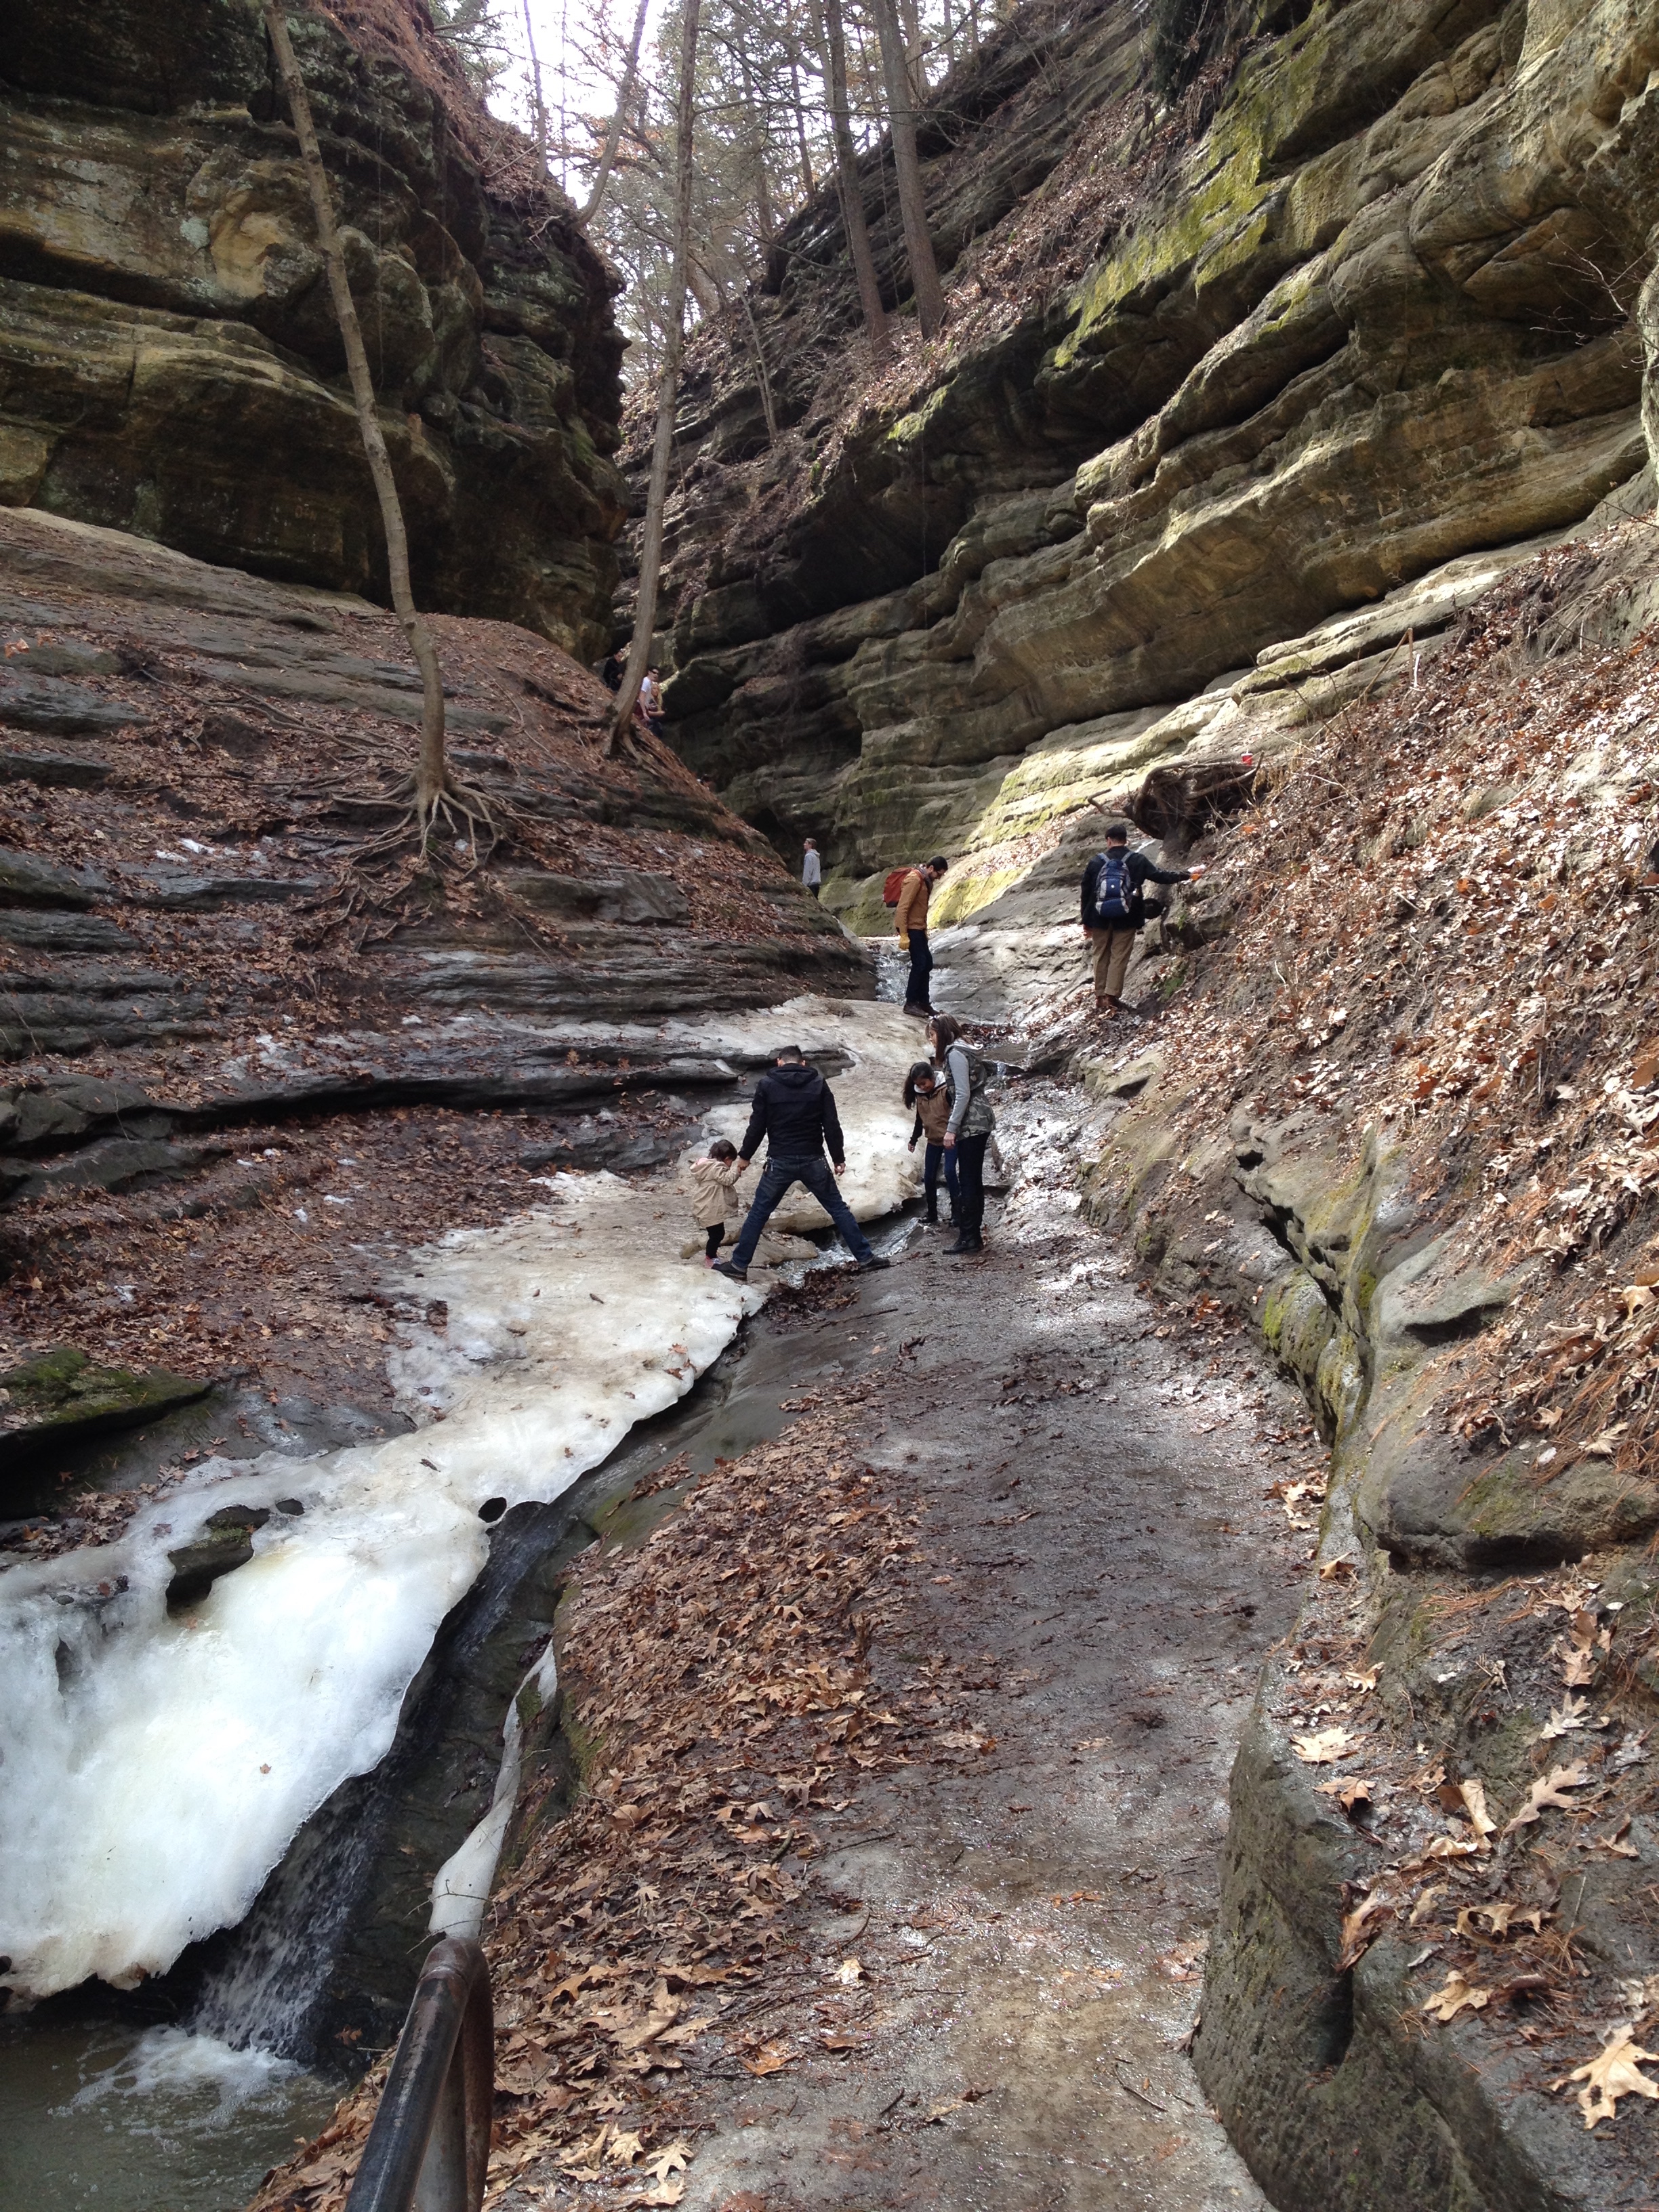
After some precarious footing, I managed to get a glimpse of the icefall.

IMG_6043

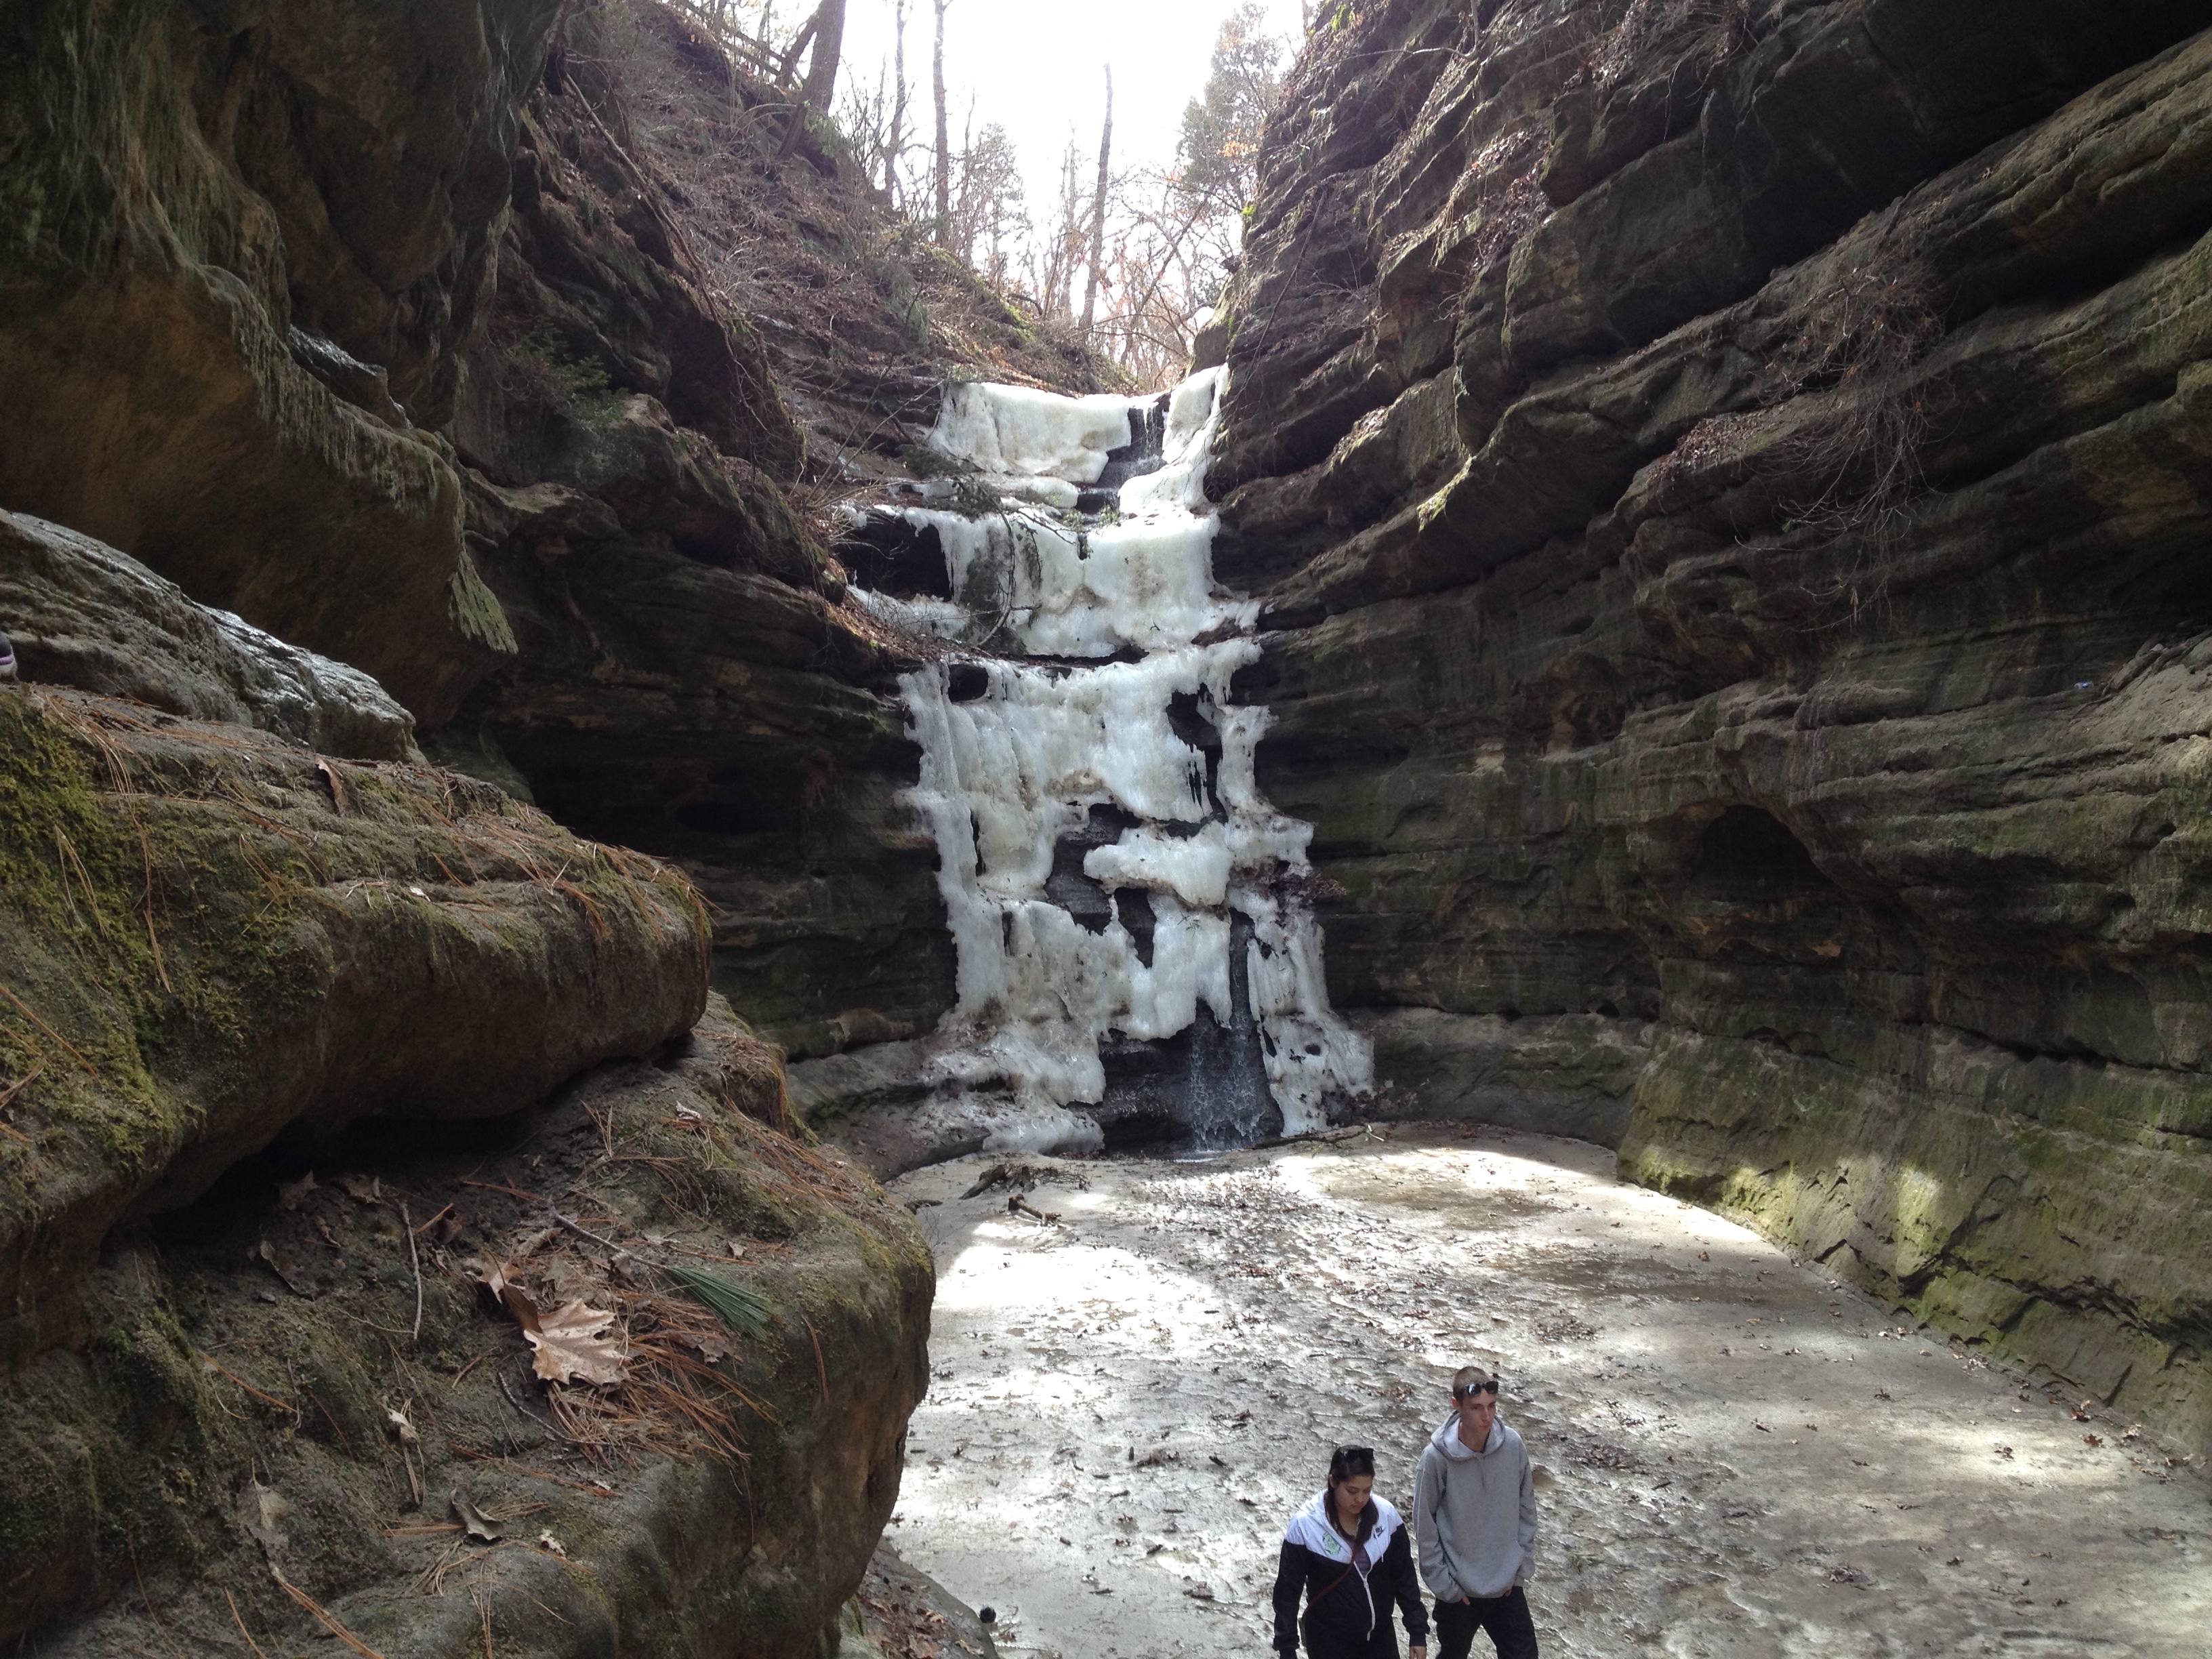
The people watching and listening was superb.  I especially enjoyed the couple that talked about how they were going to drink the calories that they burned by climbing a big flight of steps.  Then on second thought, they decided that the steps looked to daunting and they were just going to go drink instead.  Clothing choices were also interesting.  😉

Back at the river front we threw leaves and sticks in.  It’s not like it isn’t already imprinted in little boy DNA, right?

IMG_6050

We tried to get a good picture of the grandparents and grandson, but Frugal Boy wasn’t very cooperative.

18 photos and this was the best one  :-\

18 photos and this was the best one :-\

Shae and I thought about putting a little jar or box next to this cute hobo.  I wonder how much money he would have raised.

IMG_6054It was a fun day and the unseasonably warm weather has left us.  We’ll be doing plenty of hikes this year and I am already starting to get the itch to go out and camp.  That will definitely have to wait until it gets warmer though!


Posted in: Frugal Boy, Travel Tagged: Hiking, road trip

Tax Season

March 17, 2015 by Andrew Leave a Comment

Yesterday I mailed off our federal and state tax returns.  2014 was a good year for us, both in income and reducing our tax burden.  Reducing the amount of taxes that you pay is in my opinion, the best way to increase savings.  You don’t have to work any harder (more hours, second job, etc.) and you don’t have to decrease your spending (i.e. being frugal).

Our marginal tax bracket was 25%, but by contributing to tax advantaged retirement accounts, like a 401k, we were able to drop down into the 15% marginal tax bracket.

Our effective tax rate, what percentage of our income we actually had to pay after all of the deductions and credits was 10.96%.  In other words, we had to earn $1.12 in order to spend $1.  You can figure your own effective tax rate by dividing your total tax (line 63 of form 1040) by your total income (line 22 of form 1040).

The following chart from 2010 shows effective tax rates (AGI instead of net income) grouped according to the income earned.  Our rate is high for our income because it includes the self employment tax (social security and medicaid that is normally paid by your employer).  If we fiddled with our numbers and took out the self employment tax and used adjusted gross income instead of net, our rate would be 6.2%

Screen Shot 2015-03-17 at 1.02.43 PM


All in all, I feel like we are successfully managing our tax burden.

Some other points of interest

Our effective rate dropped about 1% point from 2013, thanks largely in part to Frugal Boy.  The extra deductions and credits that come with having a dependent make a sizable difference in your tax bill.

Here are some previous blog posts about reducing one’s tax burden:

  1. Saving for College – This helped save us money on our state taxes
  2. Harvest Time – Discusses how to optimize the selling of stocks to minimize capital gains
  3. Childcare FSA vs Tax Credit – Explains how to make dependent care more affordable for dual income families

Last year’s post about this topic can be found here.

Posted in: DIY Tagged: Taxes, tips

Spring Hiking – Part 1

March 16, 2015 by Andrew 1 Comment

The last bit of the snow mountain in our backyard has melted after an unusually warm weekend.  We crammed as much into the weekend as we could including replacing the brakes on the car and logging almost 10 miles of hiking.

Frugal Boy was sent outside to play more than once and always came back dirtier than he started.  Eating mud is a new favorite activity.

IMG_3408

All of the fresh air and exercise have been good for him, and some nights he doesn’t even make it to bed.

IMG_3417

Our first hike on Saturday was at a little county park.  The ground was squishy and it ended up being a pretty good workout even though it was mostly flat.  Having an extra 25 pounds on your back also helps work muscles you didn’t know you had.

IMG_3420

Some parts of the trail had running water crossing over it so a little intrepid bushwhacking was in order.

IMG_6006

Even though it was about 60° out the ponds still had enough ice to support these geese.

IMG_6009

I think all of that ice was to blame for partially destroying the fishing dock.  It took a little bit of scrambling to get up and down the upheaved floating platform.

IMG_6010

Eventually Frugal Boy woke up and it was somebody’s bright idea to give him a new toy.

IMG_3428

It was a REALLY good toy.

IMG_3442

After finishing the first two mile loop trail, Shae and I switched off so we could do another trail.

IMG_6022What we thought was another loop trail ended up being an out and back.  We tried to connect the two ends with a little creative hiking, but were thwarted by a deep stream.

IMG_6026 We trekked back to the car with muddy boots and started planning the next day’s grand adventure.  Read about it in Part 2 (coming soon).  🙂

Posted in: Frugal Boy, Travel Tagged: Hiking, road trip

DIY Brake Service

March 14, 2015 by Andrew 1 Comment

Back in November I took our car into the mechanics shop to have a nail removed from a tire.  As usual, the mechanic does a quick inspection of the major systems and he made a few remarks about the amount of corrosion on the brake rotors.  The brake pads had plenty of life left in them, but the rotors had some deep grooves and a lot of rust.  The car was still stopping fine, so I declined any work and made a mental note to do something about it myself when Spring came.

It sure did feel like Spring today, and knowing that the weather was going to be good this weekend I had planned ahead and ordered some parts from RockAuto.com, my new favorite car parts supplier.

AutospecialtyFrontRearKit

New rotors and pads for the front and back set us back about $150.  Not a bad deal if you ask me.  I was also wanting to change the brake fluid because the service manual said to do that the earlier of 30,000 miles or 24 months.  Seeing as we’ve owned the car since 2009 and have never changed the brake fluid, I figured it was due.

After jacking up the car, securing it with jack stands, and removing the front wheels, I had access to the brake components.

IMG_5993

The large metal platter with the 5 bolts sticking through it is the brake rotor.  It is gripped by the brake pads to create friction to change the kinetic (moving) energy of the car into heat.  If you ever see a video of race car or airplane brakes getting red hot, it is because they are converting a lot of energy!

IMG_5994

The brake caliper (shown above) is like a giant hand that holds a pair of brake pads.  When you press on the brake pedal it forces brake fluid through hoses that actuate a piston in the caliper.  That piston is what pushes the pads against the rotor.

IMG_5995

New rotors come with a rust inhibitor coating.  If they didn’t they would be completely rusted over by the time you installed it on your car.  The coating should be cleaned off with some brake cleaner spray before installing.

IMG_5998

The old brake pad (nearer to my shoe) still has plenty of wear left.  You can see the wear indicators (the metal clip that looks like a J) on both the new and the old pads.  Do you know that horrible screeching sound when your brakes need to be replaced.  That is caused by the wear indicators scraping against the rotor.  It is designed to be loud and get your attention!

IMG_5999

With the new rotor installed it is just a matter of putting everything back together again.  Some parts are designed to be replaced with every brake job, like the little metal retaining brackets shown above.  Also, some parts need to be lubricated.

With everything put back together and the brake lines bled (fluid completely replaced) the last critical step is to pump your brake pedal.  The first couple of times that you push the brake pedal after replacing the brakes, the pedal will go all the way down to the floor!  Once you have a brake pedal again, you can take it for a test drive.

A quick search on the internet revealed some big box store prices.  For instance, Pep Boys offers a brake fluid exchange and ceramic pads for $250/axle.  That does not include new rotors, but the machining of the old ones (they cut off a bit of thickness from your old rotors to save money and in return you are left with an inferior braking component).  My total cost for everything was about $170, so I saved about $330 by doing the work myself.  I spent two hours on Friday night doing the front axle and five hours on Saturday morning doing the rear axle and exchanging the fluid.  $47/hour is worth it to me.

I skipped a lot of steps in this blog post, including important ones.  If you want to know more about the details, I find that Eric the Car Guy has a great set of video tutorials online that you can follow.

Posted in: DIY Tagged: Car

Terrorizing Frugal Boy

March 12, 2015 by Andrew Leave a Comment

Posted in: Frugal Boy, Parenting
« Previous 1 … 41 42 43 … 69 Next »

Recent Posts

  • Min/Maxing Car Sale for Highest Value and Lowest Headache
  • Buying a Car with Data Driven Decision Making
  • Hot Lunch
  • Baking with Dad
  • Winter Nights

Financial Goals

Recent Comments

  • suwaidi online on Building a New Desktop Computer
  • James Spurr on Building a Self Watering Raised Garden Bed
  • suwaidi online on Total Cost of Ownership – Inkjet vs Laser Printers
  • bcimechanical on Troubleshooting a Gas Furnace
  • g on Troubleshooting a Leaking Whirlpool Dishwasher [UPDATED]

Archives

  • December 2020
  • December 2018
  • July 2018
  • May 2018
  • April 2018
  • March 2018
  • February 2018
  • January 2018
  • December 2017
  • November 2017
  • October 2017
  • September 2017
  • August 2017
  • July 2017
  • June 2017
  • May 2017
  • April 2017
  • March 2017
  • February 2017
  • January 2017
  • December 2016
  • November 2016
  • October 2016
  • September 2016
  • August 2016
  • July 2016
  • June 2016
  • May 2016
  • April 2016
  • March 2016
  • February 2016
  • January 2016
  • December 2015
  • November 2015
  • October 2015
  • September 2015
  • August 2015
  • July 2015
  • June 2015
  • May 2015
  • April 2015
  • March 2015
  • February 2015
  • January 2015
  • December 2014
  • November 2014
  • October 2014
  • September 2014
  • August 2014
  • July 2014
  • June 2014
  • May 2014
  • April 2014
  • March 2014
  • February 2014
  • January 2014
  • December 2013
  • November 2013
  • October 2013
  • September 2013
  • August 2013

Categories

  • Business
  • DIY
  • Finance
  • Frugal Boy
  • Frugal Girl
  • House
  • Misc.
  • Parenting
  • Reading
  • Recipes
  • Savings
  • Technology
  • Travel
  • Uncategorized

Meta

  • Log in
  • Entries feed
  • Comments feed
  • WordPress.org

Copyright © 2026 Frugal Living.

Omega WordPress Theme by ThemeHall