• About Me
  • Contact Me

Frugal Living

Indulging in life, financially responsible

window

Repairing and Replacing Window Screens – A Small Science Experiment With Sun Guard 90

May 25, 2016 by Andrew Leave a Comment

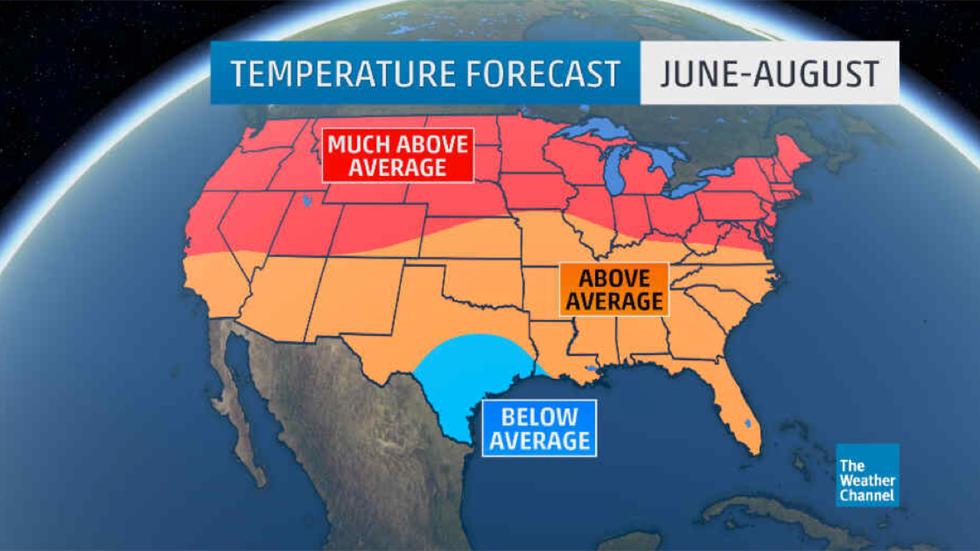
When we bought our house three years ago, we also inherited a basement full of window screens in various states of disrepair.  Each Summer, I dutifully pull them out of storage and put them in place and each Summer there are more left in the basement needing repairs.  This year, I decided it was time to spend a day to fix them all.  If the temperature forecasts for this summer are at all accurate, we are in for a real scorcher season.

wsi_summer

Frequent readers of this blog know that our central AC has never worked.  The condenser outside is an ’84 Sears Kenmore unit.  You can imagine my excitement when I saw a screen material at the home improvement store that claimed to reduce temperatures by blocking sunlight and UV rays.

IMG_9349

Armed with a gift card, I started an experiment to see if this screen material lived up to the hype or not.

Hypothesis

Replacing existing aluminum screening material in a South or West facing window would reduce the temperature recorded inside that window.

Experimental Method

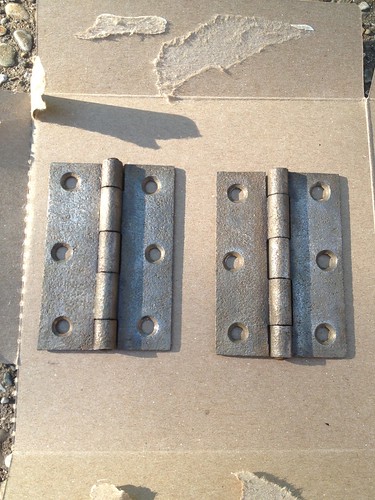
I gathered up the needed materials,

  • New York Wire Sun Guard Charcoal 90 Screening
  • .14 Spline
  • Spline tool
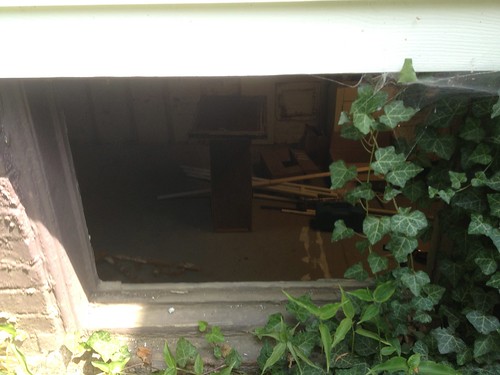
  • Existing South/West facing window
  • Scissors
  • Utility knife

IMG_9348

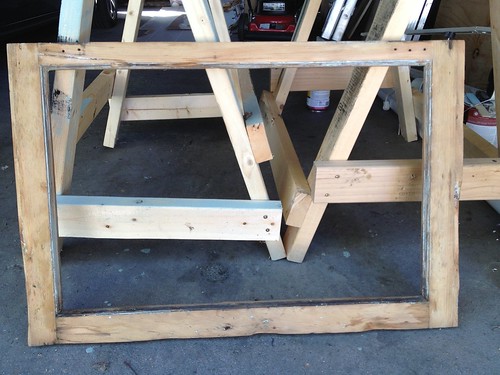
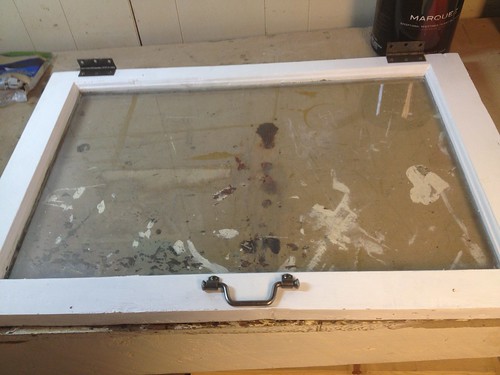
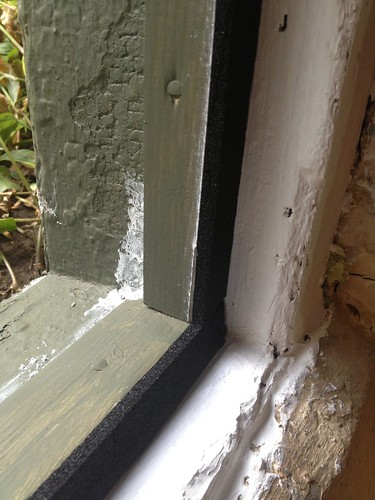
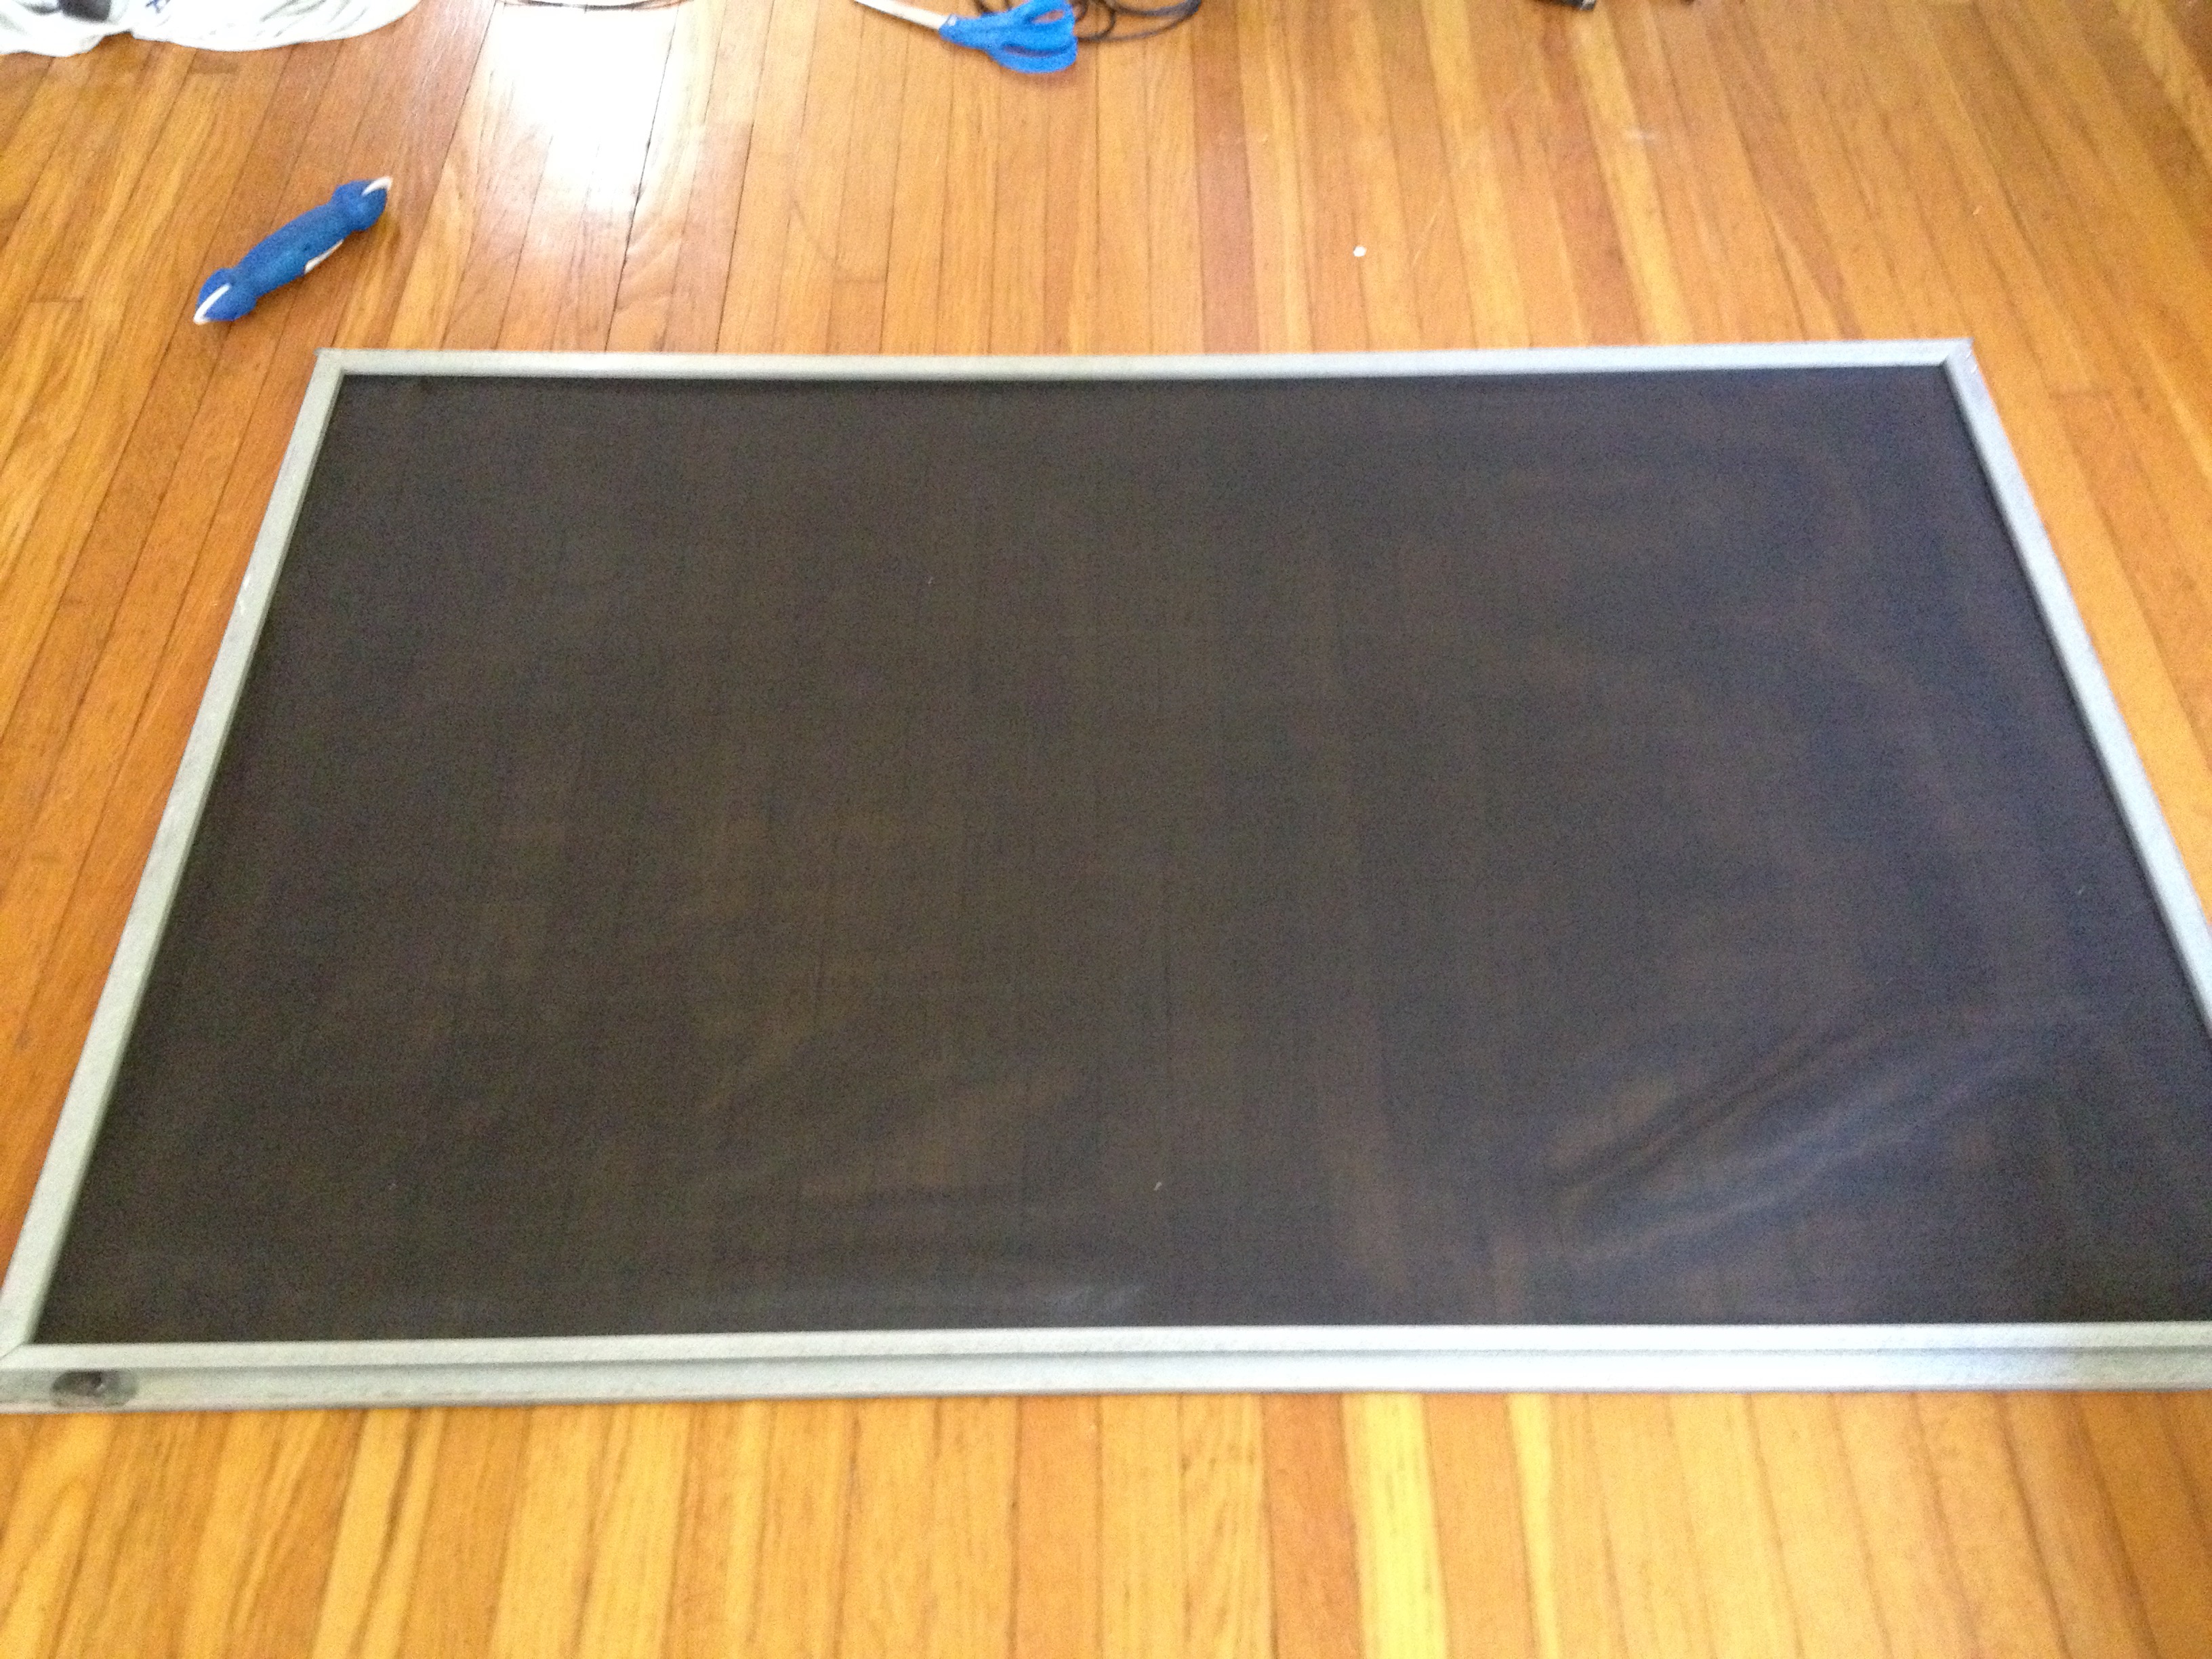
After removing the old spline and screen material, I rolled the new sun guard screen over the frame.

IMG_9350

Then I pressed new spline material into place and cut off the excess screening.  I learned the hard way that it is best to keep the screen material somewhat loose.  Over tightening the screening will bend the frame and it won’t fit right into the window opening.

IMG_9351

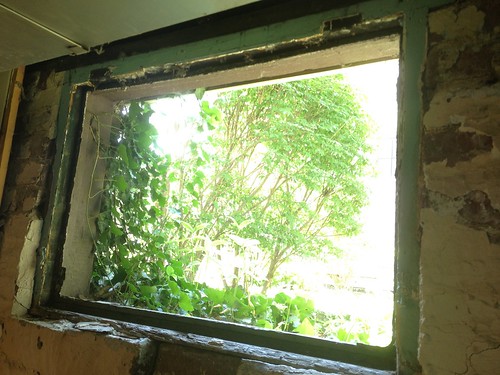
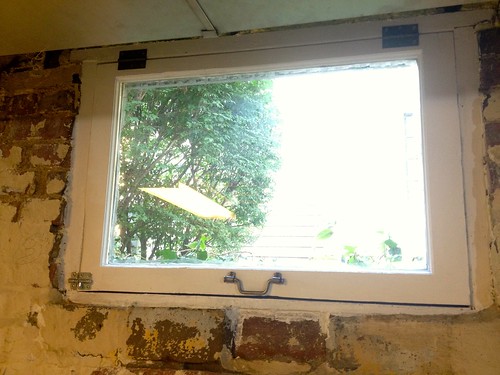
With the renovated screen in place for a hour, I then placed a thermometer on the window sill.

IMG_9354

You can see that there is a lot less sunlight behind the renovated screen.

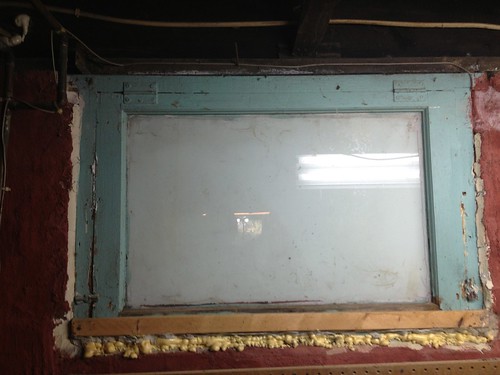
After letting the thermometer settle for five minutes, I took a reading. I then moved the thermometer behind a regular window adjacent to the renovated one.  After five minutes to stabilize, I checked the thermometer again.

IMG_9358IMG_9361

Sun Guard screening recorded at 82° F.  The control window recorded at 90-91° F.

Conclusion

The Sun Guard screening does prevent sunlight from entering the house and helps keep the interior cooler than a regular window.  After seeing these results, I plan on replacing all of the South and West facing screens with this type of material to help keep our house cooler.  I suspect that this type of upgrade would also be beneficial for lowering AC utility bills if you had this type of setup:

outside hot – screens – windows – ac conditioned space.

Posted in: DIY, House Tagged: summer, Utilities, window

Restoring A Basement Window

September 9, 2013 by Andrew Leave a Comment

In May of this year, we bought our first house after nearly two years of looking.  It was built in 1905 in one of the older neighborhoods in town.  We love old homes and the character that they bring with them.  There are hundreds if not thousands of stories that the walls, floors, and guts of the house have to tell if you know where to look and aren’t afraid to get your hands a bit dirty (not to mention saving a whole bucket load of money by not having to call a contractor).  It is a bit like an archeological dig and even the experienced home owners are still surprised sometimes by what they find.

The house had been foreclosed upon and after three years of sitting vacant with no water or heat we bought it at auction.  One of the many projects that we wanted to tackle was to clean the unfinished basement.

One of the previous owners had hung paneling on the walls and at some point water had come into contact with said paneling.

Naturally, we wanted to get rid of all the paneling.

We still have a long ways to go on that larger project, so I thought I’d share a smaller sub project with you that we have finished.

It was obvious from examining the outside of the house that there were additional basement windows covered up by the paneling.  As we worked our way from the North West corner of the basement towards the South West corner we uncovered the first of these windows.

Hmmm… somebody didn’t want anything getting through that window by the looks of it.  The frame had been painted shut, caulked shut, and nailed shut.  The glass had been painted (and they even used a primer).  The hinges had also been graced with some teal paint.

I decided I wanted to try and restore it.  After all, it had lasted for 108 years, who was I to say it couldn’t keep on living.

After prying it out, here is what the external side looked like.

and the opening.  So much light!

I used a paint stripper called Soy Gel to remove the paint.  It is billed as a non toxic, low VOC stripper.  I still wouldn’t want to take a bath in the stuff though.

A vinegar bath plus some friendly face time with a dremel wire brush had these hinges cleaned up within a couple of days.

The window was originally designed to swing inwards, but it lacked a handle.  This made it awkward to actually open.  I decided to remedy the problem with some new hardware.

The locking mechanisms were also too badly damaged to salvage so I picked up a couple of cheap replacements.

I actually purchased the locks at Menards because they were a dollar cheaper there.  Menards also carried spray foam insulation at a cheaper price as well as rubber weatherstripping.  I wanted to really seal up any potential air leaks.

After using a wood epoxy to fill all the dings and dents in the window I put on a couple coats of paint.  I managed to break the glass when I was working on the window so I got my first taste of glazing and pane replacement.  I’m pretty happy with how it turned out.

I applied a generous amount of spray foam and caulk to seal up any gaps in the window frame.  Then after some paint, I applied the rubber weatherstripping.  It should help create a good seal between the window and the frame.

Here is the almost finished product.  I still need to add a slide lock to the right side and finish painting the exterior.

Here is a nice little before and after.

before and after window

On to the next one…

Posted in: DIY, House Tagged: basement, insulation, restoration, window

Recent Posts

  • Min/Maxing Car Sale for Highest Value and Lowest Headache
  • Buying a Car with Data Driven Decision Making
  • Hot Lunch
  • Baking with Dad
  • Winter Nights

Financial Goals

Recent Comments

  • James Spurr on Building a Self Watering Raised Garden Bed
  • suwaidi online on Total Cost of Ownership – Inkjet vs Laser Printers
  • bcimechanical on Troubleshooting a Gas Furnace
  • g on Troubleshooting a Leaking Whirlpool Dishwasher [UPDATED]
  • Christie on Building a Self Watering Raised Garden Bed

Archives

  • December 2020
  • December 2018
  • July 2018
  • May 2018
  • April 2018
  • March 2018
  • February 2018
  • January 2018
  • December 2017
  • November 2017
  • October 2017
  • September 2017
  • August 2017
  • July 2017
  • June 2017
  • May 2017
  • April 2017
  • March 2017
  • February 2017
  • January 2017
  • December 2016
  • November 2016
  • October 2016
  • September 2016
  • August 2016
  • July 2016
  • June 2016
  • May 2016
  • April 2016
  • March 2016
  • February 2016
  • January 2016
  • December 2015
  • November 2015
  • October 2015
  • September 2015
  • August 2015
  • July 2015
  • June 2015
  • May 2015
  • April 2015
  • March 2015
  • February 2015
  • January 2015
  • December 2014
  • November 2014
  • October 2014
  • September 2014
  • August 2014
  • July 2014
  • June 2014
  • May 2014
  • April 2014
  • March 2014
  • February 2014
  • January 2014
  • December 2013
  • November 2013
  • October 2013
  • September 2013
  • August 2013

Categories

  • Business
  • DIY
  • Finance
  • Frugal Boy
  • Frugal Girl
  • House
  • Misc.
  • Parenting
  • Reading
  • Recipes
  • Savings
  • Technology
  • Travel
  • Uncategorized

Meta

  • Log in
  • Entries feed
  • Comments feed
  • WordPress.org

Copyright © 2025 Frugal Living.

Omega WordPress Theme by ThemeHall