Restoring A Basement Window
In May of this year, we bought our first house after nearly two years of looking. It was built in 1905 in one of the older neighborhoods in town. We love old homes and the character that they bring with them. There are hundreds if not thousands of stories that the walls, floors, and guts of the house have to tell if you know where to look and aren’t afraid to get your hands a bit dirty (not to mention saving a whole bucket load of money by not having to call a contractor). It is a bit like an archeological dig and even the experienced home owners are still surprised sometimes by what they find.
The house had been foreclosed upon and after three years of sitting vacant with no water or heat we bought it at auction. One of the many projects that we wanted to tackle was to clean the unfinished basement.
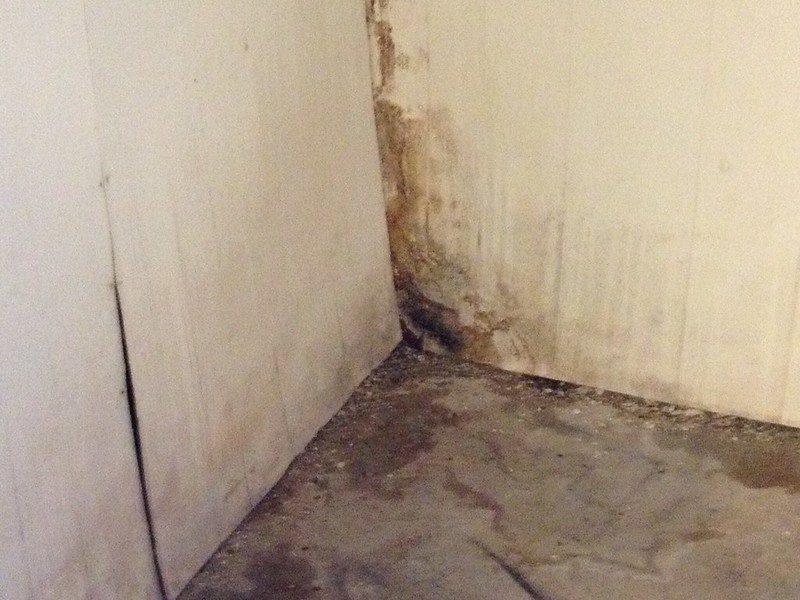
One of the previous owners had hung paneling on the walls and at some point water had come into contact with said paneling.
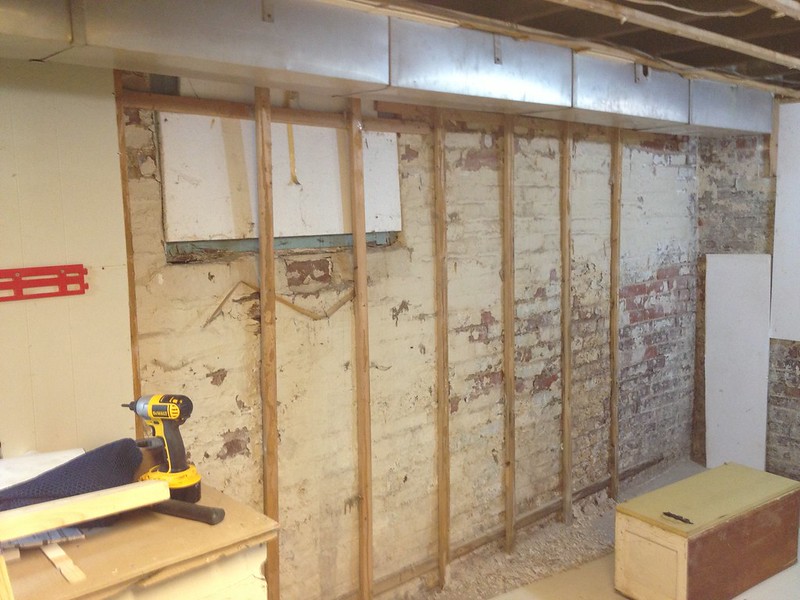
Naturally, we wanted to get rid of all the paneling.
We still have a long ways to go on that larger project, so I thought I’d share a smaller sub project with you that we have finished.
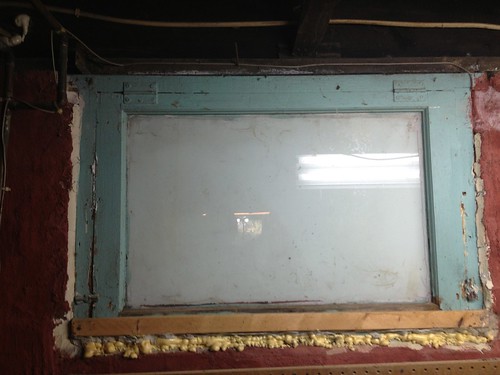
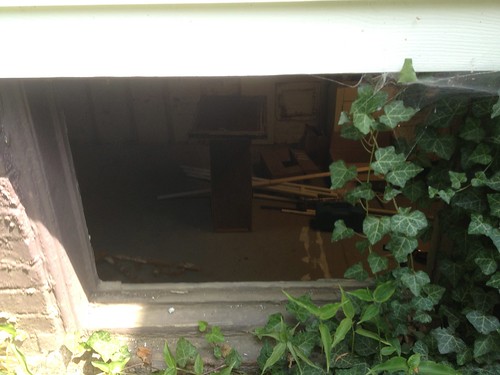
It was obvious from examining the outside of the house that there were additional basement windows covered up by the paneling. As we worked our way from the North West corner of the basement towards the South West corner we uncovered the first of these windows.
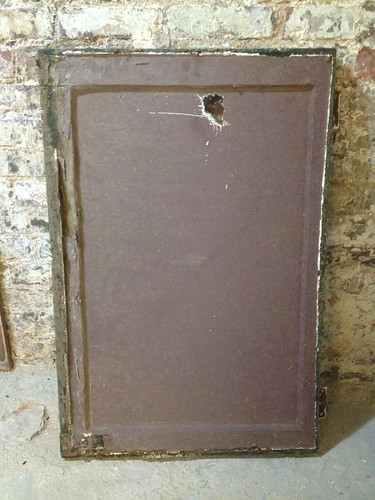
Hmmm… somebody didn’t want anything getting through that window by the looks of it. The frame had been painted shut, caulked shut, and nailed shut. The glass had been painted (and they even used a primer). The hinges had also been graced with some teal paint.
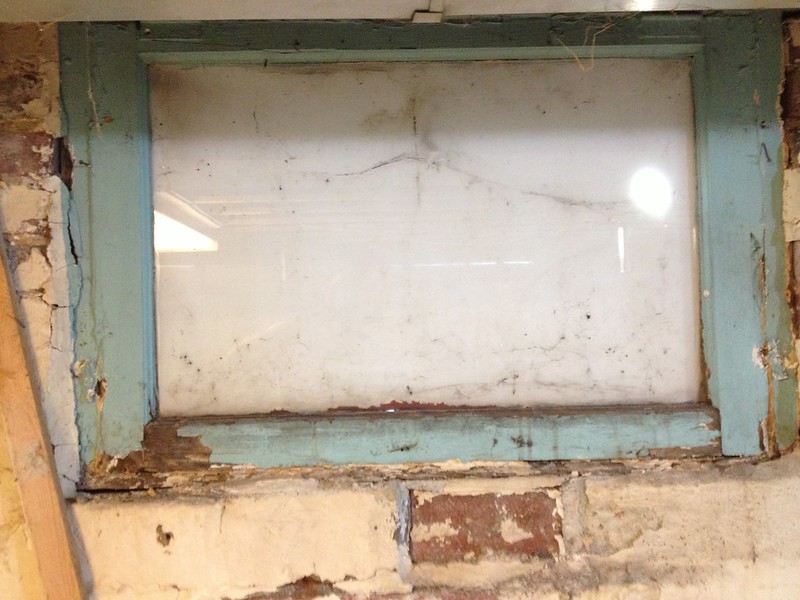
I decided I wanted to try and restore it. After all, it had lasted for 108 years, who was I to say it couldn’t keep on living.
After prying it out, here is what the external side looked like.
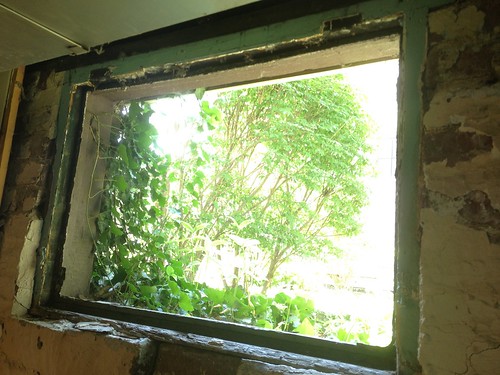
and the opening. So much light!
I used a paint stripper called Soy Gel to remove the paint. It is billed as a non toxic, low VOC stripper. I still wouldn’t want to take a bath in the stuff though.
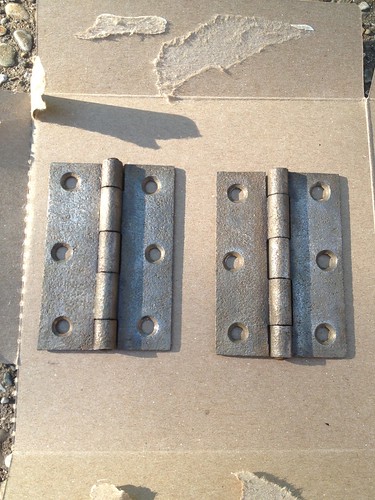
A vinegar bath plus some friendly face time with a dremel wire brush had these hinges cleaned up within a couple of days.
The window was originally designed to swing inwards, but it lacked a handle. This made it awkward to actually open. I decided to remedy the problem with some new hardware.
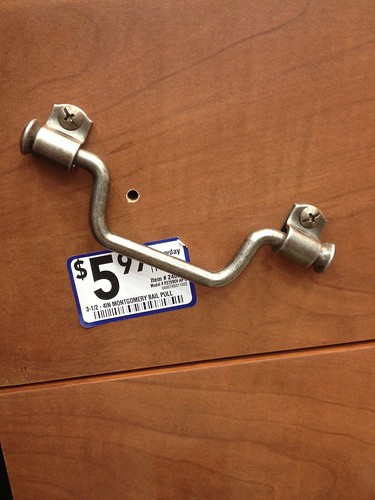
The locking mechanisms were also too badly damaged to salvage so I picked up a couple of cheap replacements.
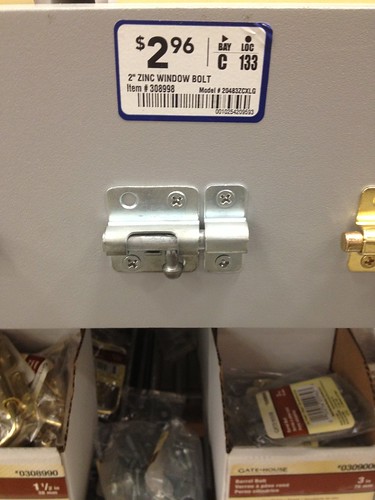
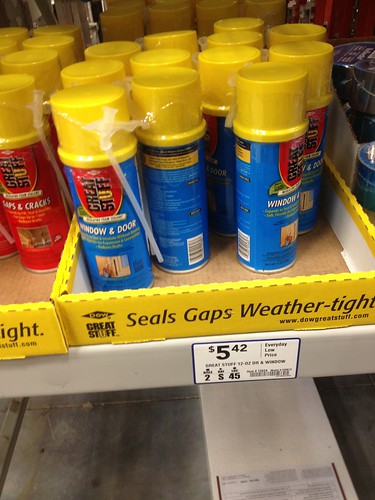
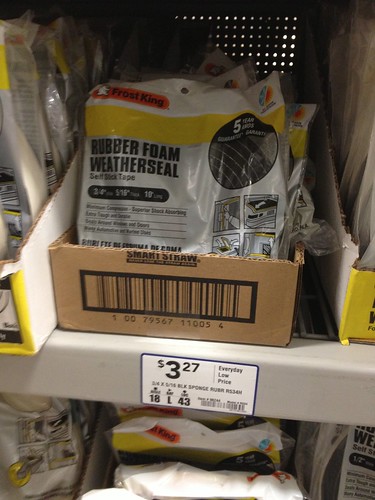
I actually purchased the locks at Menards because they were a dollar cheaper there. Menards also carried spray foam insulation at a cheaper price as well as rubber weatherstripping. I wanted to really seal up any potential air leaks.
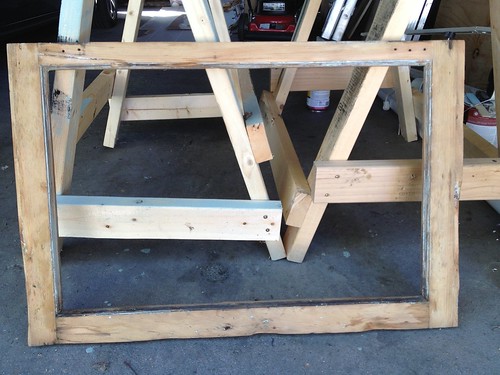
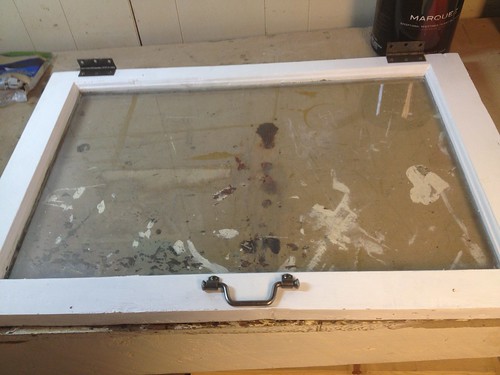
After using a wood epoxy to fill all the dings and dents in the window I put on a couple coats of paint. I managed to break the glass when I was working on the window so I got my first taste of glazing and pane replacement. I’m pretty happy with how it turned out.
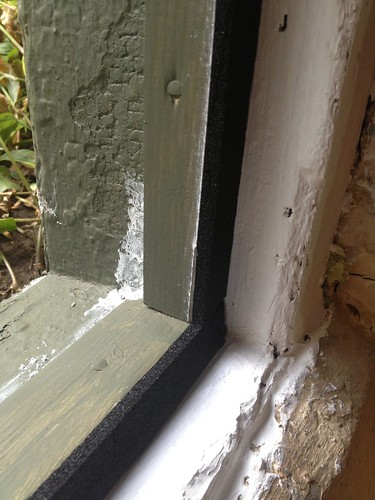
I applied a generous amount of spray foam and caulk to seal up any gaps in the window frame. Then after some paint, I applied the rubber weatherstripping. It should help create a good seal between the window and the frame.
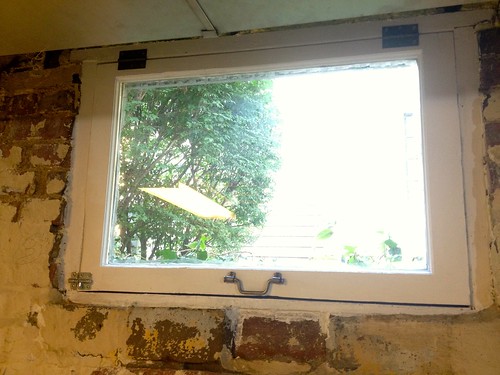
Here is the almost finished product. I still need to add a slide lock to the right side and finish painting the exterior.
Here is a nice little before and after.

On to the next one…