• About Me
  • Contact Me

Frugal Living

Indulging in life, financially responsible

Car

Hacking RockAuto Closeout Parts Sale

November 30, 2016 by Andrew 1 Comment

screen-shot-2016-11-30-at-6-17-36-pm

If you work on your own car and don’t know about RockAuto.com shame on you!  RockAuto has an amazing selection of car parts at rock bottom prices.  Geez, with all this talking up, I should be getting paid by them.  Alas, today I’m going to share a secret about how to hack the RockAuto.com wholesale clearance sale.

I received an email from RockAuto.com informing me about their wholesale closeout parts sale.  The email contained two links, one for each car that I have ordered for in the past.  If you just open a browser and go to RockAuto.com, there is no mention of the sale.  So how do you get in on this super secret savings?

You’re going to need to roll up your hacker sleeves and construct a special URL.

The basic template is this:

http://www.rockauto.com/RSS/vehiclefeeds.php?carcode={ENTER_CAR_CODE_HERE}&m=wc&l=en&html=true

Did you see the part {ENTER_CAR_CODE_HERE}?  You’ll need to figure out your car’s code.  To do so, you can follow the instructions listed here.  Paraphrasing,

Go to rock auto home page, click view catalog, and browse all the way to your car year, make and model and engine. Notice a small icon that says RSS next to the engine size. click that AS IF YOU were wanting to subscribe for updates for that particular model. the pop up window that results will have a url with your car code in it. replace the link above with the desired car code, and voila!! a list of wholesale closeout parts for the car you are working on.

for instance, a 70 monte carlo with 350 is car code 1055584

screen-shot-2016-11-30-at-6-26-51-pm

So why go to the bother of all that work?  I scored:

  • 3 sets of premium windshield wipers
  • 2 air filters
  • 3 high mileage oil filters

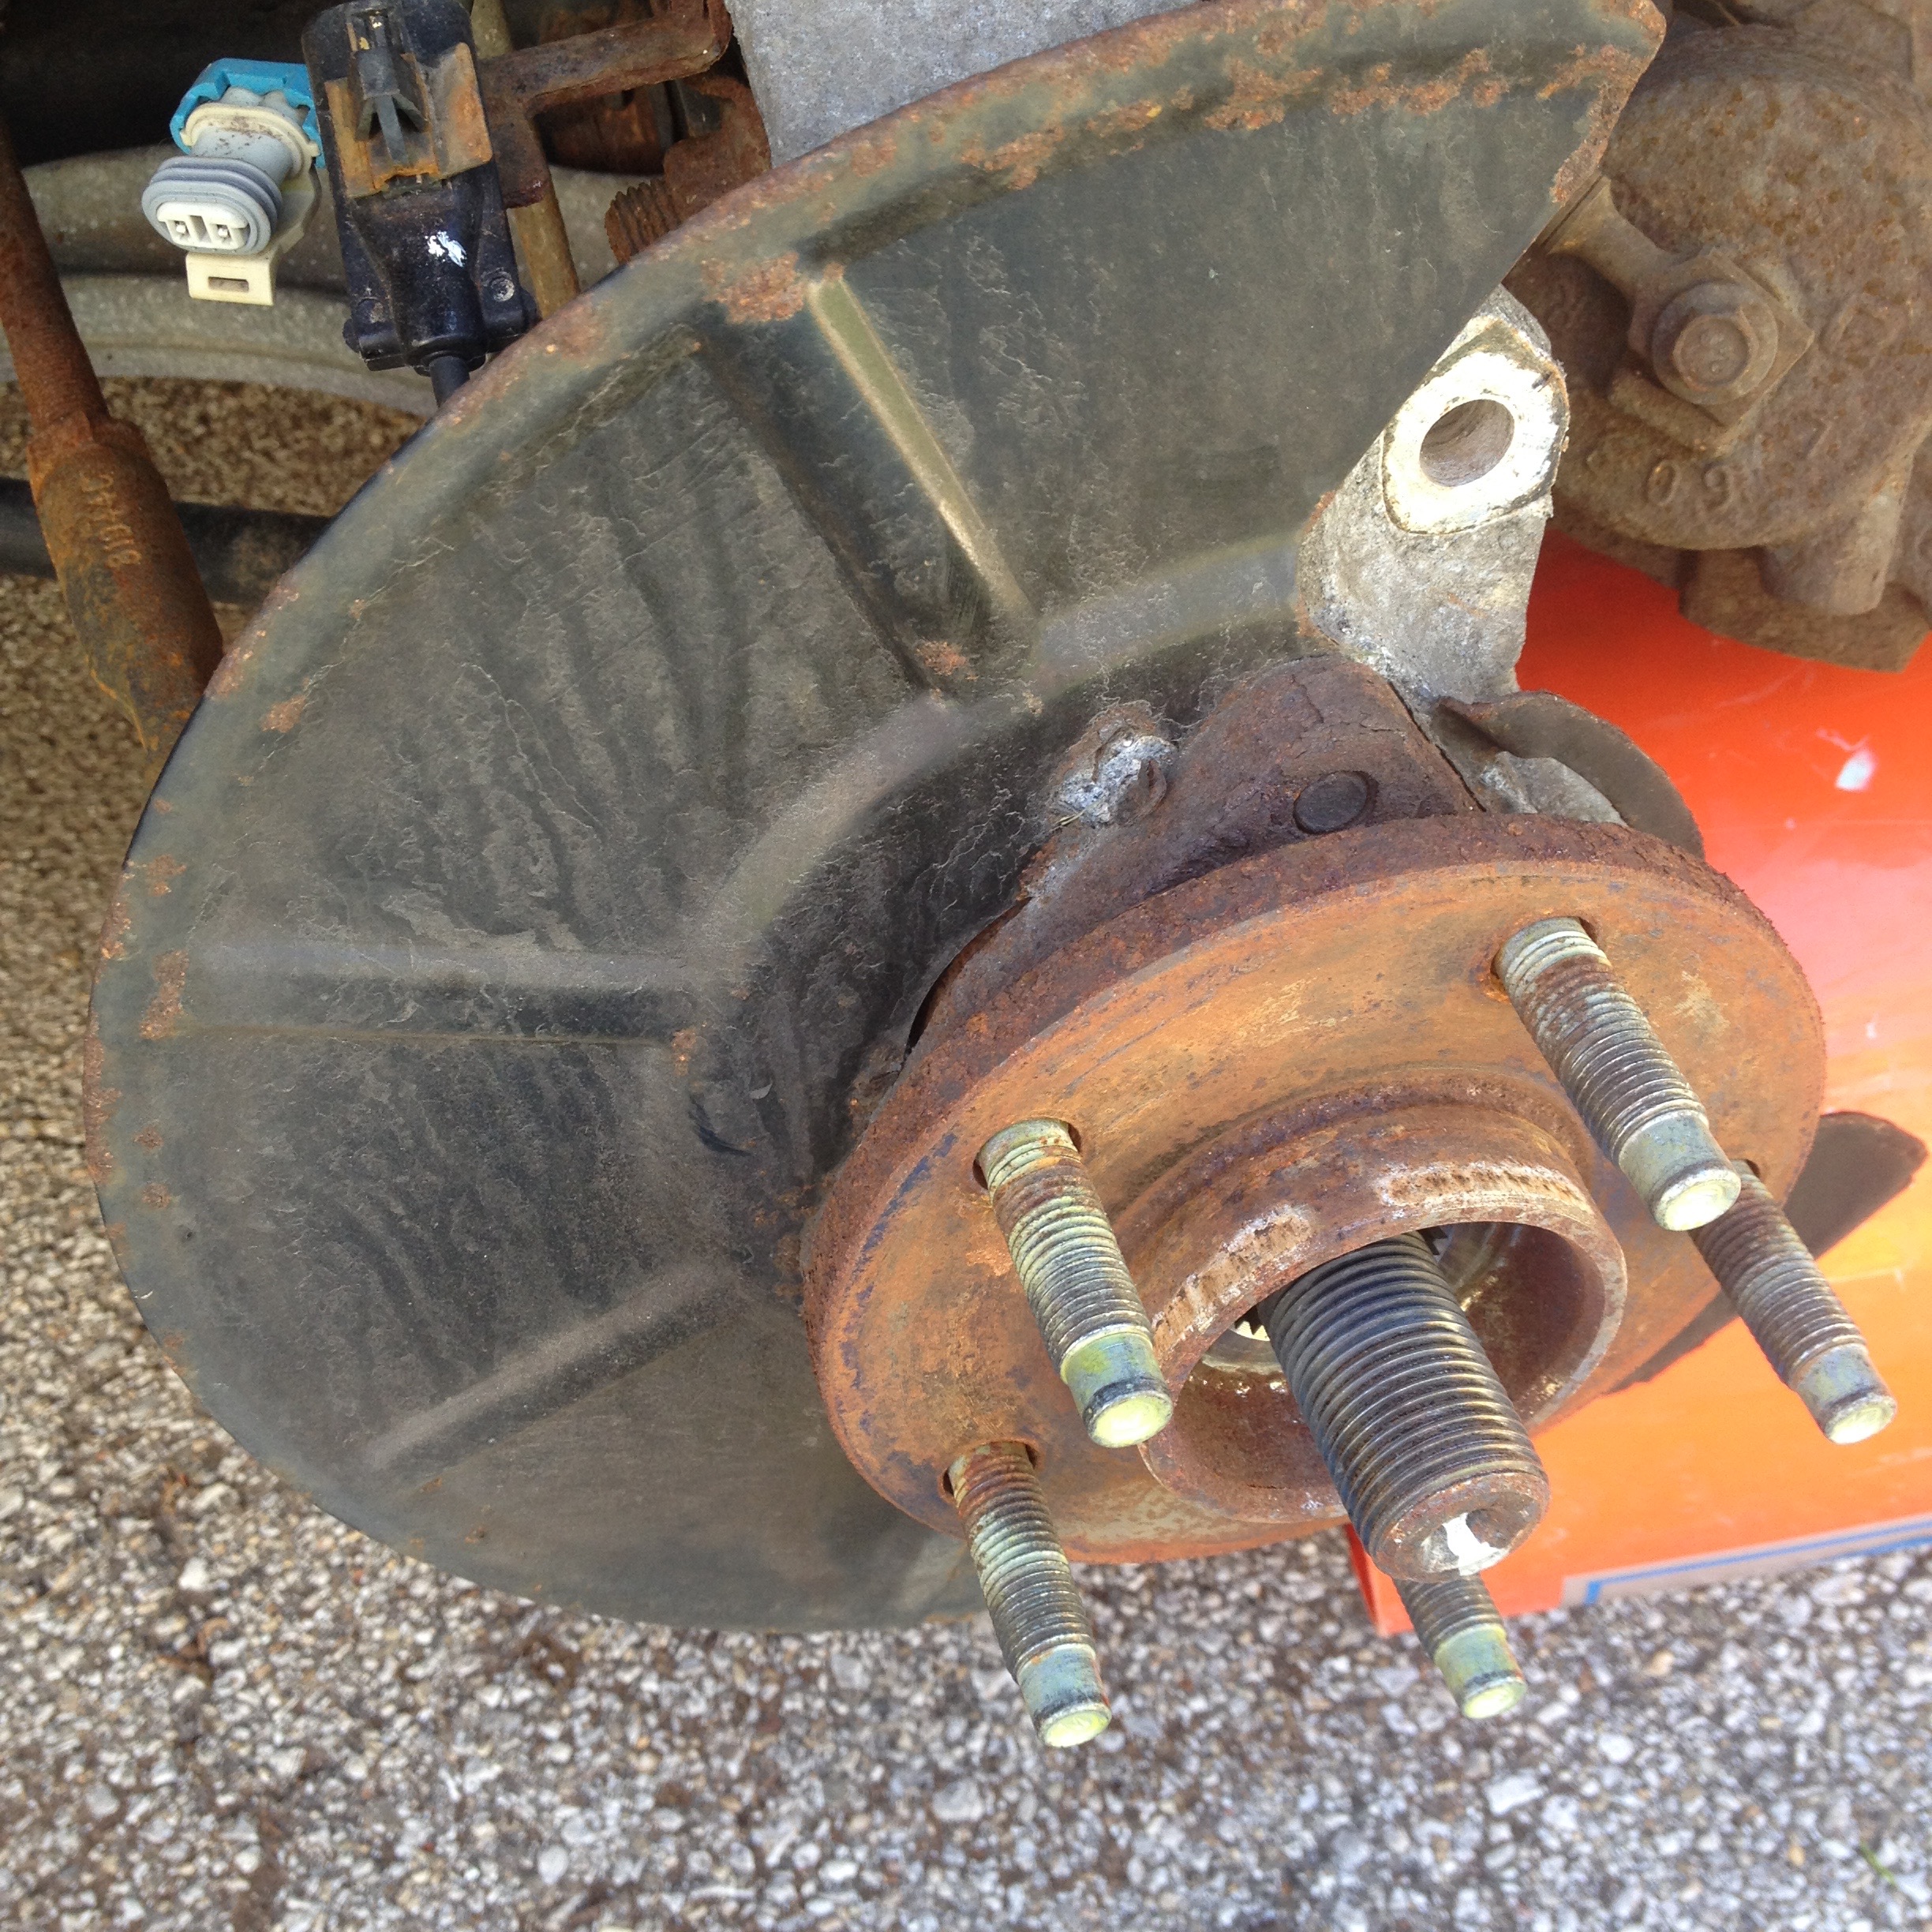
for $36 with tax and shipping.  If I bought all of that at our local brick and mortar auto parts store it would have cost $146.  We saved $110 by stocking up on clearance parts and consolidating the shipping charges.

Posted in: Savings Tagged: Car

Replacing Both Front Wheel Hub Assemblies

May 13, 2016 by Andrew Leave a Comment

Back in October of last year I took our car to a dealership mechanic who moonlighted from his house.  He replaced the original spark plugs on our V6 car and gave me a list of things to keep an eye on.

One of those items was the front passenger wheel hub assembly.  The assembly houses a set of bearings that let your wheel spin around smoothly.  Over time those bearings will get beaten up and pot marked.  Eventually you’ll start to hear a little noise from them while driving, then a lot of noise as the problem gets worse.

On our way back from Blackhawk Springs Forest Preserve, cruising down the interstate at 70 (ish) mph, the passenger front wheel well sounded louder than it should.  I figured it was time to change out that part.

I did a little price shopping and found out the following:

  1. I had a mechanic replace this part on a different car to the tune of $270.  They just did one wheel.
  2. RockAuto.com, my usual favorite, was not the cheapest for an OEM quality part (approximately $100).
    1. RockAuto had some parts listed at a mere $30.  Yikes!
  3. Amazon had the cheapest OEM quality part with free shipping.

I went ahead and ordered two hubs so I could replace the front driver and passenger sides at the same time.  I like to replace parts in pairs.  If one side of a symmetrical system is causing problems, it stands to reason that the other side is deteriorating as well.

The total cost was $206.

Jacking up the front end of the car and removing the wheel, axle nut, and disk brakes revealed the hub assembly.

IMG_9312

The big center bolt is the drive axle.  There is a black half moon shaped piece and that is the brake dust cover.  The light blue electrical connector in the top left corner is the ABS sensor harness.  The wheel hub assembly is the orange rusty looking part with the 5 bolts sticking out of it.

I borrowed a couple of specialty tools from the auto parts store.  One was a 36 mm socket to take off the big axle nut.  The other was this drive axle hub puller doodad.

IMG_9313

It was suppose to pop the wheel assembly hub out from the drive axle by pressing the drive axle in.  In 10 year old car reality however, it didn’t cut the mustard.

After a couple of hours pounding away at the assembly with a 2 lb hammer, and later on with a big cold chisel (meant for masonry), I eventually separated the two rusty parts.

IMG_9314

Above is a picture of the drive axle without the hub assembly.  The little spindle grooves fit into grooves on the assembly.  That is what turns your wheel.

IMG_9315

After wire brushing off a lot of the rust and gunk on the car, the new shiny wheel assembly was ready to go in.  I lathered up the new assembly with anti-seize compound.  In theory, that should prevent the parts from rusting together again and some future car owner will have a much easier time replacing this part.  I also applied dielectric grease to the electrical ABS harness.  All that does is help to keep out moisture because water and electricity should never mix.

Installation is pretty much the reverse.  My Haynes manual listed disassembly as 6 steps.  Youtube videos abound to help fill in the details.

The first side took 3.5 hours.  The other side took 1.5 hours once I knew the secret of cold chiseling.  Mechanics bill would have been $540 ($270 x 2).  My parts cost was $206, so my labor cost was $334 or $66.80/hr.  That seems more than worth it to me!

I have been keeping a spreadsheet repair log for this car since late 2014.  To date, we have spent $1289 in maintenance on our 2006 Pontiac G6.  It helps that we are a below average mileage family.

Screen Shot 2016-05-13 at 7.51.35 PM

Posted in: DIY Tagged: Car

Playing with Fire

April 20, 2016 by Andrew Leave a Comment

Back in March I took our car into the mechanic to have a flat tire patched.  He noticed that the passenger side outer tie rod was nearing end of life and recommended that I replace it.  Of course, he was happy to do the work for me for a steep up-charge on parts and $100/hr labor.  I politely declined and went home to order the parts.

I have replaced tie rods before on a different car, see here for that adventure.  This time around, I wasn’t going to mess with the inner tie rods.  I figured it was about an hour job.  Sadly, I was woefully incorrect.

IMG_9220

After getting the wheel off, I could see that the passenger side outer tie rod was in poor shape.  The protective rubber boot had torn on the other side and most of the grease had leaked out.  The castle nut holding the tie rod to the wheel assembly just spun when I tried to loosen it.  It was spinning because it is attached to a ball joint.  Normally, mechanics will use a tool called a pickle fork to apply pressure to the joint so it won’t spin.  I don’t have that tool, so I ended up just cutting through the metal.

The next challenge was loosening up the lock nut between the inner and outer tie rods.  This lock nut is used as an adjustment when your car gets aligned.  After pouring a river of penetrating oil on it and adding as much muscle as I could muster, I eventually conceded that only fire would get the job done.

IMG_9221

It took about 3 minutes of blasting it with the propane torch before I was able to wrench the nut free from its rusty prison.  With that done, the outer tie rod threaded off easy peasy.

I used the same procedure on the driver’s side.  The mechanic said only the passenger needed replacing, but seeing as you have to get an alignment after this job, it makes sense to get them both done at the same time.  While the driver’s side was in better shape, I could see some obvious signs of rubber fatigue in the boot.  It was also on the way out.

IMG_9225

The easy part is putting everything back together.

IMG_9222

I bought both tie rod ends off Rock Auto for $50 with shipping and tax.  Installation took about 4 hours, 3 for the passenger side, 45 minutes for the driver side, plus cleanup.  The mechanic wanted $50 for just the passenger side and another $80 in labor.  If I break down my cost to better match apples to apples, then mine would have been $25 in parts (one side) + 2 hours in labor (average per side).  That would make my hourly rate $52.50/hr.  Not too shabby.

Even with stubborn rusted on parts, it still was worth DIY’ing this project.

Posted in: DIY Tagged: Car

Replacing a Key FOB Battery

November 29, 2015 by Andrew Leave a Comment

IMG_8243The two key fobs to our car died a long time ago and we have just used the key ever since.  Last week I decided to do something about that.  The battery type is listed right on the back of the fob (CR2032).

IMG_8244

I searched online and saw one forum saying that Dollar Tree had 3 for a $1.  Naturally, I tried there first, but our local dollar tree doesn’t carry button cell batteries.  I did find a set of two at Wally World for $4, a price that beat Walgreen’s 1 for $5.

With the replacement battery procured, I had to figure out how to open the fob.  There was a very small indentation at the 5 o’clock position that a flat head screwdriver could fit into.

IMG_8245

With the fob opened up, it was a simple matter to replace the old battery and close up the fob again.

IMG_8246

Prices for new fobs for our car range from $12 (Amazon) all the way to $100 (stealership).

Posted in: DIY, Finance Tagged: Car

Adjusting Auto Insurance

September 9, 2015 by Andrew Leave a Comment

Yesterday the auto insurance bill came in the mail.  It is one of only a handful of bills that is not auto paid in our house.  The reasoning is pretty simple.  First off, it is not a monthly bill but a semi annual bill.  Secondly, it is wise to reevaluate the type and amount of coverage from time to time.

Our 2006 Pontiac G6 is getting close to the 10 year old mark so we were looking to drop certain coverages.

Comprehensive

One of the easiest changes we made (in my opinion) was dropping comprehensive coverage with a thousand dollar deductible.  Comprehensive covers damages to your car from wind, hail, flood, fire, theft, vandalism, or hitting an animal.  By keeping our car stored in a locked garage and driving predominantly in town, most of these events are unlikely to happen.

Savings: $24

Liability

In Illinois, motorists are required by law to have insurance and they are required to carry at least 25/50 liability.  What does that mean though?  25/50 coverage means that in the event of an accident, a single occupant of the other vehicle is covered for 25 thousand worth of expenses.  The second number, 50, means that if more than one person is injured in the second vehicle then the insurance will pay out up to 50 thousand.  Liability insurance protects you from having to pay the other party for damages they received because of an accident involving your car.  While the minimums sound high, they really aren’t.  If you consider the cost of medical treatment and legal battles a small fender bender could easily blow past the minimums in no time.

The general rule of thumb is to carry enough liability coverage to cover your net assets.  The last thing you want is to have a lien placed on your house or your wages garnished to pay the helivac bill of someone else.

We increased our liability from 100/300 to 250/500.

Cost: $14

Medical Payments

Medical payments cover your own hospital expenses.  One of the nice things about auto medical versus your personal health insurance is that auto medical will pay out for accident related injuries up to three years after the incident.  We increased our medical coverage from 5000 to 25000.

Cost: $11

Collision

Our existing policy had a $1000 deductible collision coverage and even though it made up 1/3 of our total bill we decided to keep it.  The math did not work out to increase the deductible to 2000 or to drop it entirely. Assuming our car has a fair market value of five thousand dollars, it would take 100 years of no accidents at the higher deductible/lower premium to pay the 1000 dollar difference.  Dropping coverage completely would save us $450 assuming we had no accidents for the next five years.  A single fender bender would likely cost over $1k in repairs.  Perhaps in a couple more years when the car has depreciated more we will drop collision.

Change: $0

In Summary

Our semi annual premiums will increase by $1.23.  We have less coverage to cover damage to our car, but quite a bit more to cover personal medical bills and to protect our nest eggs from lawsuits.  There is a saying that I read somewhere on the internet, “young people are underinsured, old people are overinsured”.  Insurance of all kinds is a gamble and it is helpful to reevaluate what kinds you need and how much as your life circumstances change.

Posted in: Finance Tagged: auto, Bill, Car, insurance
1 2 3 Next »

Recent Posts

  • Min/Maxing Car Sale for Highest Value and Lowest Headache
  • Buying a Car with Data Driven Decision Making
  • Hot Lunch
  • Baking with Dad
  • Winter Nights

Financial Goals

Recent Comments

  • Heather Tate on Fixing a Slow-Draining Maytag Maxima Washer
  • jeff on Building a Self Watering Raised Garden Bed
  • Paula on Removing Ads from Words with Friends Permanently
  • xsylum on Removing Ads from Words with Friends Permanently
  • Baby Furniture Woodworking Plans - Woodworking Ideas on Building a Changing Table

Archives

  • December 2020
  • December 2018
  • July 2018
  • May 2018
  • April 2018
  • March 2018
  • February 2018
  • January 2018
  • December 2017
  • November 2017
  • October 2017
  • September 2017
  • August 2017
  • July 2017
  • June 2017
  • May 2017
  • April 2017
  • March 2017
  • February 2017
  • January 2017
  • December 2016
  • November 2016
  • October 2016
  • September 2016
  • August 2016
  • July 2016
  • June 2016
  • May 2016
  • April 2016
  • March 2016
  • February 2016
  • January 2016
  • December 2015
  • November 2015
  • October 2015
  • September 2015
  • August 2015
  • July 2015
  • June 2015
  • May 2015
  • April 2015
  • March 2015
  • February 2015
  • January 2015
  • December 2014
  • November 2014
  • October 2014
  • September 2014
  • August 2014
  • July 2014
  • June 2014
  • May 2014
  • April 2014
  • March 2014
  • February 2014
  • January 2014
  • December 2013
  • November 2013
  • October 2013
  • September 2013
  • August 2013

Categories

  • Business
  • DIY
  • Finance
  • Frugal Boy
  • Frugal Girl
  • House
  • Misc.
  • Parenting
  • Reading
  • Recipes
  • Savings
  • Technology
  • Travel
  • Uncategorized

Meta

  • Log in
  • Entries feed
  • Comments feed
  • WordPress.org

Copyright © 2021 Frugal Living.

Omega WordPress Theme by ThemeHall