Back in November I took our car into the mechanics shop to have a nail removed from a tire. As usual, the mechanic does a quick inspection of the major systems and he made a few remarks about the amount of corrosion on the brake rotors. The brake pads had plenty of life left in them, but the rotors had some deep grooves and a lot of rust. The car was still stopping fine, so I declined any work and made a mental note to do something about it myself when Spring came.
It sure did feel like Spring today, and knowing that the weather was going to be good this weekend I had planned ahead and ordered some parts from RockAuto.com, my new favorite car parts supplier.
New rotors and pads for the front and back set us back about $150. Not a bad deal if you ask me. I was also wanting to change the brake fluid because the service manual said to do that the earlier of 30,000 miles or 24 months. Seeing as we’ve owned the car since 2009 and have never changed the brake fluid, I figured it was due.
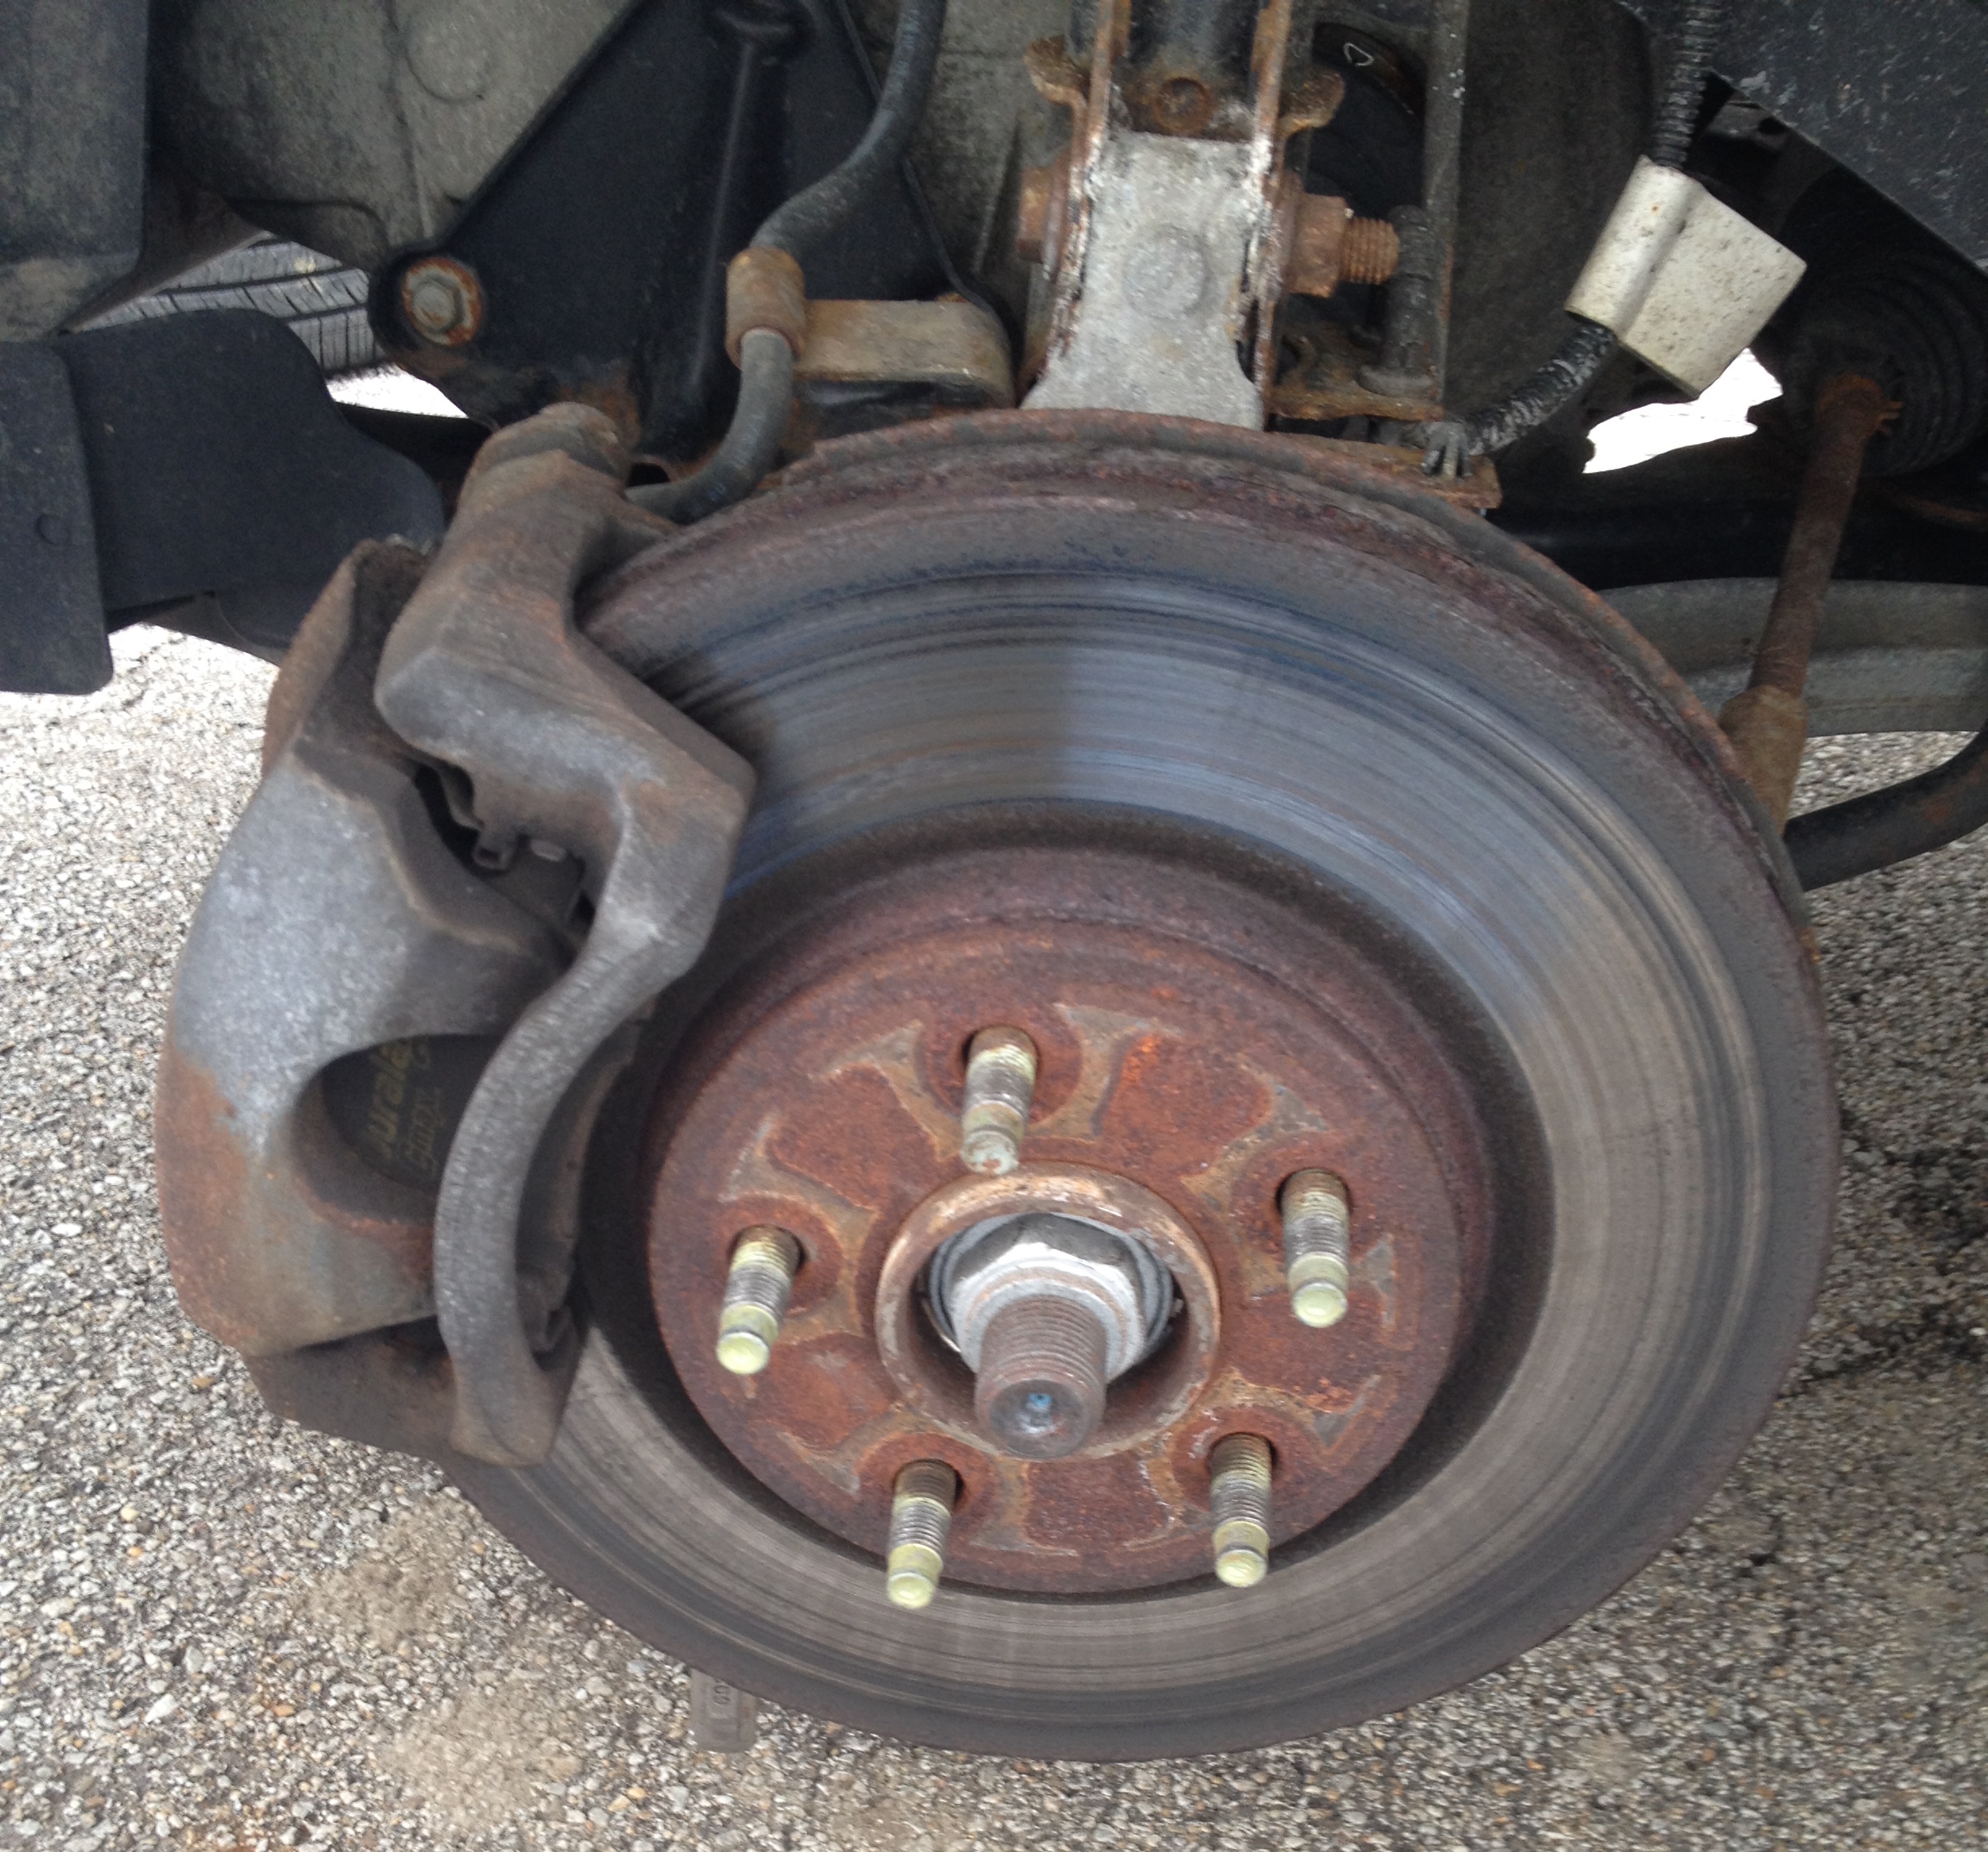
After jacking up the car, securing it with jack stands, and removing the front wheels, I had access to the brake components.
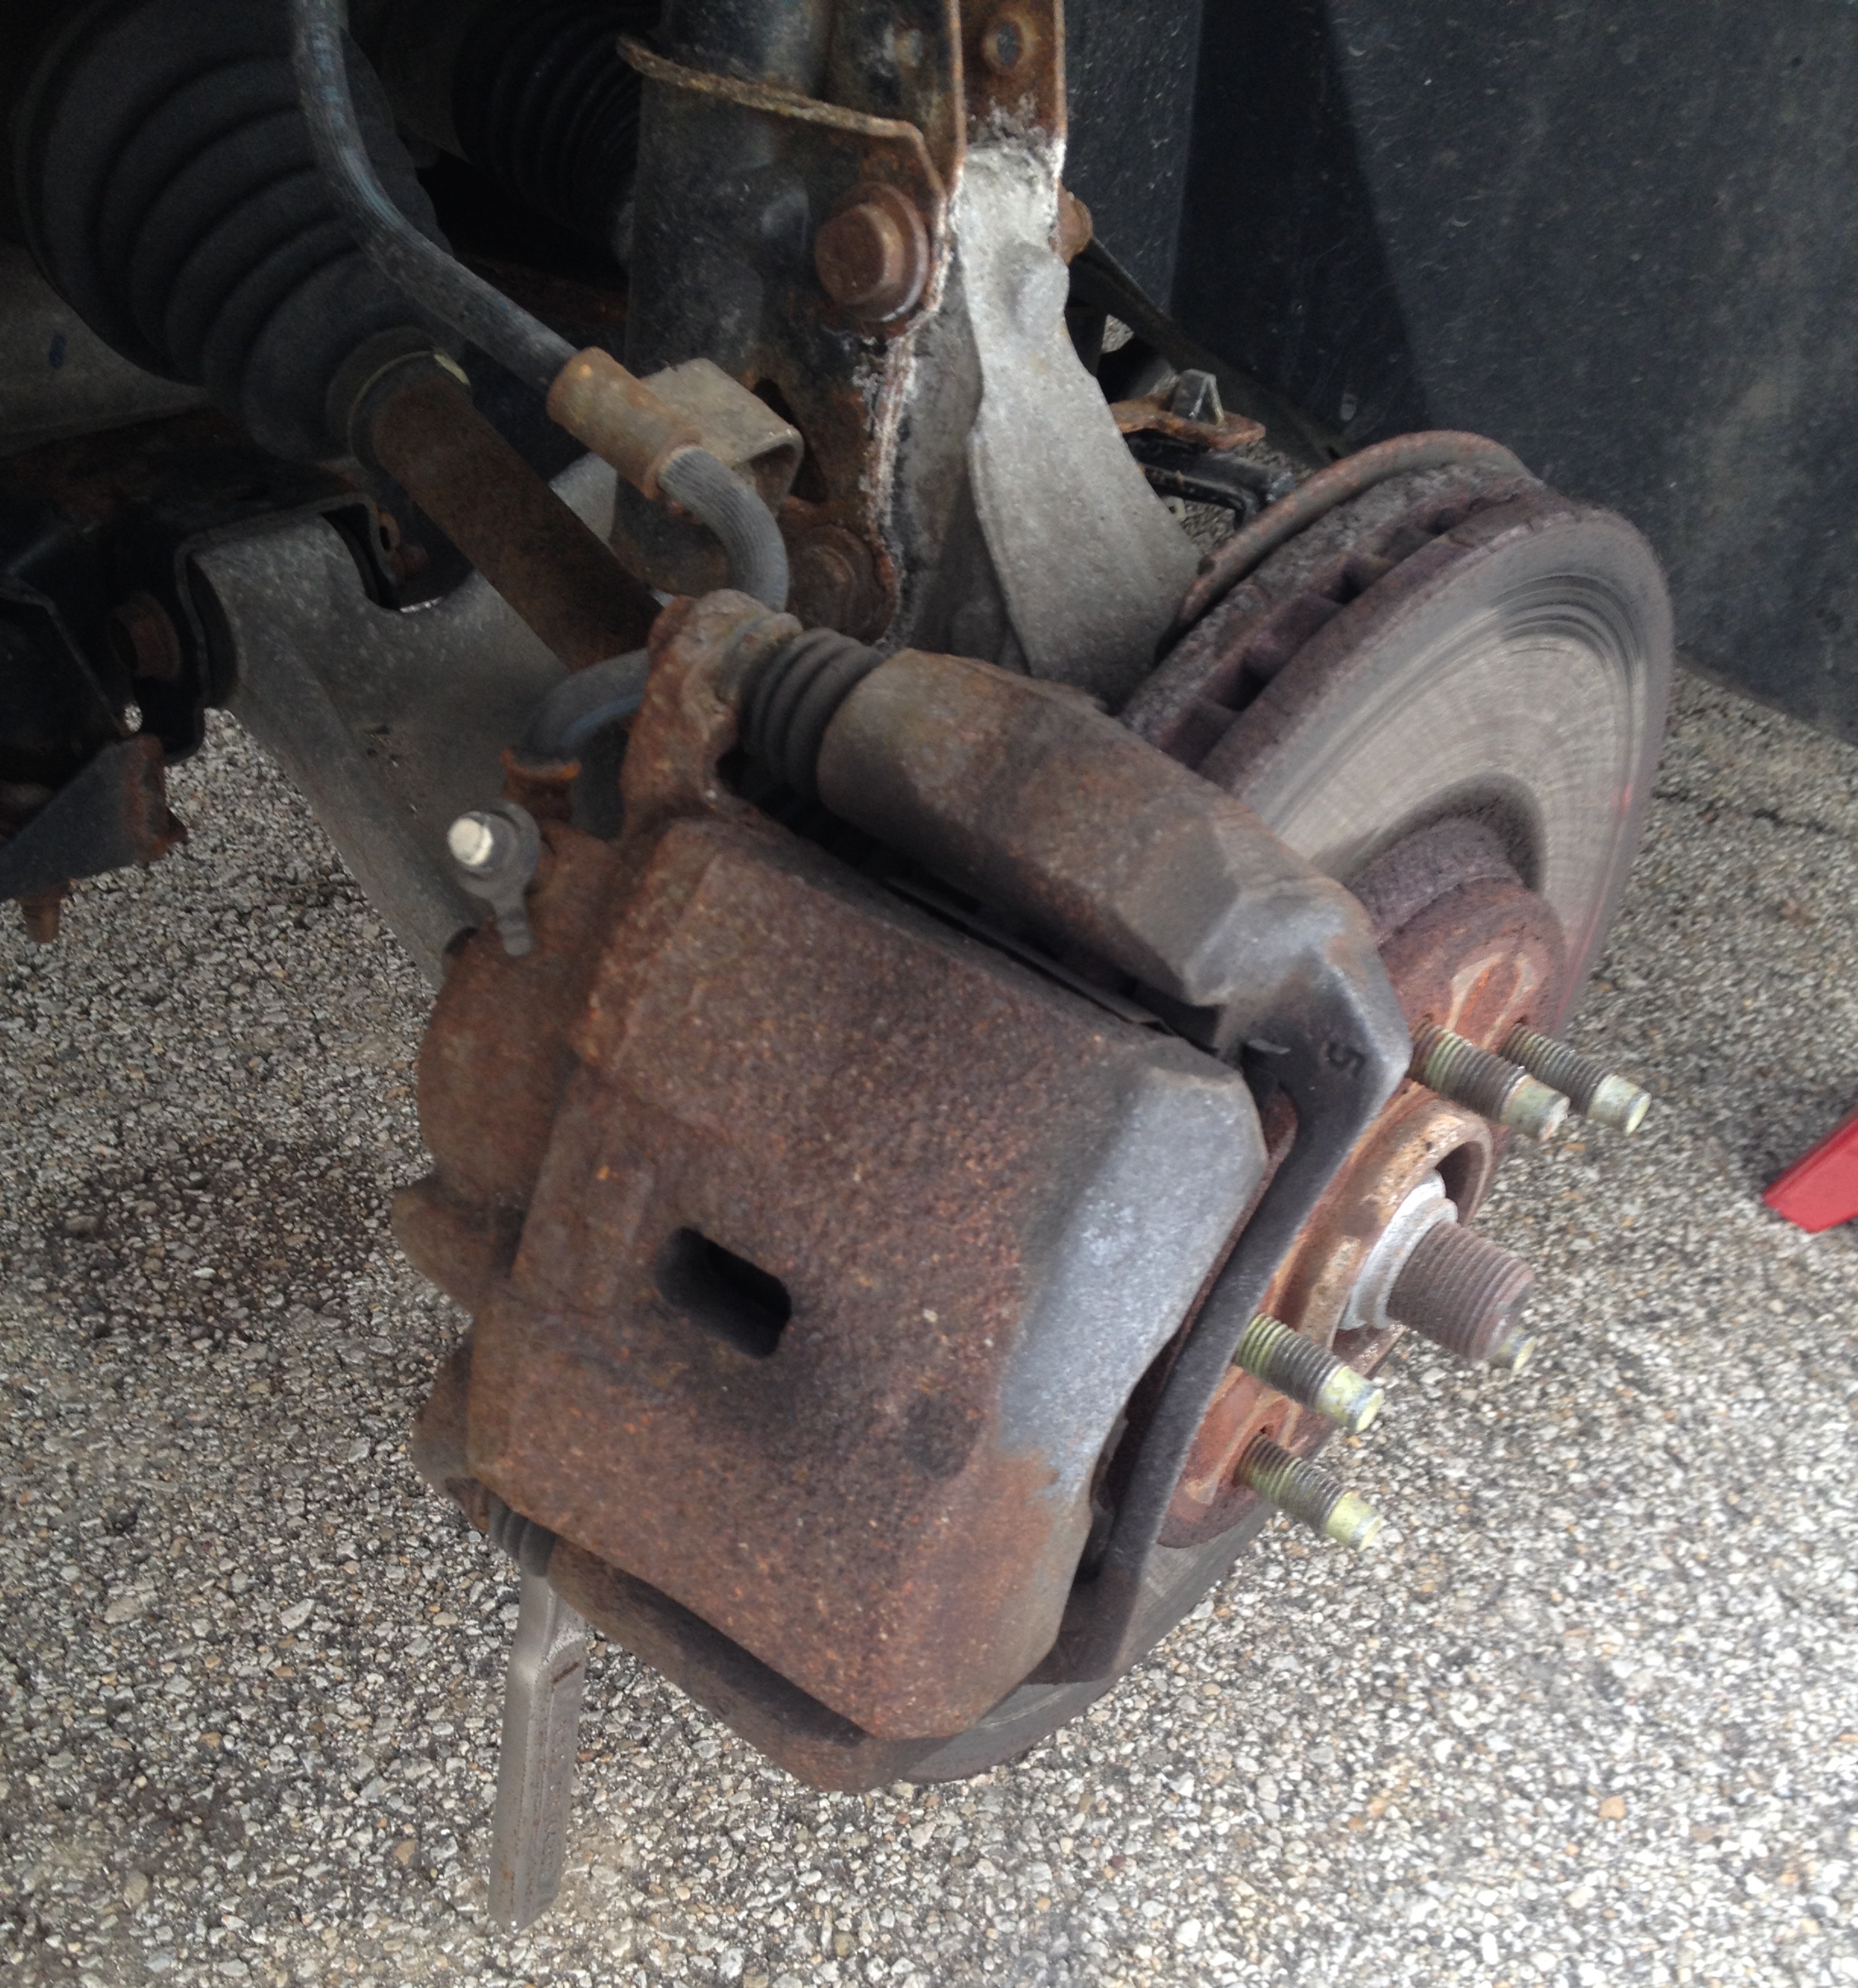
The large metal platter with the 5 bolts sticking through it is the brake rotor. It is gripped by the brake pads to create friction to change the kinetic (moving) energy of the car into heat. If you ever see a video of race car or airplane brakes getting red hot, it is because they are converting a lot of energy!
The brake caliper (shown above) is like a giant hand that holds a pair of brake pads. When you press on the brake pedal it forces brake fluid through hoses that actuate a piston in the caliper. That piston is what pushes the pads against the rotor.
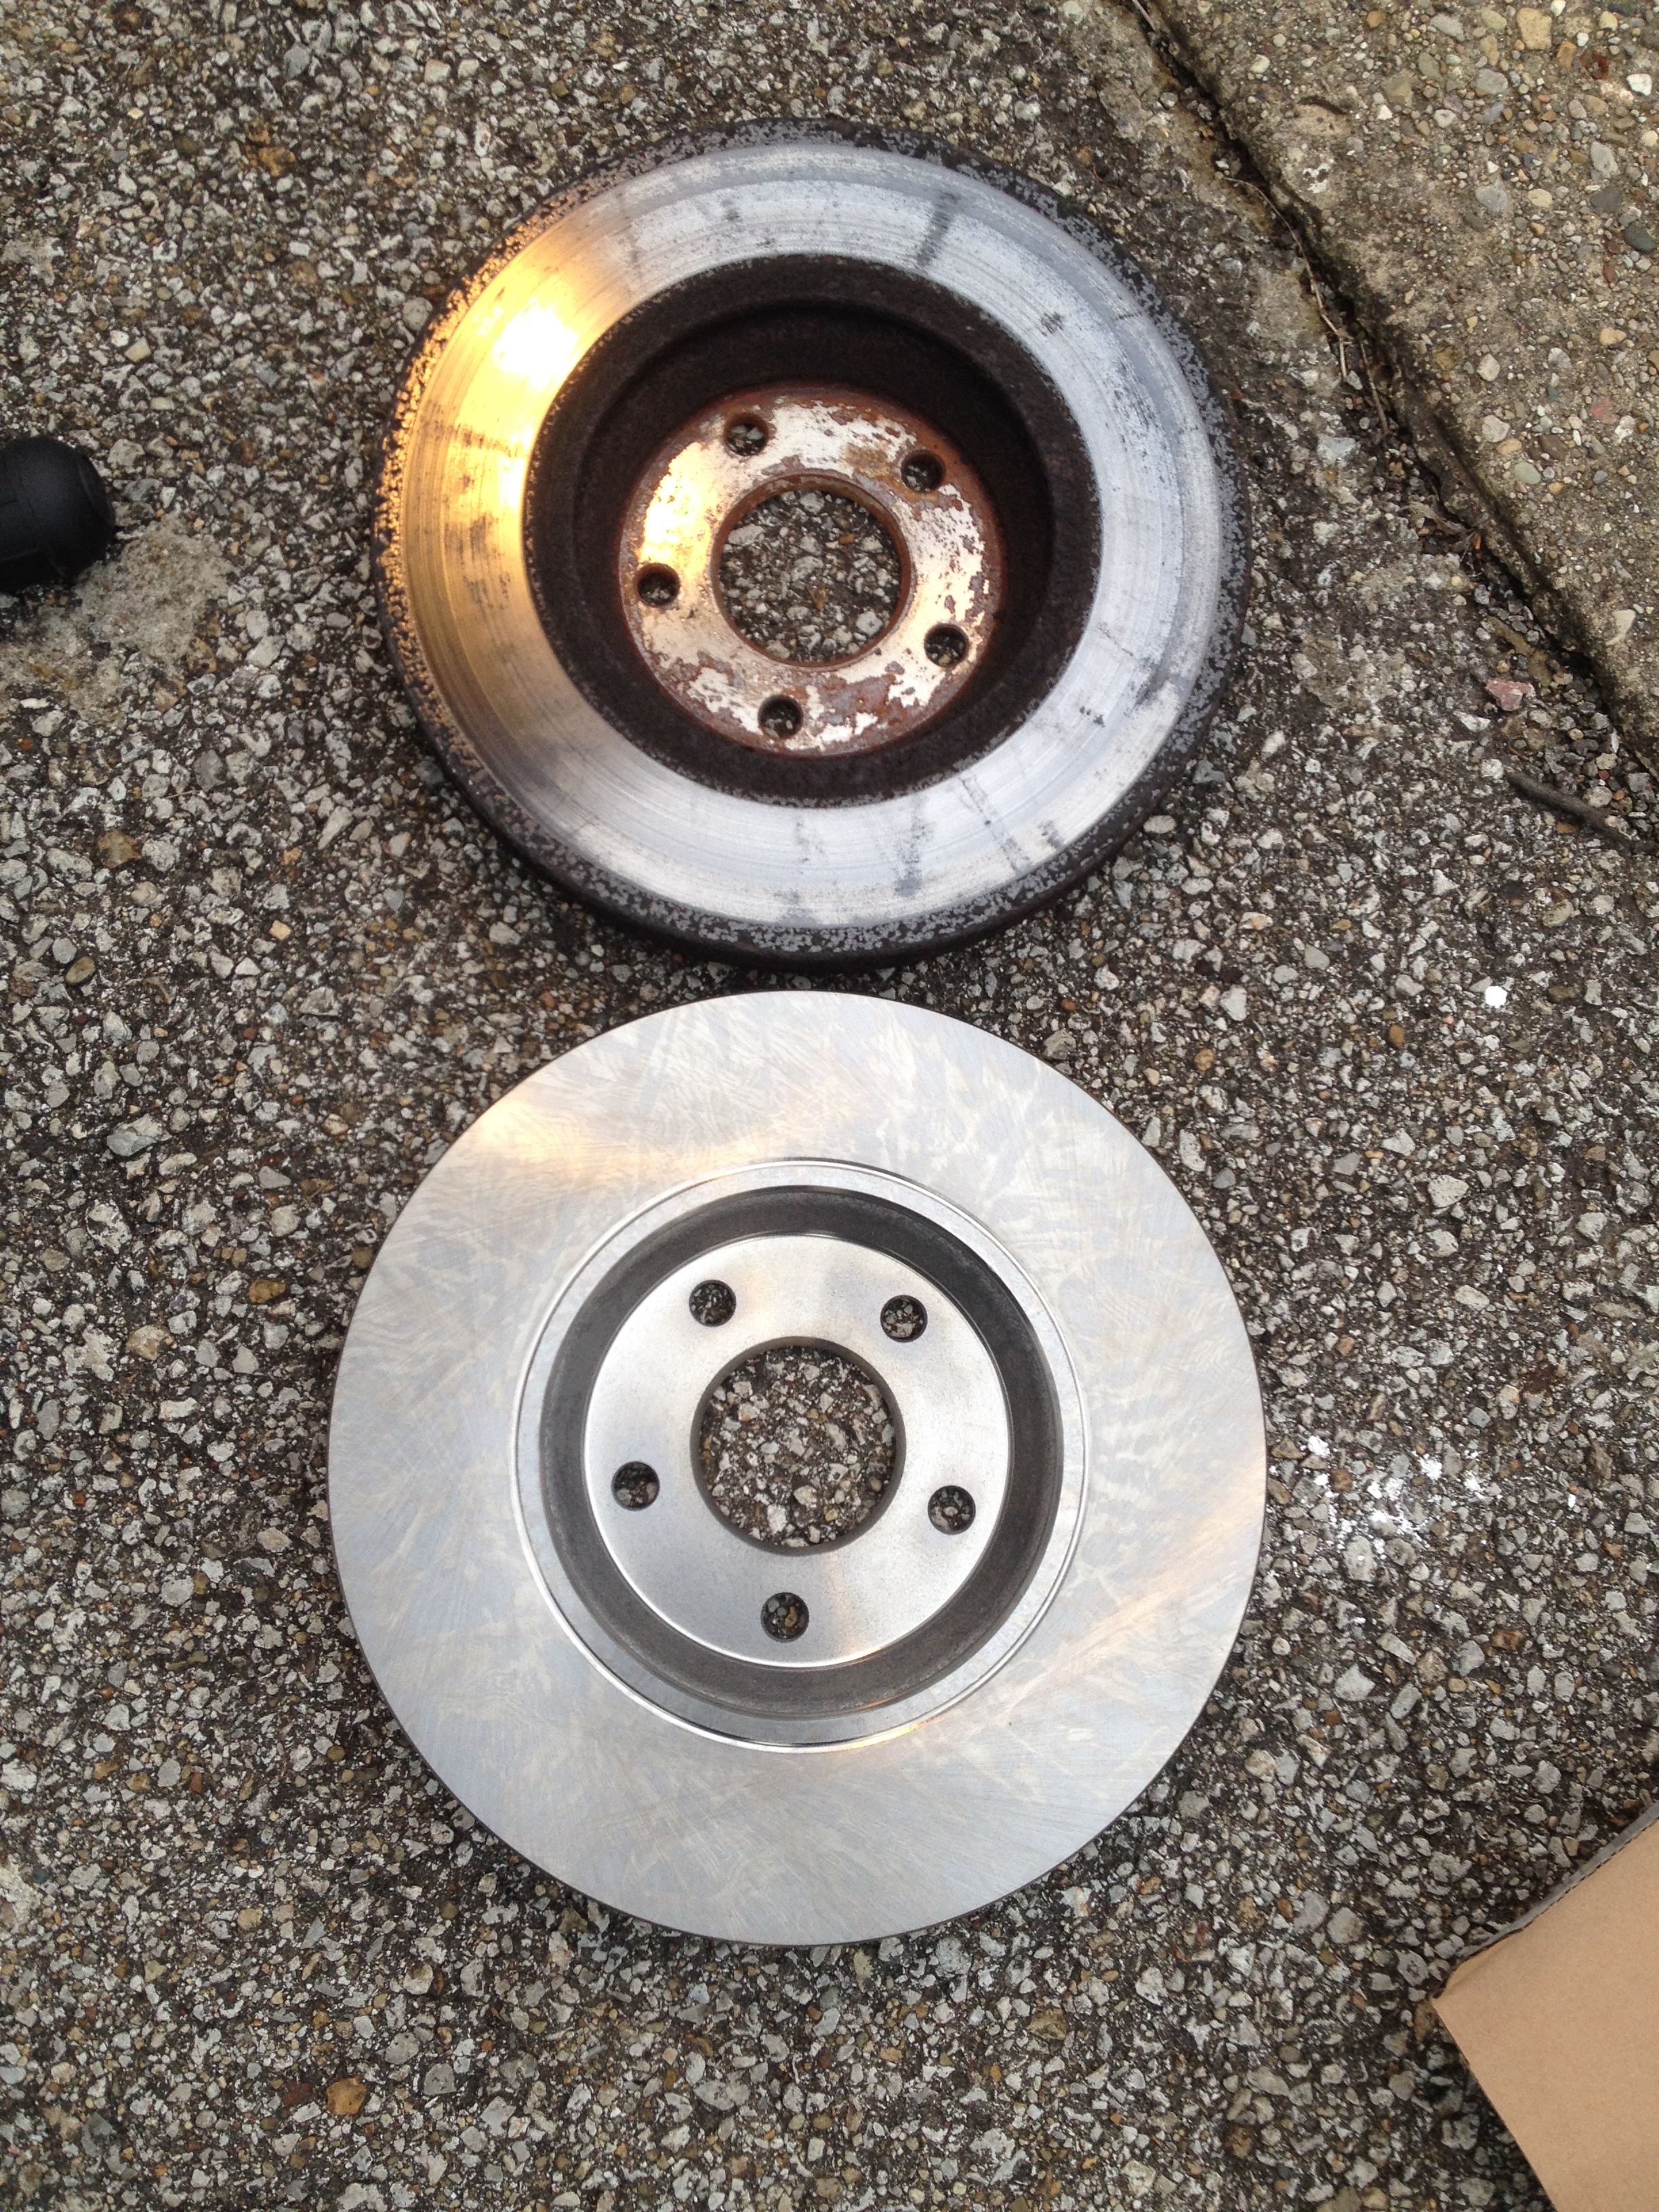
New rotors come with a rust inhibitor coating. If they didn’t they would be completely rusted over by the time you installed it on your car. The coating should be cleaned off with some brake cleaner spray before installing.
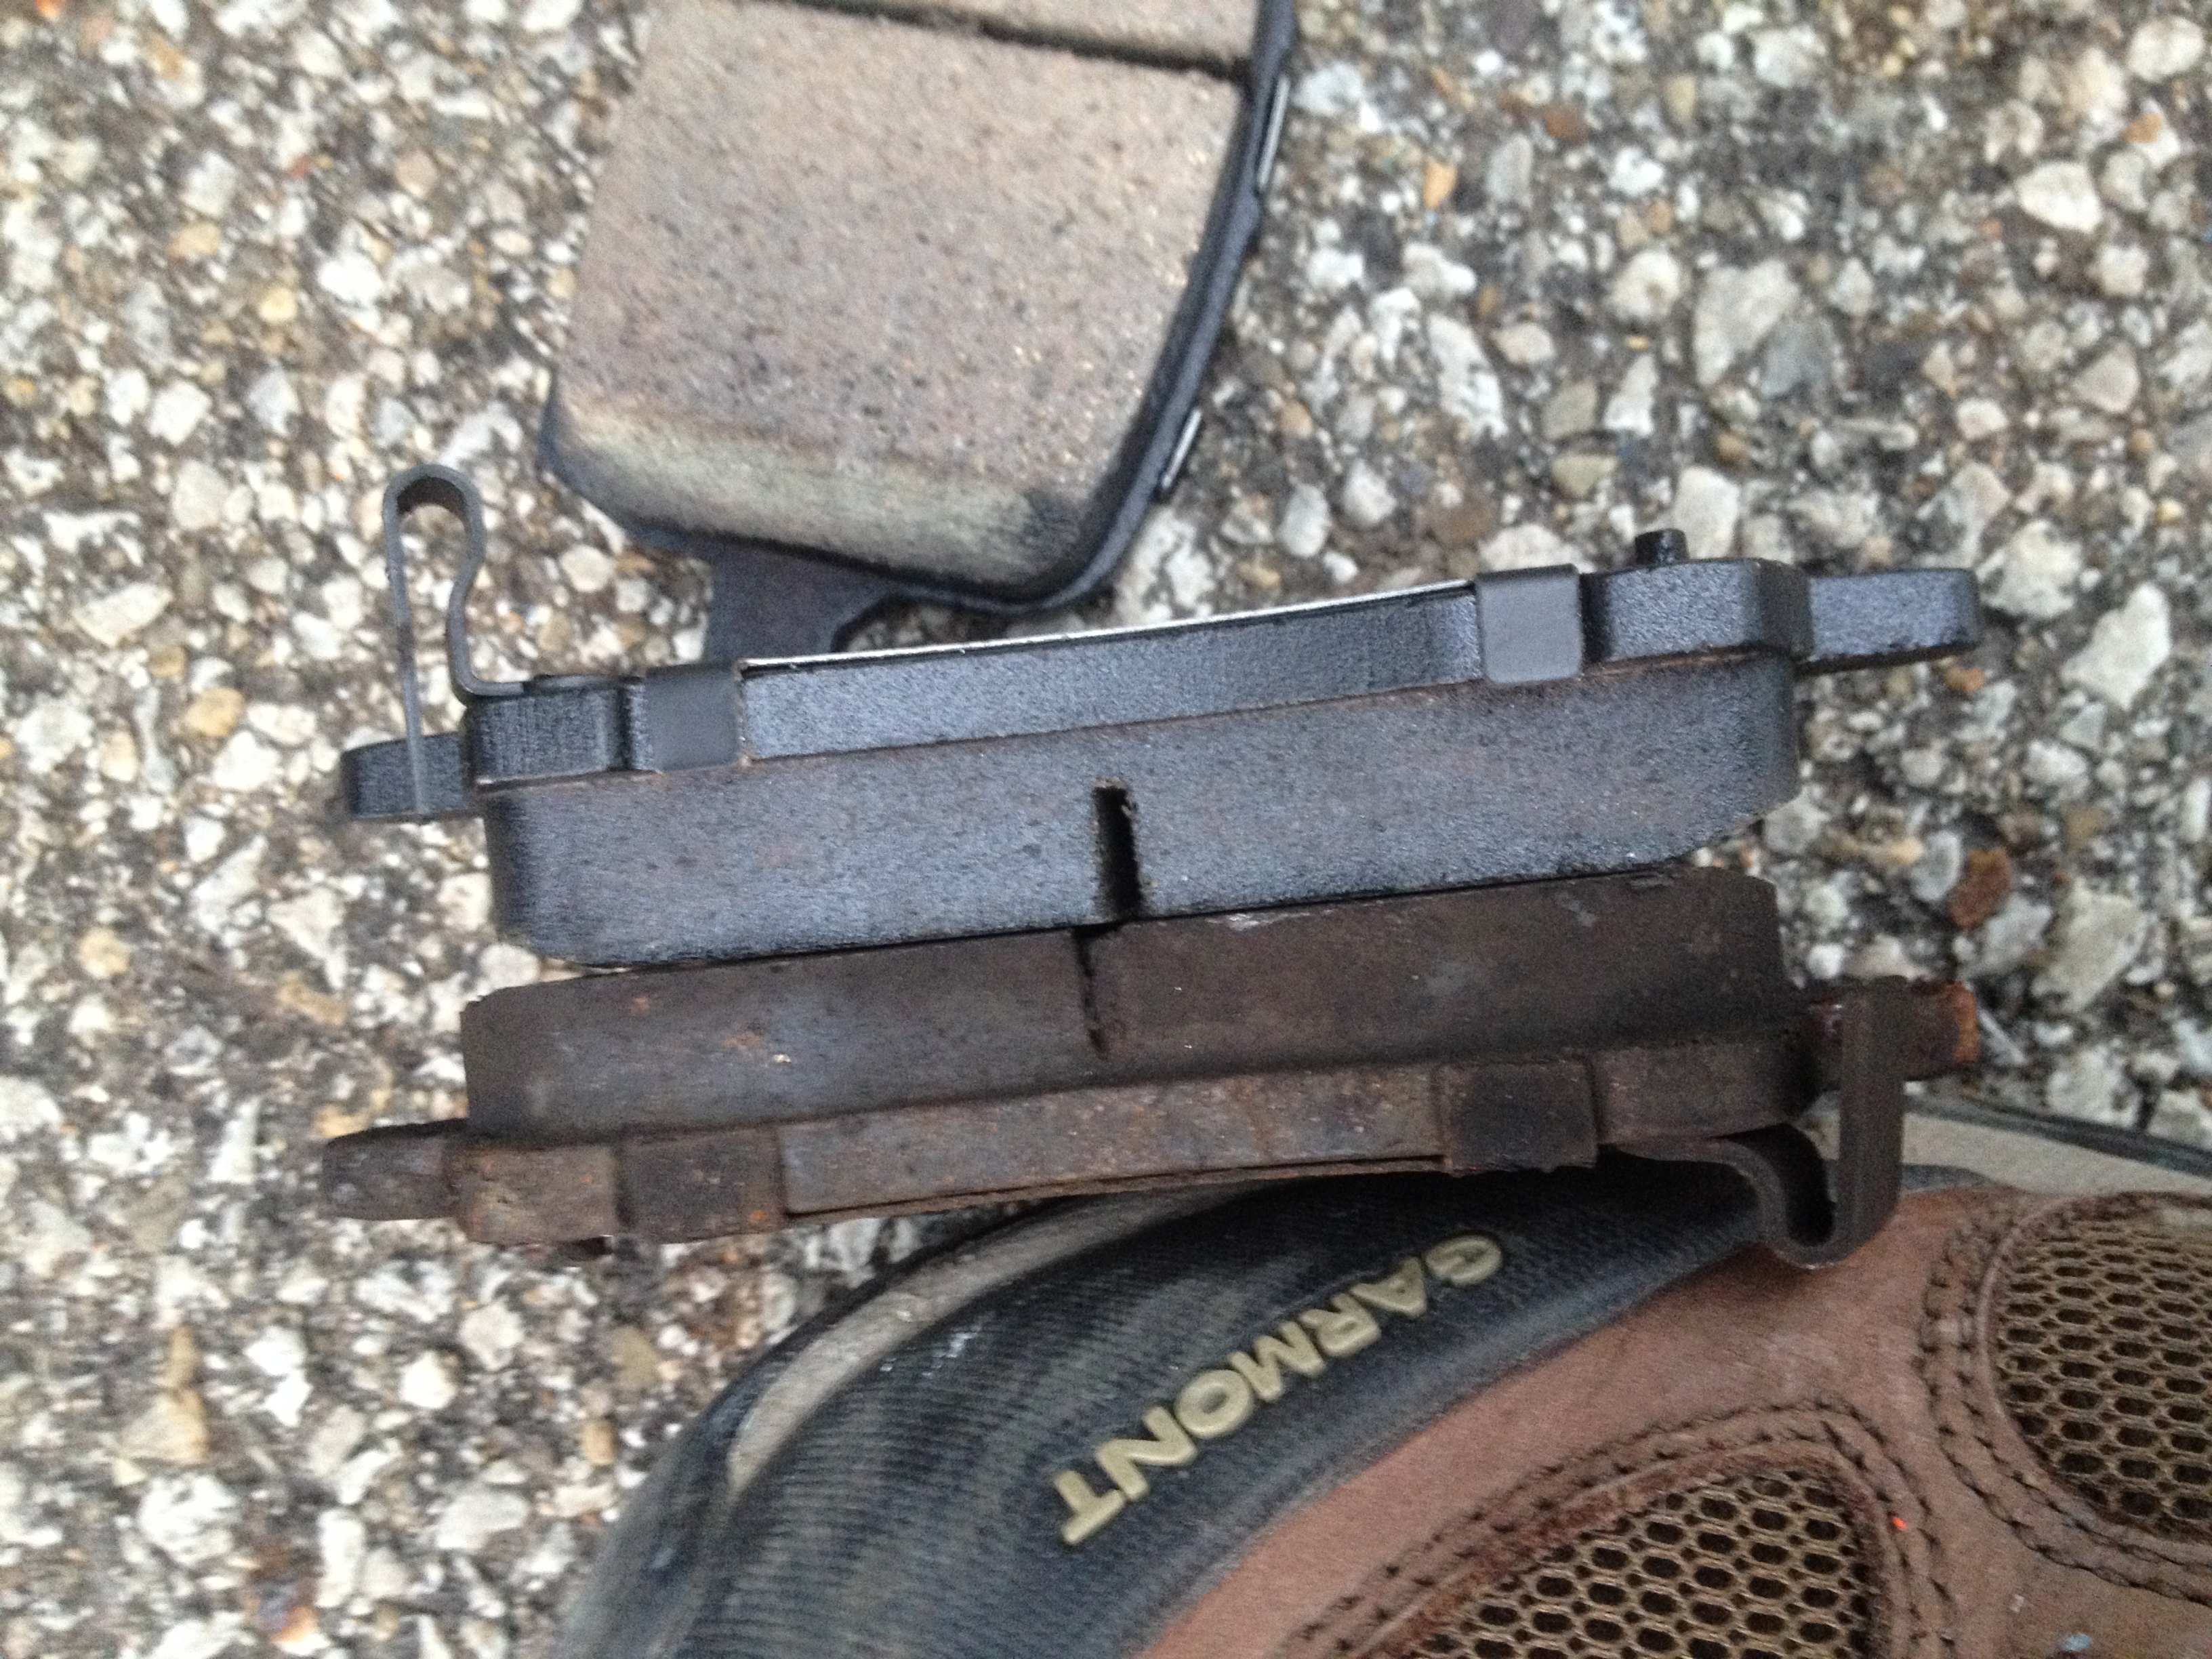
The old brake pad (nearer to my shoe) still has plenty of wear left. You can see the wear indicators (the metal clip that looks like a J) on both the new and the old pads. Do you know that horrible screeching sound when your brakes need to be replaced. That is caused by the wear indicators scraping against the rotor. It is designed to be loud and get your attention!
With the new rotor installed it is just a matter of putting everything back together again. Some parts are designed to be replaced with every brake job, like the little metal retaining brackets shown above. Also, some parts need to be lubricated.
With everything put back together and the brake lines bled (fluid completely replaced) the last critical step is to pump your brake pedal. The first couple of times that you push the brake pedal after replacing the brakes, the pedal will go all the way down to the floor! Once you have a brake pedal again, you can take it for a test drive.
A quick search on the internet revealed some big box store prices. For instance, Pep Boys offers a brake fluid exchange and ceramic pads for $250/axle. That does not include new rotors, but the machining of the old ones (they cut off a bit of thickness from your old rotors to save money and in return you are left with an inferior braking component). My total cost for everything was about $170, so I saved about $330 by doing the work myself. I spent two hours on Friday night doing the front axle and five hours on Saturday morning doing the rear axle and exchanging the fluid. $47/hour is worth it to me.
I skipped a lot of steps in this blog post, including important ones. If you want to know more about the details, I find that Eric the Car Guy has a great set of video tutorials online that you can follow.
While I was picking up Frugal Boy from the baby sitter the other day I noticed that the turn signal indicator was blinking faster than normal. That is a good indication that one of the bulbs is burnt out and needs to be replaced. Sure enough, when I got home I verified that the rear turn signal bulb was no longer working.
A trip to the parts store and $6 later and I had a pair of replacement bulbs. You should always replace bulbs in pairs.
While every car is a bit different the steps are probably very similar. The only tool that I needed was an adjustable wrench.
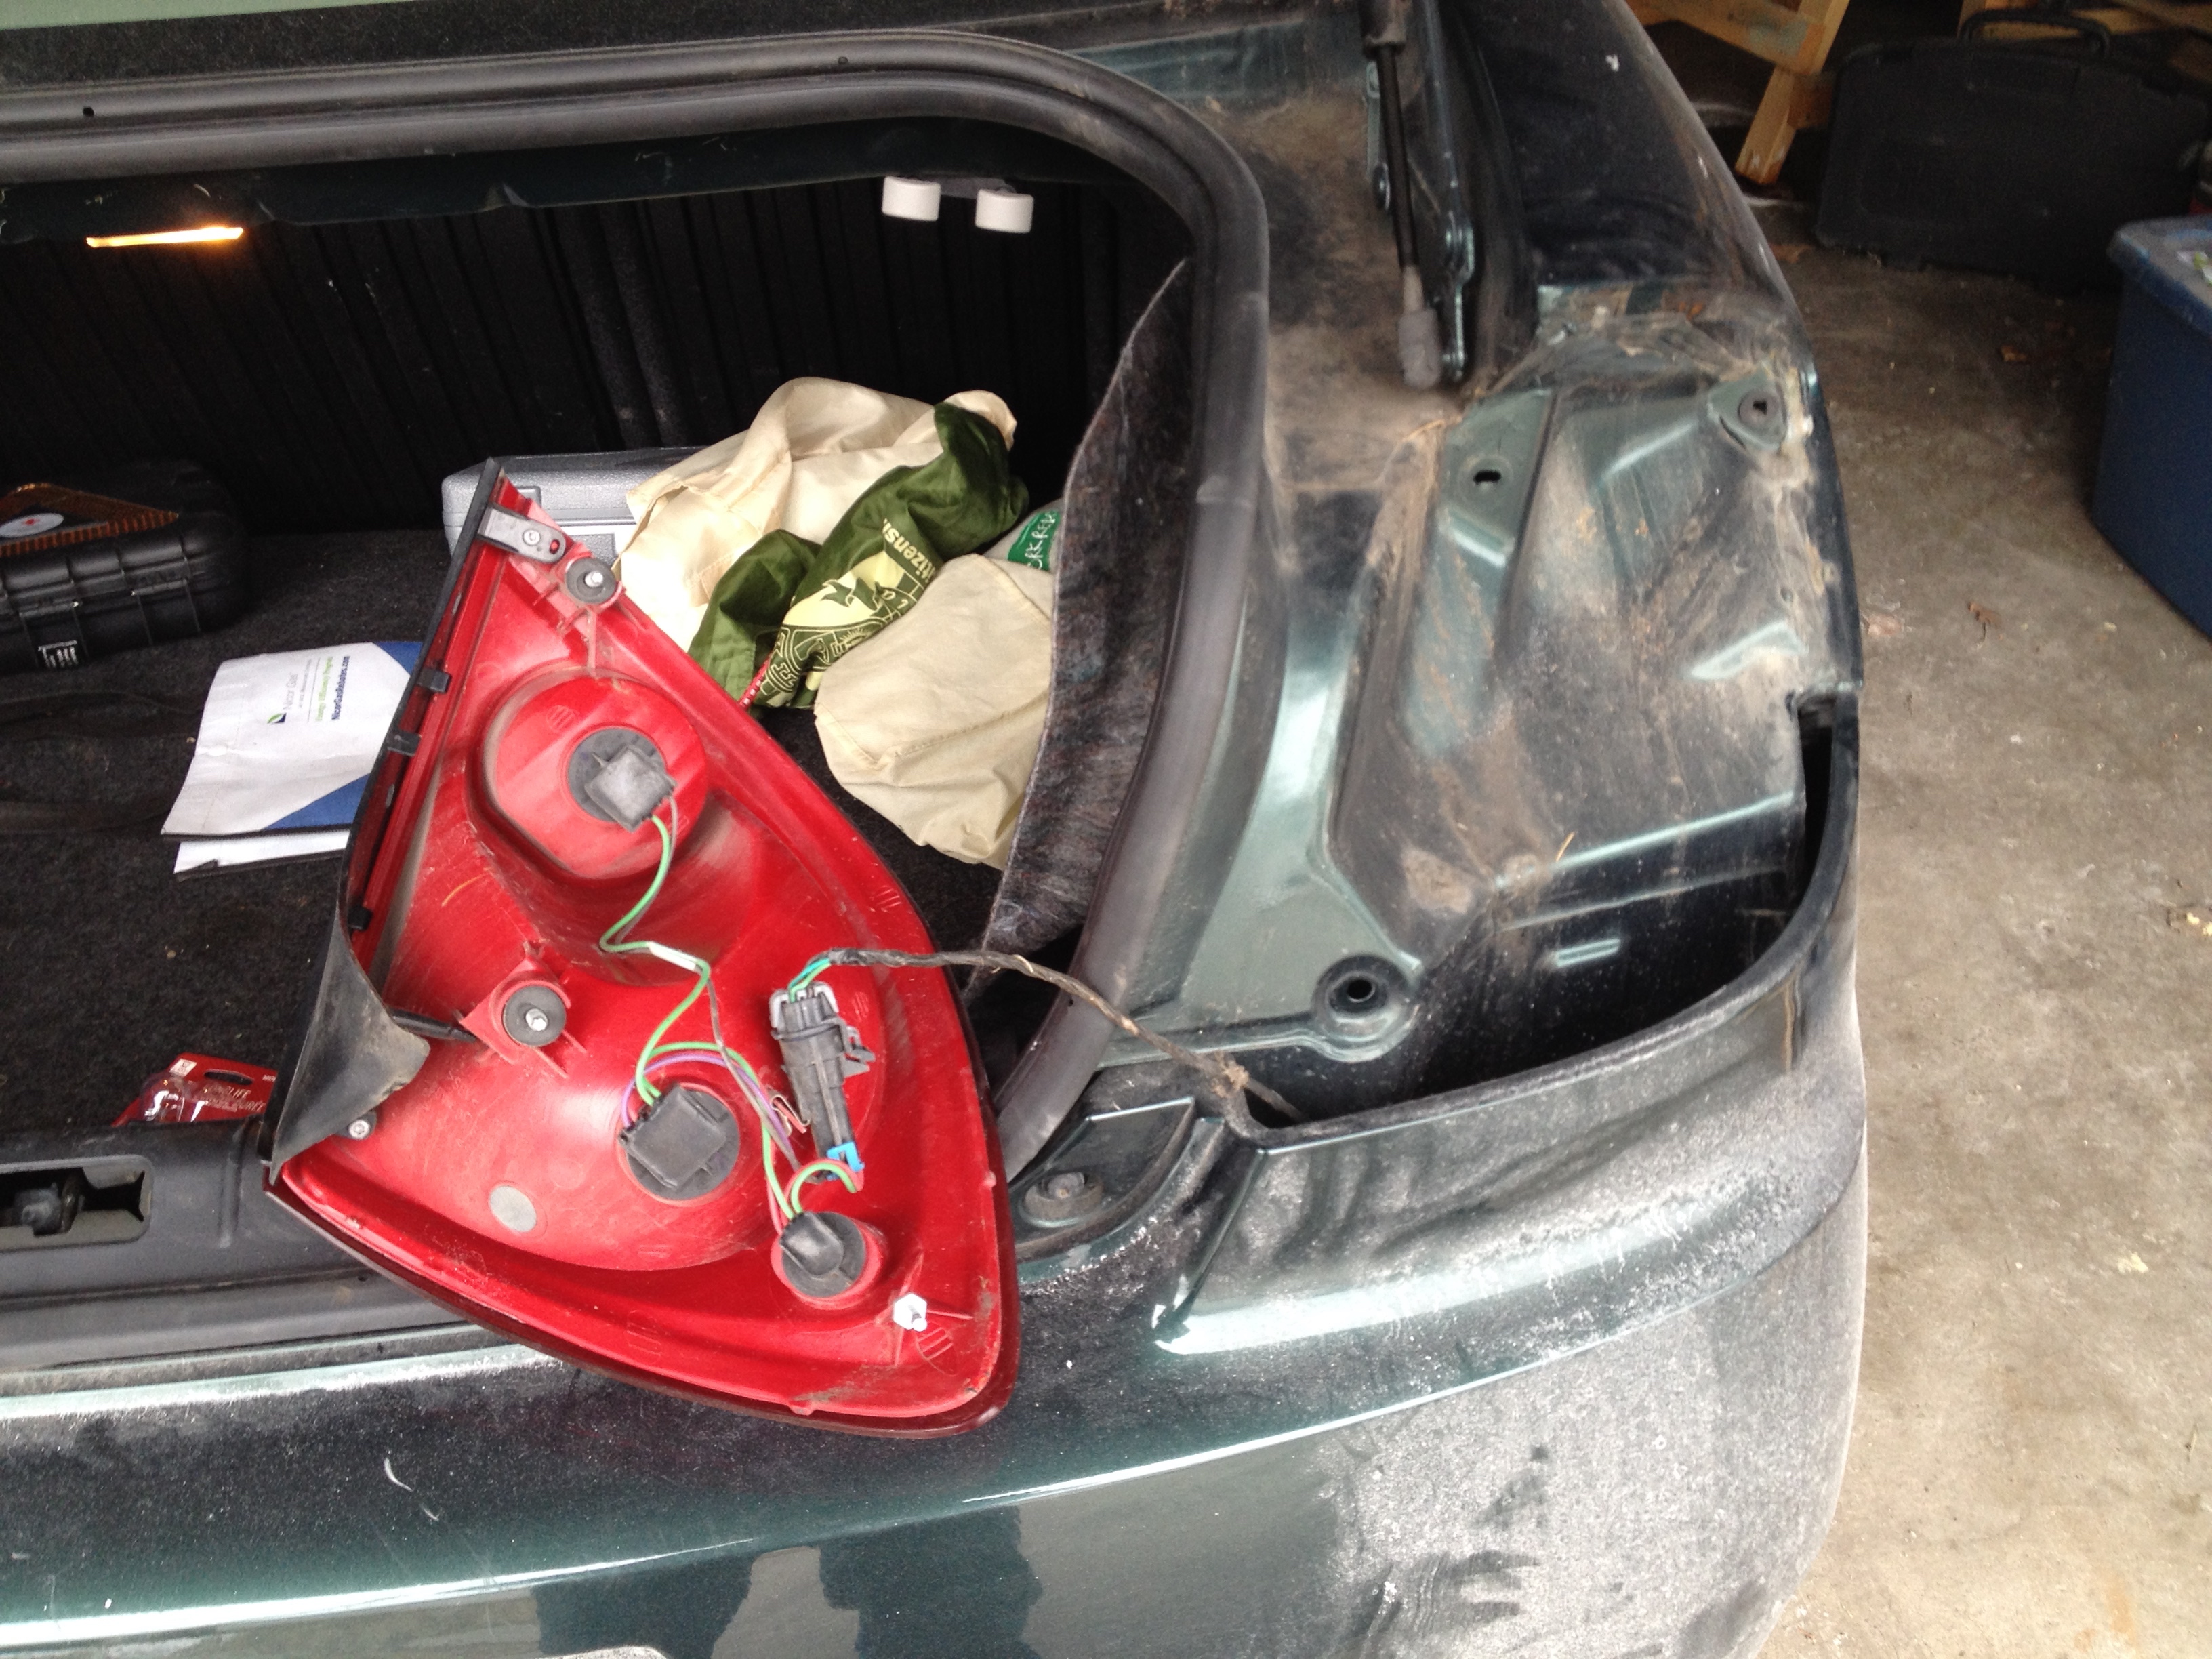
To make the replacement I first had to pop the trunk so I could get access from the inside.
There are two black caps that have to be removed. They hold the fabric in place. In the above picture I have already unscrewed the upper cap and the lower cap remains.
Once the caps are off you can pull the fabric away from the chassis of the car. There was two nuts that I had to unscrew. I was able to do one by hand and the other was just a bit too tight so I needed the wrench.
With both bolts undone, the entire tail light assembly should slide out from the exterior of the car like so.
Somebody had put a little adhesive (maybe the factory?) so I had to put a little muscle into it.
With the tail light assembly dangling by its electrical connections, find and unscrew the bulb mount that you want to replace. Our car had labels underneath the dirt and grime.
As you are installing the new bulb, take care not to touch the glass with your hands. Oily residue from your skin will cause the glass to retain more heat and that will lead to premature failure of the bulb. Installation is the reverse of taking it all apart. I like to check that everything works before I fully assemble it all. You can save the good bulb for later.
Finally, it is a good idea to keep a record of all your car repairs. Not only is it easy to do with a simple spreadsheet, it also will make resale a bit easier when you can show a history of maintenance to potential buyers.
I started logging our repairs last August. I know we are due for an oil change soon and also brake pads/rotors. I’m just waiting for the weather to warm up!
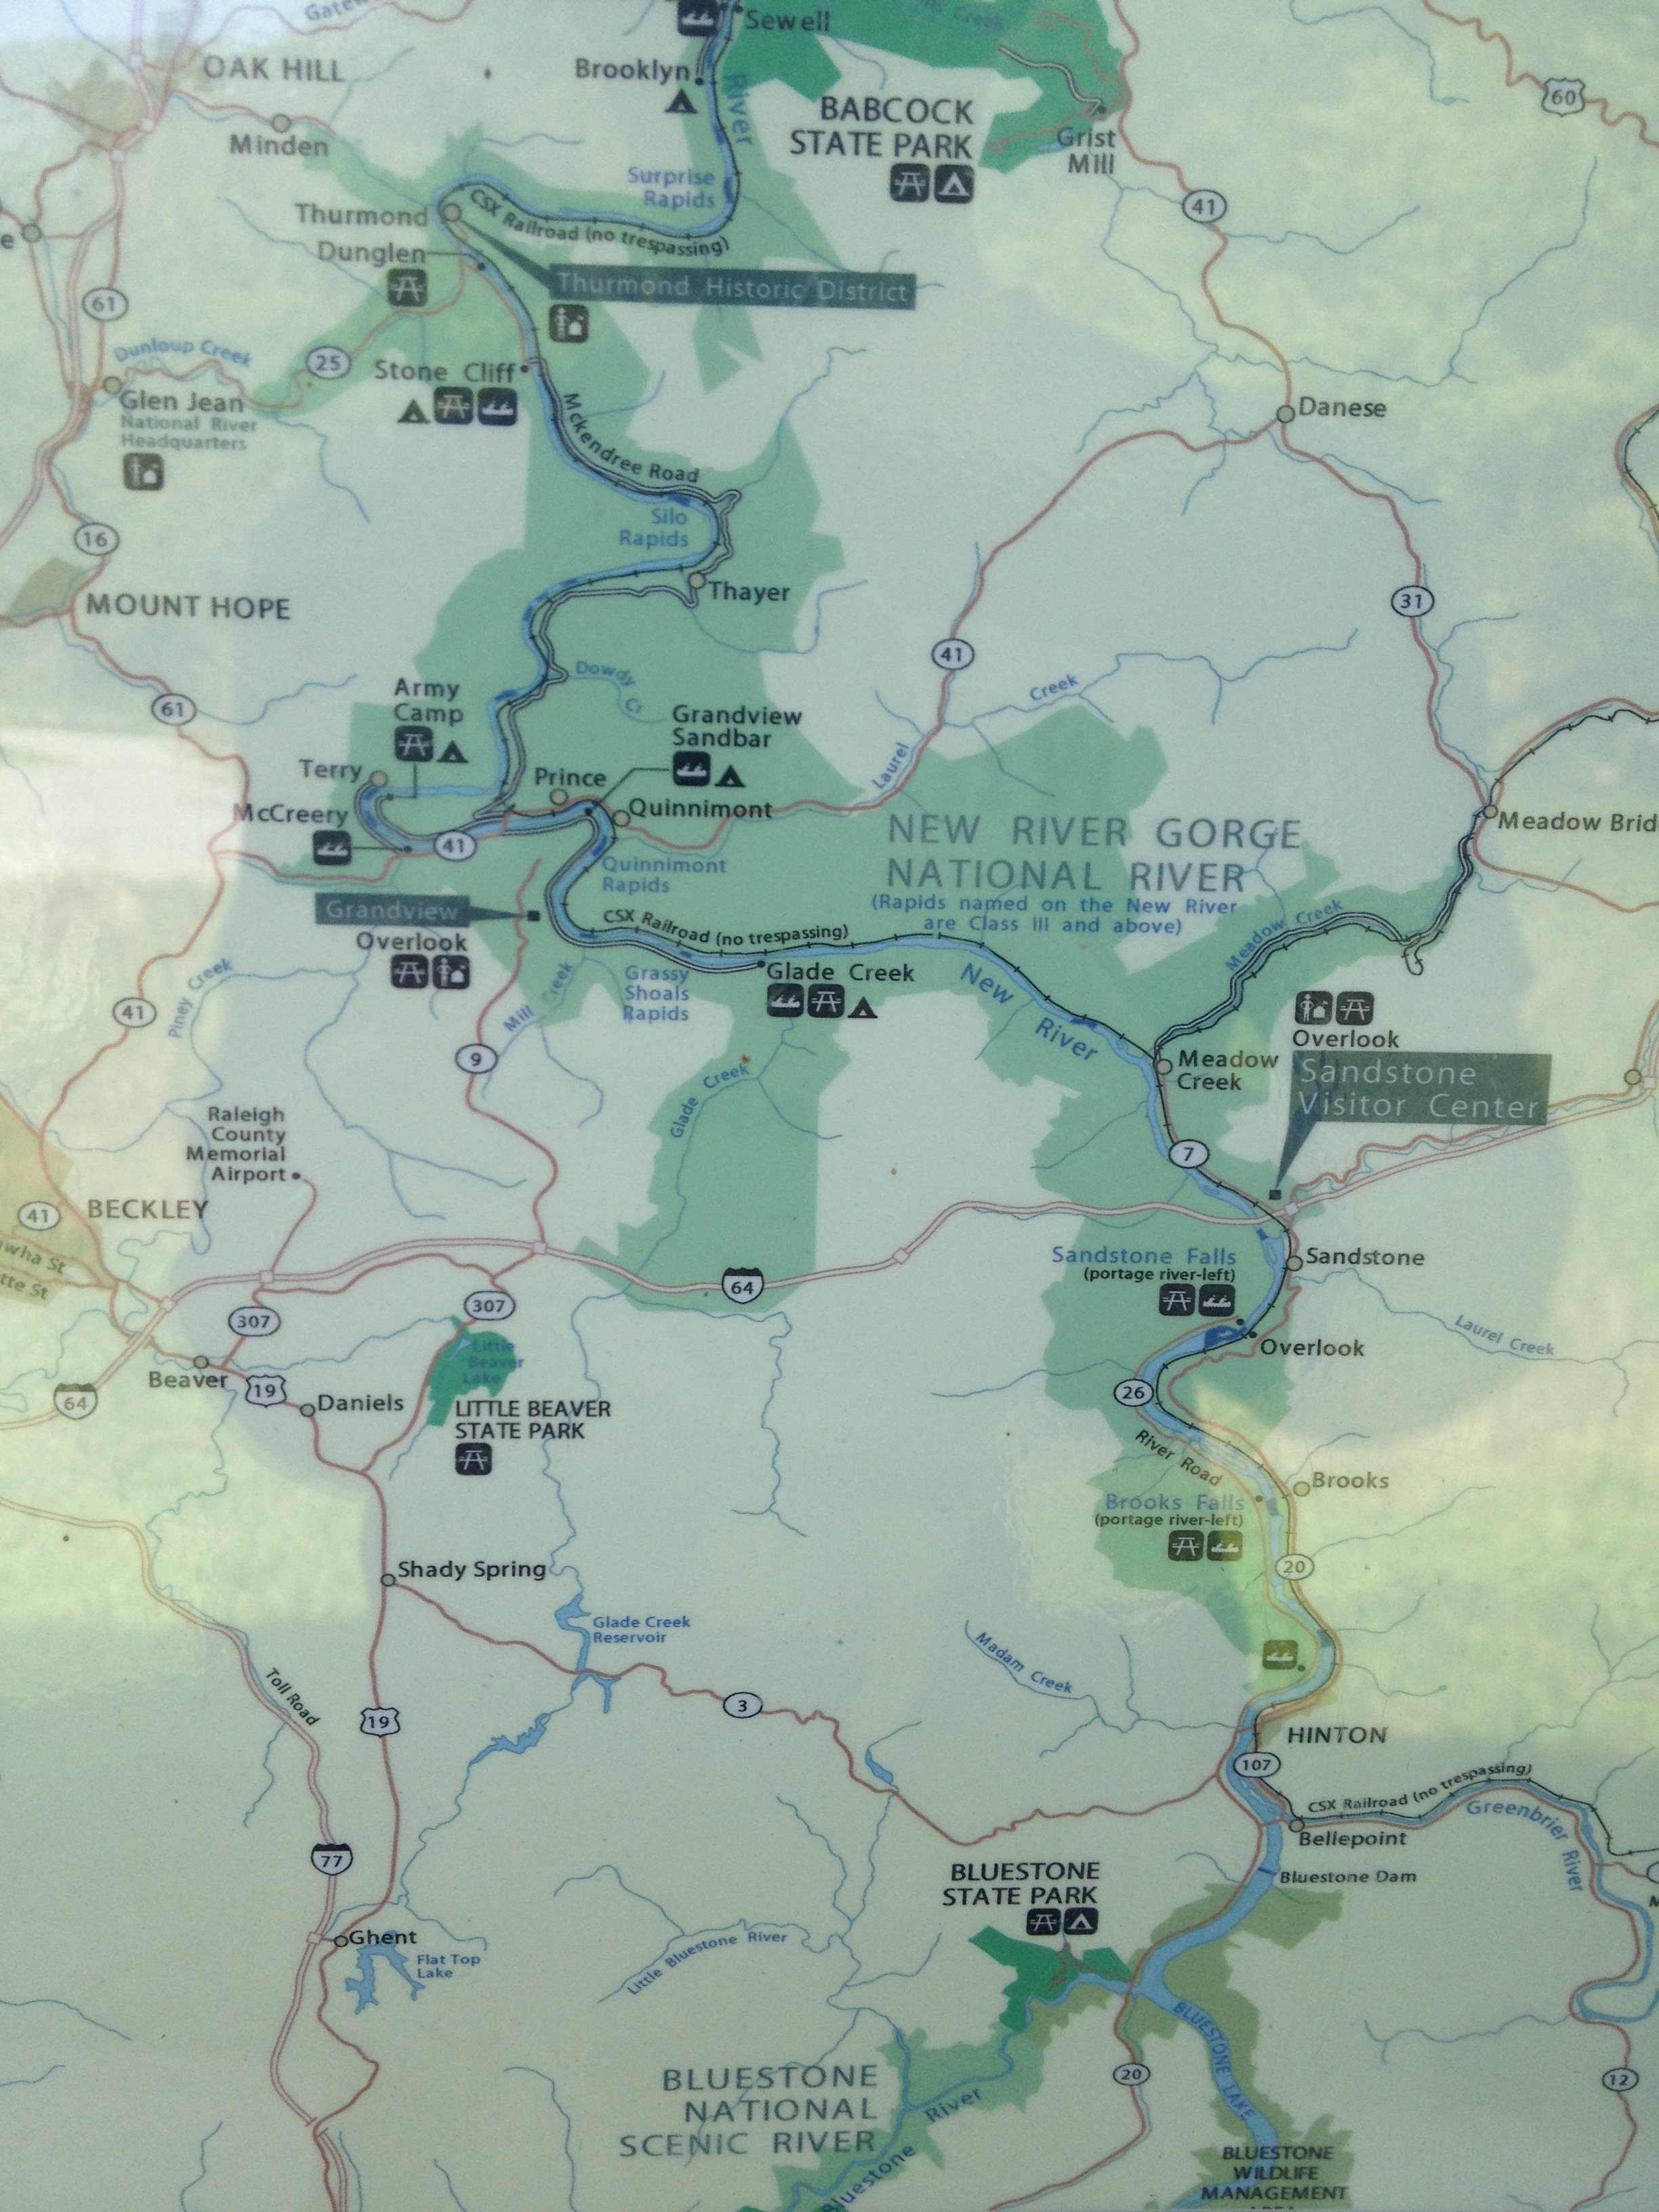
Labor Day weekend seemed like an excellent opportunity to get out of the Midwest and do a little traveling. We decided to meet up with family and camp out in West Virginia’s New River Gorge for three nights. It is a full day’s drive for us, and the first extended trip in Frugal Boy’s new car seat (he outgrew his infant seat).
We only have a three day supply of cloth diapers and the total trip duration was six days, so we had to break out our emergency supply of disposable diapers. It was weird seeing Frugal Boy in paper diapers.
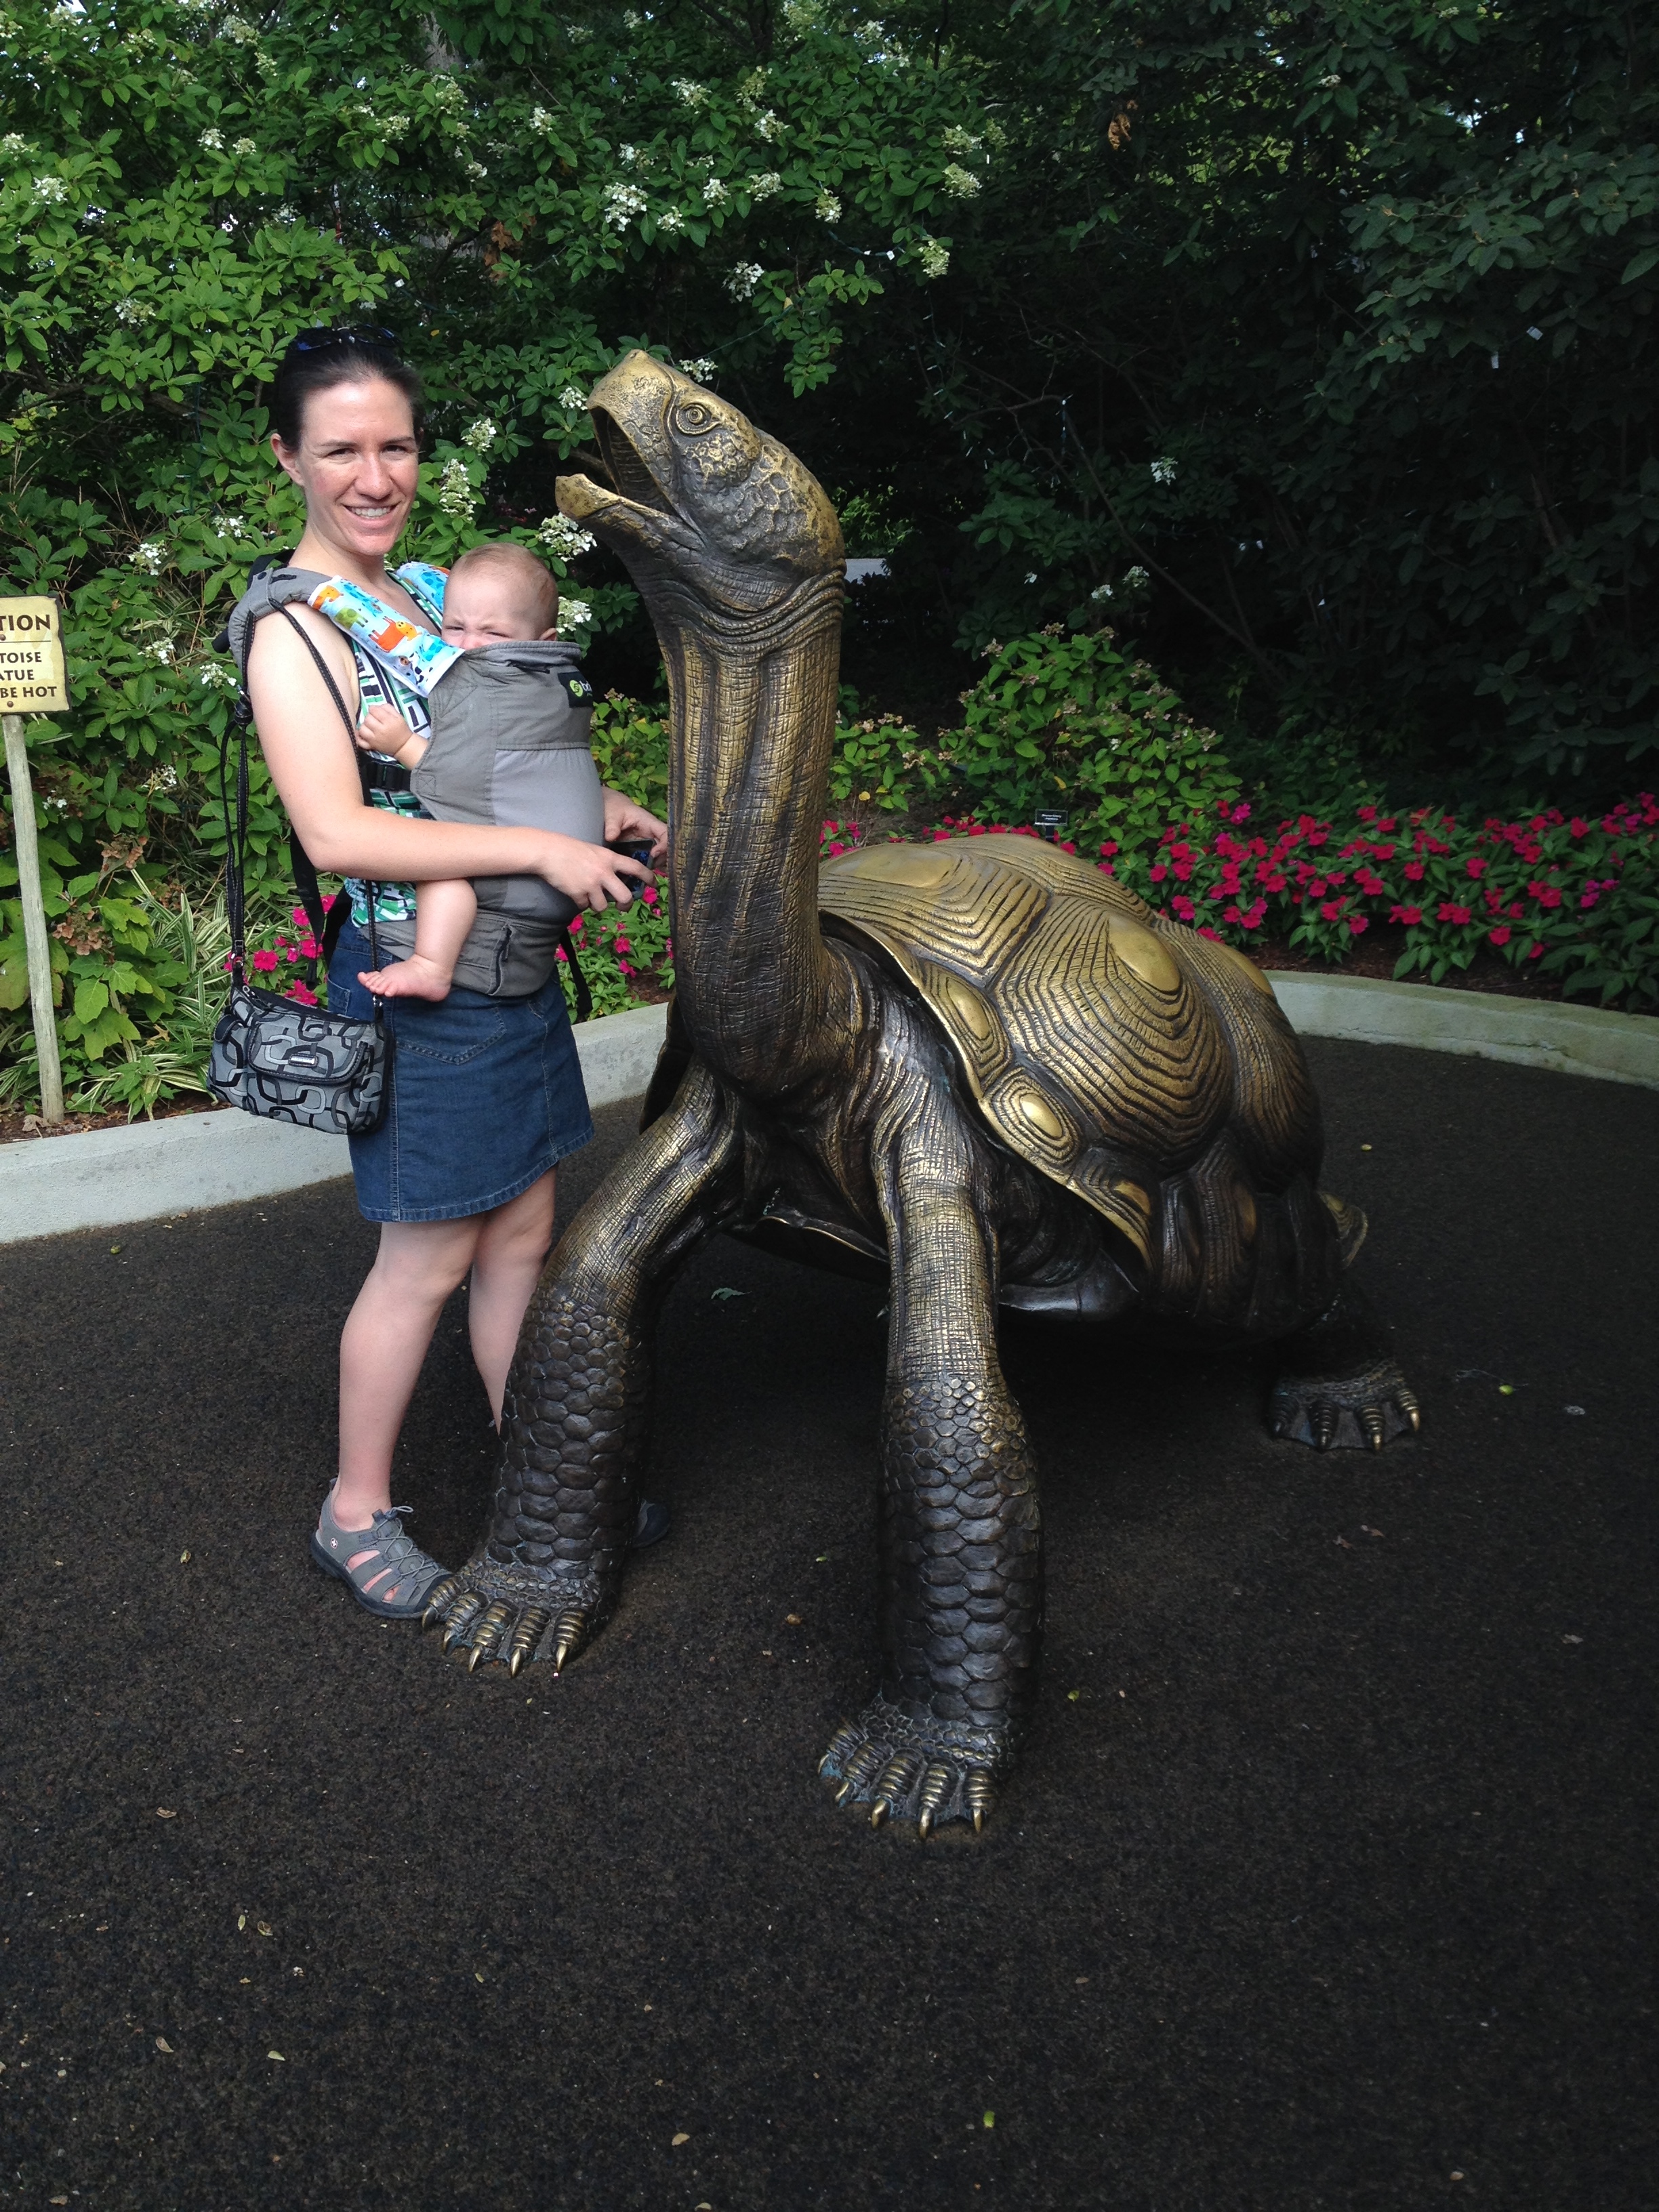
With the car all packed up we took off on Thursday morning and by the afternoon we arrived at our first destination, the Cincinnati Zoo & Botanical Gardens.
Second oldest zoo in the country.
Frugal Boy’s cousin loved the giraffes, so we walked over to check them out and see if he had the same reaction.
Watching giraffes
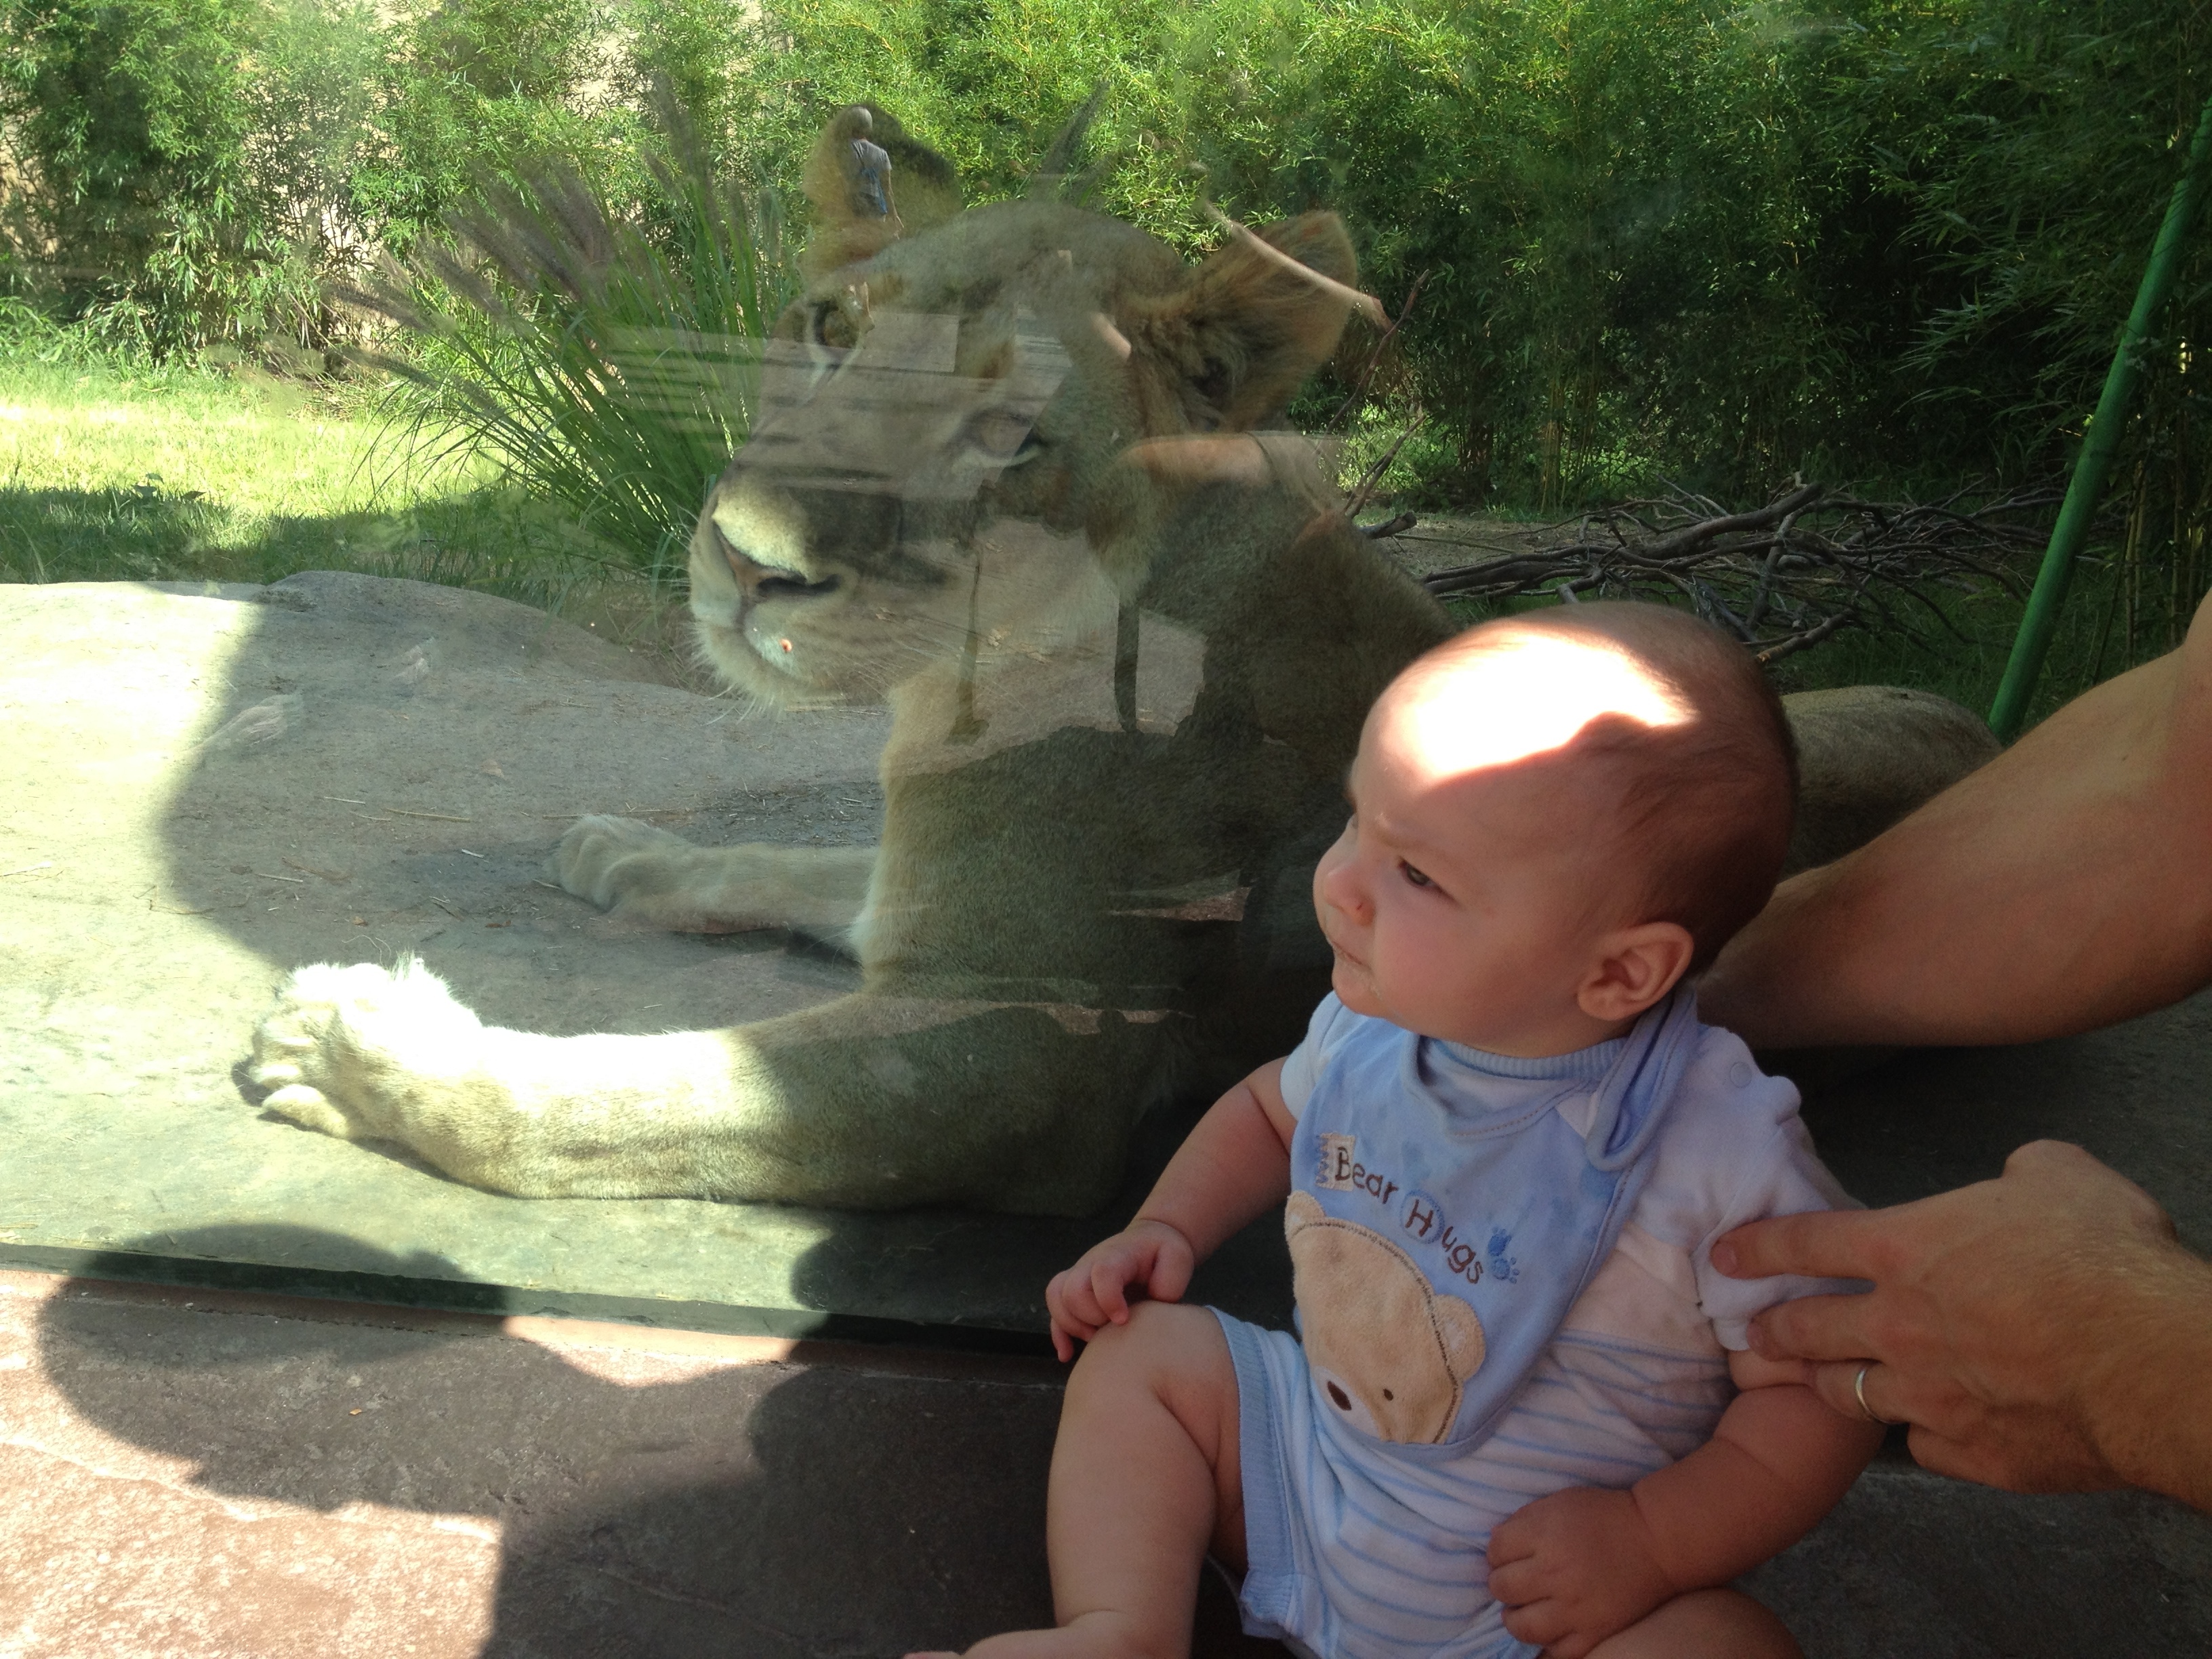
The giraffes were a strike out, but would the lions be more fascinating?
Lions are just as boring as giraffes apparently
What about the African painted dogs?
Either in deep thought or completely tuned out
Okay, so the zoo was kind of a bust in terms of exposing Frugal Boy to some biodiversity. It is a nice zoo and if you are passing through the area or live nearby it is probably worth a stop.
Leaving the zoo behind, we navigated our way to the outskirts of Cincinnati and to a motel. Seeing the room doors open out to the street stirred many memories of childhood road trips and some real dives that I stayed at growing up. On the plus side, these types of establishments are generally pretty cheap.
easy come, easy go
Using Yelp, we checked out the nearby eateries to find something tasty for dinner. It wasn’t long before we were satiating our appetite at a nearby grill.
Food & Sleep!
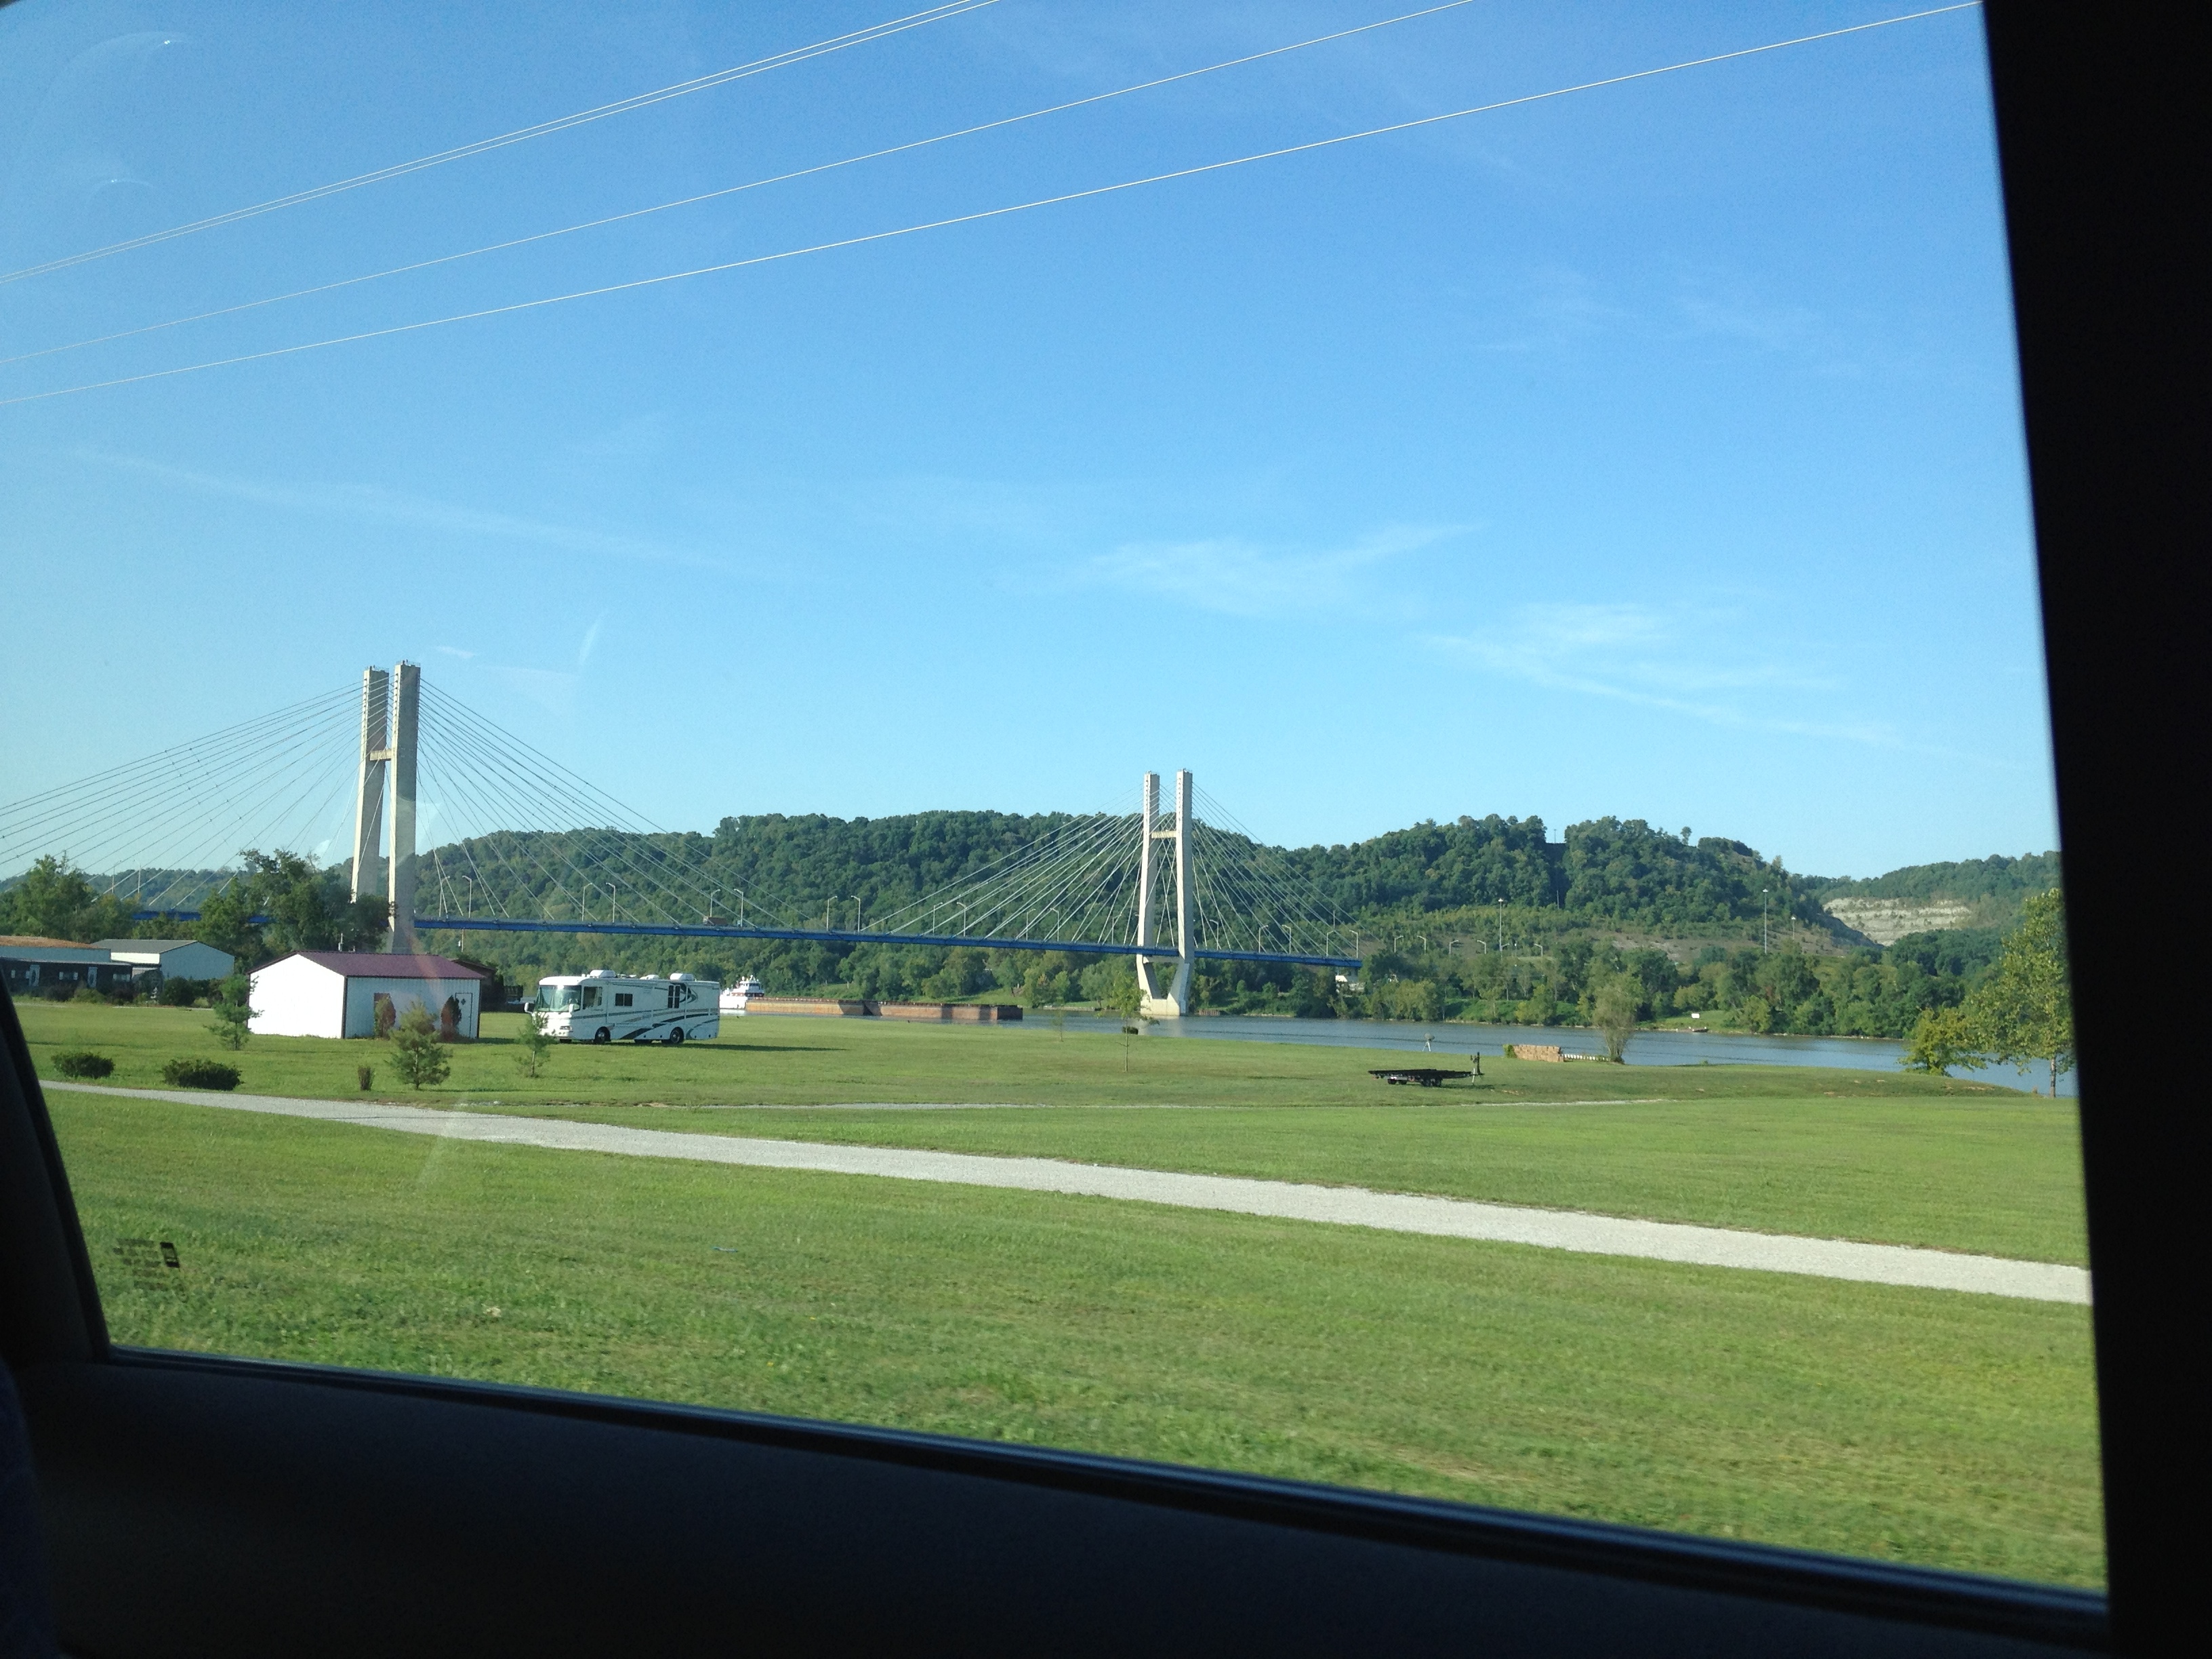
The next morning we needed to cross over the Ohio river and complete our drive to West Virginia. Instead of taking the fastest, most direct route, we opted to drive along the scenic byway and take in some of the river valley sights.
neat bridge spanning the Ohio river
Welcome to Kentucky!
After connecting back up with the interstate we had to make a pit stop to stretch our legs and play.
It wasn’t long before we crossed into West Virginia and sped past the capitol in Charleston.
Kanawha County
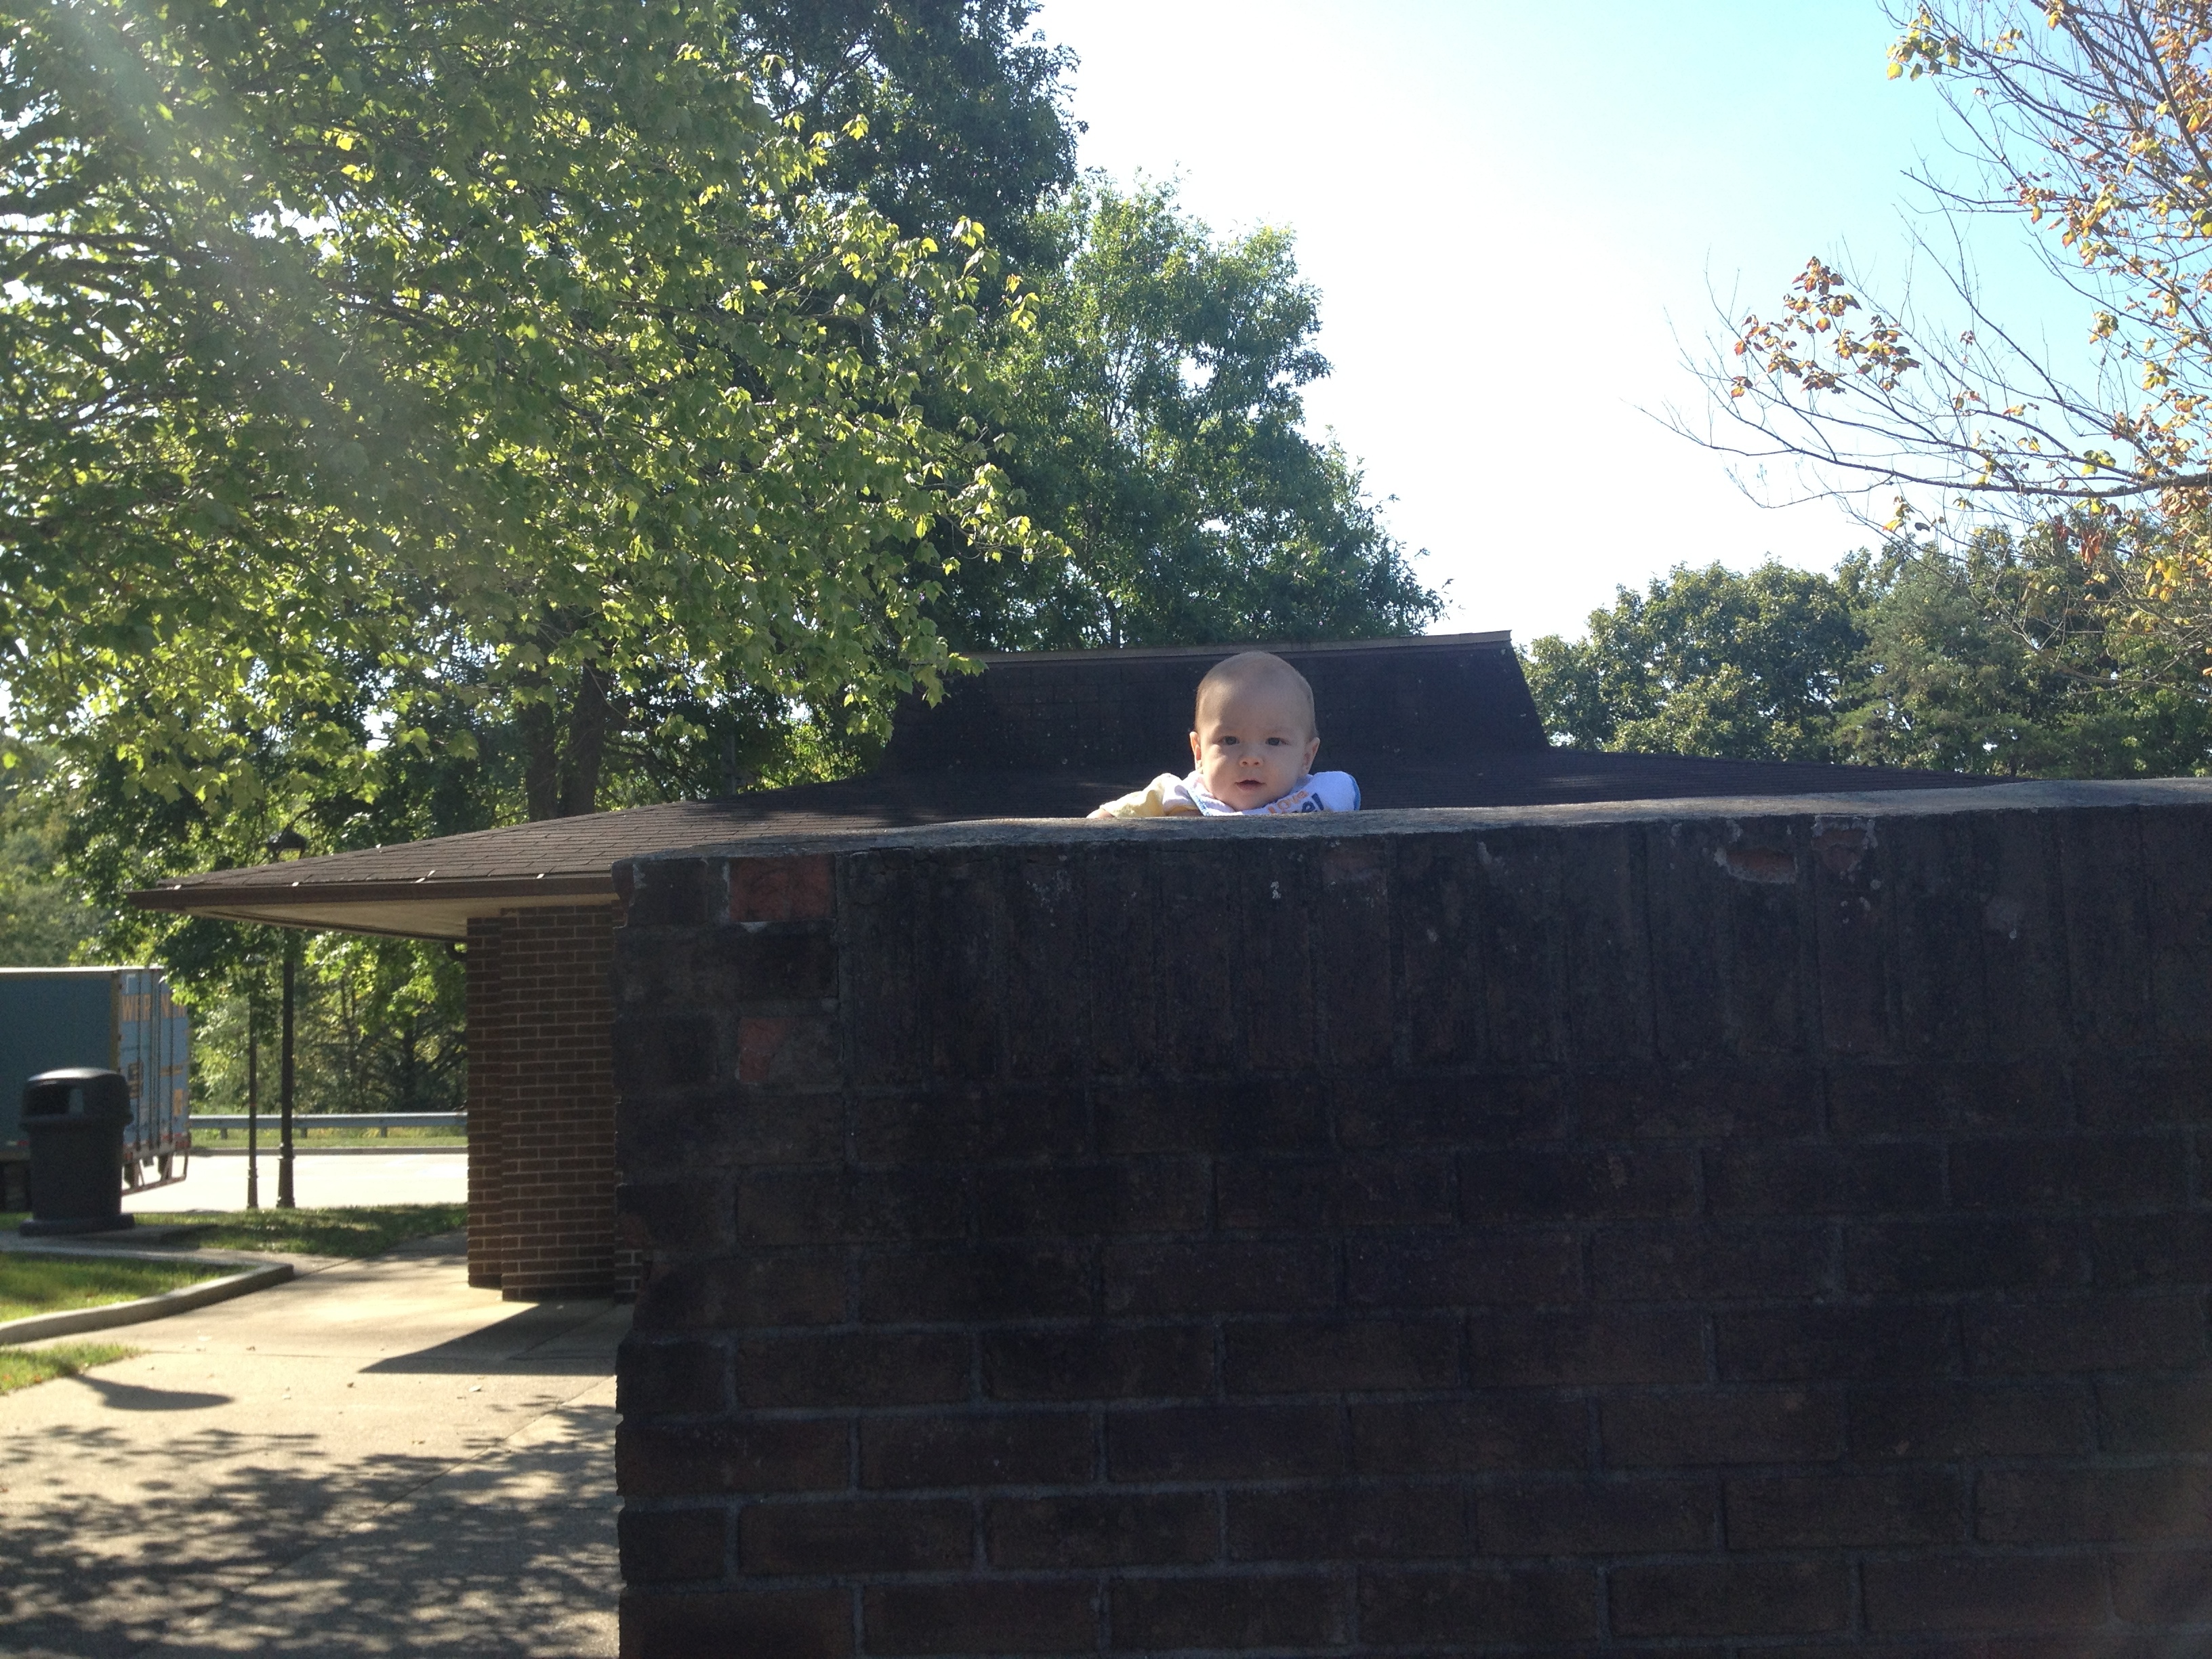
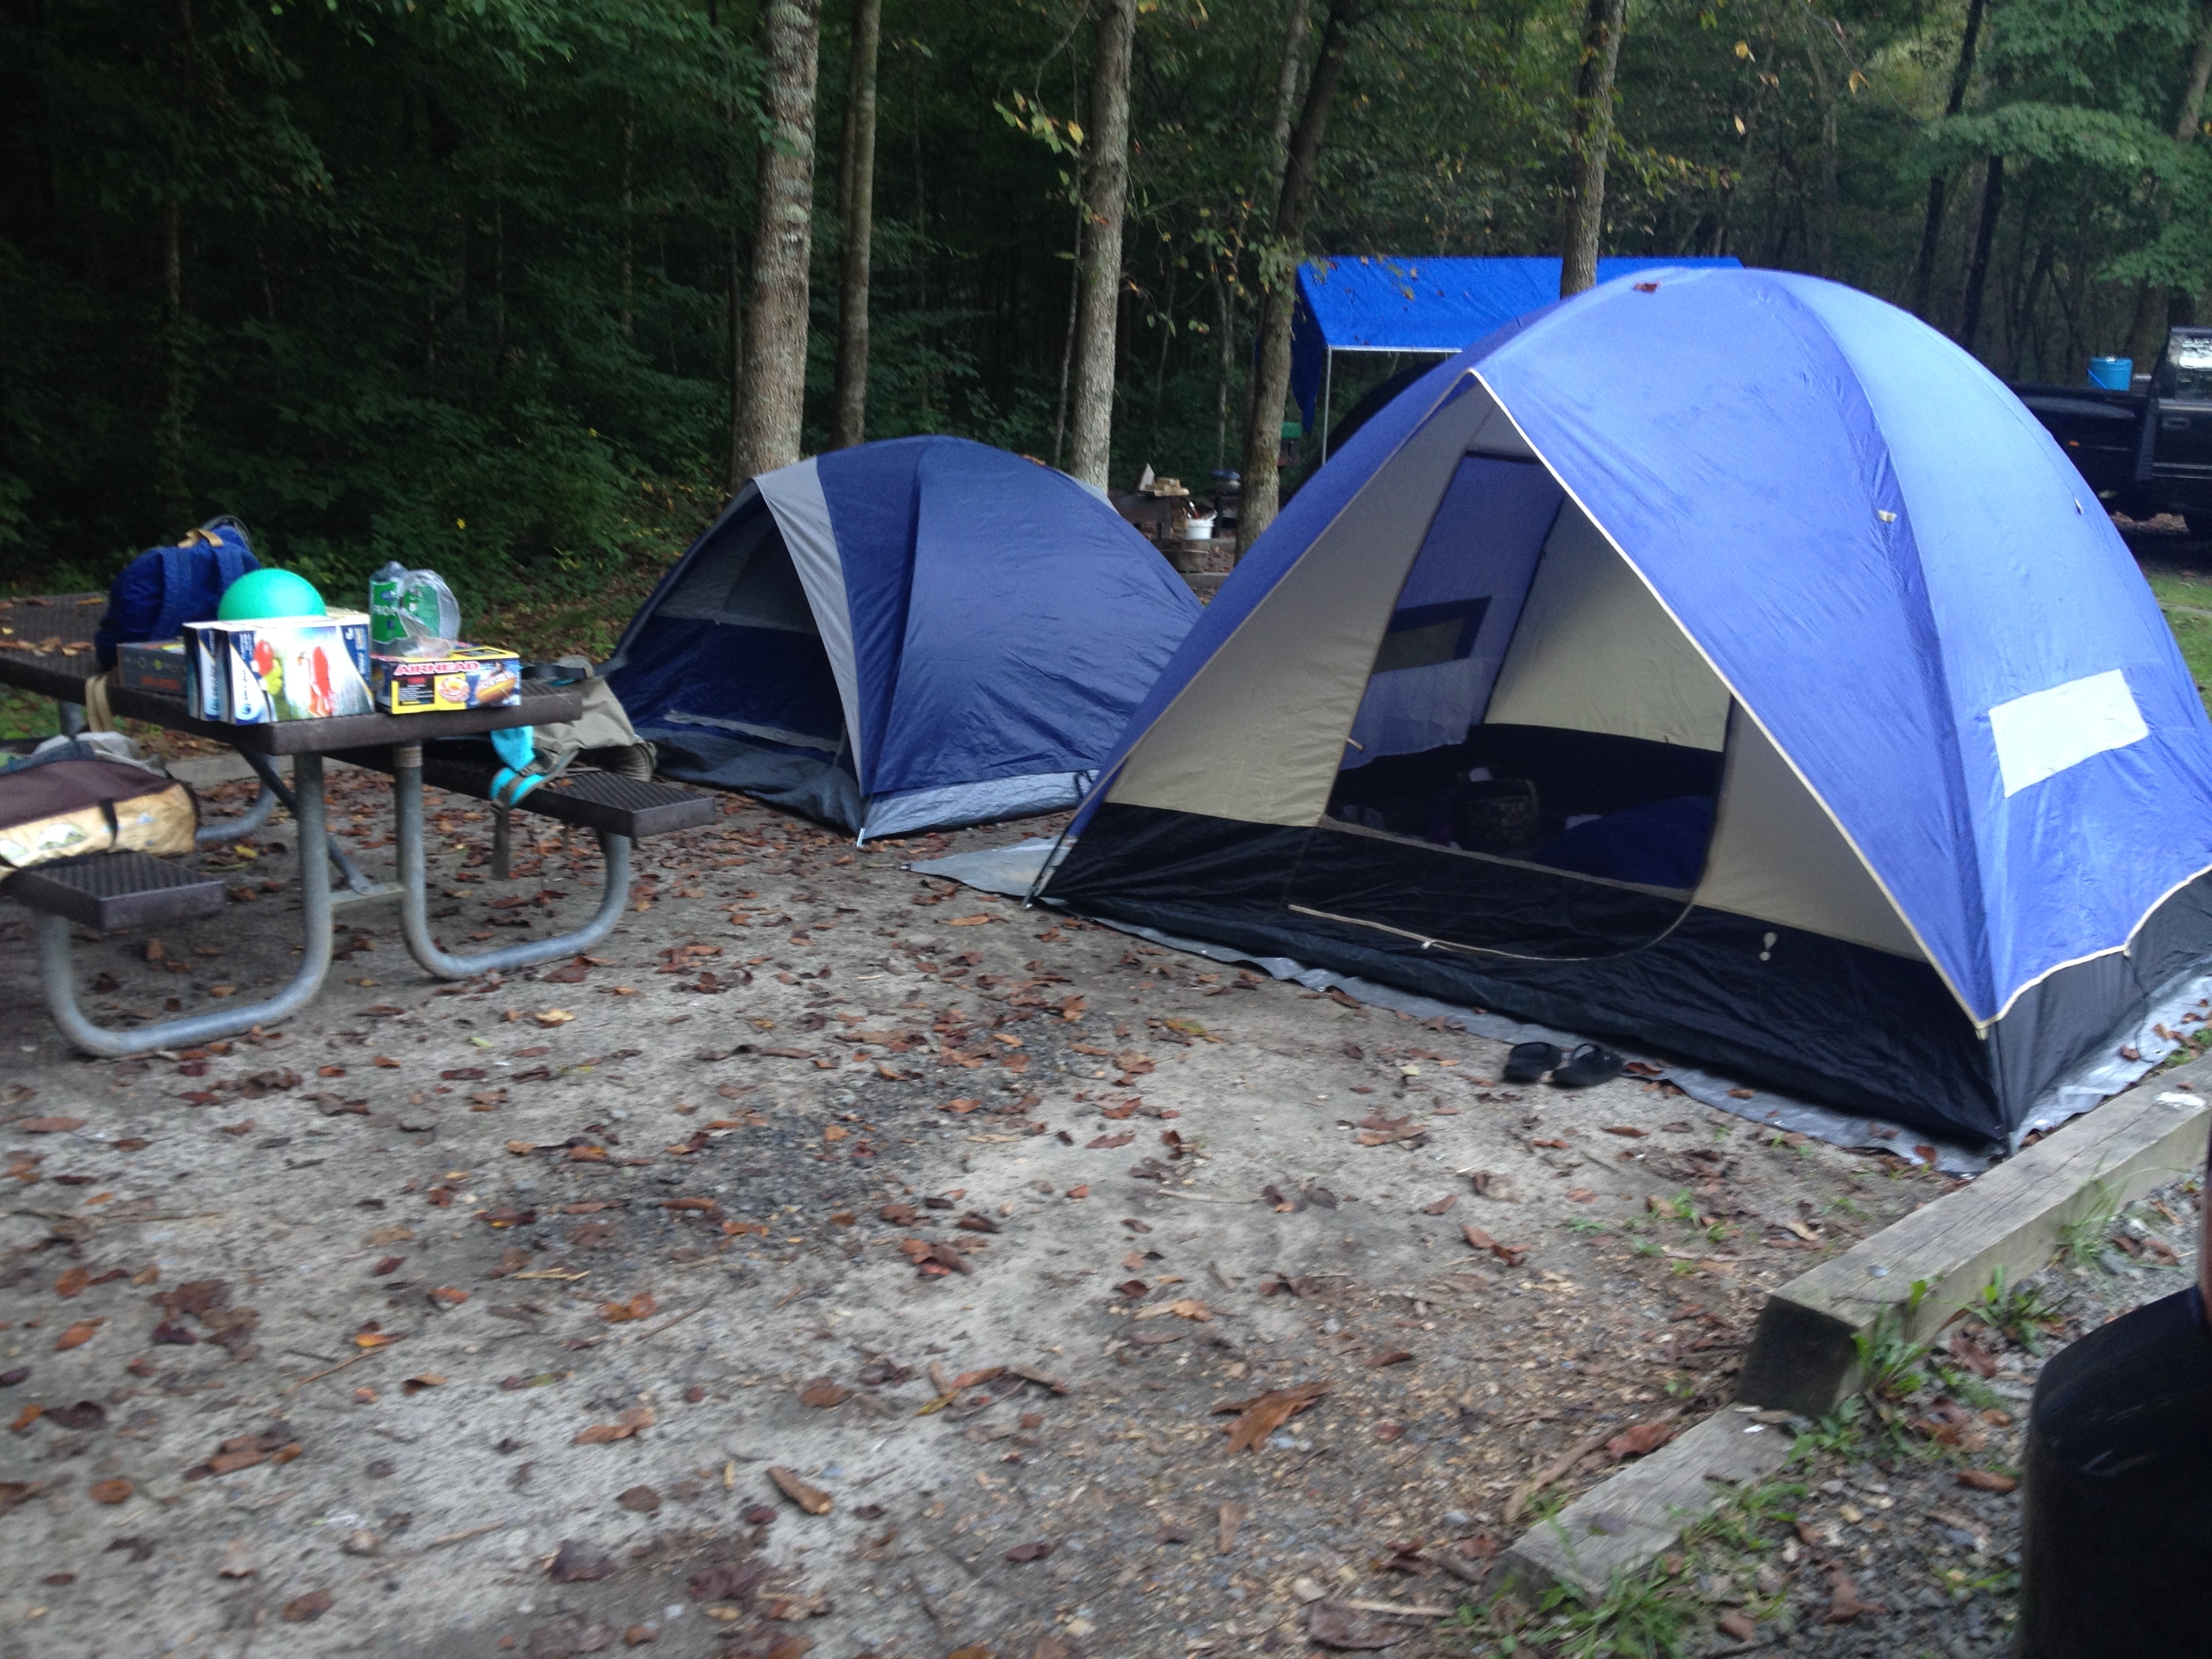
We rolled into Army Camp (campground) around 2:30 on Friday. Army Camp is so named because in the 50s(?) the United States Army had a small training grounds set up there to practice building pontoon bridges. The army is long gone and now the area has been converted into a campground by the National Park Service.
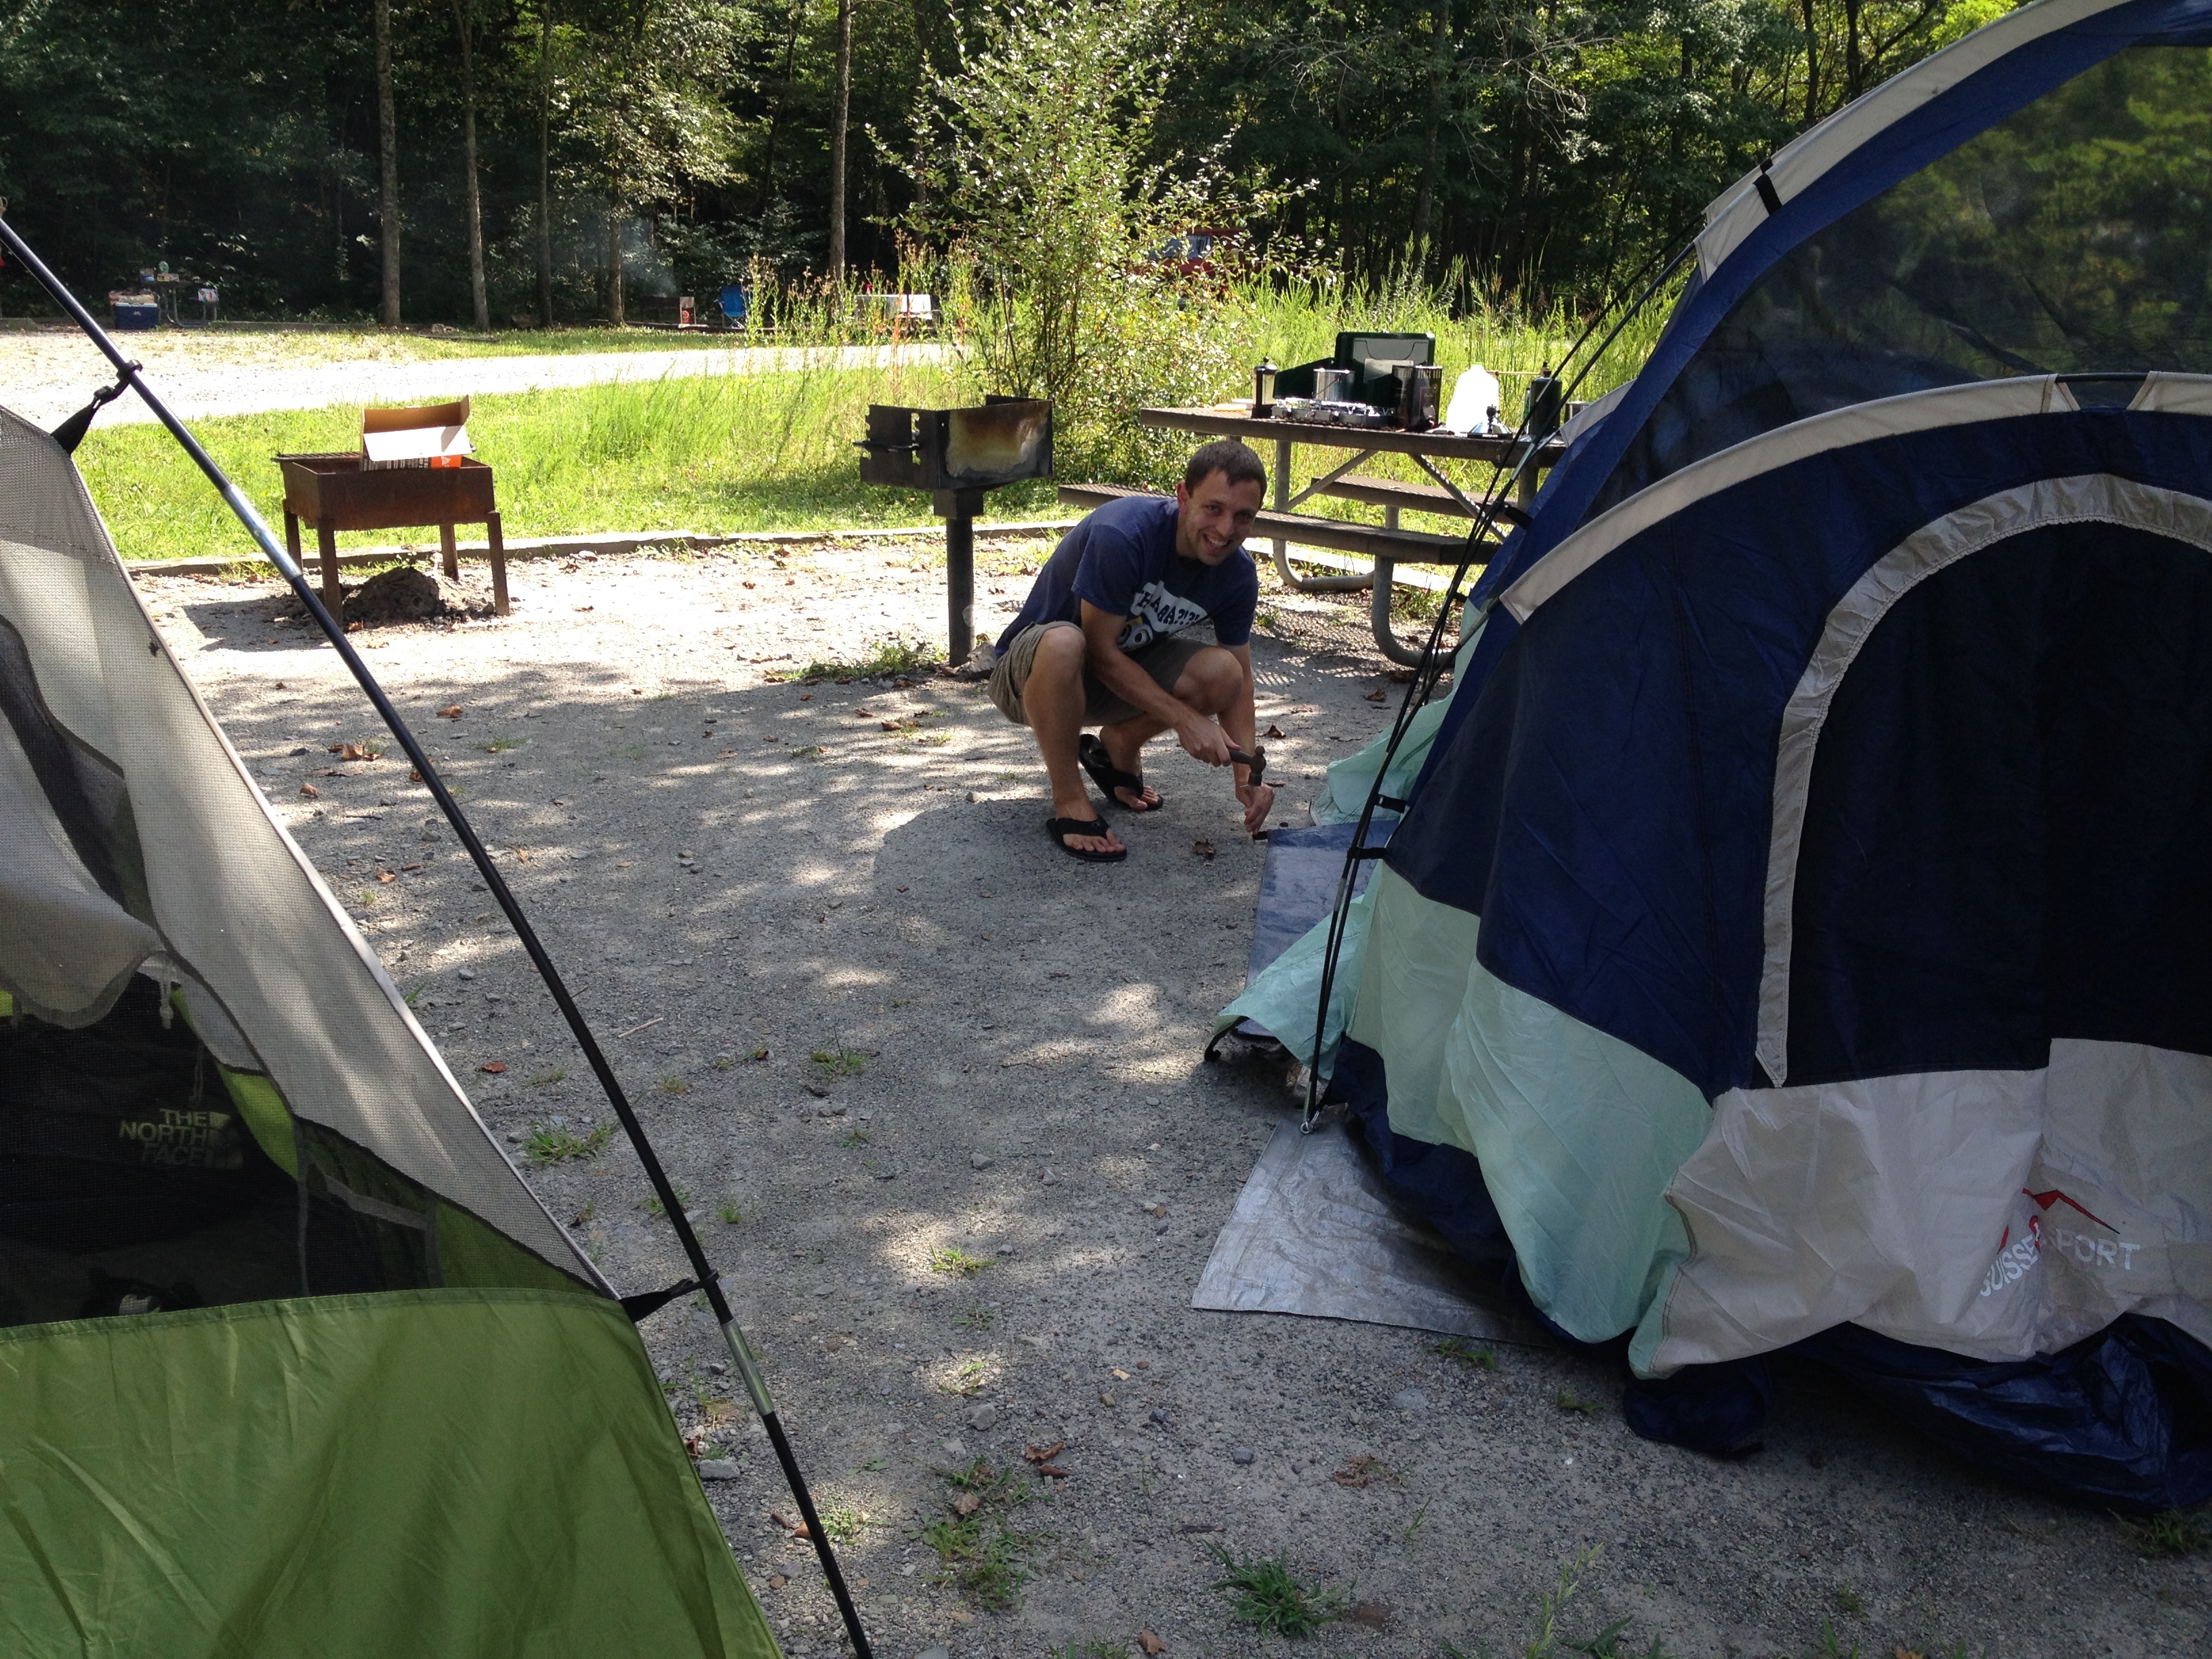
Setting up “home” for the next three nights
Frugal Boy helped supervise.
One of the perks of traveling with a baby is that it is incredibly easy to meet people. As we waited for my brother and his girlfriend to arrive we had a long chat with the couple camping next to us in an RV. Apparently they had been camping there for the past two months and were locals to the area. Not only is socializing a good way to pass the time, it can be invaluable for information, and provided some genuine local flavor to our whole trip.
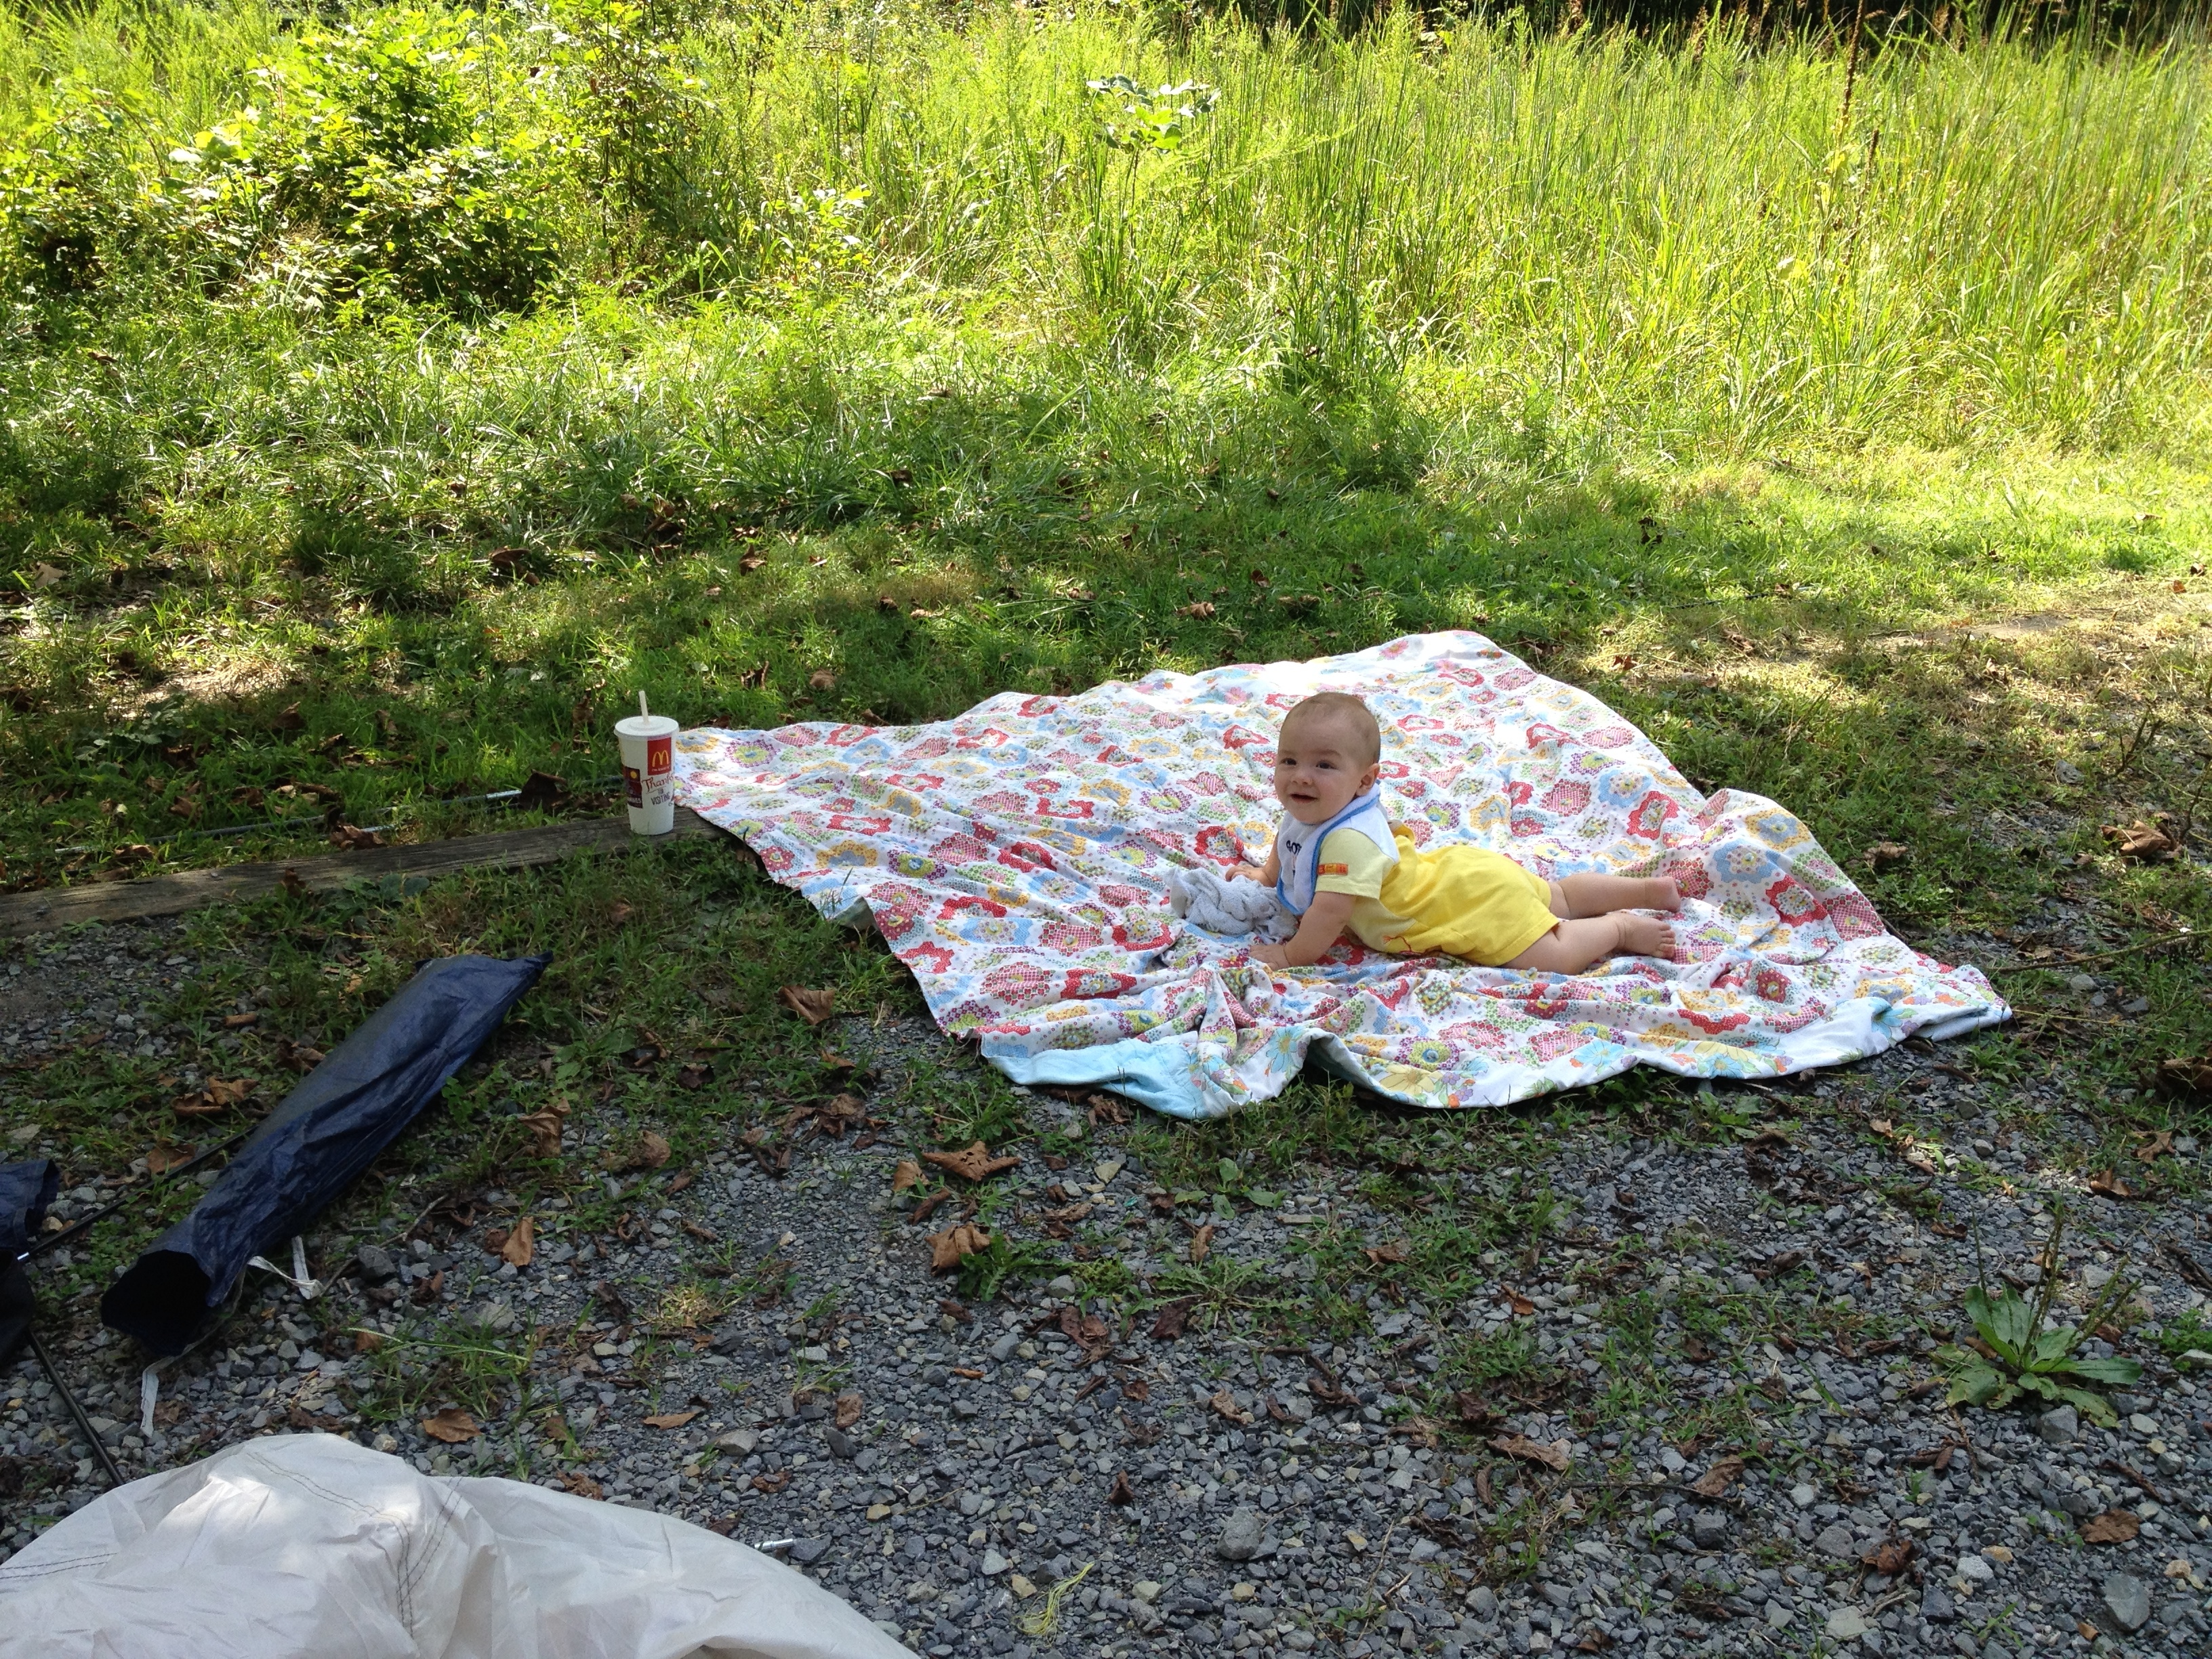
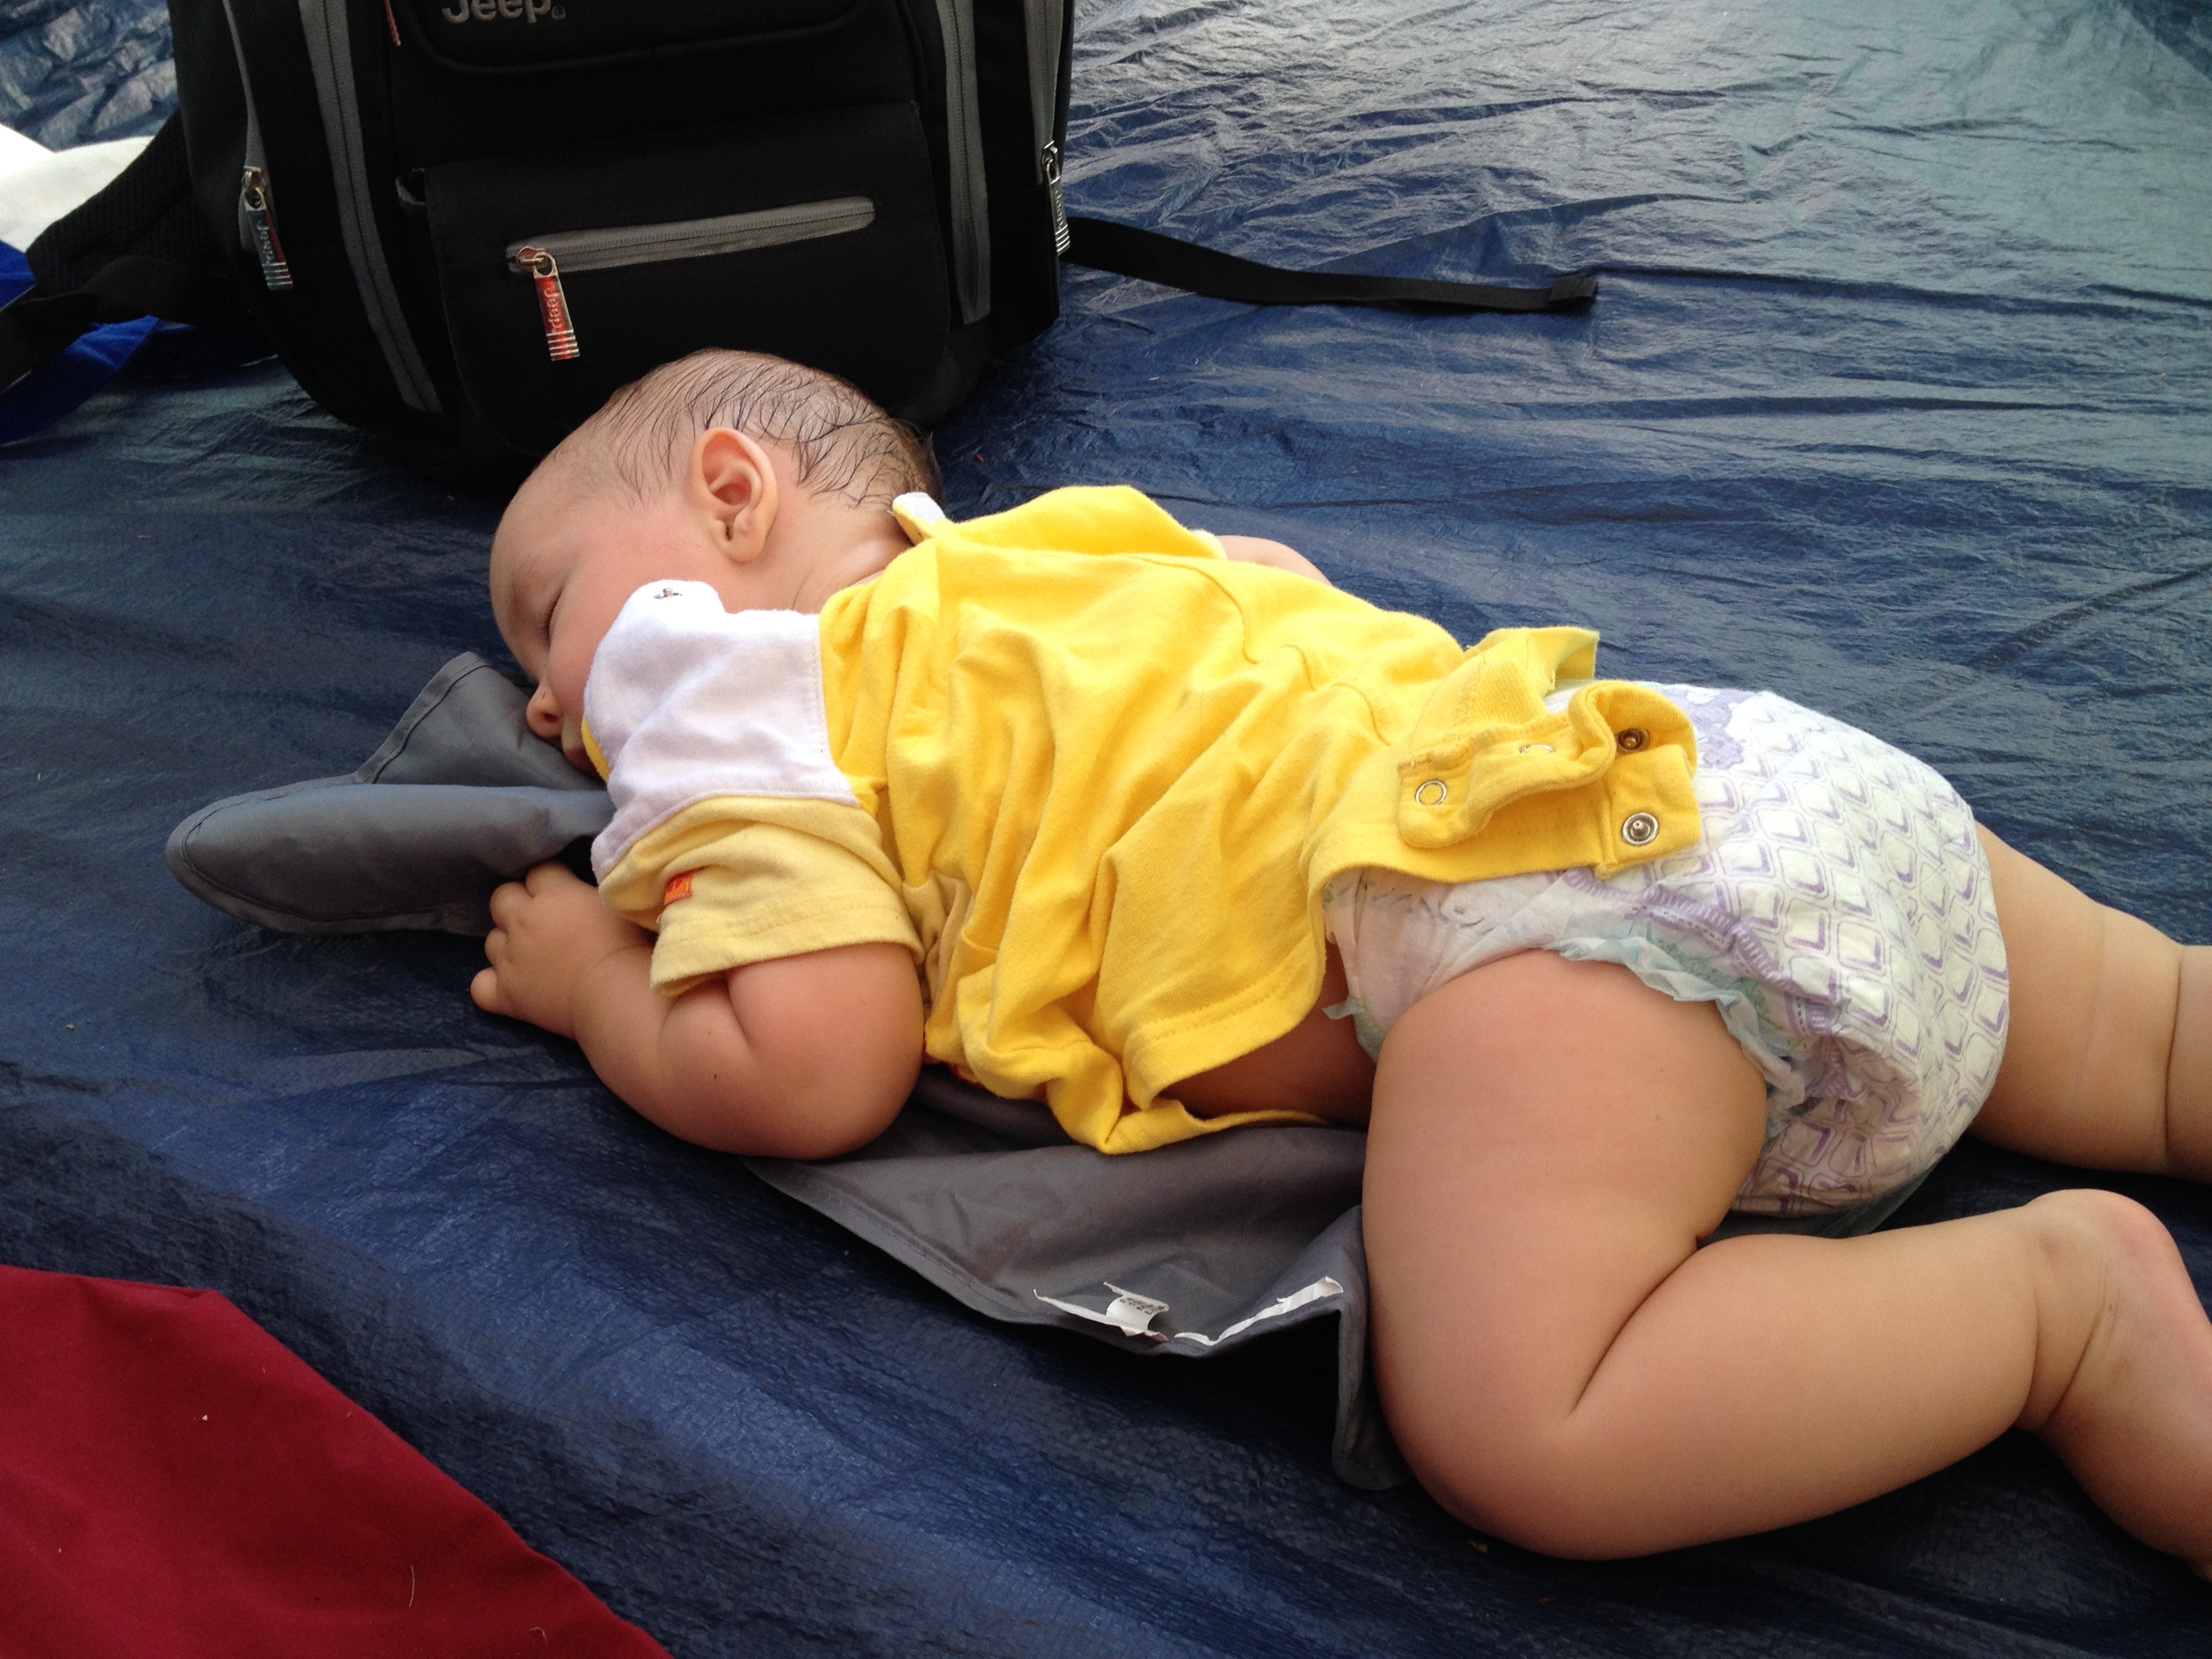
It was late in the afternoon, and we all needed a rest, especially Frugal Boy.
sweaty and tired
Later that evening, our campsite companions returned from their own day’s adventures. Frugal Boy wasted no time in making acquiantances.
gentle is not in Frugal Boy’s vocabulary
Thankfully, his new friend was good natured.
All in all, we had four tents set up for four families. This wasn’t even a full reunion!!
Late that night, the occupants of the blue tents arrived. In the morning we could say proper hellos. Frugal Boy’s cousin took to camping like a fish to water.
Meanwhile, Frugal Boy was getting tips from his Aunt on how to be a male model.
Blue Steel
Once everyone was dressed and fed, we loaded up in the cars and drove to Thurmond. Thurmond is an abandoned coal town (West Virginia is well known for its coal mining industry). The town and old train depot are now managed by the National Park Service.
The bridge in the background spans the New River and by far the most popular activity in New River Gorge is water sports. Kayaking, rafting, and tubing are all common sights.
kayakers shoot the rapids
After soaking up some history, we went to the visitors center for a picnic lunch.
A short boardwalk later and you have an impressive view of an iconic bridge.
According to the information sign, you can fit the Washington monument and two statue of liberties stacked one on top of the other and still have a few feet of clearance. It is the tallest bridge in America.
After driving back to camp it was time for some water fun, but first we needed to play with some bubbles.
bubbles are amazing!
Army Camp is situated in a bend of the New River and has a public access beach that is suitable for toddlers. There are also some class 1-2 rapids that you can easily tube down.
Waiting for the ladies to shoot the rapids
Weeeeee!
On Sunday, we played in the river some more and two of my brothers and myself took an extended tubing trip. That afternoon we all went to the local pizza joint, Pies and Pints, for some tasty specialty pizzas.
Mmmmm, grape pizza
With our stomachs (overly)full we decided a hike was in order and proceeded to Kaymoor Mine. Kaymoor mine is another abandoned coal mine that is now under the stewardship of the NPS.
Mining is brutally hard and dangerous work. Due to the fragility of the mine shafts, the height of the passages were limited to just three feet tall. I cannot even begin to imagine working all day stooped over.
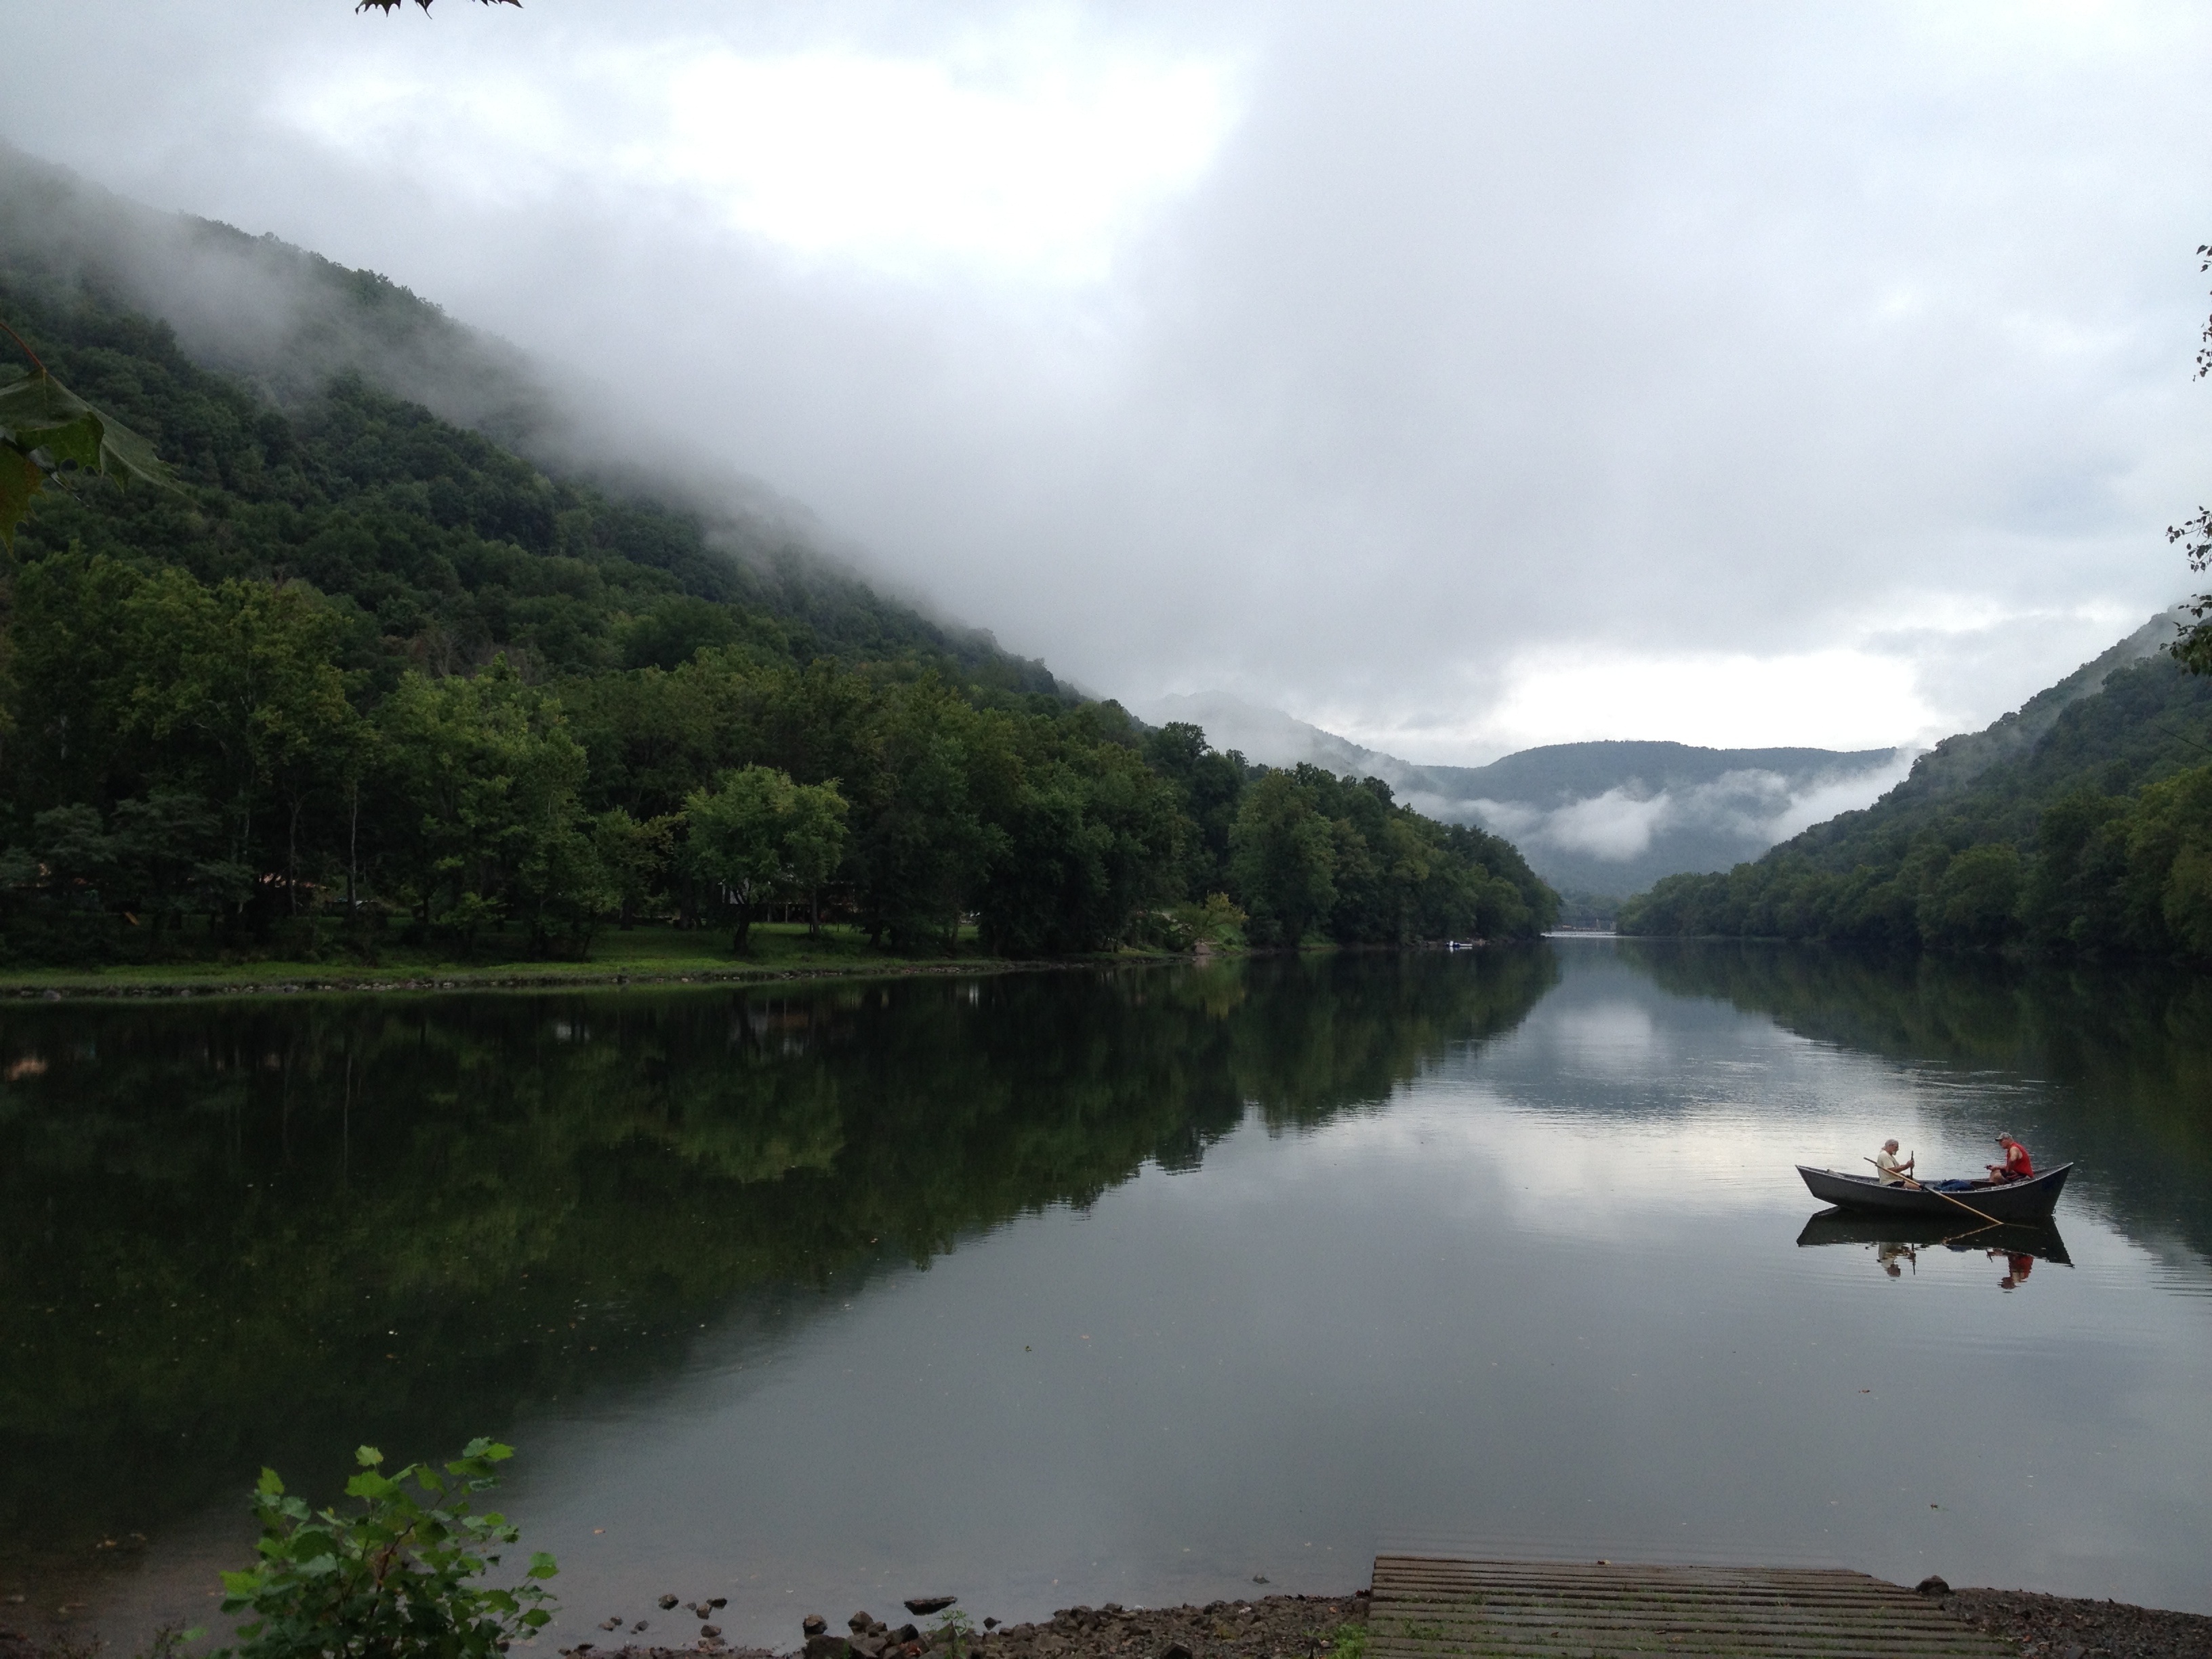
By the time we got back to our campsite it was raining and dark so we called it an early night. The next day it was time to pack up and head home! We only made it across the bridge and around the bend (essentially the opposite bank from the campground) when we had to stop for a poopy diaper. The view of the river was stunning though and I am glad we stopped.
New River in the Smoky Mountains
We did the entire drive back on Monday so we could spend all of Tuesday recovering and cleaning up. We had a great time and the trip was relatively inexpensive. Frugal Boy got to add two more states to his list and is turning into a well accomplished traveler.
Buying a car is almost inevitable in America today. Sure some city slickers can get by with public transportation, but for the majority that isn’t the case. If you are buying a car, then that means someone is selling a car. This week, we filled the shoes of the seller as we looked to send our 15 year old sedan out to pasture (or maybe it was to the slaughterhouse).
Trade, Private Sale, Donate, or Scrap
There are four common ways folks “sell” their used cars.
Trade
The first is to trade it in to a dealership for either cash or collateral towards a new purchase. The pros of trading a car is that it is fast, dealerships are ‘safe’ in the meaning that you won’t be literally robbed, and it requires the least amount of leg work. The con of trading a car is that you as the seller pay for the convenience. You will not get as much money because the dealer wants to make a profit on the trade.
Dealerships will take that trade in and either list it on their lot or sell it at auction (especially if it is a make and model that they do not specialize in).
Donate
Another route that some people choose (one of my brothers included) is to donate their used car. Often times, donated cars are past their prime and have little value left in them. Depending on the organization that it is donated to, you may be able to write off some of the value of the car from your taxes. If you have a charity budget, you might be able to lump it into your charitable giving and ‘convert’ it into cash value that way.
Scrap
This option is for cars that are dead. They do not run or cost too much to get into running order. Junkyards may be willing to pay a few hundred bucks to be able to pick over the carcass of this once majestic beast. End of the line, if you are scrapping a car, it has hit rock bottom.
Private Sale
Finally, there is the private sale. In a private sale, you the owner act as your own 1 man or 1 woman dealership. You advertise the vehicle, find a buyer, take care of paperwork, and hopefully make a sale! The pro of a private sale is that you will likely make more money. The cons include more work, some degree of risk, and a longer time table.
We knew pretty early on that we wanted to do a private sale.
Step #1 – Do Your Homework
Before you list a car for sale, you need to know a couple of things.
Where is the title? Who is listed on the title? Are there any liens on the title?
What condition is the car in?
What is the car worth? What are similar cars going for in the area?
#1 was easy for us. The title was in our safety deposit box, and we were the sole owners of the car.
#2 we knew that the car was in rough but working condition. The whole point of deciding to sell the car was because we were tired of sinking money into repairs.
#3 The fastest way to get a starting number for this is to go to Kelly Blue Book. This also highlighted the discrepancy between trading and private sale.
A “Fair” condition trade in vs “Fair” condition private sale
and here is the “good” condition trade in vs “good” private
There is almost a $1000 difference between trading in and selling it yourself for this particular car!
Step #2 – Clean!
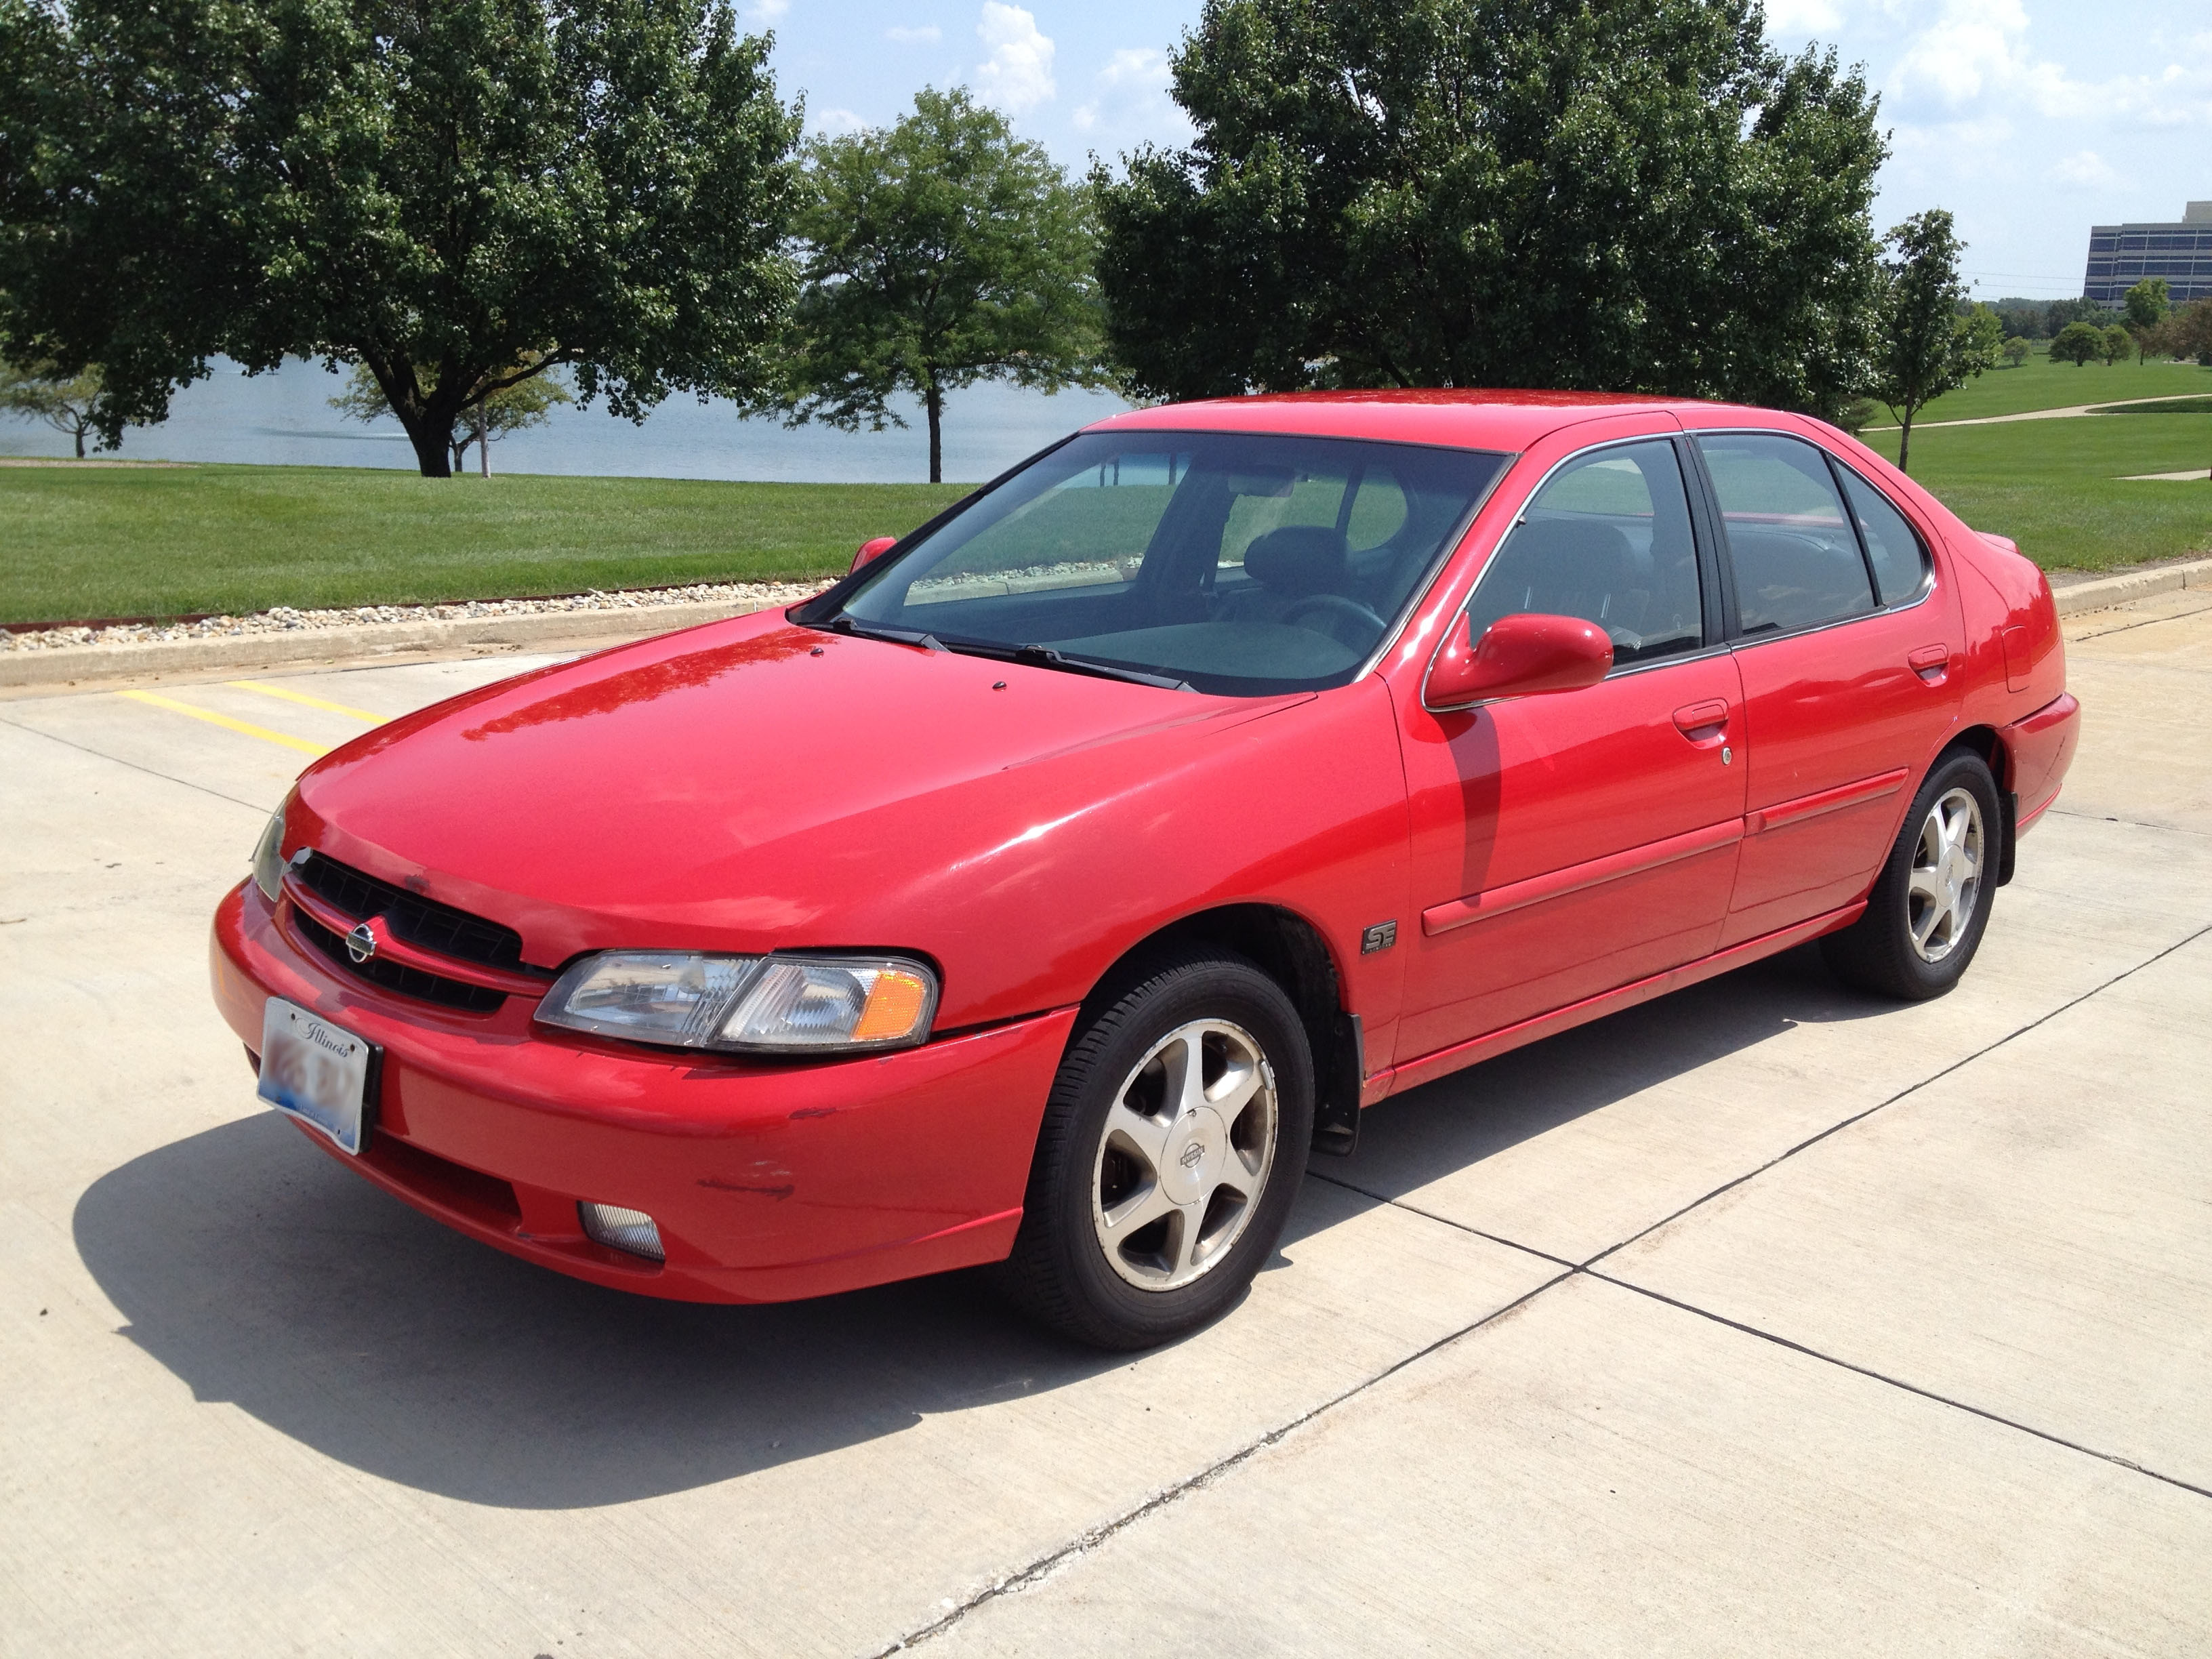
Americans live in their cars. Long commutes, constant errands around town, and a deluge of pet hair, kids snacks, and shoe debris build up a strata of crud over the ownership of a car. New owners want a new car smell, not mashed cheerio paste. We started by emptying out the car of all our personal belongings and giving it a thorough cleaning. Start on the inside and wipe down all of the glass, vacuum out all of the crevices, and remove all of those old window decals. Once the inside it properly clean, take it to a car wash and get the fanciest wash possible. A super duper unicorn tear wash set us back only $12 but made the car really spiffy and shiny. Immediately after the car wash, stop and take pictures of those shiny wheels. Here is our advertisement picture showing off the tire tread of the wheel. The picture was taken 20 feet from the car wash. That leads us into step 3.
Step #3 – Lights, Camera, Action
Now that the car is at its cleanest, it is time to take pictures. Find a picturesque location (not your driveway) and take some glamour photos. Follow good photographer rules of thumb. Shoot with the sun behind you, frame the car nicely, and use plenty of natural light.
Now that’s a car that stands out!
Include lots of photos. If you aren’t sure what should be photographed, take a look at a dealership’s website and see what they take photos of. Try and mimic a dealership. Take more photos than you need so you can pick out the best ones later. I ended up posting 19 photos with my ad.
Step #4 – Craft The Ad
Once upon a time, people use to stick a “For Sale” sign in the window of a car along with a phone number and wait. Folks still do that today, but there are better ways of getting the message out. We chose to utilize Craigslist and a similar private classified that is limited to Shae’s workplace (we’ll call it XYZ). The bulk of what people look at on a listing are the pictures and if we did a good job on the previous step, then they may be interested in what the text of the actual ad says. It is here that you should list all of the great features of the car while sneaking in any of the standout issues that it may be having.
Here is our ad text:
Have a young driver heading back to school soon? This sports edition altima is the car for them!
• 142000 miles (below average) • Leather seats • Tires have good tread • Gas sipping commuter (24/31 MPG) • Aftermarket stereo, plug & play w/ phones • New front suspension • Fun to drive!
This car has been well maintained with synthetic oil changes every 6 months for the past 5 years. It has a brand new battery, front suspension, tie rods, wheel hub, and a recent alignment. The AC does not work and the rear brakes are nearing their service date. Front brakes are good and it has plenty of stopping power. Spark plugs have another 40-60k miles to go, tires have another 20k. New air filter, premium wiper blades, and all fluids have been topped off.
Other features:
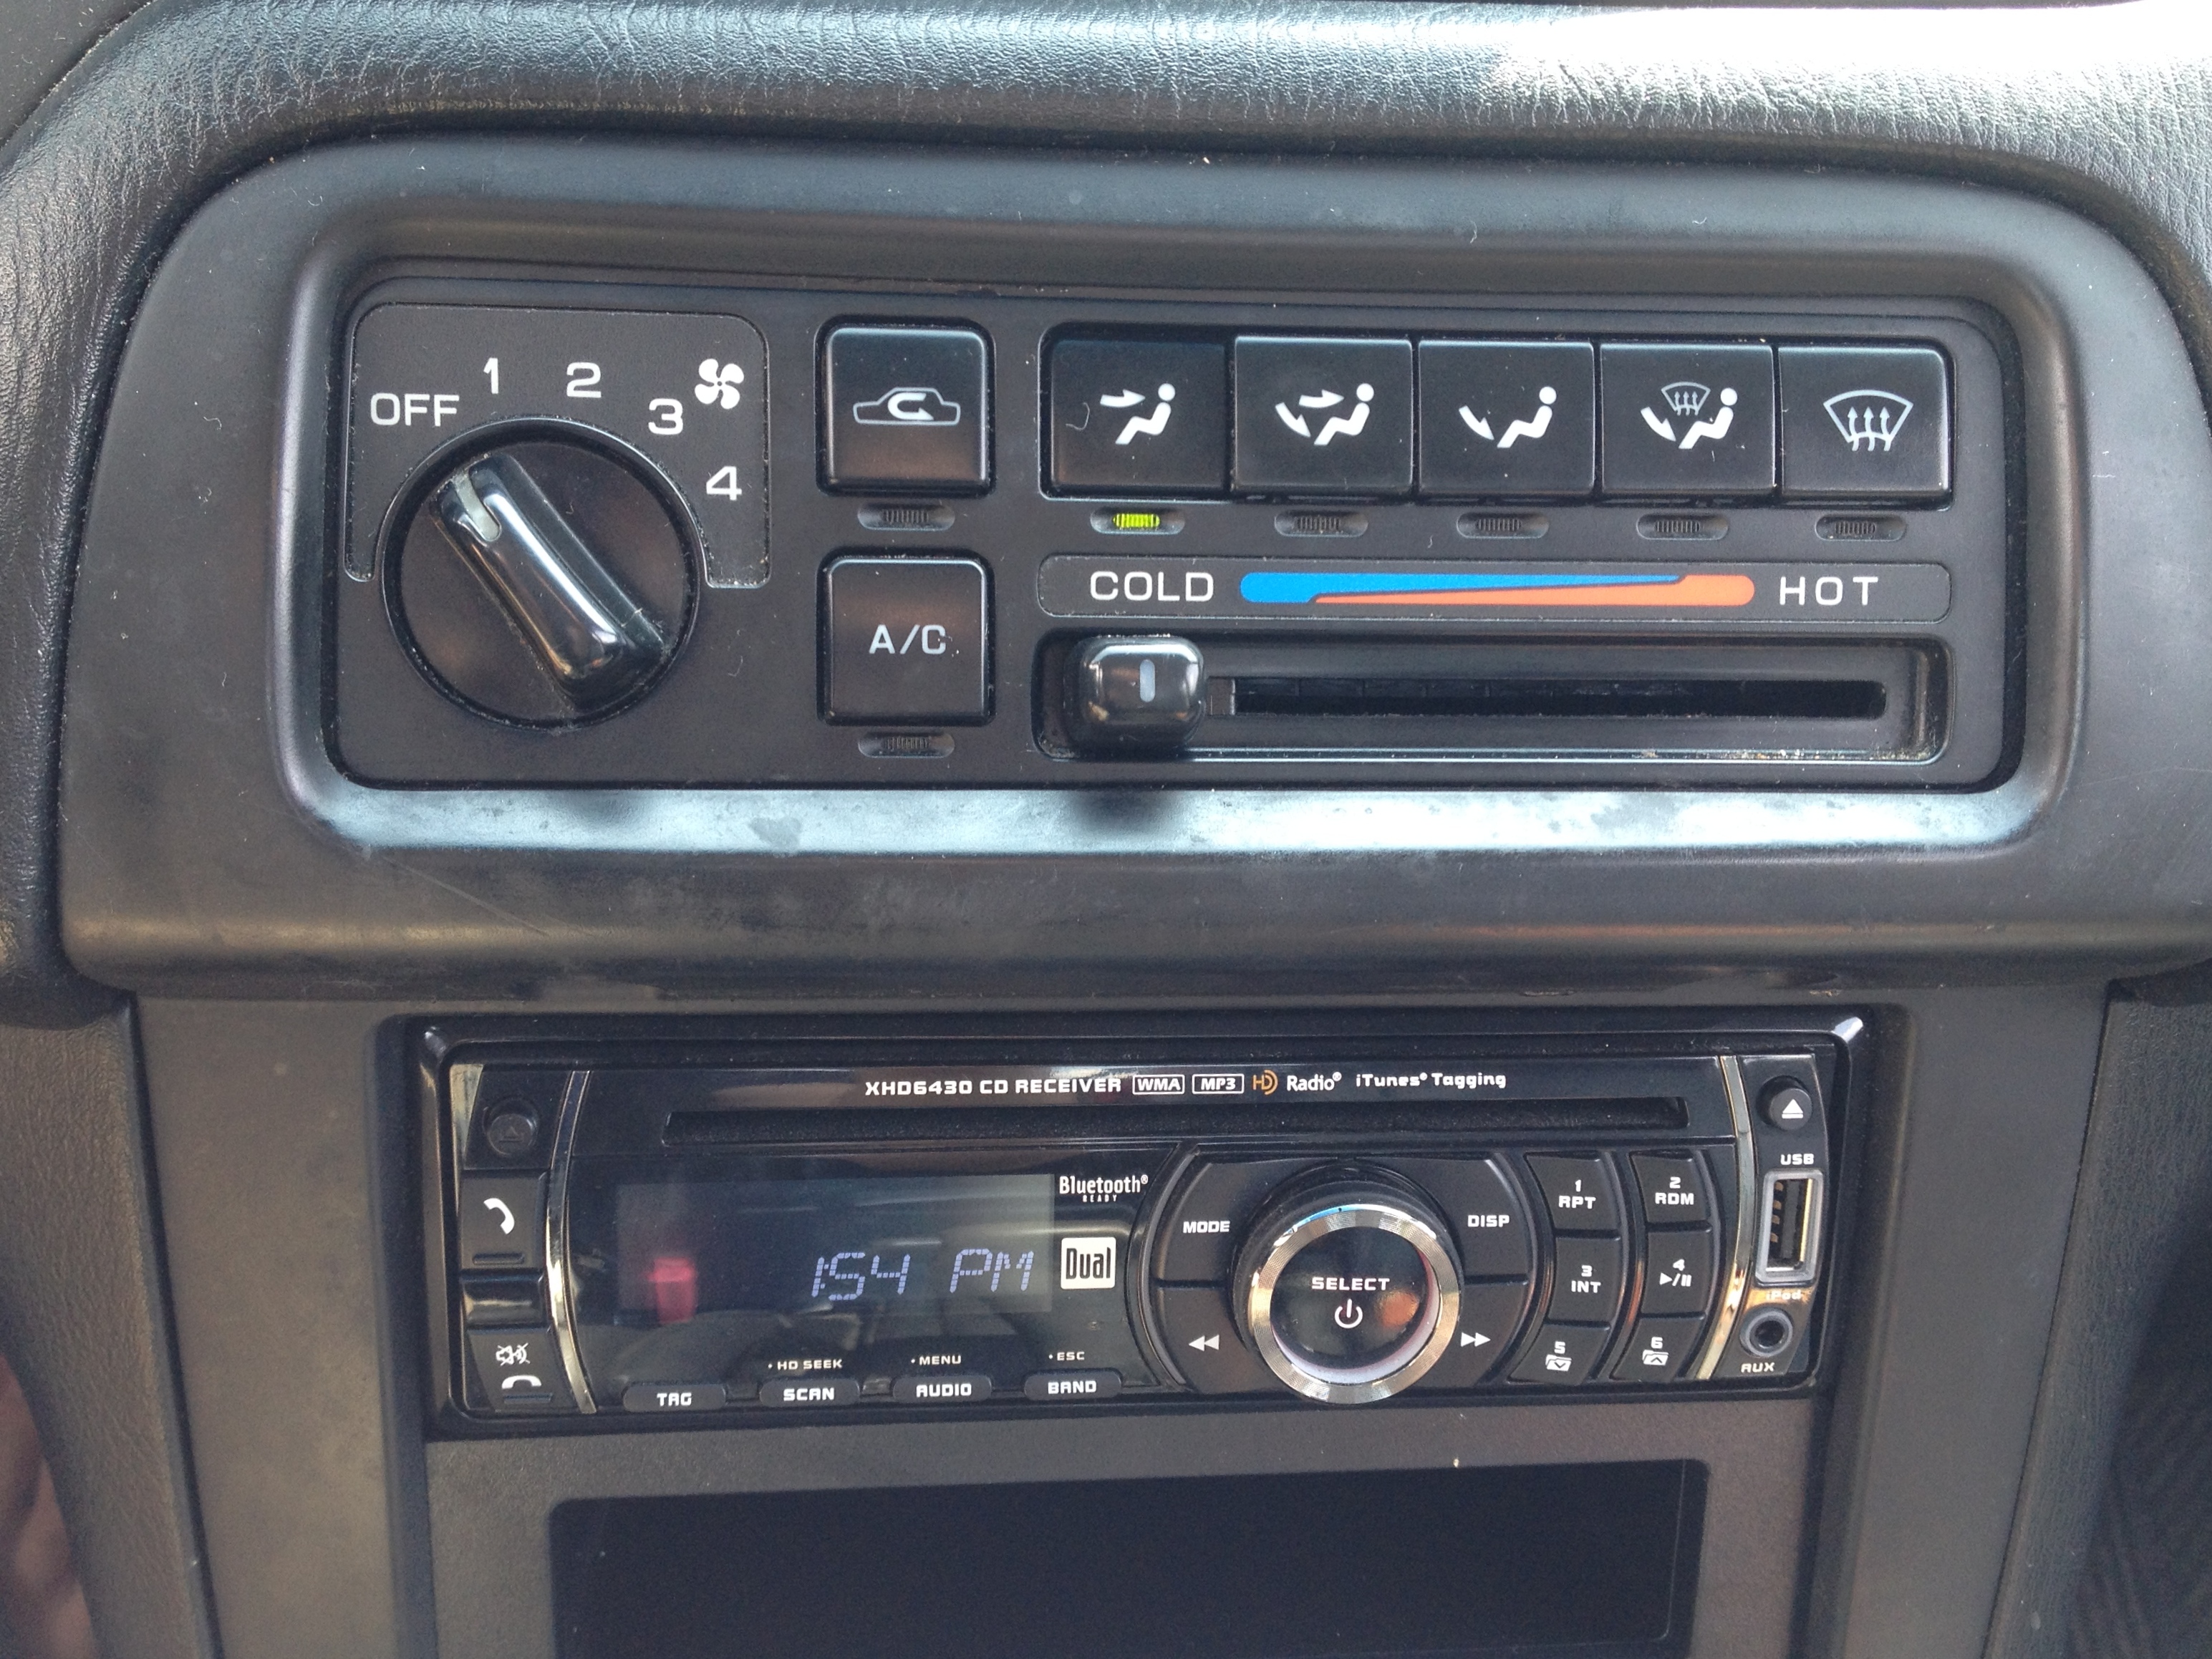
• Cruise Control • Driver & passenger air bags • Alloy wheels • All around disk brakes • Power windows • Power driver seat • Power mirrors • 60/40 fold down back seat (you can fit a lot in this car!) • Full sized spare • Very little rust or fading • Car alarm • USB port in stereo • CD/MP3/AM/FM • Non smoking • Clean & ready to roll!
Title is in hand just waiting to be signed over. Cash or cashier’s check. Call, text or email to see it and take it home!
Notice how it is succinct but still gives plenty of information. Prospective buyers will appreciate that you are upfront about problem areas and will likely tunnel vision onto those instead of examining other parts of the car. Color me skeptical when I read listings for 15 year old cars that state it is in perfect running condition. Sure it is buddy, whatever you say.
In general, I find the oreo style of writing to be very easy and effective. Sandwich any negative bits in-between good ones. A prospective buyers attitude will be positive after reading the first good bit and that will help carry them through the negative bit before finally washing that away with a final good bit again.
It is important that you list contact details so prospective buyers can get a hold of you if they are interested. From the time we posted the ad on Monday to when we took it down on Thursday night, we had 11 individuals contact us.
As expected, Craigslist generated more hits than the private classifieds.
The best offer, and the one we accepted, started with an email from one of the XYZ hits. In fact, of the three offers that we ended up receiving, each one originated from an email contact.
Step #5 – Sell the Car
Answer emails, texts, and phone calls from prospective buyers. Arrange to meet them in a safe place such as a mall parking lot so they can see the car in person. Ride along for test drives and be prepared for low ball offers. If you did your homework at the beginning you should have a good idea of how much the car is worth.
After a little negotiating we ended up selling the car for $1800, $36 above KBB value. The new owner will have to put some money into repairs, but they also are saving quite a bit by buying from those “sketchy” folks in the parking lot versus going to a car lot. I looked up the same year, make, and model car at dealerships around us and found one with similar mileage listed for $3800. Sure that could probably be haggled down a bit, but the buyers saved a boatload by doing their own legwork and dealing with us. We earned money by selling instead of trading. Everyone wins! Yay capitalism.
Step #6 – Tie up loose ends
Make sure all paperwork is filled out properly when you exchange keys and money with the buyer. We filled out a simple bill of sale, a notice of sale, and the title. After the sale is done, mail the notice of sale to your secretary of state and notify your insurance company to stop coverage on the car.
Conclusion
We cleaned the car on Sunday, listed it on Monday, and had cash in hand on Thursday night. It is fun to take on new challenges with your spouse and I find that those challenges usually help strengthen a relationship. If we can sell a car, then you can too!
A little while back, I replaced the front struts on our 15 year old car. While I was doing that work, I noticed that several other parts in the wheel well were looking past their prime. It is recommended that you have your car aligned after replacing struts so in the interest of only having to do that once, I decided to replace some other parts that would also need an alignment.
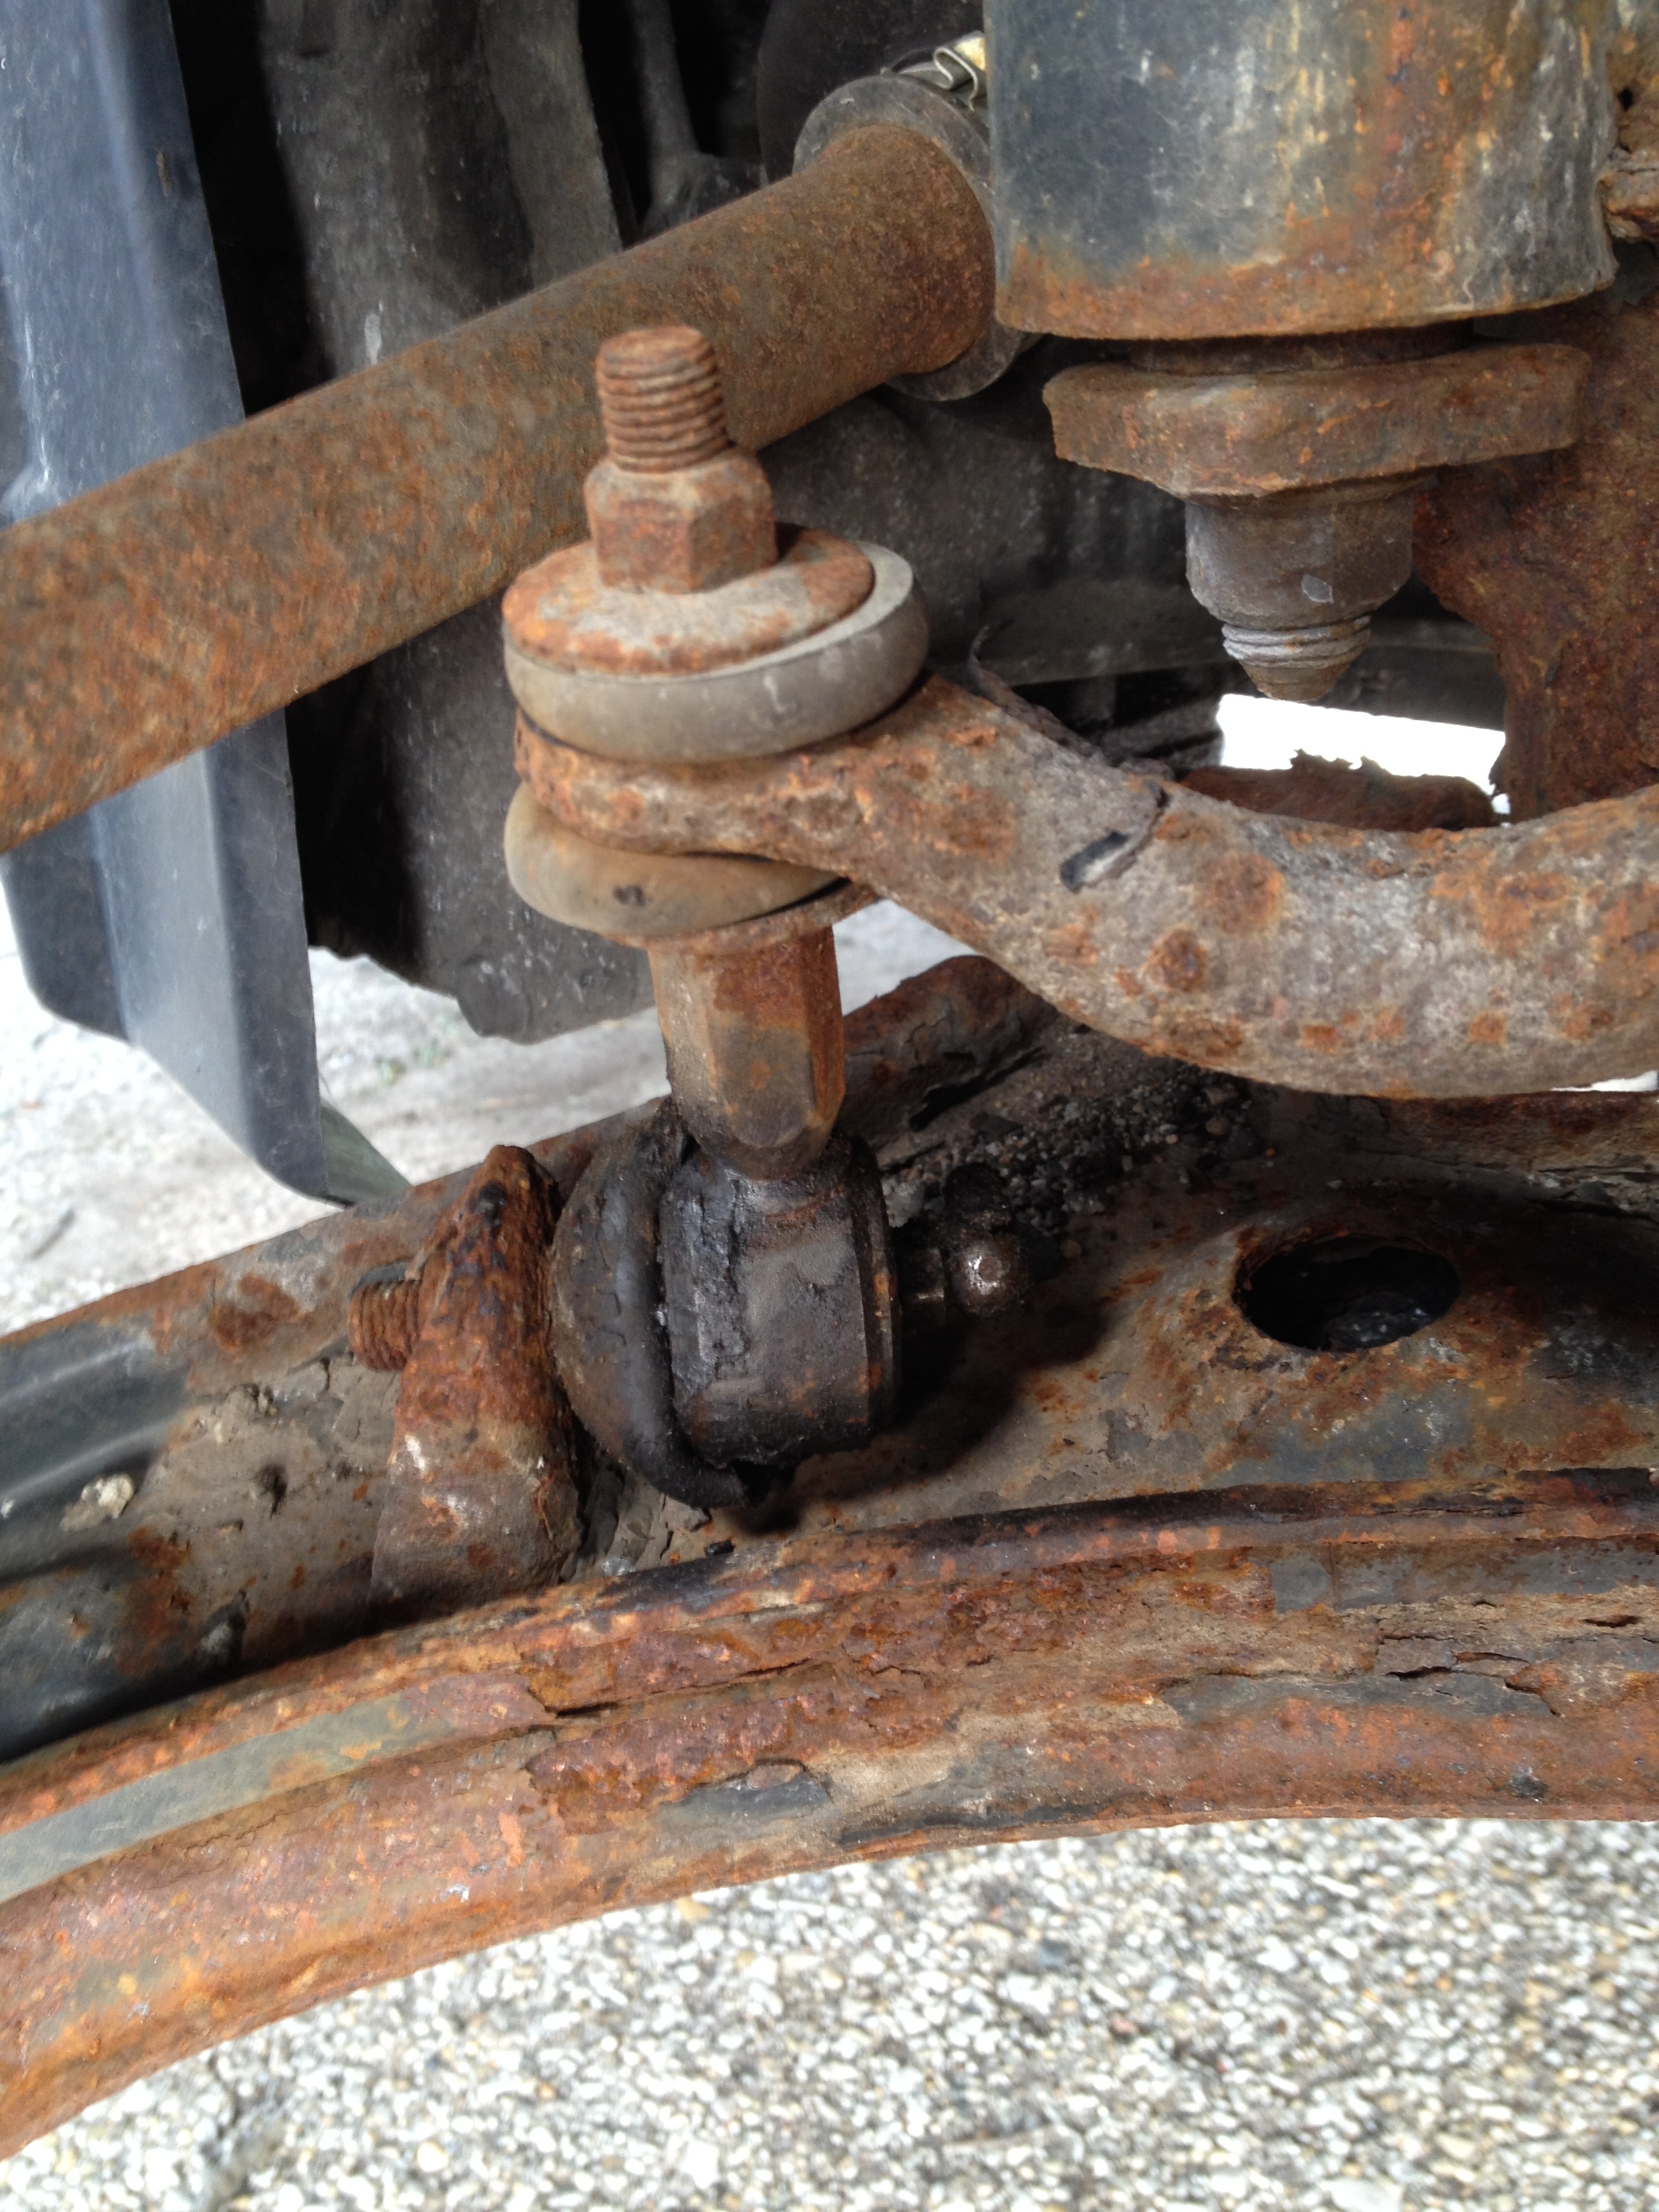
The first item on the list was new inner and outer tie rods. Tie rods push and pull the wheels in and out, or in other words make the car turn left or right. They are also one of the parts that is adjusted during an alignment.
The red arrow points to the outer tie rod. The outer tie rod is the most common and easiest part to replace of the entire steering arm. The green arrow points to a lock nut. This nut is used to adjust how far or close the outer tie rod sits from the center of the car. Mechanics will adjust this nut as part of your alignment. The blue arrow points to the inner tie rod. Sometimes it is called a steering rod and it threads onto the rack and pinion. The purple arrow shows the dust boot that keeps the inner tie rods connection with the rack and pinion clean.
First things first, we’ll need to remove the outer tie rod. In my case, it was so rusted onto the inner tie rod and I already was planning on replacing the inner that I simply cut it off with an angle grinder.
Here you can see the old outer tie rod next to a new one. One of the main reasons that you would need to replace an outer tie rod is because the rubber boot protecting the ball bearing is cracked.
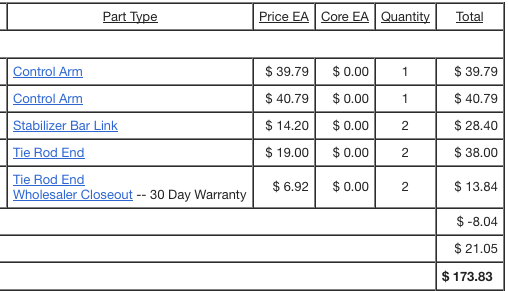
Once that is cracked, grit can get into the bearing and it will quickly wear out. I was able to find the exact same tie rod end for $7/pc on RockAuto.com.
Taking off the dust boot gives you access to the inner tie rod. I had to borrow a loaner tool from the auto parts store to remove the inner tie rod.
The inner tie rod has a ball joint where it hooks up to the rack and pinion. This ball joint should be firm, but the ones I removed could easily be moved around with my pinky finger.
Assembly is the reverse and fairly easy.
Moving right along, the next part that I wanted to replace on both sides was the lower ball bearings. Unfortunately, for this car, you have to replace the entire control arm with the bearings already pressed in. Here is a picture of the whole control arm.
and this is the lower ball bearing that connects the control arm to the steering knuckle.
Like the outer tie rod, once the protective rubber boot cracks and opens up, the bearing is doomed. These parts are so close to the wheel and road that they are subjected to a constant barrage of grit and grime.
In order to remove the control arm, you must also disconnect the stabilizer bar link (sometimes referred to as a sway bar).
The sway bar runs underneath your car and connects the left and right control arms together. When you’re speeding down the road and make a hard turn, this bar will transfer some of the suspension load from one side to the other. I found new links for $15/pc.
Removing the control arm was pretty difficult for me. There are 4 connection points to the car (including the sway bar link). The connection to the steering knuckle was the hardest because there is only room for a crescent wrench and the nuts were severely corroded.
The other difficult step was removing the 3 bolts that secure the rear bushing of the control arm. Red loctite was used on at least one of the bolts. Loctite is a special kind of glue used to hold bolts in place. It comes in two common varieties, red and blue. Blue can be removed with hand tools, but red has to be heated up to 550° F. My 300 ft lb impact wrench was no match for the red thread locker so I had to use a propane torch and heat it up (I only caught the lubricating/penetrating oil on fire twice).
After all of the blood, sweat, and smoke I finally ended up getting the old control arms out.
This was the part that I really wanted to replace.
Install is the reverse. Here is one of the new sway bar links installed.
The lower ball bearing looks much happier now.
Here you can see the tie rods, control arm, and sway bar linked installed.
All of the parts set me back $174.
Labor was the biggest expense as it probably took around 8-10 hours. I also had to use some special tools including:
Impact Wrench
Propane Torch
27 mm socket
22 mm socket
Inner Tie Rod Tool (free loaner tool from car parts store)
7/8 ” Crescent wrench
PB Blaster (penetrating oil)
Would I do all of that work again? Probably not. It was a good learning experience, but we will most likely be selling this car within the next six months.


 Immediately after the car wash, stop and take pictures of those shiny wheels. Here is our advertisement picture showing off the tire tread of the wheel. The picture was taken 20 feet from the car wash. That leads us into step 3.