There haven’t been any big blizzards so far this winter and I am okay with that. We have had some snowfall that the kids can play in.
I took Frugal Boy to a good sledding hill after our town received several inches of powder.
We went up and down the hill a dozen times before he got too cold.
His favorite was to go down the hill face first. I would lay on the sled, and then he would lay on top of me. We were almost able to make it to the first line of trees using that technique!
We built a snowman in our backyard. Mr. Snowman only lasted 24 hours before he melted.
We did some more sledding at our house. Who needs hills when you have a slide?
This Spring we started tomato seeds inside to try and get a head start on yummy produce. We’ve done seedlings inside before with mixed results. Last year we took them outside too early and the cold weather stunted them. This year they seem to be off to a much better start.
We started by using an old egg carton filled with dirt from our garden to start a dozen seeds. Nine germinated in our chilly house and we repotted those to pint sized plastic containers. Each time that you repot tomatoes, you want to set them deeper into the soil. The little hairs/fuzz along the stem will turn into new roots and make the plant stronger and more drought resistant. Yesterday, I repotted the plants a second time from pint containers to quart containers.
I like to wet the soil of the smaller container first to help the dirt stick together. You want to be especially careful of the tomato plant stem. If it breaks, the plant is a write off. Clip or pinch off any low leaves on the stem and bury the plant up to the first true leaves.
The rule of thumb is to repot whenever the tomato is 3 times taller than the diameter of the pot. By doing multiple repotting, you can develop a large and strong root system that will keep the tomatoes from splitting during hot summer days.
Starting seeds inside is a great way to be frugal. You can reuse plastic pots almost indefinitely. I looked up quart sized cherry tomato plants at one of our nearby big box stores and they were selling for $4/plant. We currently have seven plants at that size, so the seeds pay for themselves. In a few more months we should have an abundant crop of delicious cherry tomatoes!
An Autumn chill has crept into the nights and we have closed up most of the windows in the house to keep the warm daytime air in. The cooler weather is a welcome respite from the heat and humidity that has dogged us for the majority of the summer. On Sunday, after we waved goodbye to the grandparents, a tale for a different day, Shae and I set to work on planting fall perennials and spring bulbs around the house. Frugal Boy moped inside, he had a serious case of the blues and missed Grandma and Grandpa.
Before we rebuilt the porch, it was surrounded by perennial mums. A year and a half of construction had killed off the majority of the plantings surrounding the porch, so we picked up almost 100 bulbs plus 16 quart sized yellow garden mums from Menards. The home improvement store was running an 11% off sale that made the mums an attractive $1.11/ea. Tulip bulbs were 19¢ a piece and giant alliums were 20¢ each.
We spent a couple of hours relocating two dozen hostas from the front of the house to fill in other areas. Then we laid out a two row pattern of hyacinths and tulips for the flower bed in front.
Next Spring we’ll probably need to add in some Summer and Fall color to this flower bed.
Next, we dug a trench around the southern and eastern porch edges to plant giant alliums, tulips, hyacinths, and yellow mums. Mums are a fall perennial so my hope is that as one plant dies off or loses appeal, another will take its place. Experienced gardeners call this layering and know what they are doing. I took a more spray and pray attitude.
With any luck, everything that we planted will come back for years to come.
Shae and I really like our raised garden beds. They keep the rabbits out of our produce, and are dead simple to weed. Our vertically challenged son however has been missing out on the action, so last night I whipped together a simple outdoor garden stool.
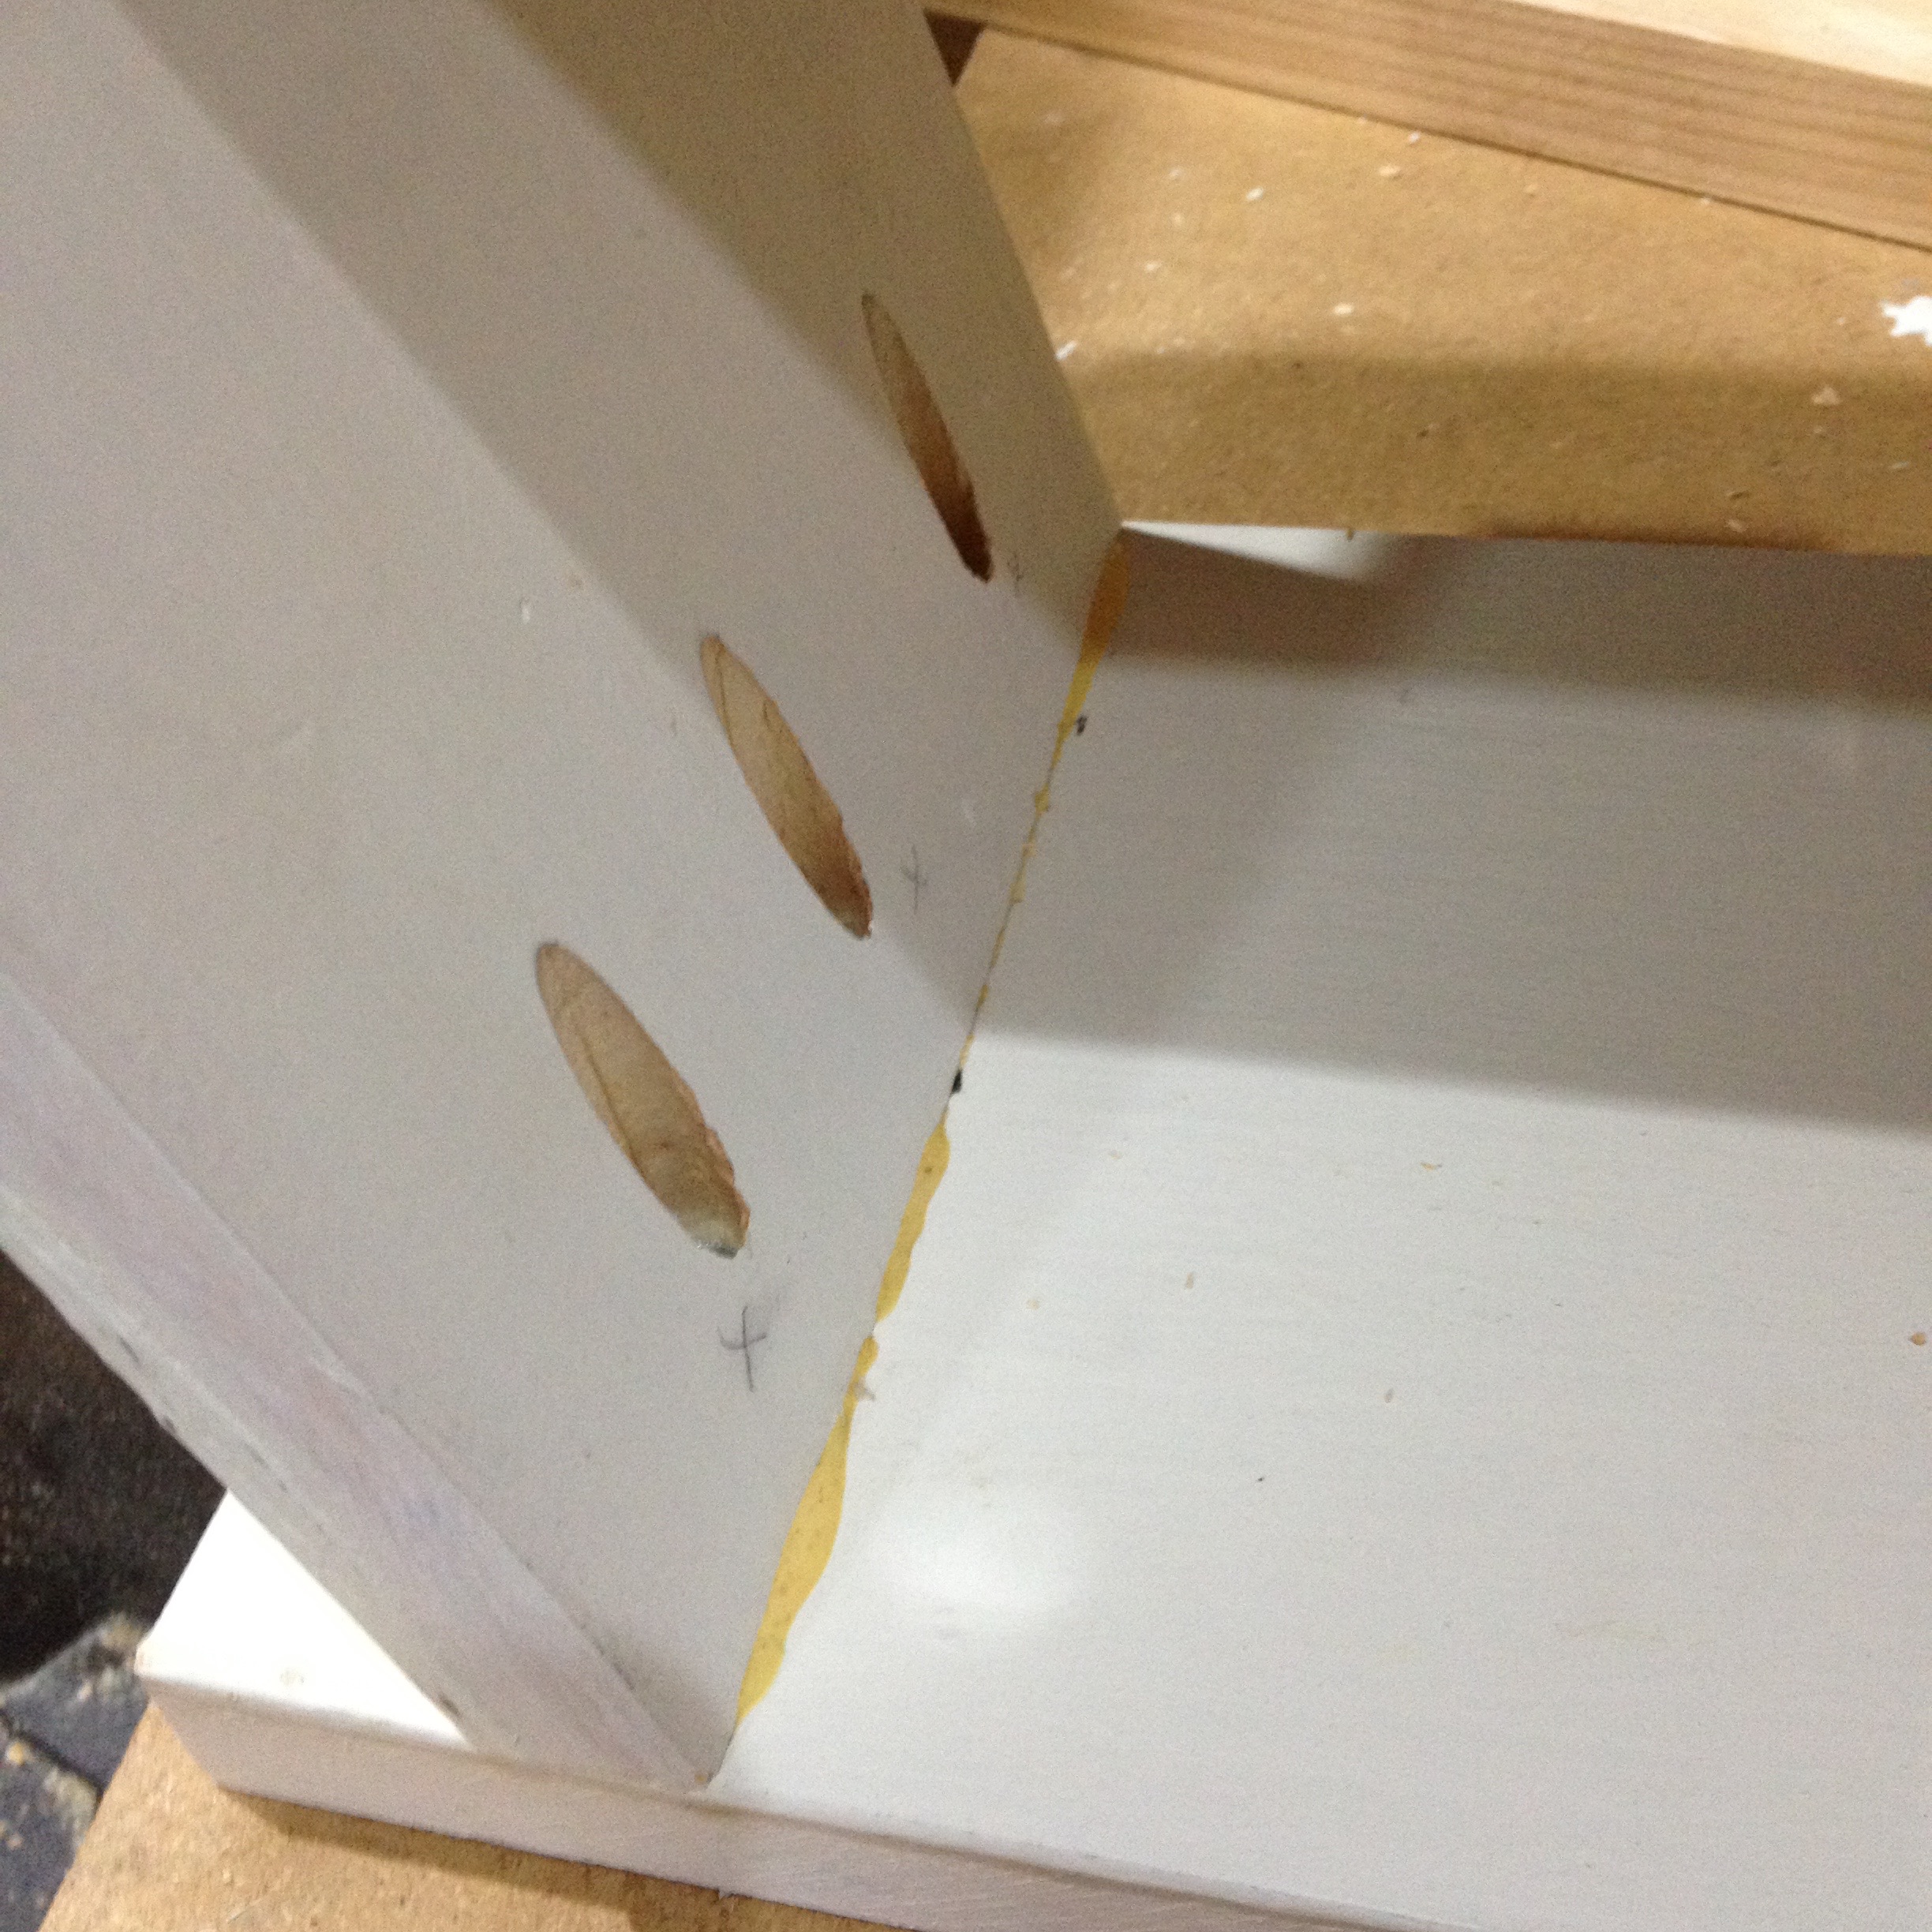
The stool is just made up of scrap wood that I had lying around the garage. I made the step 14″ wide, and the legs are at a 15° angle. Pocket screws and wood glue hold the legs on.
After letting Frugal Boy try it out, I added a couple of 1x stabilizers to help prevent it from rocking back and forth. They are held on just by wood glue.
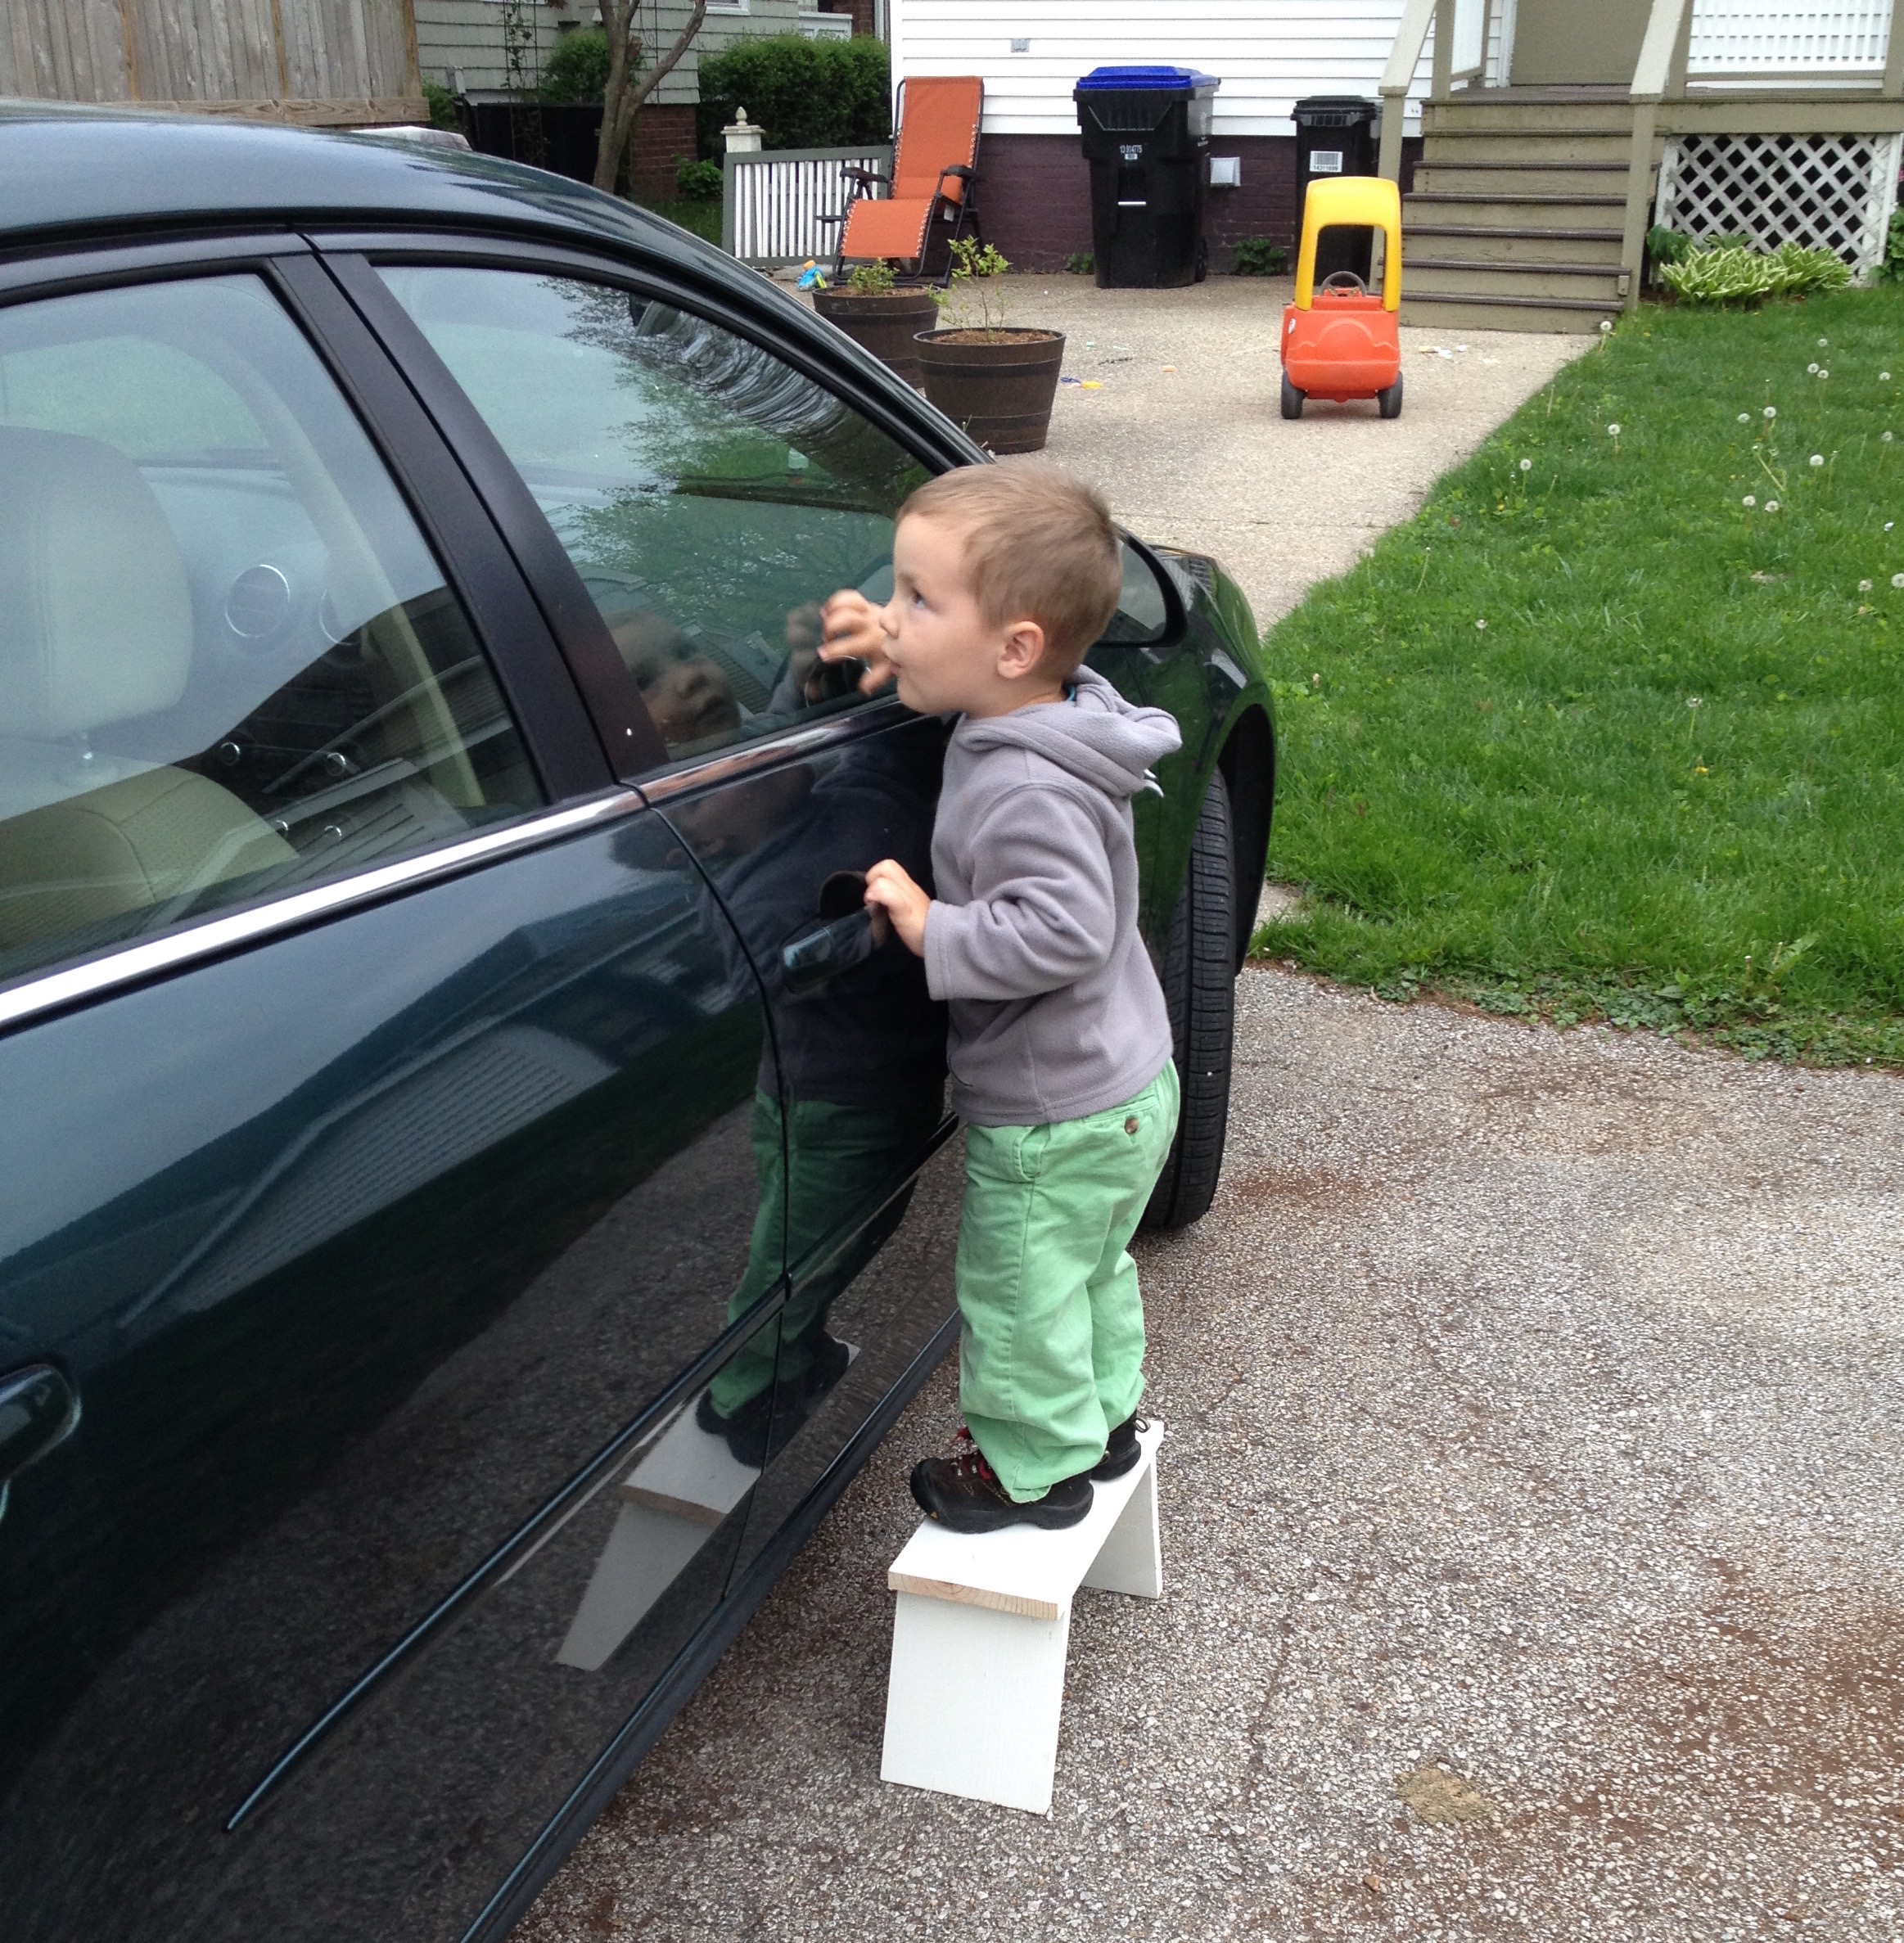
Frugal Boy can now see into things that were 7″ out of reach before. Like the car windows.
And the car mirror.
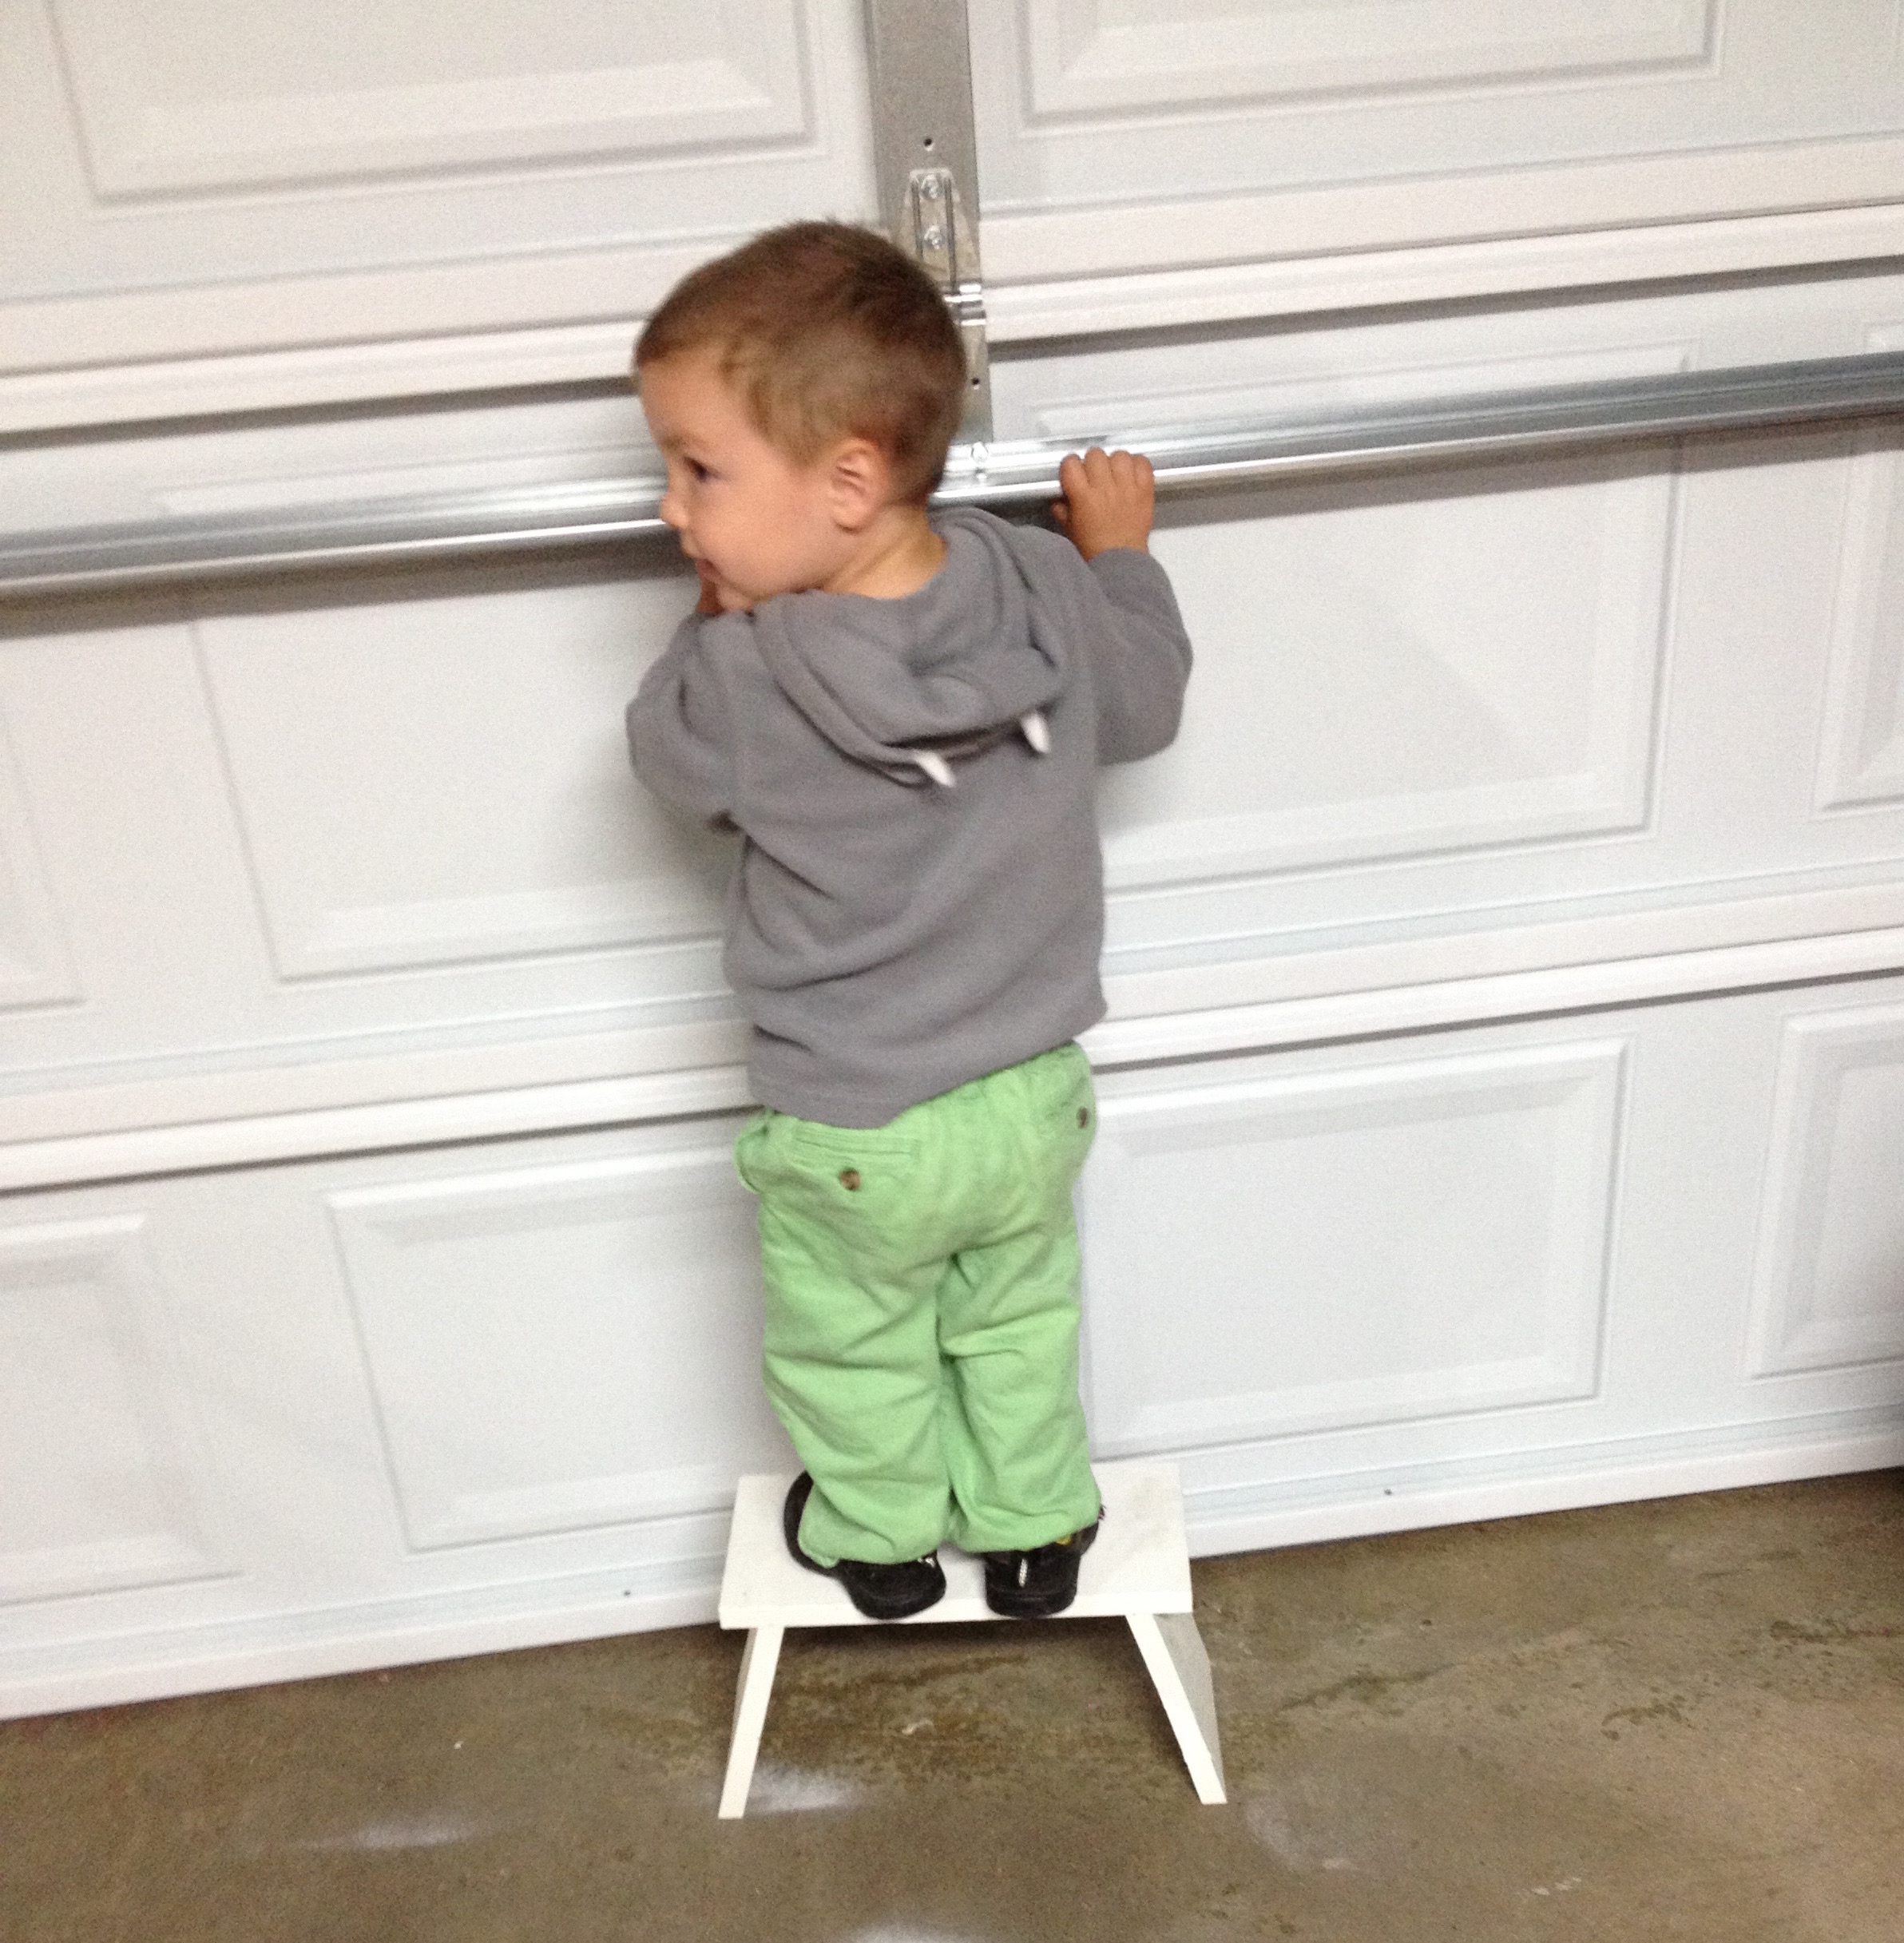
And the support strut of the garage door.
And the workbench in the garage.
He loves his little outdoor stool and it was super easy to make!
I am 99% finished with a weekend home improvement project and it is only Thursday! Just don’t ask what weekend I started on. 😉
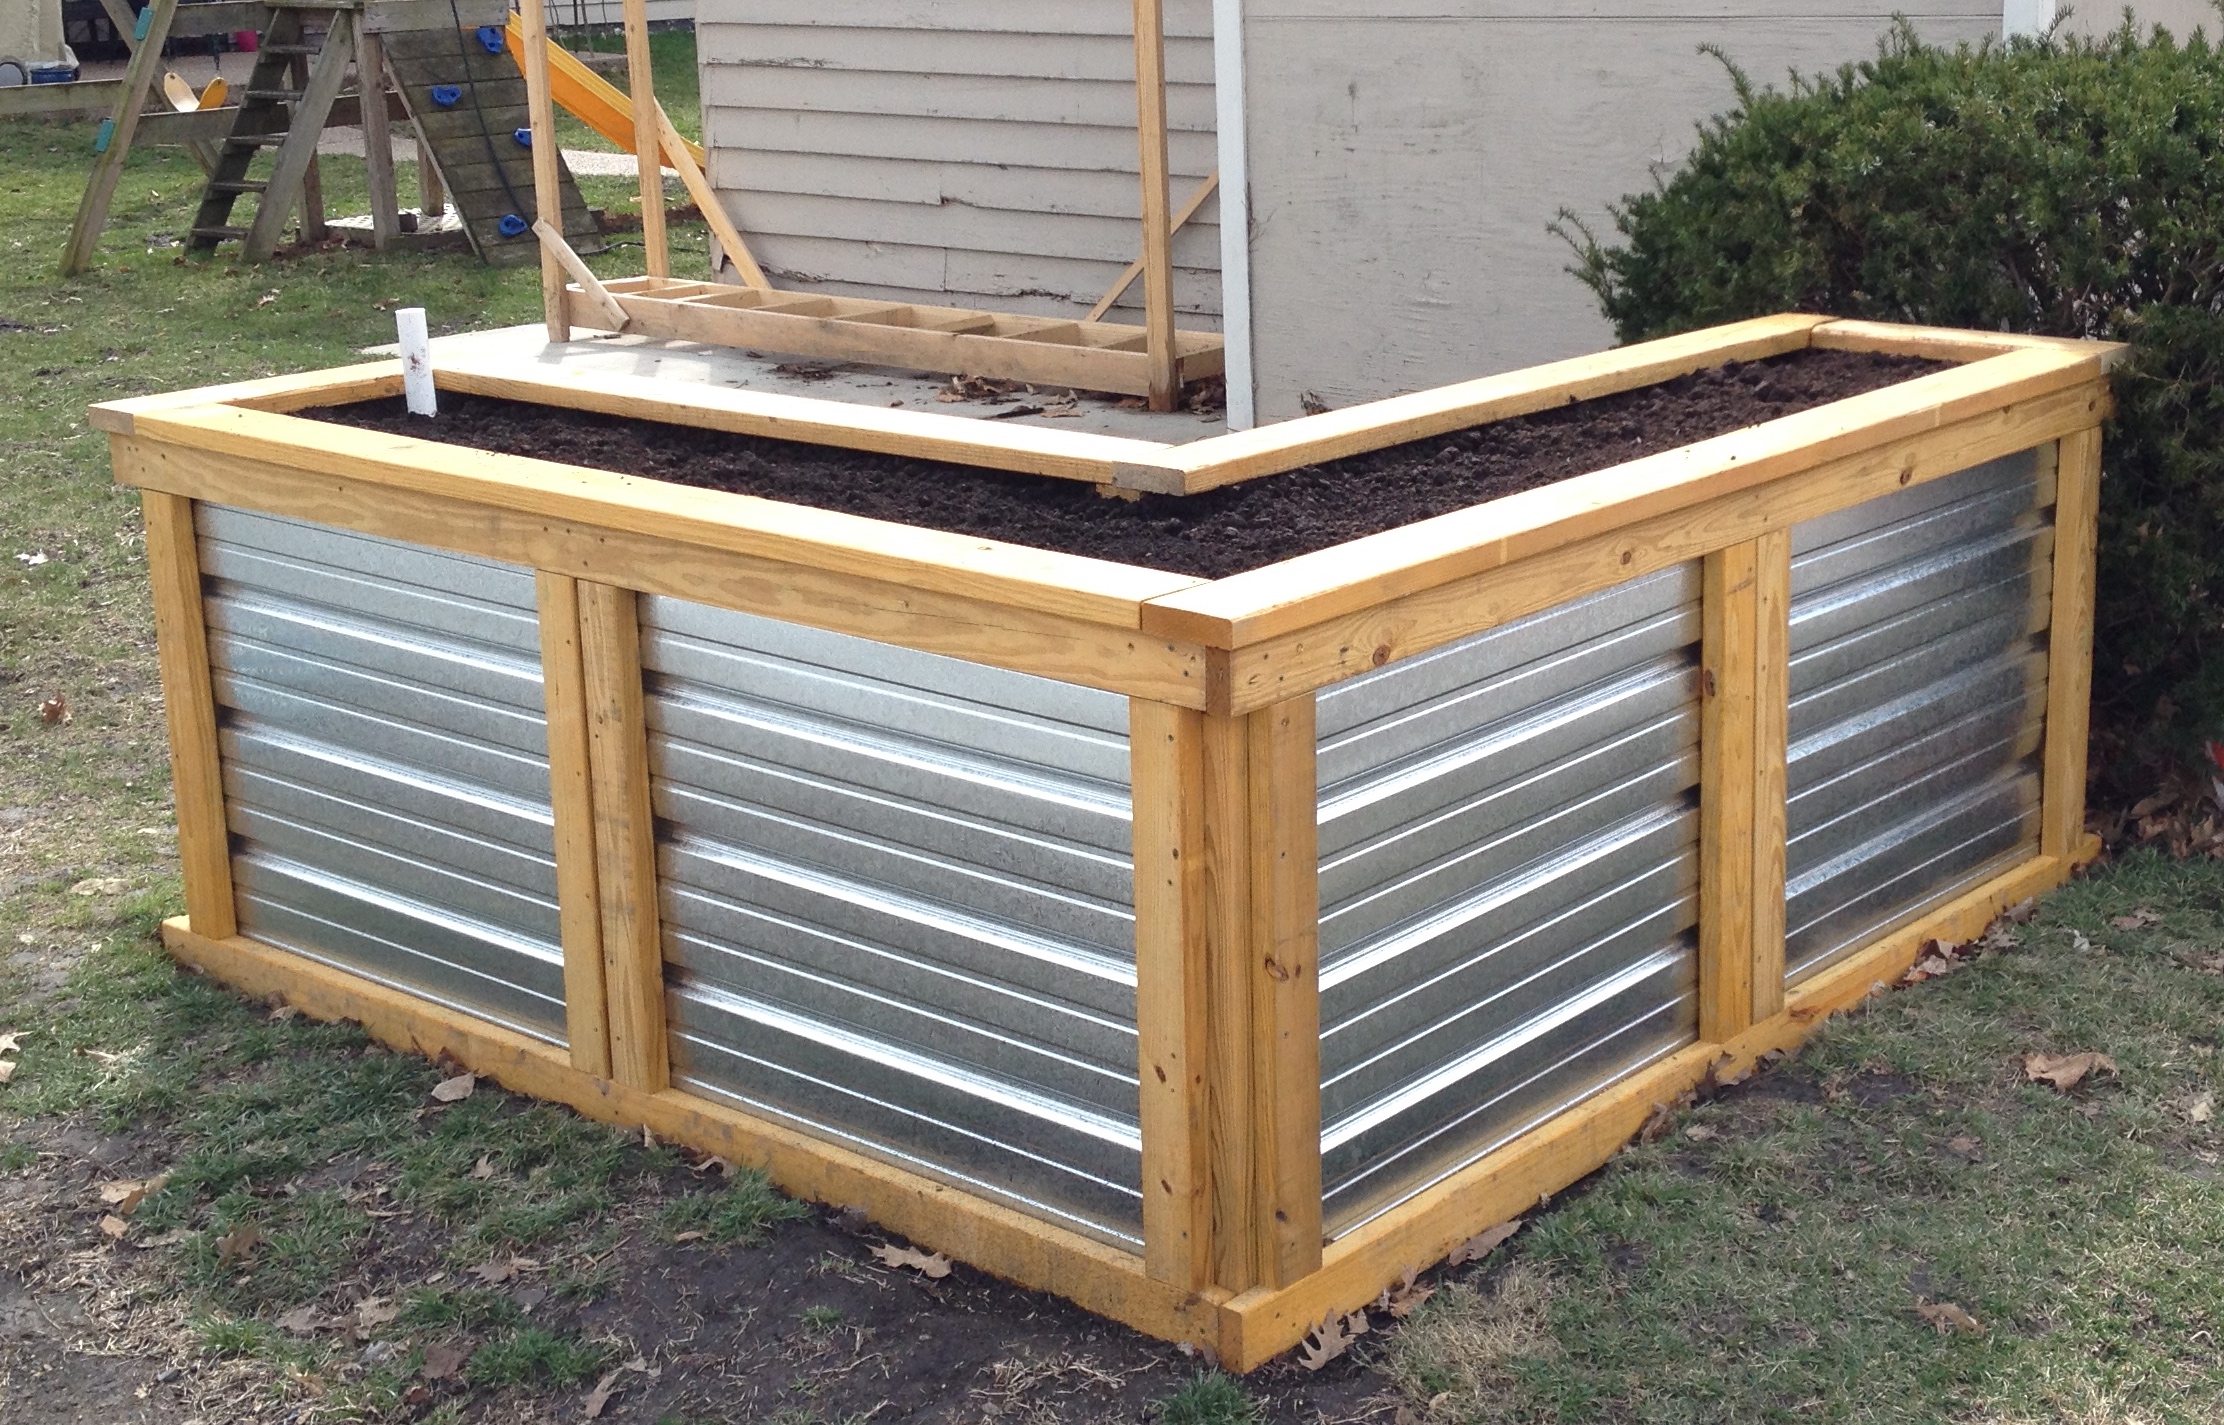
Shae and I have been talking for a while about building some kind of raised garden/flower bed in our backyard. I wanted something tall but affordable. Shae wanted low maintenance. Here is the almost finished product that has been erected in our backyard.
A view from the inside of the ‘L’
and a view from the alley.
From the Beginning
Every project of ours starts with a written plan. We often go through several iterations of a design before settling on ‘the one’. The first proposal was a simple rectangle and the site location for it was a completely different part of our backyard. It was only about a foot tall and made entirely from cedar.
Of course that didn’t really meet any of our specs. Cedar is an expensive wood, at least when compared to pine. The planter was only a foot tall and it wasn’t self watering. There had to be a design that would meet all of our requirements and eventually we started toying with an L shaped hybrid design that incorporated low cost treated, stained pine with galvanized sheet metal.
Several revisions later and we had our bill of materials.
Menards was running an 11% rebate sale, that we took advantage of. We also rented one of their trucks ($22.50) for 75 minutes from when you leave the outdoor yard.
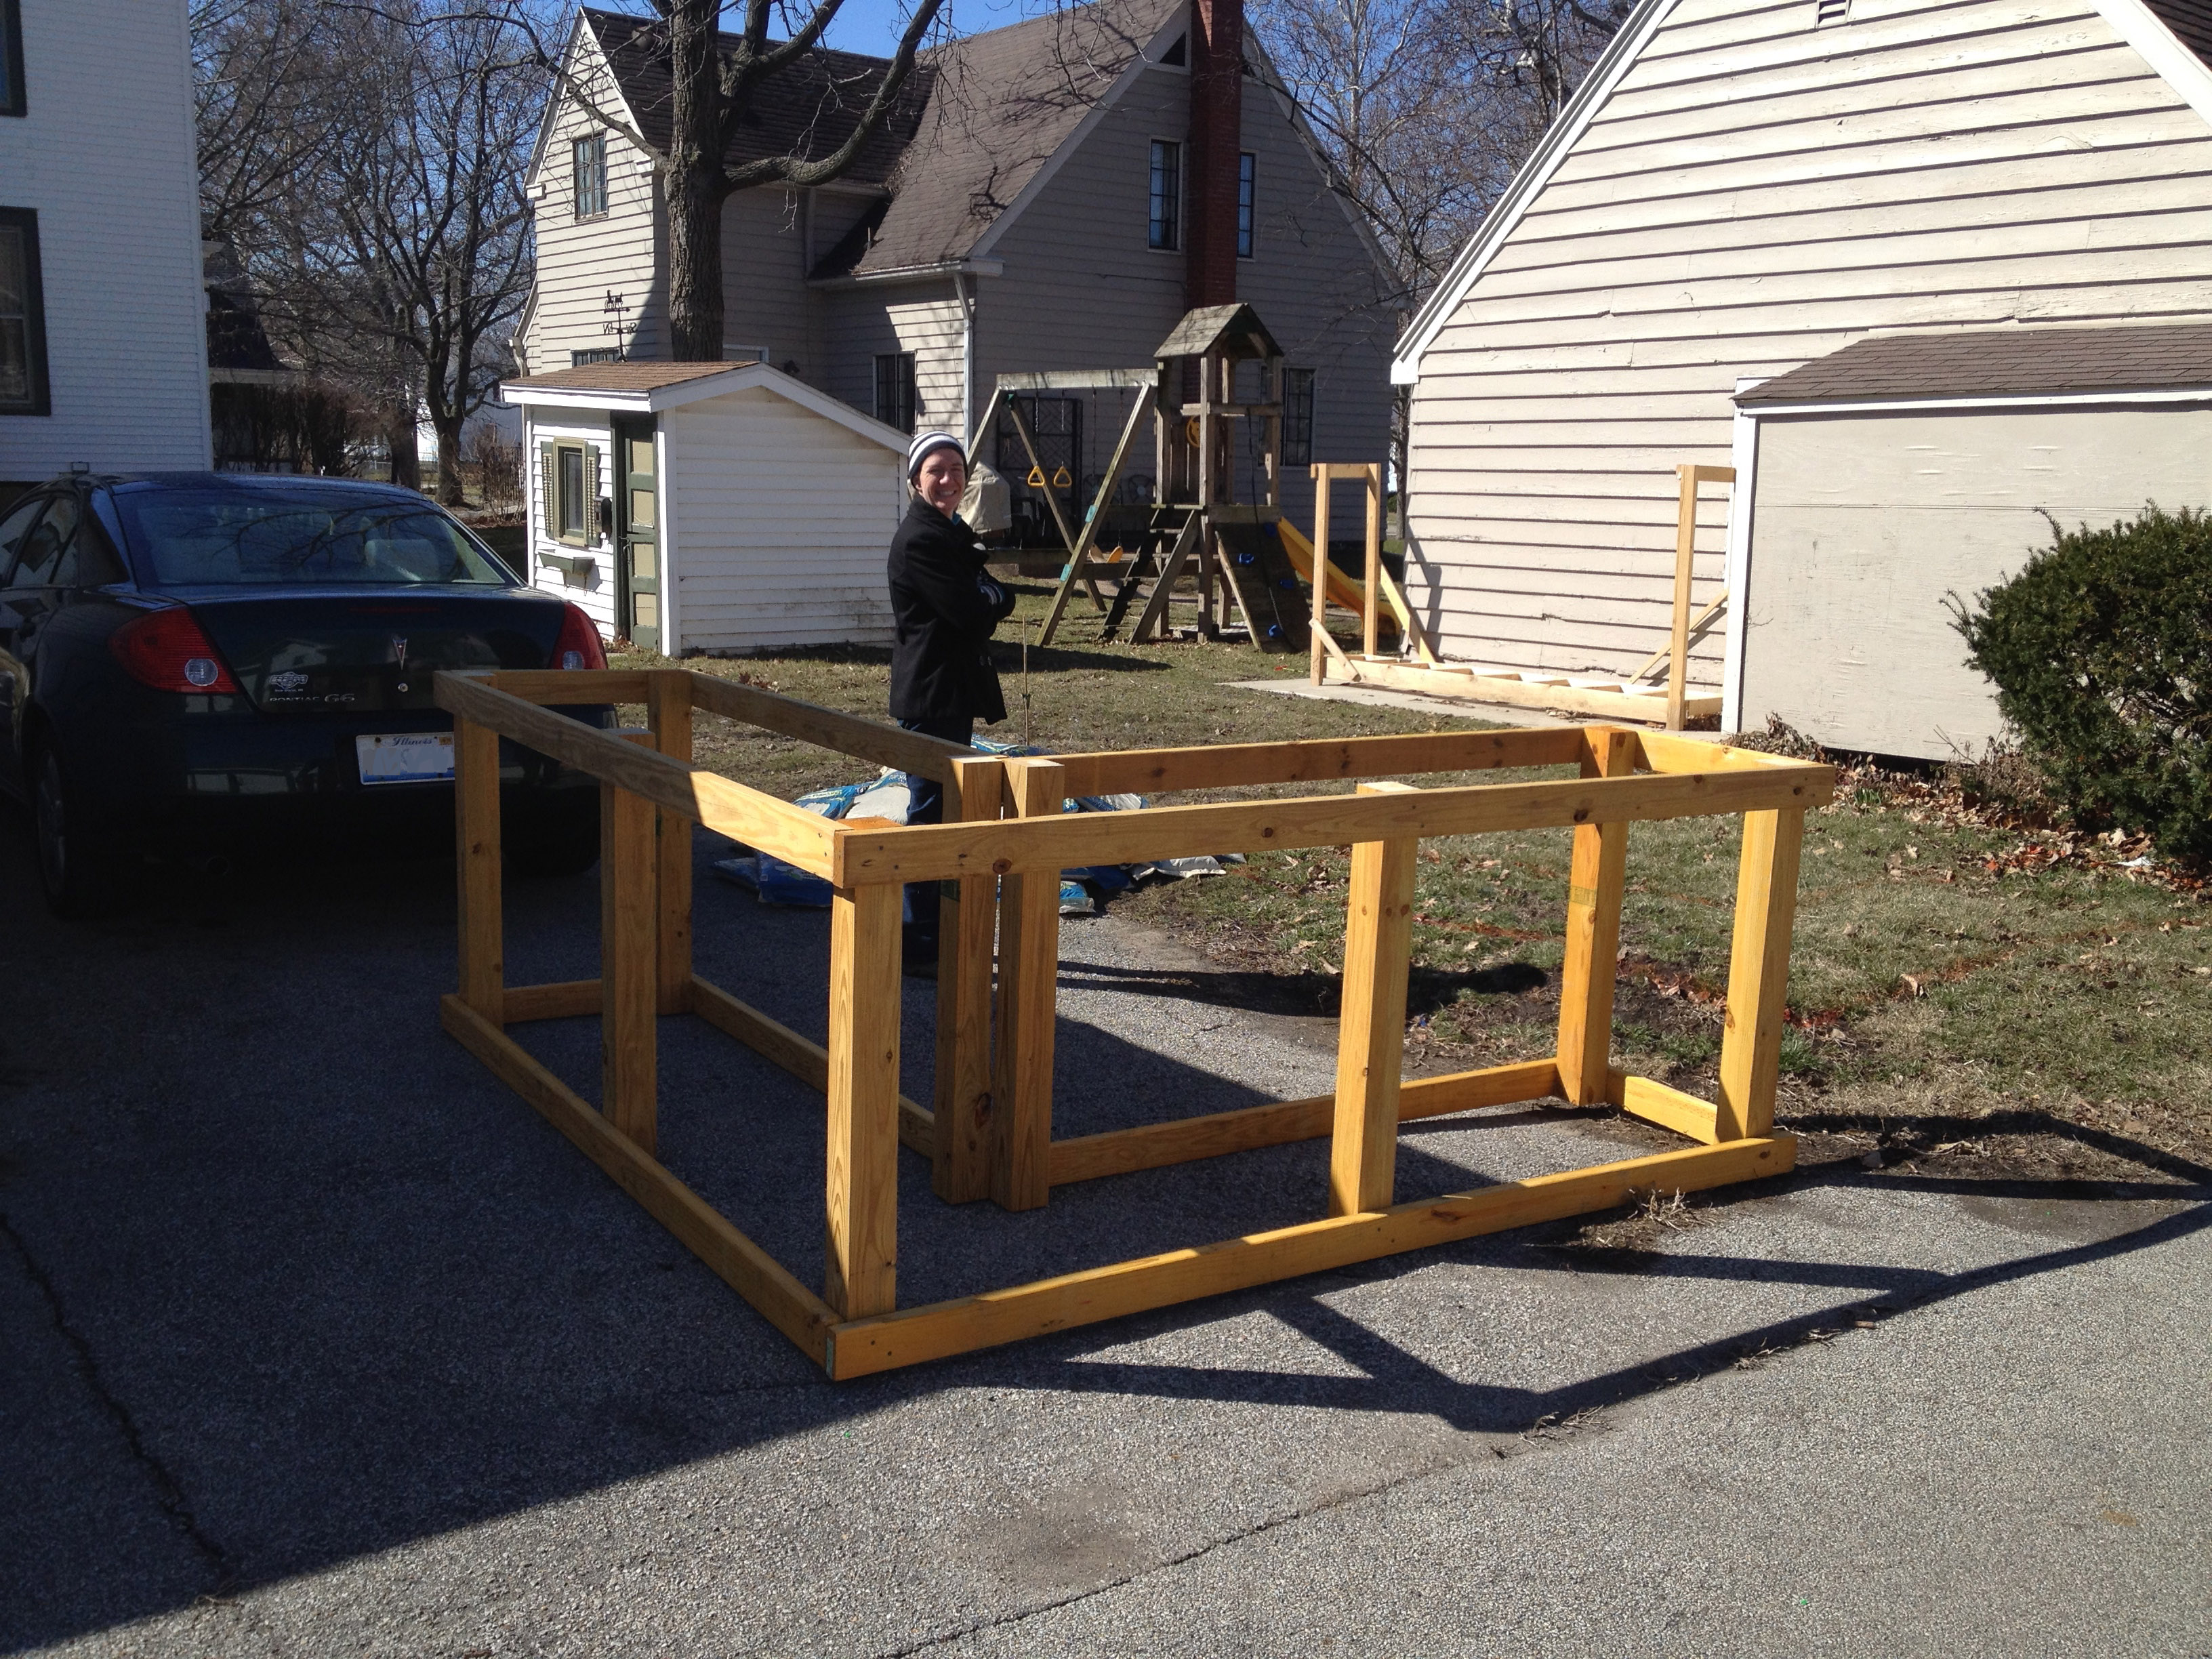
We unloaded all of the material minus the dirt into our garage for the evening. I posted the below picture to Facebook and asked friends to guess what I was building. People were very creative in their guesses, although most were spot on that it had to do with gardening. That night I started building the frame in the garage.
Saturday morning, Shae helped me drag the frame out of the garage and put it next to its final resting place. It was a bit taller than either of us anticipated!
Due to its weight, we decided that I would build the rest of it in place, so we marked out where it would go on the grass.
Then dug out and leveled the ground so the planter would sit evenly.
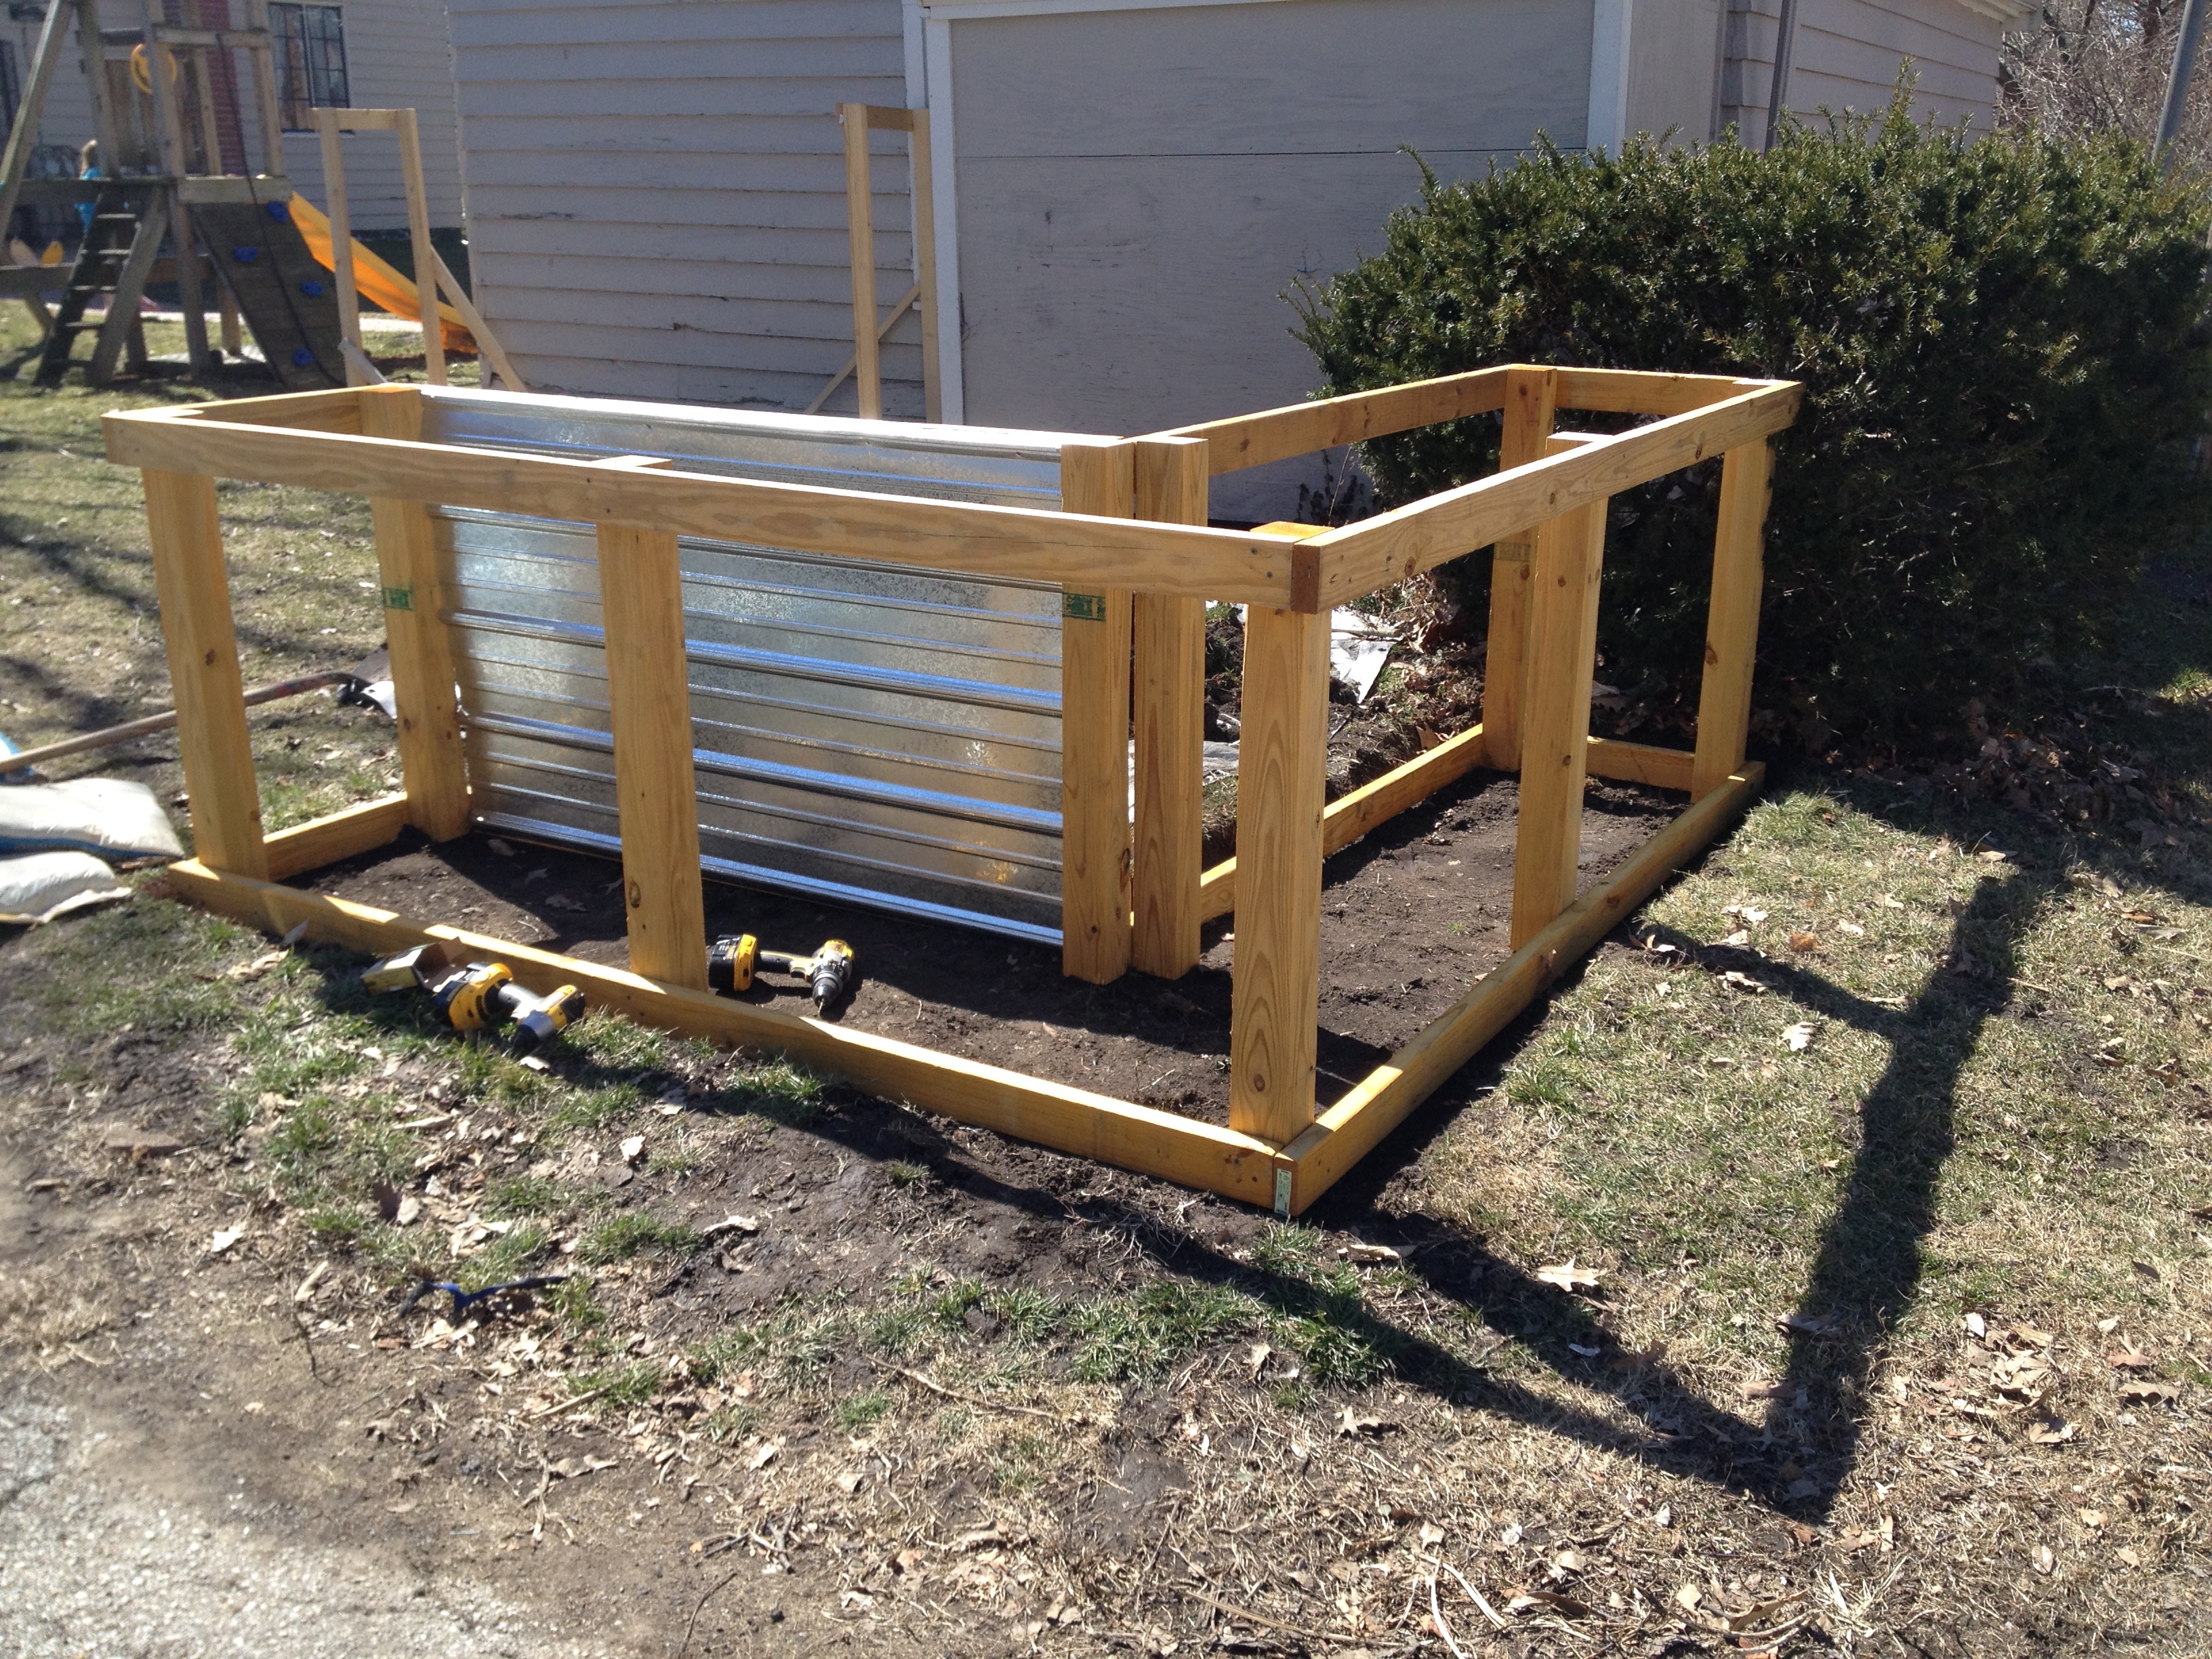
After dragging the skeleton into place and leveling it, I started fitting the metal panels.
After fitting the first panel, I instantly knew there was a serious design flaw. My intention was to have the panel hold the dirt in, but with it only being secured at the top and bottom, it was far too ‘bendy’ and easily bowed in and out with the slightest amount of pressure. To resolve this, I bought three additional stained and treated 2x4s to brace the panels on the outside. I also had to buy an additional four regular treated 2x4s to replace the ones that had to be used for bracing.
Being able to screw the sides of each panel added much needed rigidity.
With the panels in place, I turned my attention to the inside of the planter. Instead of filling the entire planter with dirt, an expensive and back breaking proposition, we opted to instead build a raised internal floor. I secured treated 2×4 joists to the vertical 4x4s.
Treated 1x6s were cut to size and installed as planking. Frugal Boy enjoyed cruising along the inside.
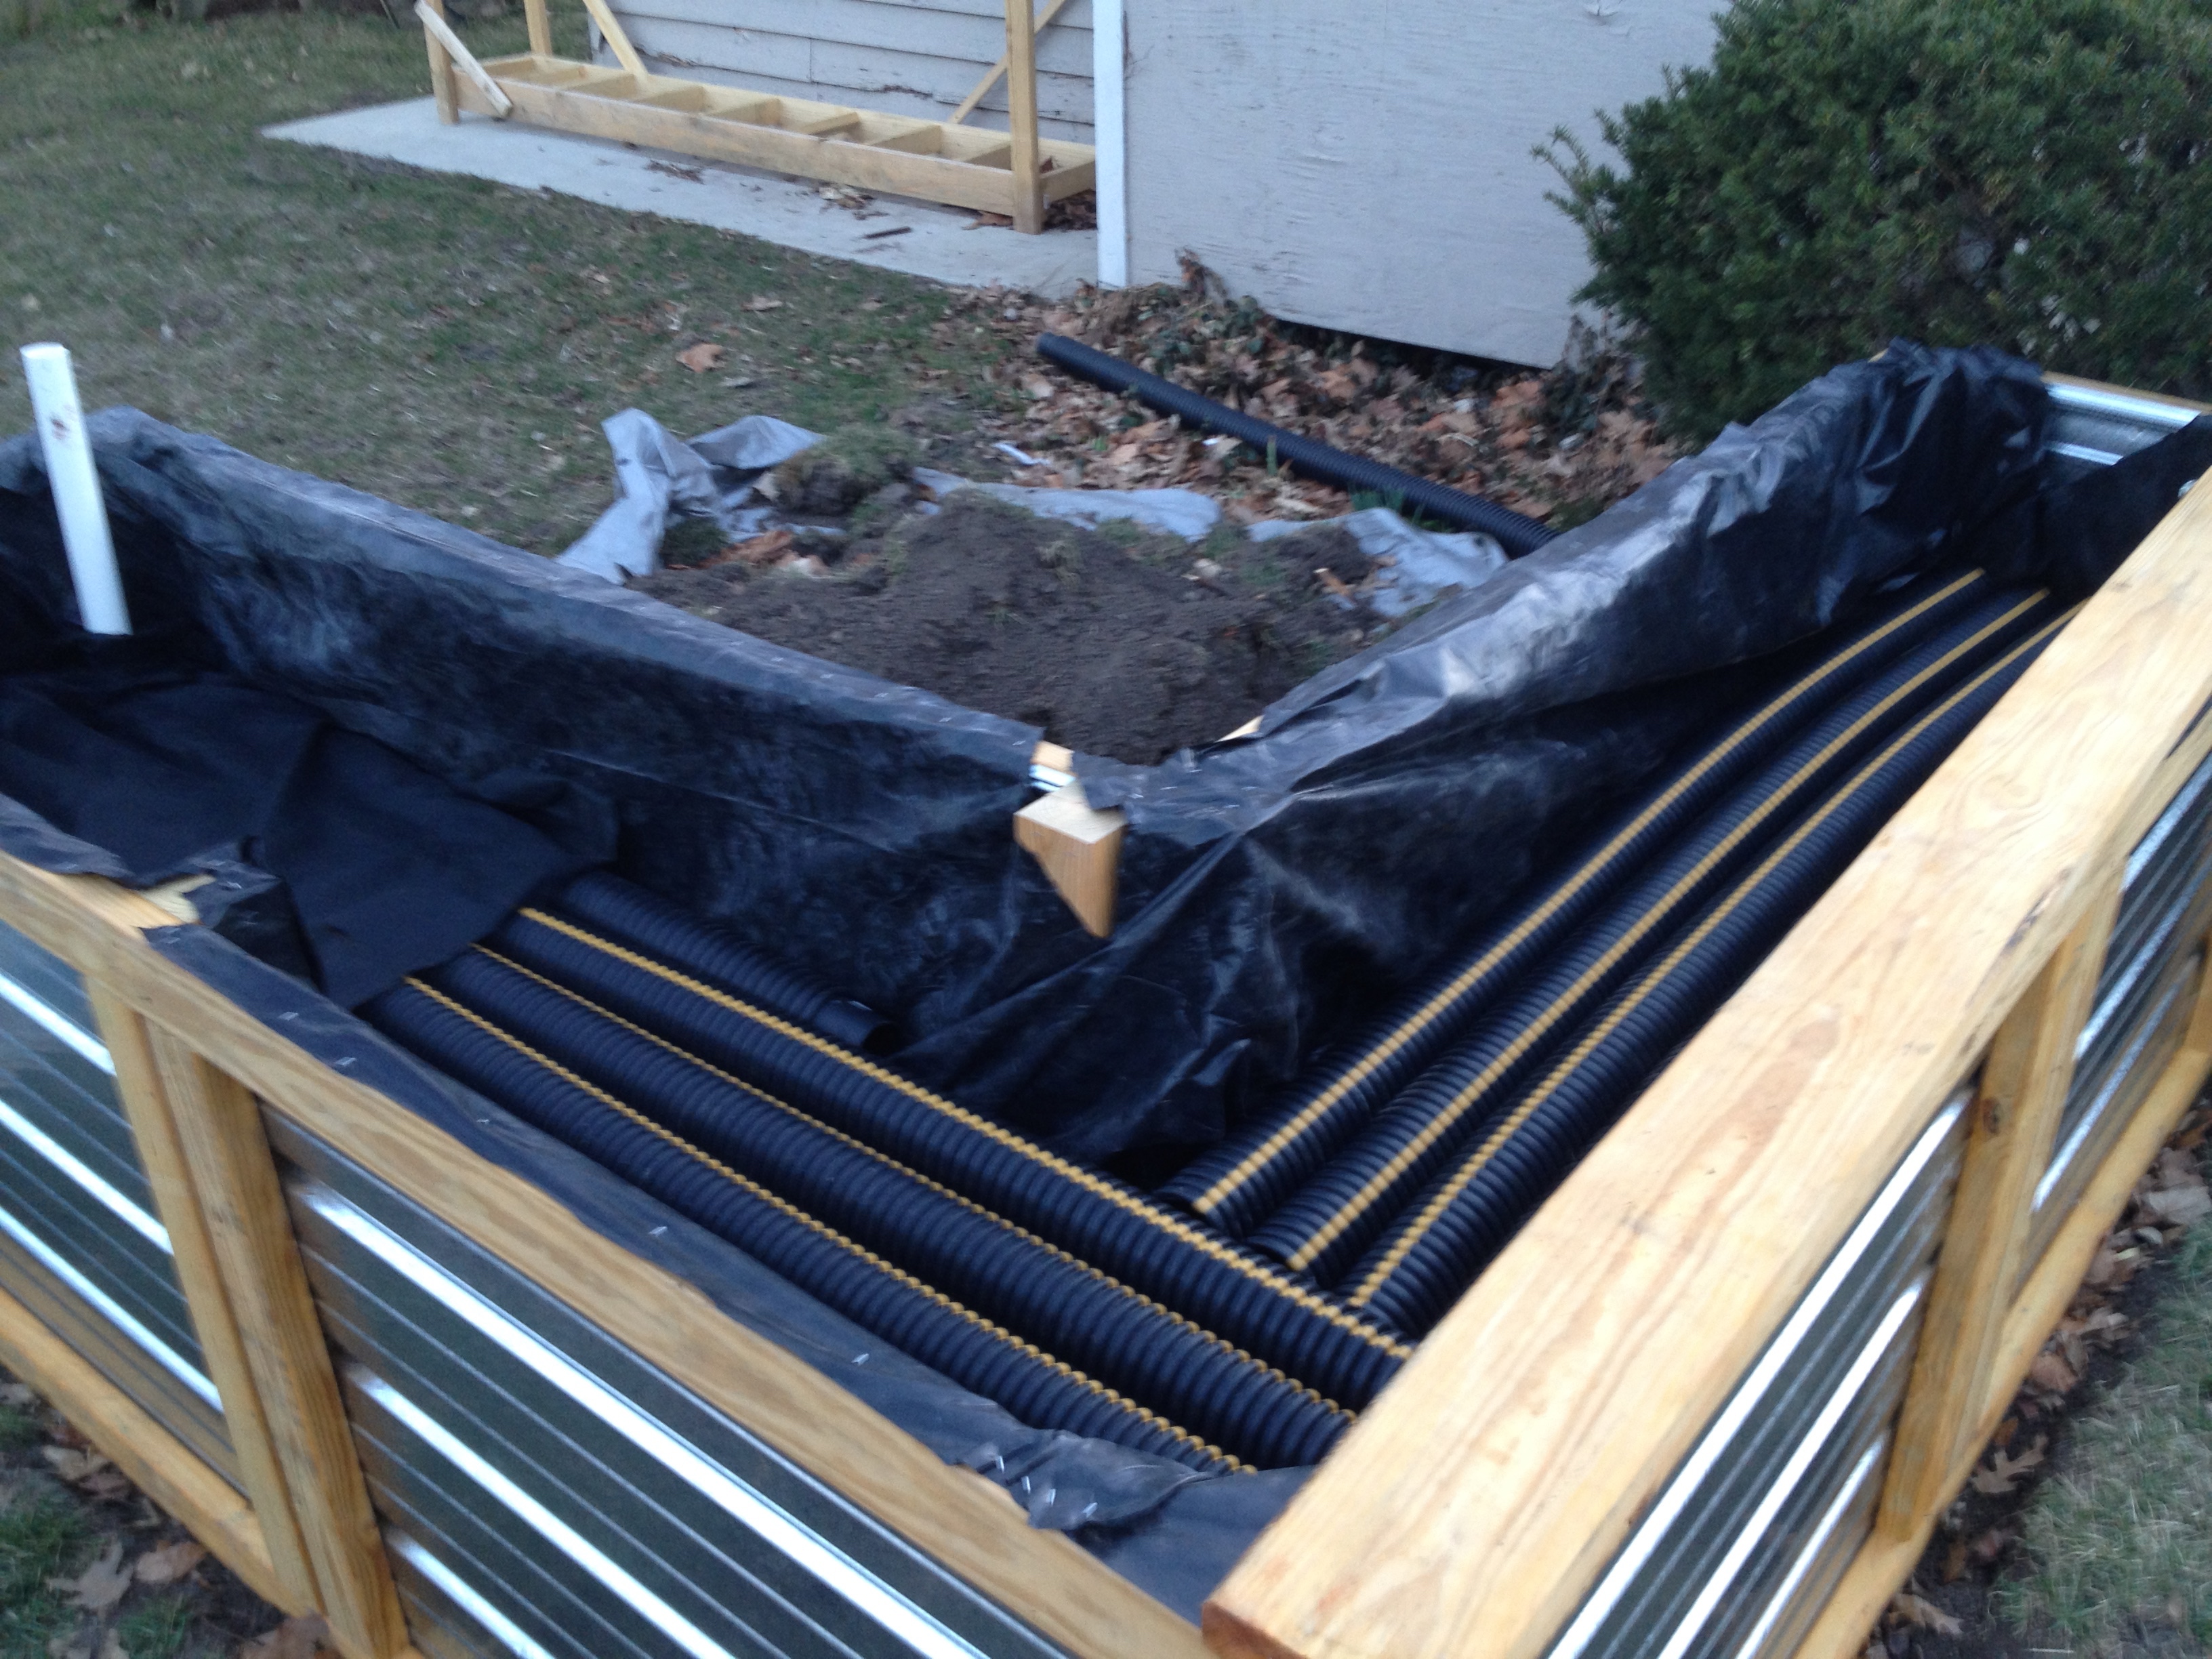
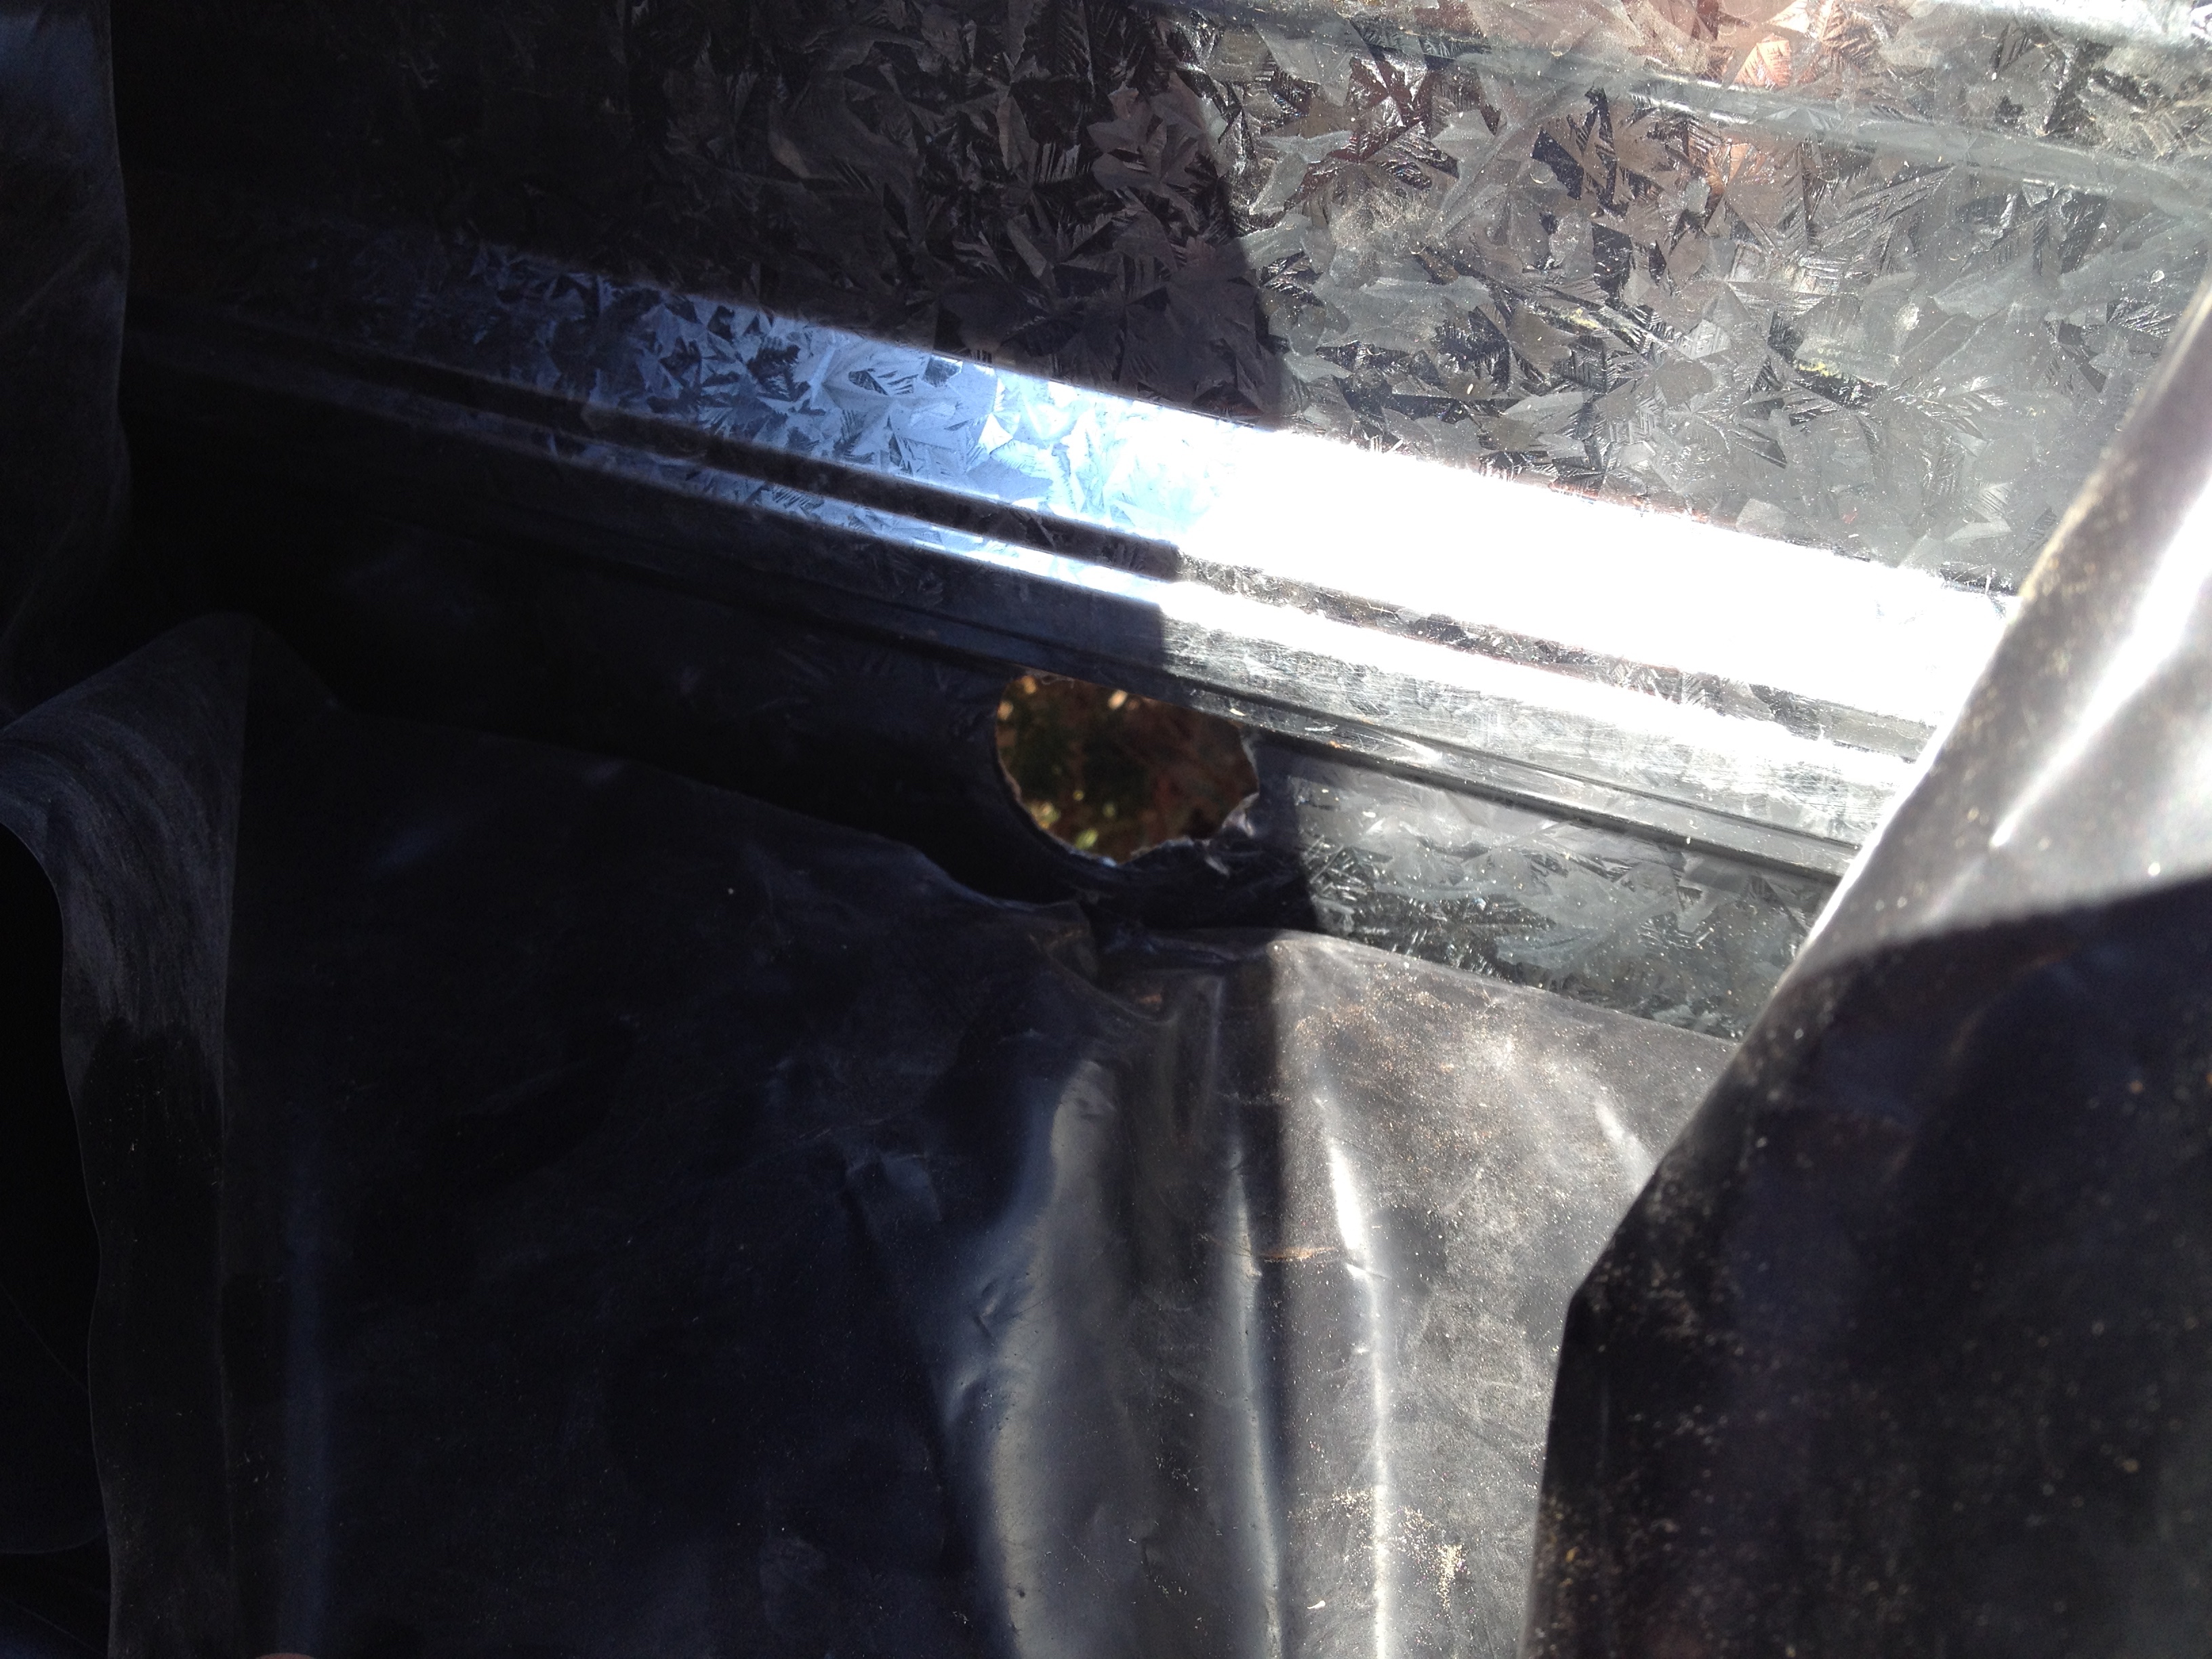
Once all of the floorboards were installed, I grabbed some left over heavy duty plastic from when we lined one of our crawlspaces and carefully placed it into the planter to make a liner.
With the liner stapled to the top of the planter, I cut 3″ corrugated, perforated drainage tube to fit the bottom.
These tubes act as a water reservoir and form a critical part of the ‘self watering’ aspect of the planter. Of course, you need a way to add water to the reservoir and that is where this handy fill tube comes into play.
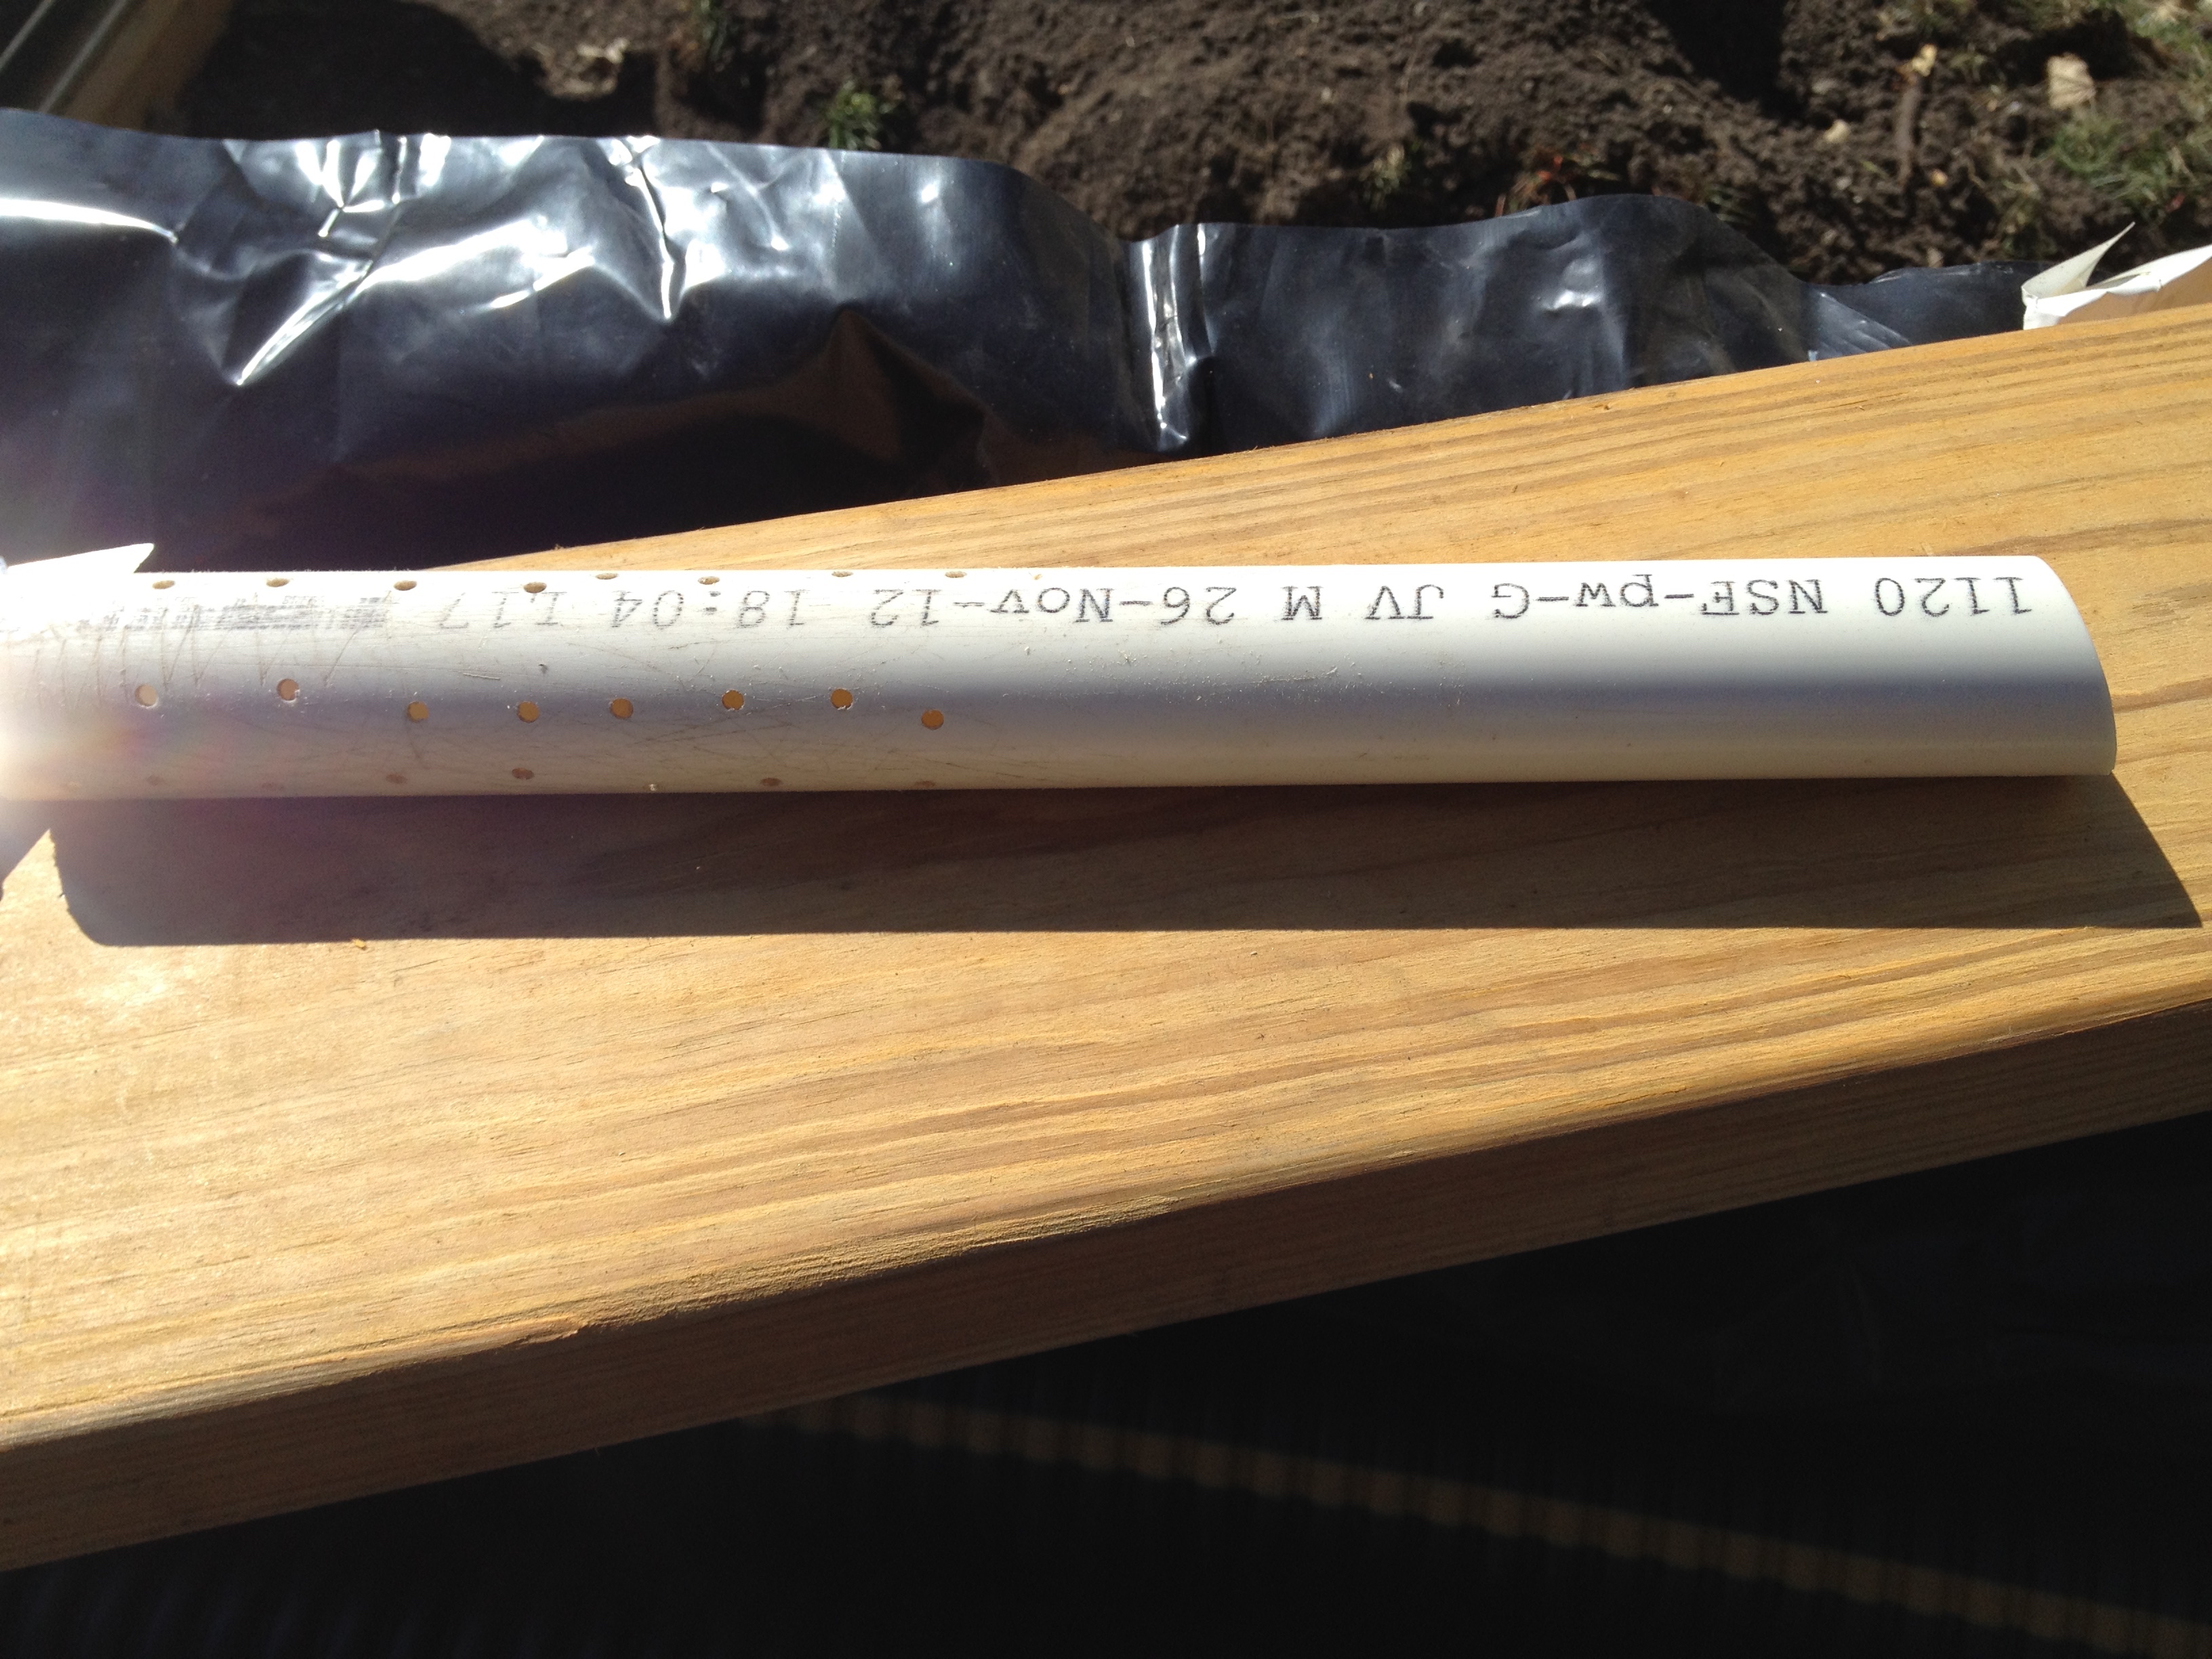
We also needed an overflow drainage pipe. I used a scrap piece of pvc and drilled a bunch of holes into it.
I cut a hole in the planter side just above the corrugated pipe
and inserted the overflow pipe.
The overflow is on the far side of the fill tube.
All of the piping gets wrapped in landscape fabric to prevent dirt from falling in and filling/clogging up the watering system.
Then it was time to add dirt! I started with some sand along the sides of the corrugated piping. I read somewhere that top dirt sitting in water will begin to stink as anaerobic bacteria goes to town.
With the dirt added, the only major thing left was to add the edge cap. I used treated and stained 2x6s and secured them with screws from the underside to leave an unmarred top surface.
What’s Left?
Besides sowing seeds, something that will have to wait until it gets a bit warmer, the only big item left to complete the project is to add gravel along the perimeter like so.
I am putting down landscape fabric to keep weeds from popping up next to the planter. Holding that in place is river rock because it is cheap and attractive. I have to go back to the store for a few more bags of rock. I also need a PVC cap for the supply tube so mosquitos cannot breed in the underground reservoir.
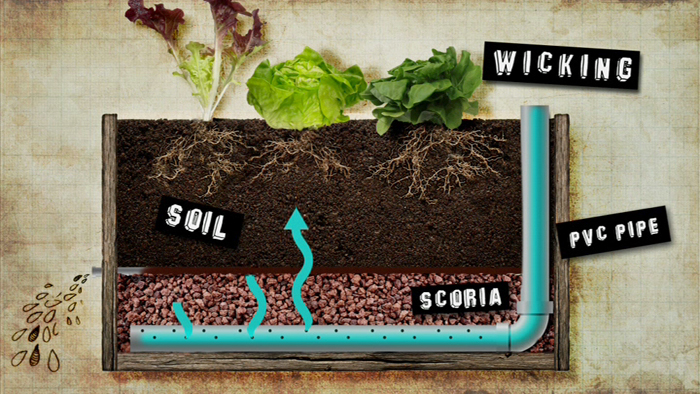
So there you have it! Hopefully the self watering system will work by wicking moisture from the reservoir to the root systems. We should only have to water once a week even during the hottest days of summer.
Shae has been deciding what she wants to plant and already has a few ideas.
Leave a comment with what you would plant! Who knows, maybe we’ll try it out ourselves.

 We did some more sledding at our house. Who needs hills when you have a slide?