Cut & Cobble – Part 2
You can read part 1 here.
I was very relieved to finish insulating the dormer/turret because it was a very labor intensive job. Not only were the rafter cavities oddly shaped, you also had to crawl through a narrow hole on your hands and knees, and then sit or lay in an uncomfortable position while you worked. With that said, I am satisfied with the end result.
 The bathroom below feels noticeably warmer. It use to be one of the coldest rooms in the house and down right miserable to visit at 4 or 5 in the morning.
With the dormer finished and a pile of extra foam board I decided to expand the scope of the project and redo the insulation of the spare attic room (connected to the dormer). The previous wall/ceiling assembly was this:

Where the black line was the roof deck (plywood), the gray line below that were battens (1×6) for the original cedar shingles, then the brown 2x4s with the lavender being the old rock wool insulation. Finally the blue layer was some type of sheet rock shown in the picture below and covering all of that up was a flimsy panel veneer (pink layer – bottom).


After clearing away all of the old material I had a clean palette to work with.

Along the walls I insulated between the joists.

Filling the cavities between studs and rafters was simply a matter of measuring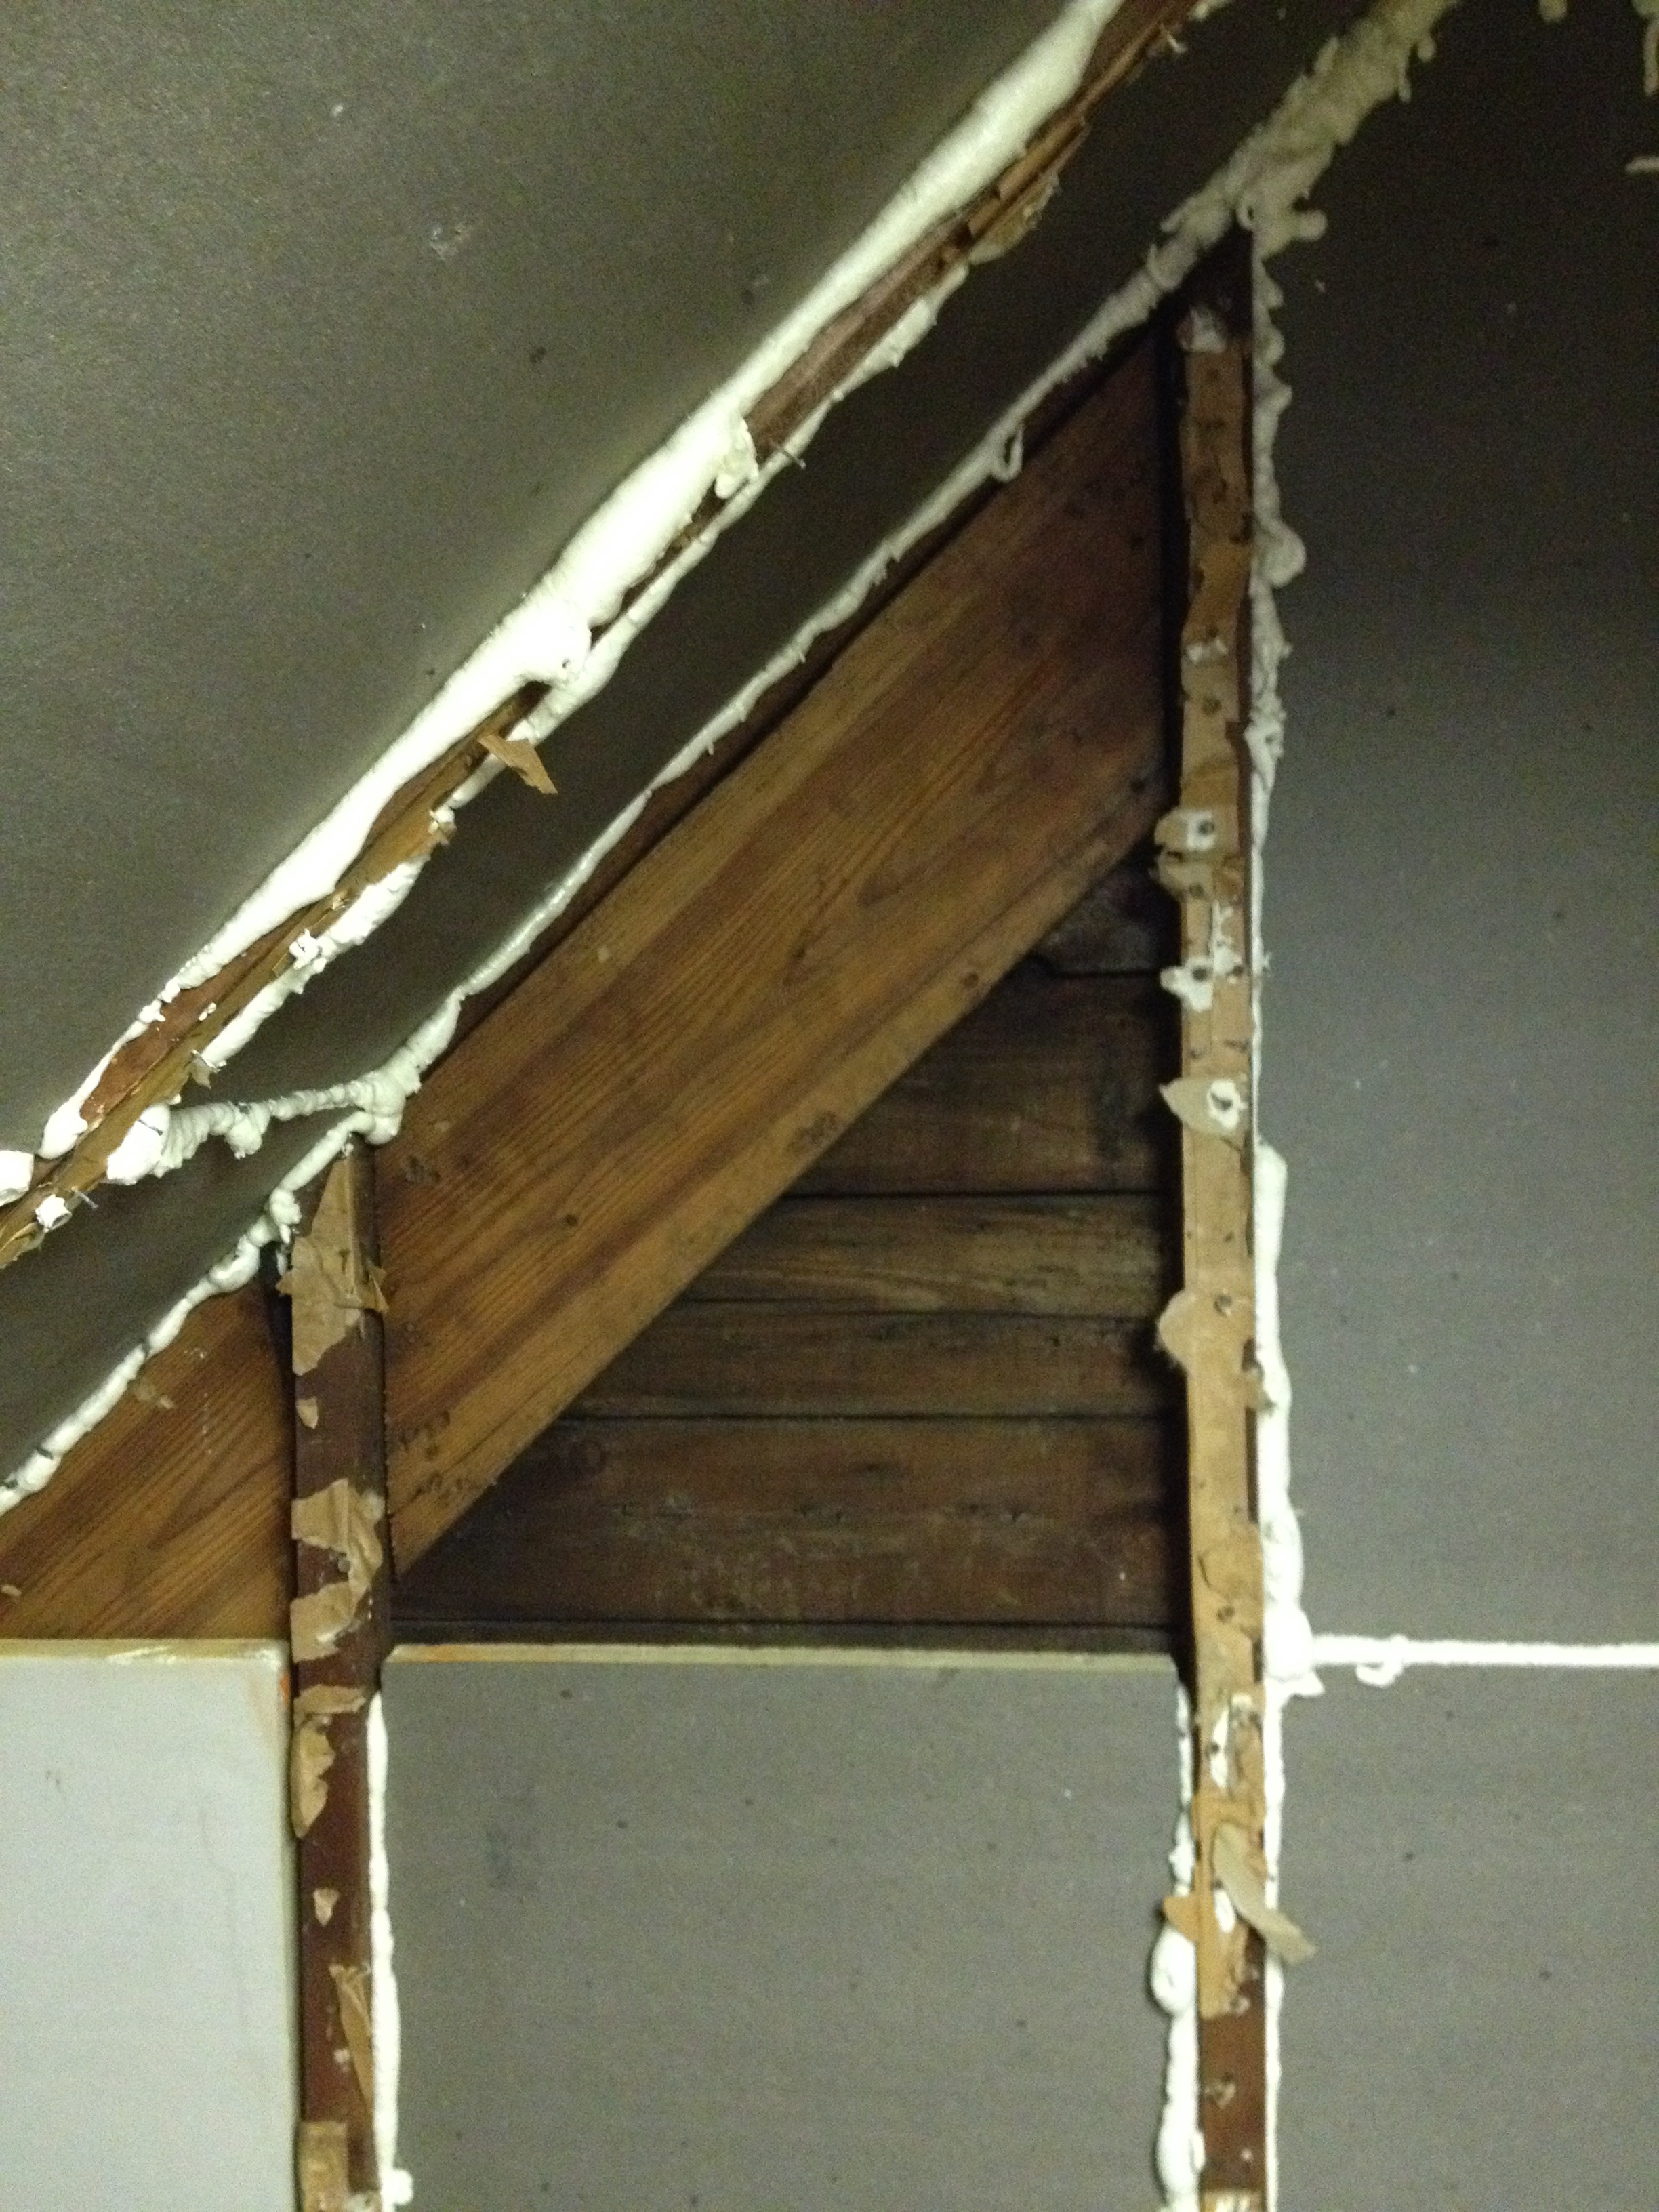
Cutting
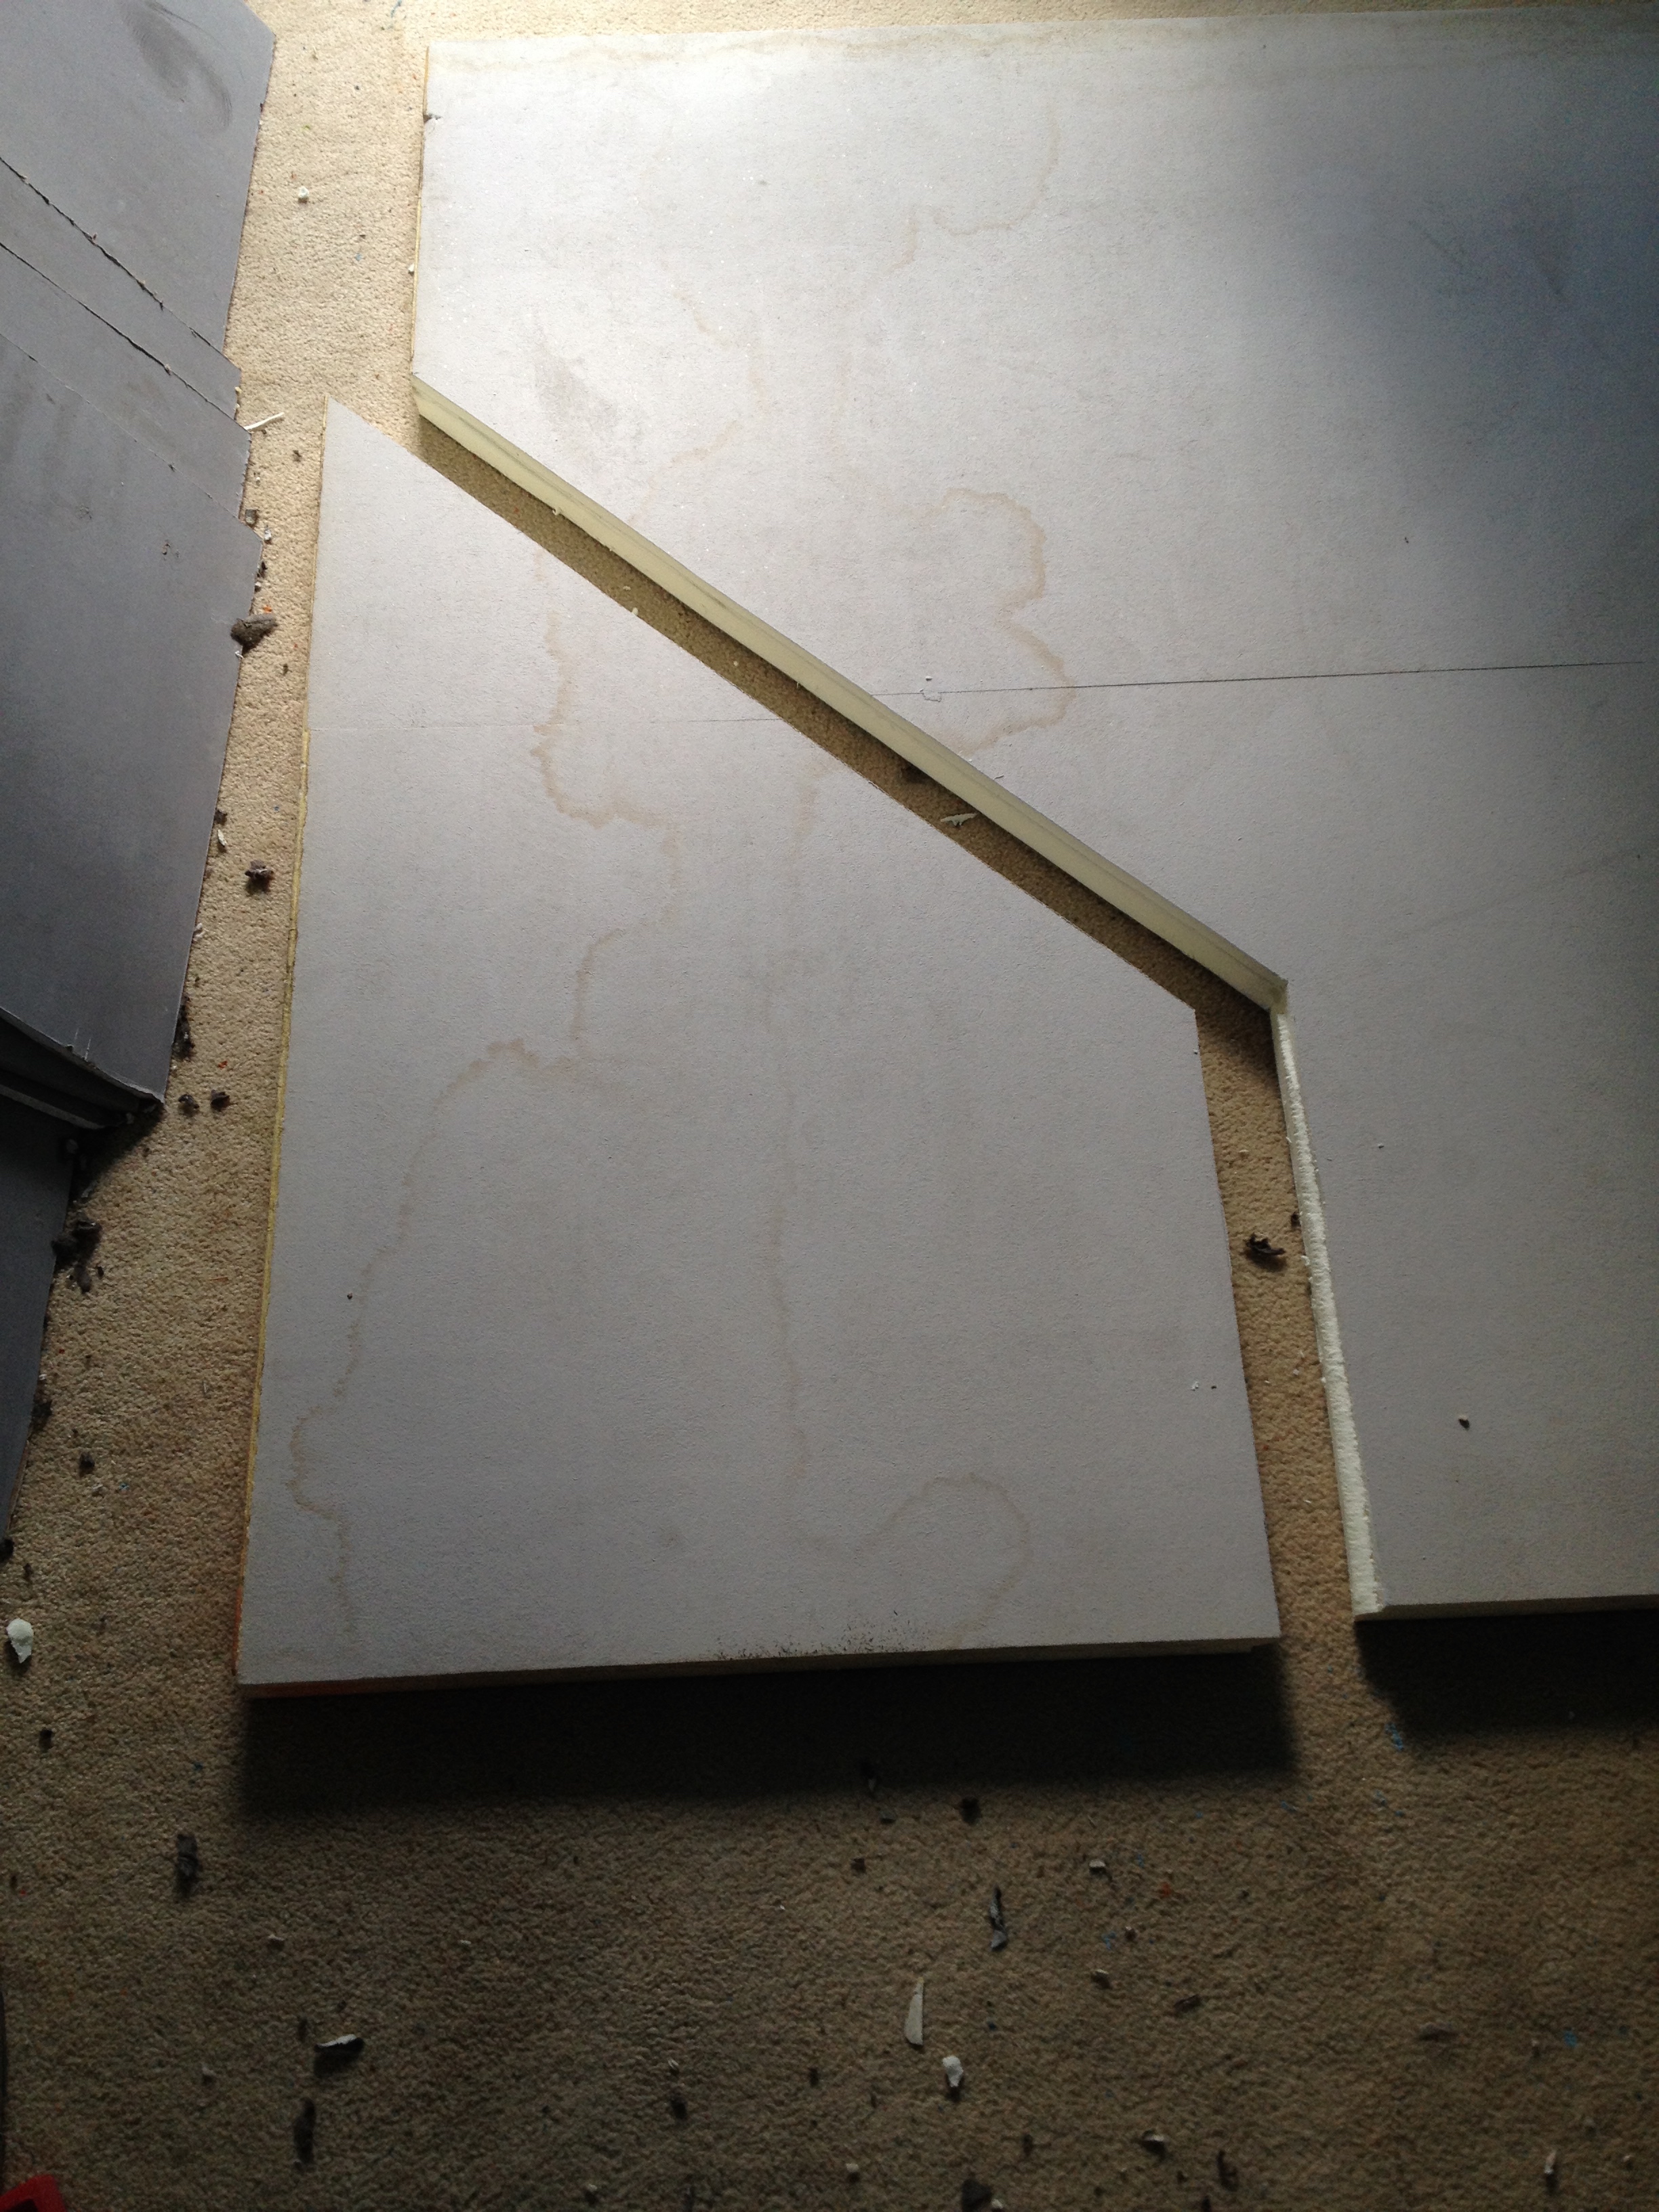
Fitting into place and foaming along the edges.

Here is the end result.

This room went much faster than the dormer. I spent a few mornings and a Saturday working on it. I had just enough foam board to do this room. Eventually, I would like to double the R value of this room by installing an additional 2″ of foam board on the underside of the rafters. That would bring this room up to an R 20-25, still well below the recommend value of 30-38 for a cathedral ceiling in zone 5.
Materials cost around $220. Assuming it will cost $700/year to heat our house (based off last years bills) we can make some predictions about the payback period. If we save 5% a year, $700 x 0.05 = $35, then it will take about 6 years to make up the material cost.
A different way to think about it is that we may be able to raise our thermostat by 5% and pay the same amount per year. Last year we kept the temperature at 62°. This year we have raised it up to 65° (about a 5% increase). I do not think that temperature and bills scale linearly though because a larger difference in internal/external temperatures would likely result in a nonlinear amount of heat loss. Anyway, in six months time, I will have another set of bills to add as a second data point in this little experiment.