This 4 part series shows some of the decisions and work done to economically upgrade a forced air furnace and ac system. The goal is to reduce the overall cost while improving the finished quality by taking on some of the smaller jobs as DIY instead of bundling the work with the HVAC contractor.
In preparation for a bigger home improvement project, I have been working on several smaller ones. One of those smaller projects was replacing our old programmable thermostat with a new Ecobee 3 smart thermostat.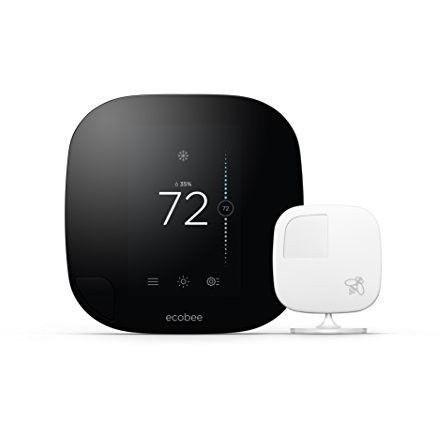
Do I need a new thermostat? Probably not, but given that the pricing on the older model 3s has come down now that the Ecobee 4 is out, plus the fact that you can get utility rebates means that a smart thermostat like the one above only ran about $100. The biggest advantage isn’t necessarily in cost savings, but rather in comfort. The Ecobee can pair with up to 32 different remote sensors. These wireless sensors can be placed anywhere in your home to detect temperature, humidity, and occupancy. We have two remote sensors, one in a bedroom upstairs and one in the foyer. At night time, the bedroom temperature is given more importance, and during the daytime the two downstairs readings are given priority.
There are a lot more bells and whistles that I have just started wrapping my head around such as voice control, advanced scheduling, geofencing, and system performance reports. Honestly, unless you are a techno geek, these are probably of little interest to you. I expect that within the next 12-24 months a slew of lower priced smart thermostats will flood the market with features geared towards the everyday person instead of the early adopter.
Replacing a Thermostat
Since this is not new construction, I needed to remove the existing thermostat before I could do anything else. Shut down the breaker for the furnace and remove the cover plate for the existing thermostat.
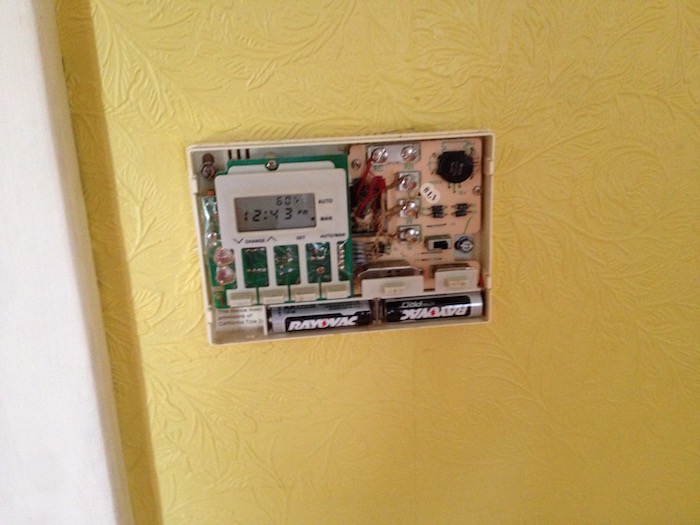
This one has a battery backup, so the display is still on. You can see the rats nest of wiring in there, we’ll get more comfortable with that soon.
With a couple of screws removed and the wiring loosened from the contact plates, we can remove the old thermostat from the wall.
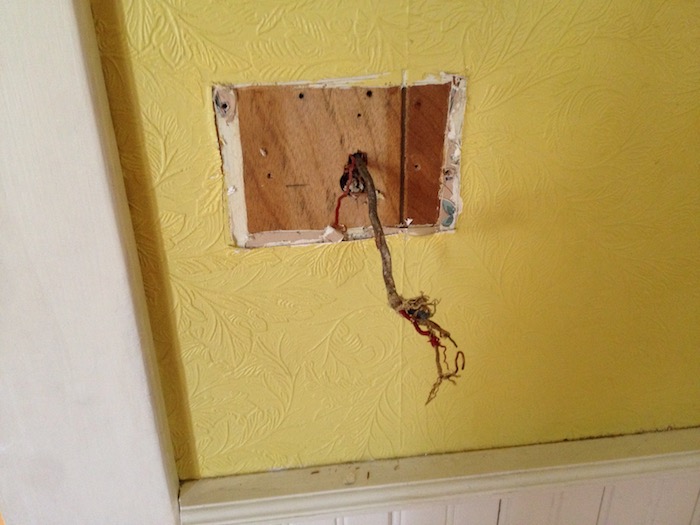
Unfortunately the wallpaper did not go all the way underneath. We’ll have to address that later before we can install the Ecobee. For now though it is back to the wiring. In this case it is ancient and brittle. Most new construction homes will run 18/5 thermostat wire from the furnace to the thermostat. 18 is the size of the wire. Your standard electrical wire that connects to a wall receptacle is 12 or 14 gauge. 18 gauge thermostat wire, despite the higher number, is thinner. The 5 describes the number of insulated conductors inside that wire. So an 18/5 thermostat wire is 5 individually wrapped wires that are all 18 gauge. I decided now would be a good time to run a new thermostat wire from the thermostat to the furnace. I picked up 25′ of 18/8 twire to help future proof the install.
First things first, I disconnected the existing twire from the furnace control board. That’d be the red, green, blue, and white wires.

Then I taped the new wire to the old.
 Carefully pull the wire up through the wall cavity. This step took a bit of time because the old twire snaked through and around several joist bays in the basement.
 That rectangle of unfinished wall is too large to be covered by the trim plate that came with the Ecobee. I also did not have any remnants of wallpaper to match what was there. I decided to make my own trim plate out of wood.
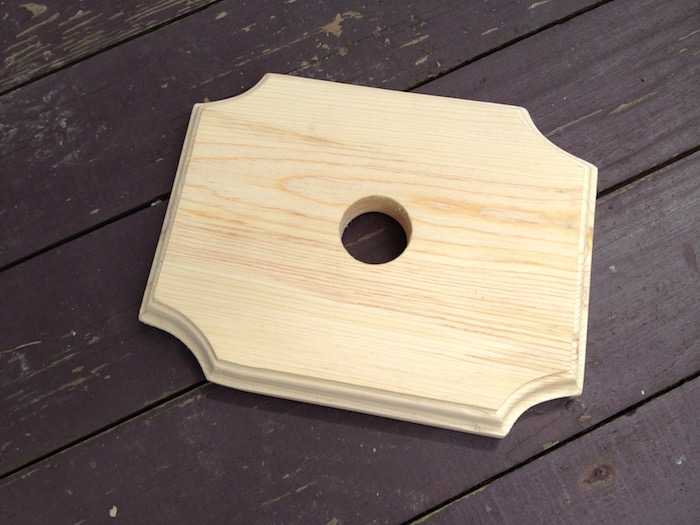
 I used a miter saw, jigsaw, and drill to make the rough shape of the trim plate.
Then I finished it off with a router and a lot of sanding.
After a couple coats of paint, it was fastened to the wall.

Finally, the Ecobee base was attached onto the custom trim plate.

It was a simple matter to follow the Ecobee instructions for wiring the new twire correctly. Once the wires were attached, the Ecobee snaps onto the base.

Presto Change-O, we can now change the settings from our phones using Siri or any of the alternative voice assistants.
 In a pinch, I suppose I could also walk over to the thermostat like a caveman to make changes.
The cost of a shiny new thermostat install was $100 (Ecobee refurbished – Gas rebate) + $20 (new 18/8 thermostat wire) + an hour or two of labor. So $120 to do it yourself vs letting an HVAC contractor bundle it into a bid as a $300-400 line item.
In part 2 we’ll explore more ways to trim the cost of installing a new furnace and split AC system by doing some of the grunt work yourself.