The city inspector came to our apartment building for an annual review. It’s nice for the tenants because it doesn’t cost them anything and helps to ensure a certain standard of living. The inspector pointed out three things that I needed to fix. Three points for four units isn’t too bad especially compared to the 200+ violations found at a different landlords 12 unit property earlier this year. It was all over the news because the building had a kitchen fire shortly after inspection and burned down. 0.75 items per apartment for us vs 17 for the local slumlord puts us in a pretty good light.
One hardwired smoke detector didn’t test right, so I replaced that. That was the first time that I replaced a hardwired smoke detector. Of course the electrical panel wasn’t marked properly, so I had to go through a number of breakers and use my pen tester to figure out which circuit the detector was on. I also needed to read the instructions to find out what the red wire was for. Apparently, it is for interconnecting two or more smoke detectors that are on the same circuit. You learn something everyday!
The sidewalk/driveway has deteriorated and needs to be replaced. I called a concrete contractor and should have that addressed as soon as they get back to me.
Finally, one of the bathroom sinks didn’t have working hot water. I’m not sure why the tenant didn’t call about it, but it was a simple enough fix.
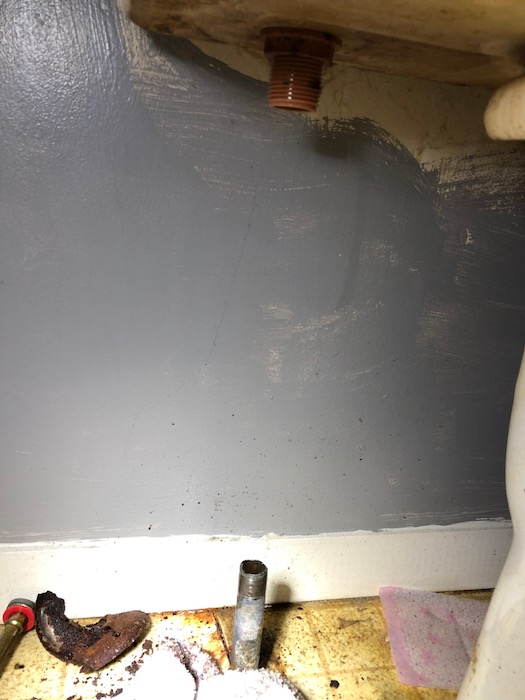
The plumbing underneath was a mess. Someone made a simple job a lot harder than it needed to be.
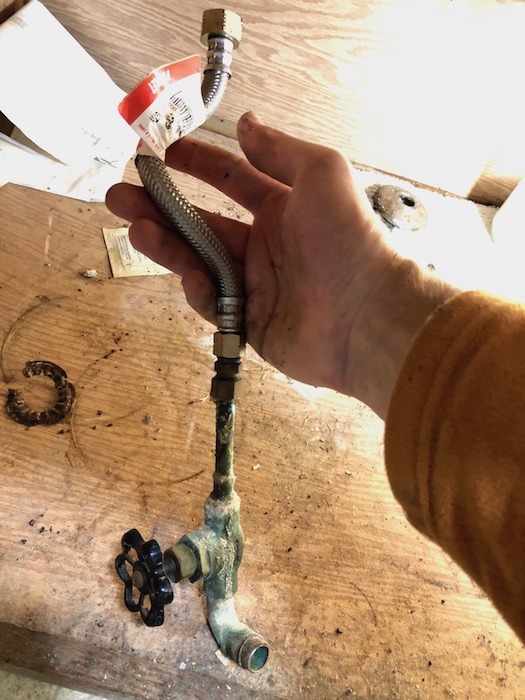
 There are 1/2″ copper supply lines coming out of the wall, soldered to 90° fittings, that are soldered to old style gate valves, then soldered to a 3/8″ reducer, where it then rises up two or three inches before another fitting, and then finally the braided flexible supply hose that goes up to the faucet itself.
I used a compact wheel cutter to cut the 1/2″ copper supply line as close to the 90° fitting as possible. Then I used a right angle quarter turn compression valve that went to a flexible braided supply hose to the faucet.
 It installs fast, looks cleaner, and has fewer points where it can leak.
Even though it wasn’t on the original work order, I checked out the toilet while I was there. I noticed that it was filling incredibly slowly. With the water supply turned off, I removed the shutoff valve and saw that the supply pipe was 3/8″ threaded galvanized iron pipe.

The inside of the pipe was completely clogged up with debris. Using a screwdriver I chipped away at the buildup until a larger area had been freed up. By this time, I had already made half a dozen trips to the hardware store, so I reused the existing multi turn shutoff valve and just put on a new braided supply hose. With the water turned back on, the toilet tank refused to fill. Time to start troubleshooting. I unhooked the braided supply line from the tank and aimed it into a bucket. Yep, water was making it through there just fine, so the problem wasn’t with the shutoff valve or the supply hose. The issue had to be with the internal mechanisms in the toilet tank. With another trip to the hardware store and a new fill kit in hand, I replaced the guts of the tank.
The replacement parts come with lots of instructions, so even if you have never done this before, you can do it if you know how to read.
I tried it again, and this time the tank filled, but it didn’t stop filling. I thought maybe the part was defective but first I tried the troubleshooting section in the instructions. It said that pipe debris might be in the way of the fill valve seal and gave instructions on how to check and clean that out. Sure enough, when I followed the instructions I found little bits of rock in there, probably from me chiseling earlier. With that cleaned it was all working. Yay!
Some projects a little closer to home include bringing electrical up to code in our 1905 house. I replaced the ungrounded, unpolarized exterior outlet with a new GFCI receptacle. I also had to upgrade the supporting wiring, breaker, and weather box.
I shudder to think of all the times I used a corded electric lawnmower with that old receptacle. The 120 volt shuffle would have been entertaining for the neighbors, but not me!
I also replaced the front porch exterior receptacle with a weather resistant (WR) GFCI and new weather box.
Inside the house, I made some improvements for both safety and convenience. I had never given much thought to the first floor half bath receptacle until my sister-in-law used it with a hair dryer. She’s lucky she didn’t end up extra frizzy.
 For the sake of keeping the peace with my wife, and not killing off the in-laws, I installed a GFCI outlet to bring it up to code.
Interestingly, the 2014 NEC which most municipalities have adopted for their building codes, states that it is perfectly fine and compliant to upgrade a non grounded outlet (common in old houses) to a ungrounded GFCI outlet. So if it is too difficult to bring new wiring to the outlet, you can keep the old wiring and simply replace the receptacle.
Finally, I ran a new 20 amp circuit for the 2nd floor bathroom receptacle. It already had a GFCI, but it was tied into the light switch and on top of all that, it was on knob and tube wiring. So not only was it on 113 year old wires, had no ground, but it also meant to use the outlet you had to turn on the lights first.
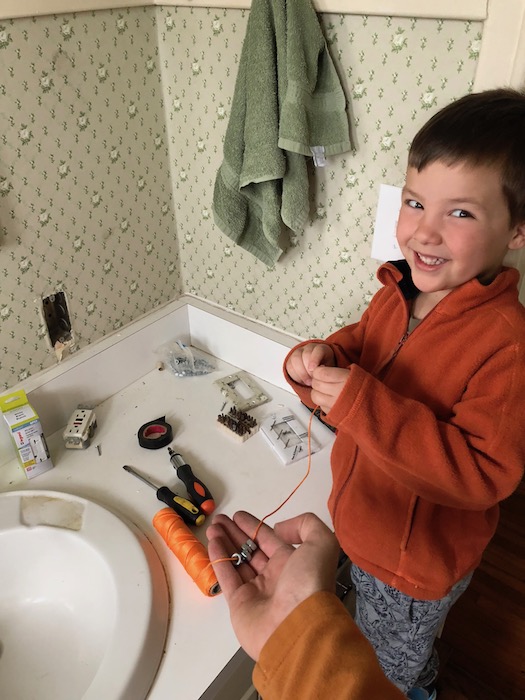
Frugal Boy helped me fish new wire up from the basement.
 I was blown away by the electrical requirements of hair dryers. A quick look on Amazon shows that the top selling hair dryer uses 1875 watts. Watts/Volts = Amps. I put in a 20 amp circuit for just this one receptacle. 1875 Watts / 120 Volts = 15.62 amps. If I had put in a regular 15 amp circuit, it wouldn’t have been enough!!!
There are some more projects on the horizon, such as separating the microwave onto its own 20amp circuit (we’ll finally be able to run the microwave and toaster oven at the same time!), and adding GFCI protection to the kitchen counter outlets. My goal has been to increase code compliance where it most needs it, and also to improve convenience by adding in little modern amenities.


